
1. Introduction
Thank you for choosing the Digoo DG-TH8988 Weather Station. This device provides accurate indoor and outdoor temperature and humidity readings, a weather forecast, time, date, alarm, and snooze functions. Please read this manual carefully before use to ensure proper operation and to maximize the lifespan of your device.

Image 1.1: Front view of the Digoo DG-TH8988 Weather Station, displaying its screen and overall design.
2. Package Contents
Ensure all items are present and in good condition upon unpacking:
- Digoo DG-TH8988 Weather Station (Main Unit)
- Wireless Outdoor Sensor
- USB Power Cable
- User Manual (this document)
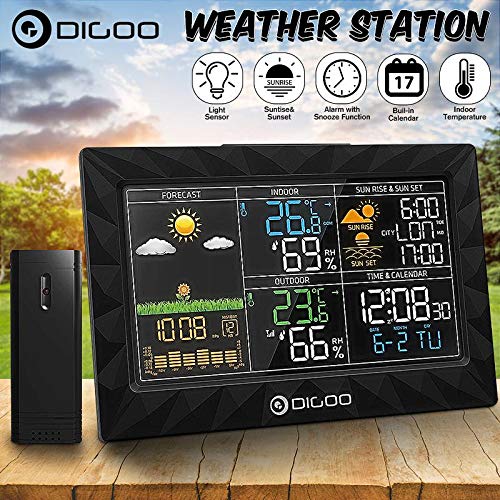
Image 2.1: The Digoo DG-TH8988 Weather Station main unit shown alongside its wireless outdoor sensor.
3. Product Features
- Indoor/Outdoor Temperature & Humidity: Displays current conditions for both environments.
- Weather Forecast: Provides graphical weather predictions (sunny, partly cloudy, cloudy, rainy, snowy).
- Time & Date: Pre-set calendar and time with manual adjustment options.
- Alarm & Snooze Function: Customizable alarm with a convenient snooze feature.
- Sunrise & Sunset Display: Shows local sunrise and sunset times.
- Low Battery Indicator: Alerts when batteries need replacement for both units.
- Barometric Display: Indicates atmospheric pressure trends.
- USB Power Option: Main unit can be powered via USB cable.
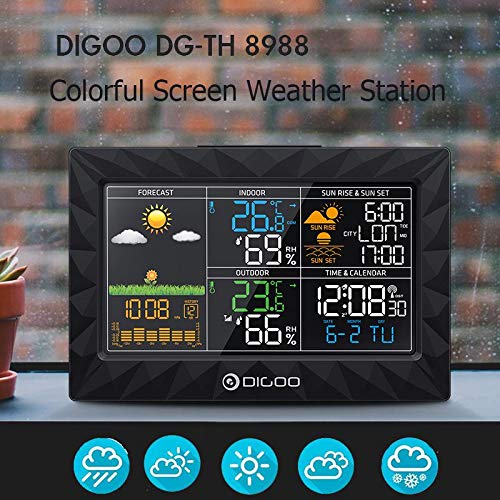
Image 3.1: Close-up of the weather station's colorful LCD screen, showing various data points like forecast, indoor/outdoor temperature and humidity, time, and sunrise/sunset.
4. Setup
4.1. Battery Installation
Main Unit:
- Open the battery compartment cover on the back of the main unit.
- Insert 3 x AAA batteries (not included) according to the polarity markings (+/-).
- Close the battery compartment cover.
- Alternatively, connect the provided USB power cable to the DC 5V port on the main unit and plug it into a USB power adapter (not included) or a powered USB port.
Wireless Outdoor Sensor:
- Open the battery compartment cover on the back of the outdoor sensor.
- Insert 2 x AA batteries (not included) according to the polarity markings (+/-).
- Close the battery compartment cover.
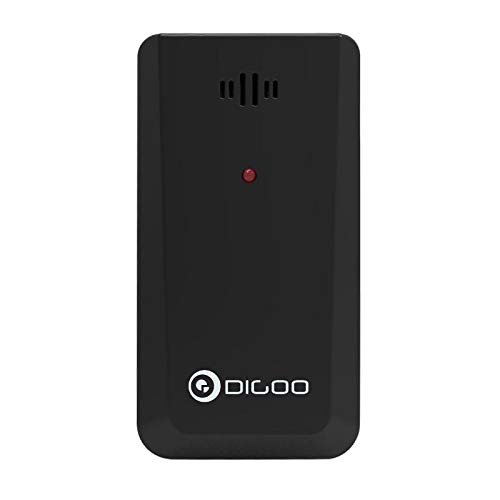
Image 4.1: The compact wireless outdoor sensor, showing its design and indicating where batteries are inserted.
4.2. Initial Power-On and Sensor Pairing
Once batteries are installed in both units, the main unit will automatically search for the outdoor sensor. This process may take a few minutes. Ensure the sensor is within range (typically up to 30 meters in open air) and not obstructed by thick walls or metal objects. The outdoor temperature and humidity will appear on the main unit's display once paired.
4.3. Sensor Placement
Place the outdoor sensor in a shaded, dry location away from direct sunlight and rain to ensure accurate readings. Avoid placing it near heat sources or vents. For optimal signal, ensure a clear line of sight between the main unit and the sensor.
5. Operating Instructions
The main unit features several buttons on its back and top for configuration and control.
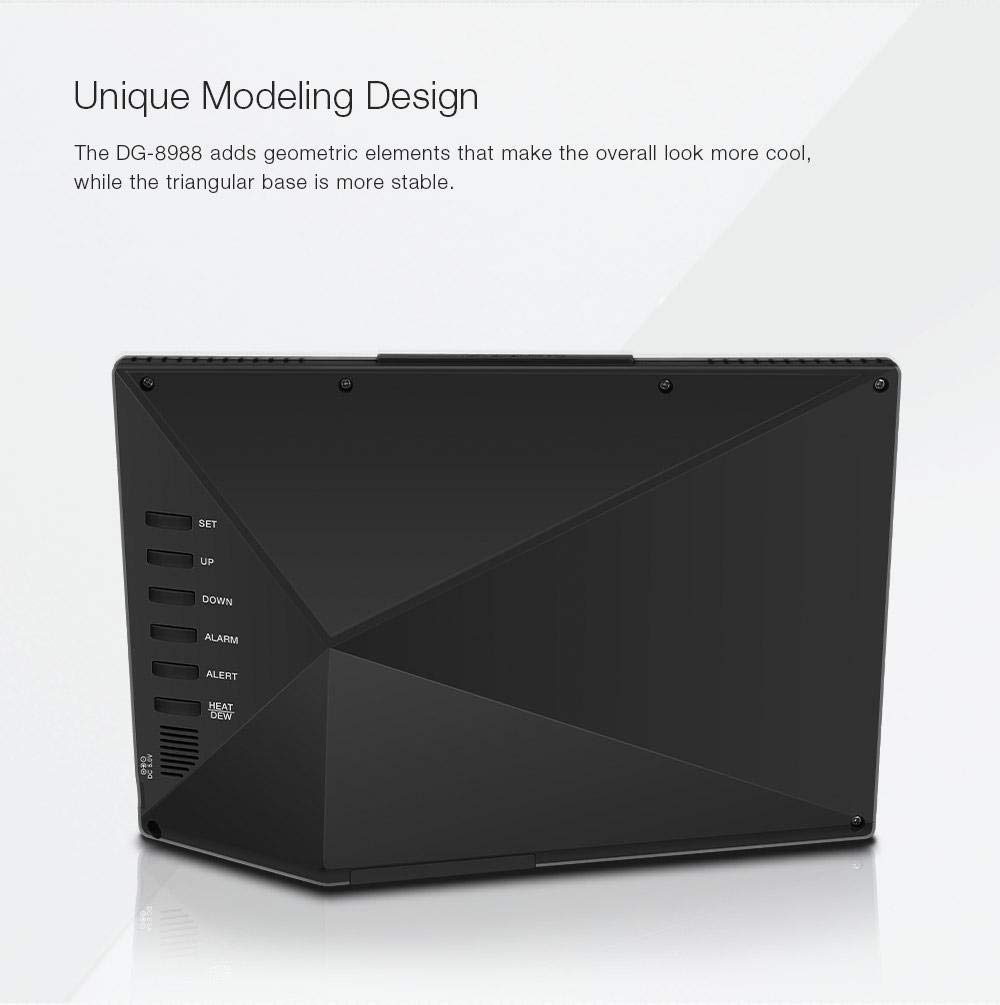
Image 5.1: Rear view of the weather station, highlighting the control buttons: SET, UP, DOWN, ALARM, ALERT, HEAT/DEW, and the DC 5V USB power input.
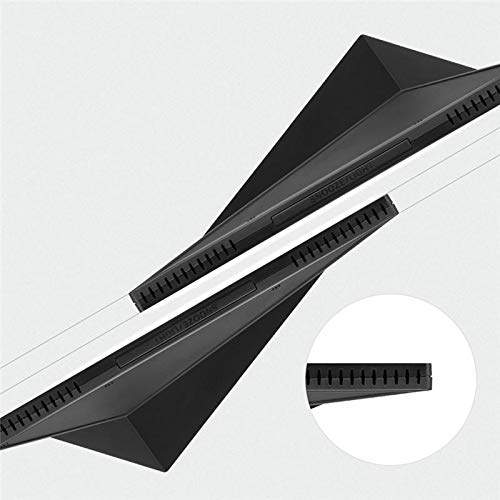
Image 5.2: Top view of the weather station, showing the SNOOZE/LIGHT button.
5.1. Setting Time and Date
- Press and hold the SET button for 3 seconds to enter time setting mode. The hour digit will flash.
- Use the UP or DOWN buttons to adjust the hour.
- Press SET again to confirm and move to the next setting (minute, year, month, day).
- Repeat step 2 and 3 until all settings are complete.
- Press SET one last time or wait 10 seconds for the settings to be saved automatically.
5.2. Setting Alarm and Snooze
- Press the ALARM button once to display the alarm time.
- Press and hold the ALARM button for 3 seconds to enter alarm setting mode. The alarm hour will flash.
- Use the UP or DOWN buttons to adjust the alarm hour.
- Press ALARM again to confirm and set the alarm minute.
- Repeat step 3 to adjust the alarm minute.
- Press ALARM one last time or wait 10 seconds to save.
- To activate/deactivate the alarm, press the ALARM button repeatedly until the alarm icon appears/disappears on the display.
- When the alarm sounds, press the SNOOZE/LIGHT button (on top) to activate the snooze function. The alarm will sound again after approximately 5 minutes.
- To stop the alarm completely, press any other button on the back of the unit.
5.3. Temperature Unit Conversion (°C/°F)
To switch between Celsius (°C) and Fahrenheit (°F), press the UP button during normal display mode.
5.4. Weather Forecast Display
The weather station predicts weather conditions for the next 12-24 hours based on barometric pressure changes. The forecast icons include sunny, partly cloudy, cloudy, rainy, and snowy. These are predictions and may not always reflect current conditions.
5.5. Sunrise and Sunset Display
The device displays sunrise and sunset times. Ensure the correct time zone and location settings are configured for accurate readings (if applicable, refer to advanced settings in a full manual).
5.6. HEAT/DEW Point
Press the HEAT/DEW button to cycle through Heat Index and Dew Point displays, providing additional environmental data.
6. Maintenance
- Clean the device with a soft, damp cloth. Do not use abrasive cleaners or solvents.
- Avoid exposing the main unit to direct sunlight, extreme temperatures, or moisture.
- Replace batteries promptly when the low battery indicator appears to ensure continuous operation and prevent leakage.
- If the device will not be used for an extended period, remove the batteries from both units.
7. Troubleshooting
- No outdoor temperature/humidity display:
- Check if batteries are correctly installed in the outdoor sensor.
- Ensure the outdoor sensor is within range of the main unit.
- Try repositioning the sensor or main unit to reduce interference.
- Re-sync the sensor by removing and reinserting batteries in both units, then power on the main unit first. - Inaccurate readings:
- Ensure the outdoor sensor is not in direct sunlight or near heat sources.
- Verify that the main unit is not placed near heat-emitting appliances. - Display is dim or blank:
- Replace batteries in the main unit.
- Ensure the USB power cable is securely connected if using external power.
8. Specifications
| Model | DG-TH8988 |
| Indoor Temperature Range | 0 °C ~ 50 °C (32 °F ~ 122 °F) |
| Outdoor Temperature Range | -40 °C ~ 60 °C (-40 °F ~ 140 °F) |
| Temperature Accuracy | ±1 °C |
| Main Unit Power | 3 x AAA batteries (not included) or USB power cable |
| Outdoor Sensor Power | 2 x AA batteries (not included) |
| Display Type | LCD |
| Connectivity Technology | Wireless (Sensor), USB (Main Unit Power) |
| Dimensions (Main Unit) | Approx. 20.8 cm (L) x 13.5 cm (H) x 1 cm (D) |

Image 8.1: Front view of the weather station with key dimensions indicated: 20.8cm length, 13.5cm height, and 1cm depth.
9. Warranty and Support
For warranty information or technical support, please refer to the retailer or manufacturer's official website where you purchased the product. Keep your purchase receipt as proof of purchase.


