
1. Introduction
Thank you for choosing the Crown CT19007 Corded Electric Heat Gun. This manual provides essential information for the safe operation, maintenance, and troubleshooting of your new tool. Please read this manual thoroughly before first use and keep it for future reference.
The Crown CT19007 is a versatile corded electric heat gun designed for various applications requiring concentrated heat, such as paint stripping, bending plastic pipes, thawing frozen pipes, and shrinking heat-shrink tubing.
2. Safety Instructions
WARNING: Read all safety warnings, instructions, illustrations, and specifications provided with this power tool. Failure to follow all instructions listed below may result in electric shock, fire, and/or serious injury.
- Always wear appropriate personal protective equipment, including safety glasses, gloves, and a respirator if working with materials that produce fumes.
- Ensure the work area is well-ventilated to prevent the accumulation of hazardous fumes.
- Do not point the heat gun at yourself, other people, or flammable materials.
- Keep children and bystanders away while operating the heat gun.
- Allow the heat gun to cool down completely before storing it.
- Never block the air intake or output nozzles.
- Do not use the heat gun in damp or wet conditions.
- Always unplug the tool from the power source before making any adjustments, changing accessories, or storing it.
3. Product Overview
Familiarize yourself with the components of your Crown CT19007 Heat Gun.
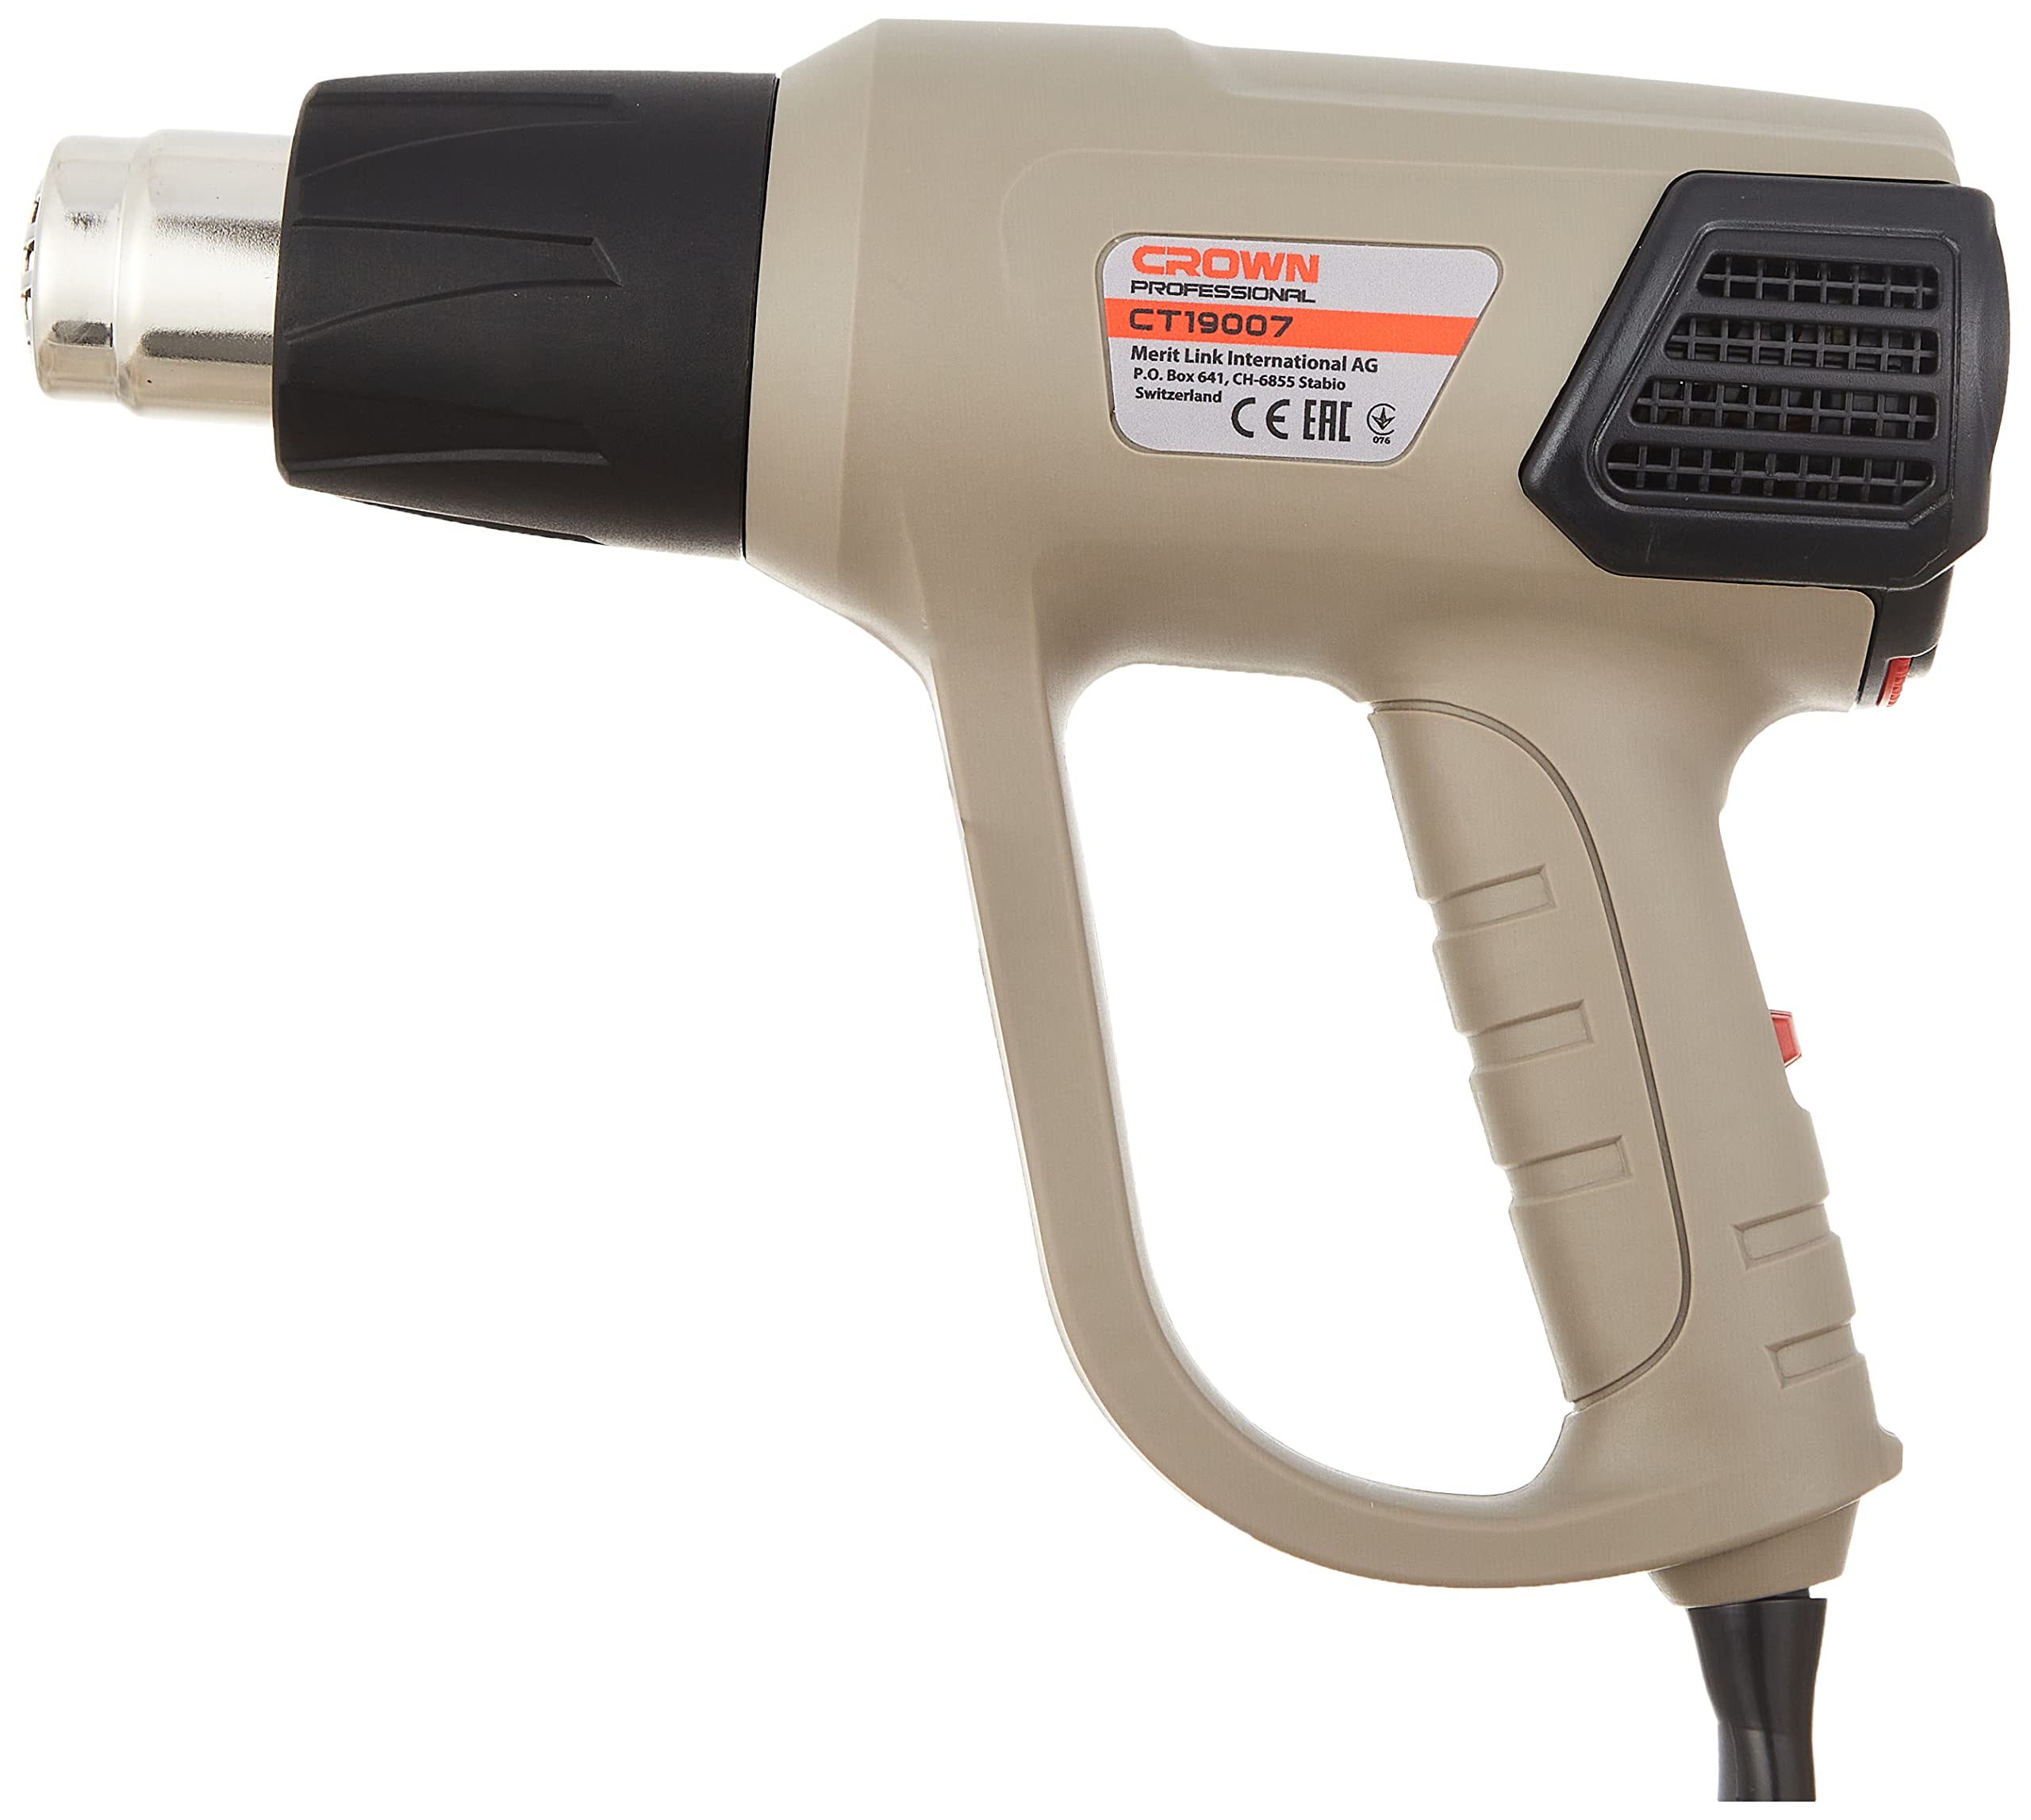
Figure 1: Crown CT19007 Heat Gun. This image shows the main body of the heat gun, including the handle, air outlet, and control panel.
Included Accessories:

Figure 2: Scraper Tool. A hand tool with a metal blade and ergonomic handle, used for removing paint or other materials after heating.
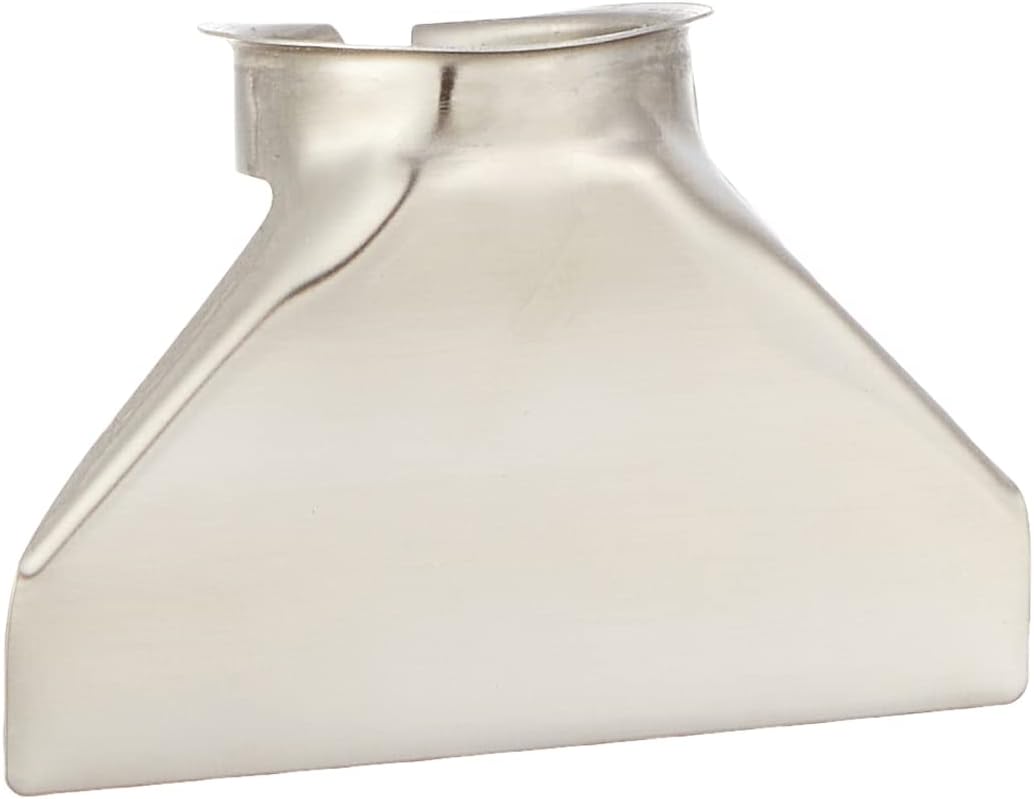
Figure 3: Wide Nozzle Attachment. A flat, wide metal nozzle designed to distribute heat over a larger surface area.

Figure 4: Deflector Nozzle Attachment. A curved metal nozzle used to deflect heat around corners or protect sensitive surfaces.
4. Setup
- Unpacking: Carefully remove the heat gun and all accessories from the packaging. Inspect for any damage that may have occurred during transit.
- Power Connection: Ensure the heat gun is switched off before plugging it into a suitable power outlet. The Crown CT19007 operates on a standard corded electric power supply.
- Attaching Nozzles: Select the appropriate nozzle for your application. Align the nozzle with the heat gun's air outlet and push it firmly into place. Ensure it is securely attached before operation.
- Work Area Preparation: Prepare your work area by ensuring it is clean, well-lit, and free of flammable materials. Secure the workpiece if necessary.
5. Operating Instructions
Follow these steps for safe and effective operation of your heat gun:
- Power On: Plug the heat gun into a suitable power outlet. Turn the power switch to the desired setting.
- Adjusting Airflow: The CT19007 features 3 airflow speed settings. Select the appropriate speed for your task using the airflow control switch.
- Adjusting Temperature: This heat gun offers 9 temperature settings. Use the temperature control dial to select the required heat level. Start with a lower setting and gradually increase if more heat is needed.
- Application: Hold the heat gun at a safe distance from the workpiece, typically 5-10 cm (2-4 inches), and move it continuously to ensure even heat distribution and prevent scorching.
- Cool Down: After use, switch the heat gun off and allow it to cool down completely before storing. Some models may have a cool-down setting that blows cool air to protect components.
Tip: For paint stripping, heat a small area until the paint softens and bubbles, then remove it with the scraper tool. Avoid overheating the surface.
6. Maintenance
Regular maintenance ensures the longevity and optimal performance of your heat gun.
- Cleaning: After each use, ensure the heat gun is unplugged and cool. Wipe the exterior with a damp cloth. Clean the air intake and output nozzles to remove any debris or blockages. Do not use solvents or abrasive cleaners.
- Storage: Store the heat gun in a dry, secure location, out of reach of children. Ensure the power cord is neatly coiled and not kinked.
- Inspection: Periodically inspect the power cord for any signs of damage, such as cuts or fraying. If damage is found, have it repaired by a qualified technician before further use.
7. Troubleshooting
| Problem | Possible Cause | Solution |
|---|---|---|
| Heat gun does not turn on. | No power supply; faulty power cord; internal fault. | Check power outlet and cord. If problem persists, seek professional service. |
| Insufficient heat output. | Low temperature setting; blocked air vents. | Increase temperature setting. Clean air intake and output nozzles. |
| Excessive smoke or burning smell. | Overheating; foreign material inside. | Immediately turn off and unplug. Allow to cool. Inspect for blockages. If smell persists, discontinue use and seek service. |
If you encounter problems not listed here or if solutions do not resolve the issue, contact Crown customer support or a qualified service technician.
8. Specifications
- Brand: Crown
- Model Number: CT19007
- Type: Heat Gun
- Power Source: Corded Electric
- Material: Metal
- Color: Multi
- Item Weight: 5 Kilograms
- Product Dimensions: 9.2 x 25 x 28.6 cm
- Batteries Required: No
- Date First Available: January 19, 2020
9. Warranty and Support
For warranty information and customer support, please refer to the documentation provided with your purchase or visit the official Crown website. Keep your proof of purchase for any warranty claims.
For technical assistance or service, please contact Crown customer service through their official channels.

