Introduction
This manual provides essential information for the safe and efficient operation, installation, and maintenance of your Hisense WSA1102PD Semi-Automatic Washing Machine. Please read these instructions thoroughly before using the appliance and retain them for future reference.
Important Safety Information
To reduce the risk of fire, electric shock, or injury, observe the following basic precautions:
- Ensure the washing machine is properly grounded.
- Do not operate the machine with a damaged power cord or plug.
- Keep children away from the appliance during operation.
- Do not wash items that are soiled with flammable liquids.
- Unplug the machine before cleaning or performing any maintenance.
- Do not install or store the appliance where it will be exposed to the weather or freezing temperatures.
Product Components
Familiarize yourself with the main parts of your Hisense WSA1102PD washing machine.

Figure 1: Full view of the Hisense WSA1102PD Semi-Automatic Washing Machine, showcasing its dual-tub design.
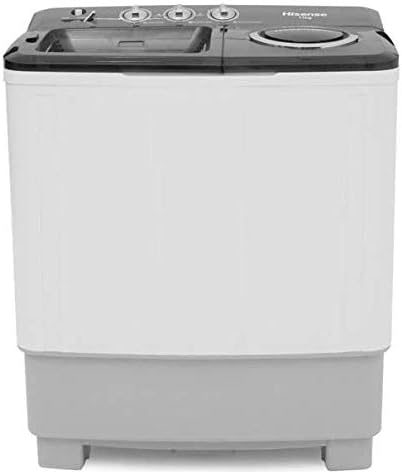
Figure 2: Close-up of the control panel with wash timer, wash selector, and spin timer dials.
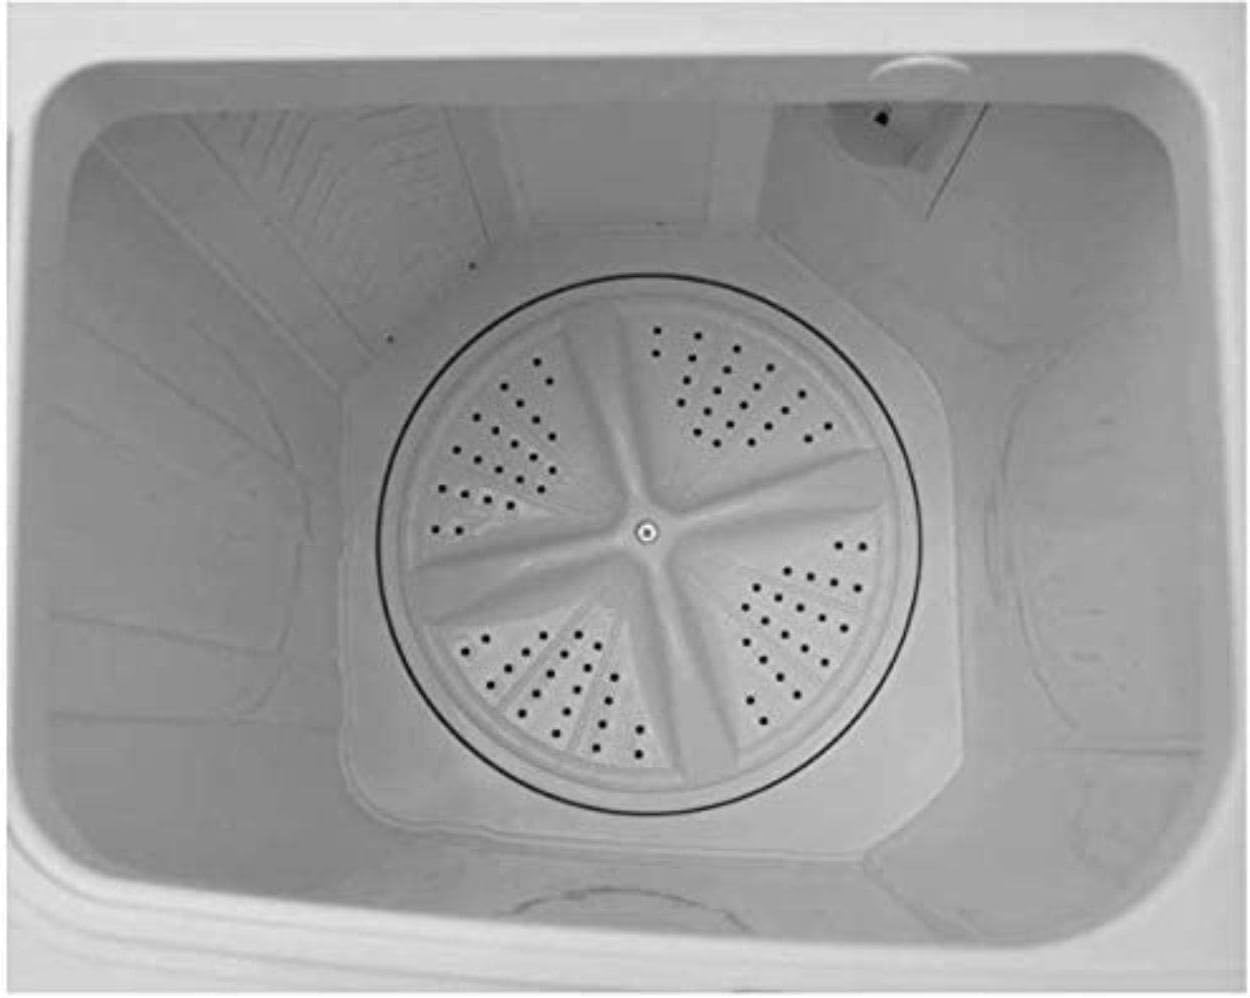
Figure 3: Interior view of the wash tub, featuring the pulsator at the bottom.

Figure 4: Interior view of the spin tub, designed for efficient water extraction.
Setup and Installation
1. Unpacking
Carefully remove all packaging materials. Inspect the machine for any damage incurred during transit. Keep packaging materials away from children.
2. Placement
- Place the washing machine on a firm, level surface to prevent vibration and noise during operation.
- Ensure adequate ventilation around the machine. Do not block air vents.
- Avoid direct sunlight or locations with high humidity.
3. Water Inlet Connection
Connect the water inlet hose to a suitable water tap. Ensure the connection is secure to prevent leaks. The machine uses a single water inlet for both tubs.
4. Drain Hose Placement
Position the drain hose to allow for proper water drainage. Ensure it is not kinked or obstructed. The drain hose should be placed lower than the machine's base for gravity drainage.
5. Power Connection
Plug the power cord into a grounded electrical outlet. Ensure the voltage matches the specifications of the washing machine.
Operating Instructions
1. Preparing Laundry
- Sort laundry by fabric type, color, and degree of soiling.
- Empty pockets and close zippers or hooks to prevent damage.
2. Washing Process
- Load Laundry: Place sorted laundry into the wash tub, ensuring not to exceed the 11 kg capacity.
- Add Water: Fill the wash tub with water to the desired level.
- Add Detergent: Add the appropriate amount of detergent according to the manufacturer's instructions and load size.
- Select Wash Program: Turn the "Wash Selector" dial to choose the desired wash setting (e.g., Gentle, Normal, Strong).
- Set Wash Timer: Turn the "Wash Timer" dial to set the washing duration (maximum 15 minutes). The machine will start automatically.
- Drain Water: Once the wash cycle is complete, set the "Wash Selector" dial to "Drain" to empty the water from the wash tub.
3. Rinsing Process
After draining the wash water, you can rinse clothes in the wash tub by refilling with clean water and running a short wash cycle, or transfer them to the spin tub for rinse spinning.
4. Spin Drying Process
- Load Spin Tub: Transfer washed and rinsed laundry to the spin tub, ensuring even distribution and not exceeding the 5.5 kg capacity.
- Close Lid: Securely close the spin tub lid.
- Set Spin Timer: Turn the "Spin Timer" dial to set the desired spin duration (maximum 5 minutes). The machine will start spinning.
- Remove Laundry: Once the spin cycle is complete, open the lid and carefully remove the spun laundry.
Maintenance and Care
Regular maintenance ensures the longevity and optimal performance of your washing machine.
1. Cleaning the Tubs
- After each use, wipe the interior of both tubs with a clean, damp cloth to remove any detergent residue or lint.
- For deeper cleaning, use a mild, non-abrasive cleaner. Rinse thoroughly.
2. Cleaning the Lint Filter
Locate the lint filter (usually inside the wash tub). Remove it, clean off accumulated lint under running water, and reinsert it properly.
3. Exterior Cleaning
Wipe the exterior surfaces with a soft, damp cloth. Avoid using harsh chemicals or abrasive cleaners that could damage the finish.
4. Storage
If storing the machine for an extended period, ensure both tubs are completely dry. Disconnect the water inlet hose and power cord. Store in a dry, well-ventilated area.
Troubleshooting Guide
Before contacting customer service, refer to the following table for common issues and their solutions.
| Problem | Possible Cause | Solution |
|---|---|---|
| Machine does not start | Power cord unplugged; Power outage; Lid not closed properly (spin tub) | Check power connection; Check circuit breaker; Ensure lid is fully closed. |
| Water does not drain | Drain hose kinked or blocked; Drain selector not set to "Drain" | Straighten drain hose, clear blockages; Set wash selector to "Drain". |
| Excessive vibration/noise | Machine not level; Uneven load in spin tub; Foreign objects in tub | Adjust leveling feet; Redistribute laundry evenly; Check for and remove foreign objects. |
| Water leaks | Water inlet hose loose; Drain hose improperly positioned; Overfilling | Tighten hose connections; Ensure drain hose is secure; Do not exceed maximum water level. |
Specifications
- Model: Hisense WSA1102PD
- Type: Semi-Automatic Washing Machine
- Wash Capacity: 11 kg
- Spin Capacity: 5.5 kg
- Dimensions (D x W x H): 53 cm x 25 cm x 104 cm
- Weight: 19 kg
- Material: Plastic
- Controls: Button/Dial
- Special Features: 2 Independent Motors, High Efficiency Storm Wash System, Air Drying, Reversible Impeller, Water Saving
- Access Location: Top Load
- Color: Black

Figure 5: Dimensional drawing of the washing machine with approximate measurements.
Warranty and Customer Support
Warranty Information
This Hisense WSA1102PD washing machine comes with a 1-year warranty on the entire unit and a 3-year warranty on the motor, effective from the date of purchase. This warranty covers manufacturing defects under normal use. Please retain your proof of purchase for warranty claims.
Customer Support
For technical assistance, service requests, or questions regarding your warranty, please contact Hisense customer support. Refer to the official Hisense website or your purchase documentation for the most current contact information in your region.


