
Introduction
This manual provides detailed instructions for the installation and use of your Elite Audio Professional 0 Gauge OFC Amplifier Wiring Kit (EA-PROK0). This kit is designed to provide efficient power delivery and clear signal transfer for your car audio amplifier, supporting up to 5000 watts of maximum power. Please read all instructions carefully before beginning installation.
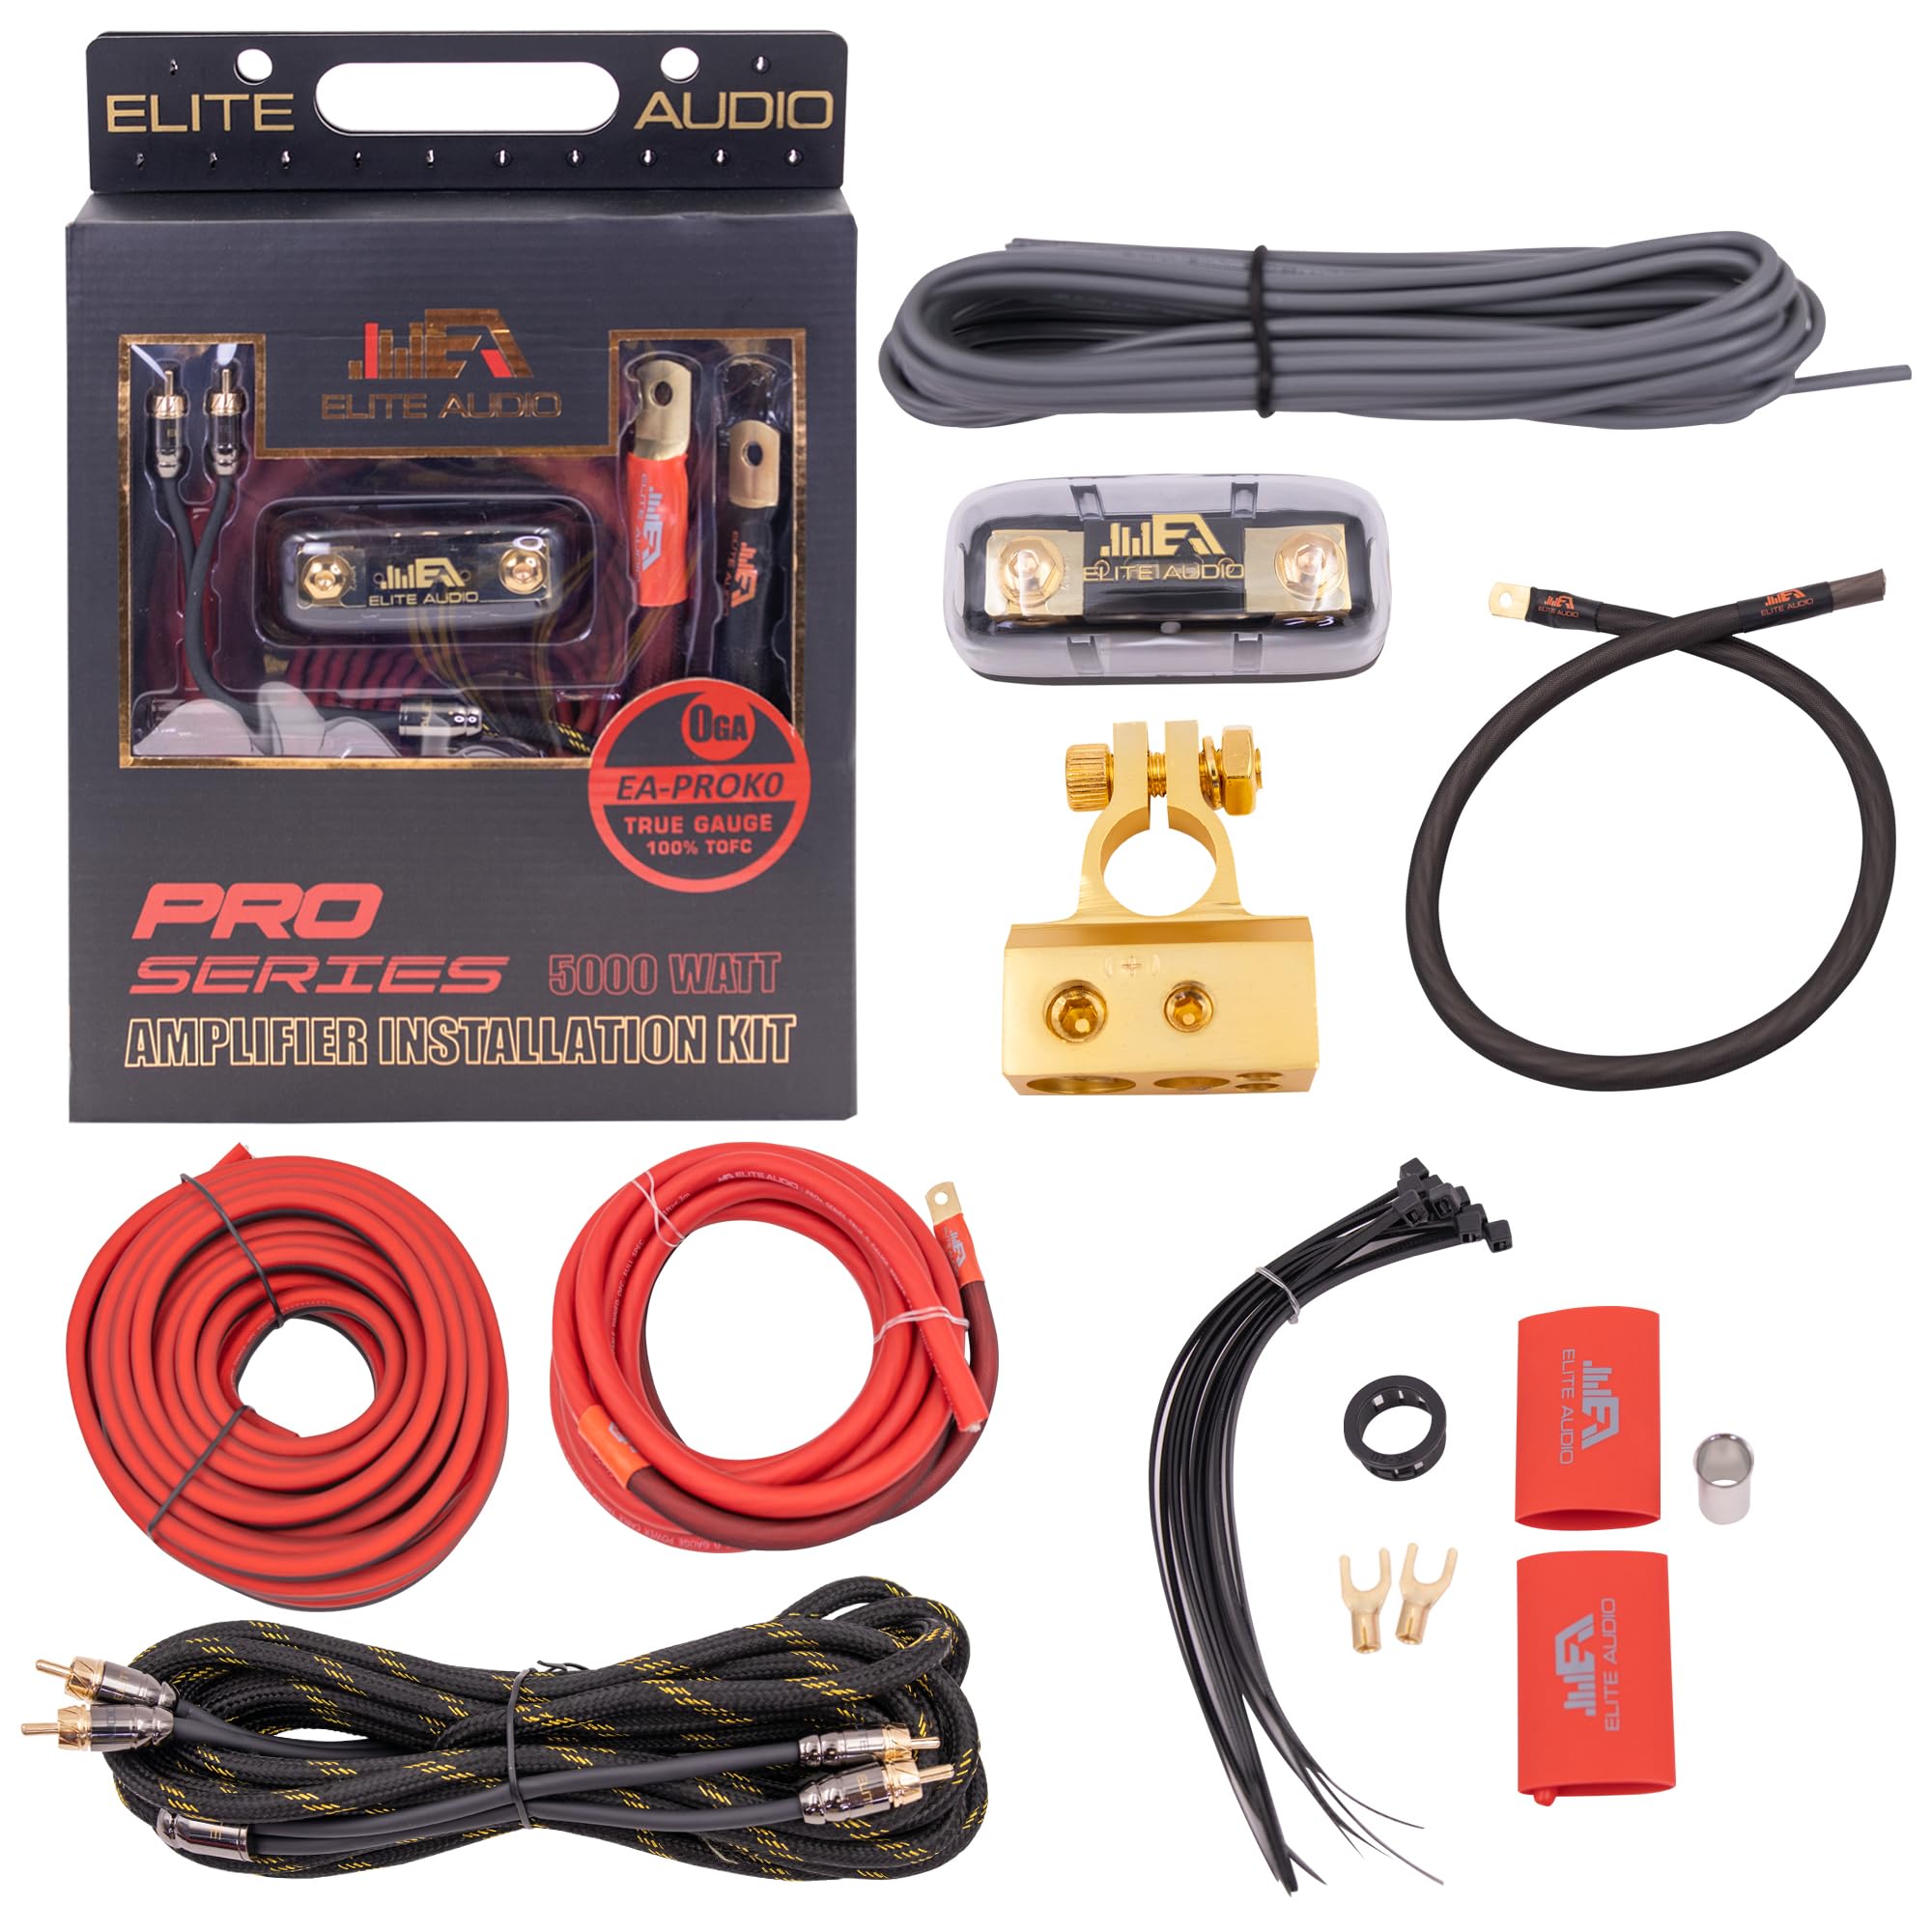
Image: Overview of the Elite Audio Professional 0 Gauge OFC Amplifier Wiring Kit.
Kit Components
The Elite Audio Professional 0 Gauge OFC Amplifier Wiring Kit includes the following components:
- 17 feet of 0 Gauge 100% Tinned Copper Power Cable
- 3 feet of 0 Gauge 100% Tinned Copper Ground Cable
- 20 feet of 12 Gauge 100% Tinned Copper Speaker Wire
- 20 feet of 2-Channel 100% Tinned OFC RCA Interconnect Cables
- 17 feet of Remote Turn-On Wire
- Solid Brass ANL Fuse Holder with ANL Fuse
- Brass Copper Matte Gold Finished Battery Terminal with 4 inputs (0ga(1), 4ga(1), 8ga(2))
- Quad Brass Connectors
- 0 GA Ring Copper Terminals
- Ferrules
- Heat Shrink Tubes
- Butt Connectors
- Spade Terminals
- Zip Ties
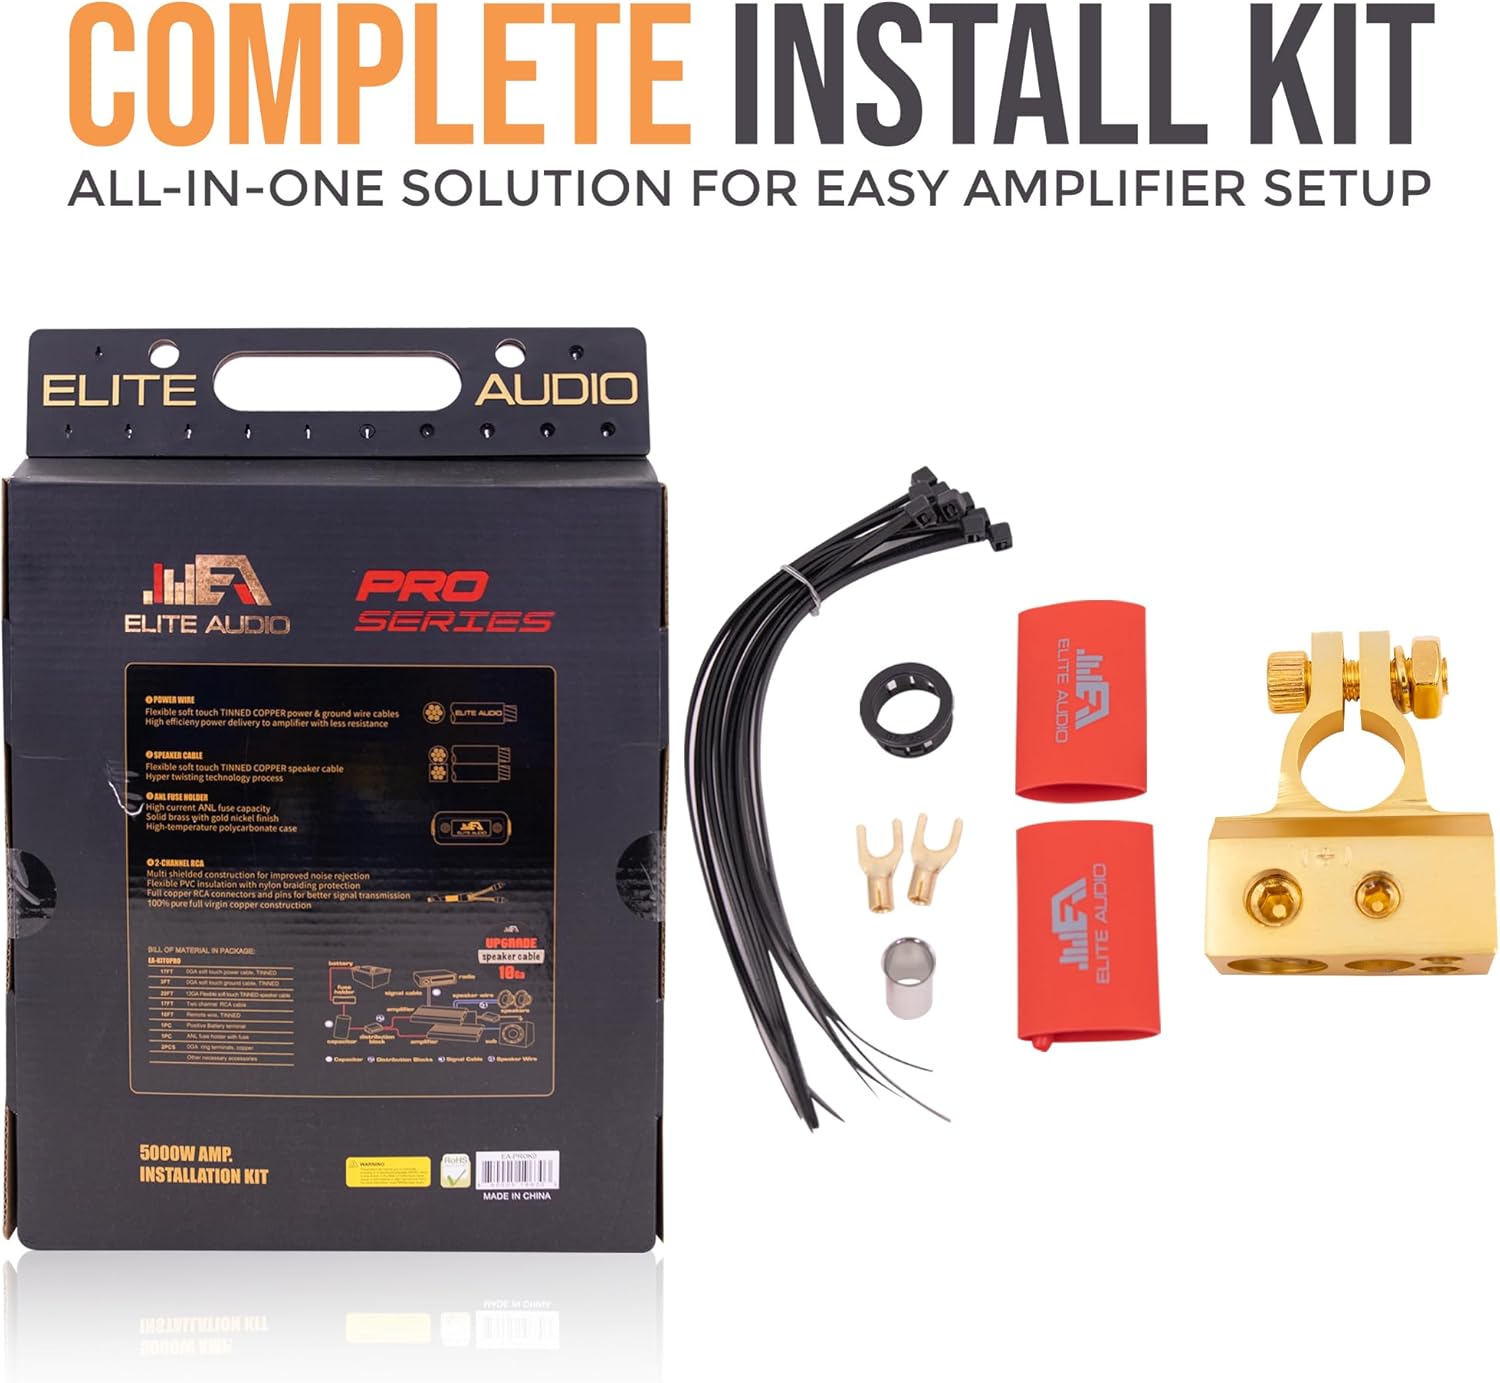
Image: All components included in the Elite Audio Professional 0 Gauge OFC Amplifier Wiring Kit.
Installation Guide
Proper installation is crucial for optimal performance and safety. It is recommended that installation be performed by a qualified professional. Always disconnect the vehicle's battery before starting any electrical work.
- Power Cable Installation: Connect the 17-foot 0-gauge tinned copper power cable to the positive terminal of your vehicle's battery using the provided brass copper matte gold finished battery terminal. Route the cable safely through the firewall to the amplifier location, ensuring it is protected from sharp edges and heat. Connect the other end to the ANL fuse holder, then to your amplifier's power input.
- Ground Cable Installation: Connect the 3-foot 0-gauge tinned copper ground cable from your amplifier's ground terminal to a clean, unpainted metal surface on the vehicle's chassis. Ensure a solid, secure connection for effective grounding.
- ANL Fuse Holder: Install the solid brass ANL fuse holder in-line with the power cable, close to the battery (within 18 inches is recommended). This protects your audio equipment and vehicle's electrical components from power surges.
- RCA Interconnect Cables: Connect the 2-channel OFC RCA cables from your head unit's RCA outputs to your amplifier's RCA inputs. These cables are designed to prevent EMI and RFI signal interference for high-quality audio transfer.
- Speaker Wire: Use the 12-gauge tinned copper speaker wire to connect your amplifier's speaker outputs to your speakers. Ensure correct polarity (+ to + and - to -) for optimal sound.
- Remote Turn-On Wire: Connect the remote turn-on wire from your head unit's remote output to your amplifier's remote input. This wire signals the amplifier to turn on and off with your head unit.
- Final Connections and Organization: Use the included heat shrink tubes, butt connectors, spade terminals, and zip ties to secure and organize all wiring for a clean, professional installation. Double-check all connections before reconnecting the battery.

Image: The 17-foot 0 Gauge Power Cable, designed for efficient power transfer.

Image: The 3-foot Power and Ground Wire, ensuring stable power delivery.

Image: The Mini ANL Fuse Holder, providing reliable circuit protection.

Image: The 2-Channel RCA Interconnect Cables, ensuring clear signal transfer.

Image: The 20-foot Speaker Wire, durable and flexible for optimal sound quality.

Image: The 17-foot Remote Wire, simplifying car audio system setup.
Installation Video Guide
Video: Elite Audio PRMK Series Amplifier Kits - A visual guide to the components and their quality features, relevant for installation.
Specifications
| Model | EA-PROK0 |
| Gauge | 0 Gauge |
| Material Type | 100% Oxygen Free Tinned Copper |
| Maximum Output Power | 5000 Watts |
| Number of Channels | 2 (for RCA interconnects) |
| Power Cable Length | 17 feet |
| Ground Cable Length | 3 feet |
| Speaker Wire Length | 20 feet |
| RCA Cable Length | 20 feet |
| Fuse Type | ANL |
| Battery Terminal Inputs | 0ga(1), 4ga(1), 8ga(2) |
Maintenance
To ensure the longevity and optimal performance of your Elite Audio wiring kit, periodic maintenance is recommended:
- Inspect Connections: Regularly check all power, ground, and signal connections for tightness and corrosion. Loose connections can lead to power loss or signal degradation.
- Cable Integrity: Examine cables for any signs of wear, fraying, or damage to the insulation. Replace any damaged cables immediately to prevent short circuits or electrical hazards.
- Fuse Check: Periodically inspect the ANL fuse in its holder. If the fuse is blown, replace it with a fuse of the same amperage rating to protect your system.
- Cleanliness: Keep the fuse holder and battery terminals clean and free of dirt, dust, and moisture.
Troubleshooting
If you encounter issues with your car audio system after installing the wiring kit, consider the following common troubleshooting steps:
- No Power to Amplifier: Check the ANL fuse. Ensure the power and ground cables are securely connected to the battery, chassis, and amplifier. Verify the remote turn-on wire is connected and receiving a signal from the head unit.
- No Sound: Confirm RCA cables are correctly connected to both the head unit and amplifier. Check speaker wire connections for correct polarity and secure contact. Ensure amplifier settings (gain, crossover) are properly configured.
- Distorted Sound: This can be caused by improper gain settings on the amplifier, damaged RCA cables, or loose speaker wire connections. Inspect all signal paths and adjust amplifier settings.
- Engine Noise/Whine: Ensure all ground connections are solid and clean. Route power cables separately from RCA and speaker cables to minimize interference. Check for proper grounding of the head unit.
If problems persist, consult a professional car audio installer.
Warranty and Support
Elite Audio products are manufactured to high standards and are backed by a manufacturer's warranty. For specific warranty details, product support, or technical assistance, please refer to the warranty card included with your purchase or visit the official Elite Audio website. You may also contact your retailer for support.


