
1. Introduction
This manual provides essential instructions for the safe and efficient operation, setup, and maintenance of your Scheppach PLM1800 Thickness Planer. Please read this manual thoroughly before using the machine to ensure proper handling and to prevent injury or damage.
The Scheppach PLM1800 is a powerful 1500W thickness planer designed for precise planing of various wood types. It features a 48mm diameter cutter block with two high-speed steel blades, offering a maximum planing width of 330mm and a maximum planing height of 152mm.
2. Safety Instructions
Always observe general safety precautions when operating power tools. Failure to do so can result in serious injury.
- Personal Protective Equipment: Always wear safety glasses, hearing protection, and a dust mask. Use appropriate gloves when handling blades or rough wood.
- Work Area: Ensure your work area is clean, well-lit, and free from obstructions. Keep children and bystanders away from the machine during operation.
- Electrical Safety: Ensure the power supply matches the machine's requirements. Do not operate the machine in damp or wet conditions. Always disconnect power before making adjustments or performing maintenance.
- Machine Stability: Securely mount the planer to a stable workbench to prevent movement during operation.
- Material Handling: Never plane wood containing nails, screws, or other foreign objects. Ensure wood is free of excessive knots or defects that could cause kickback.
- Emergency Stop: Familiarize yourself with the location and operation of the emergency stop button.
3. Product Overview and Components
The Scheppach PLM1800 Thickness Planer is designed for efficient wood surfacing. Key components include the motor, cutter block, infeed and outfeed tables, height adjustment crank, and dust extraction port.

Figure 1: Scheppach PLM1800 Thickness Planer, showing its compact and robust design.

Figure 2: A user feeding a wooden board into the planer for thicknessing.
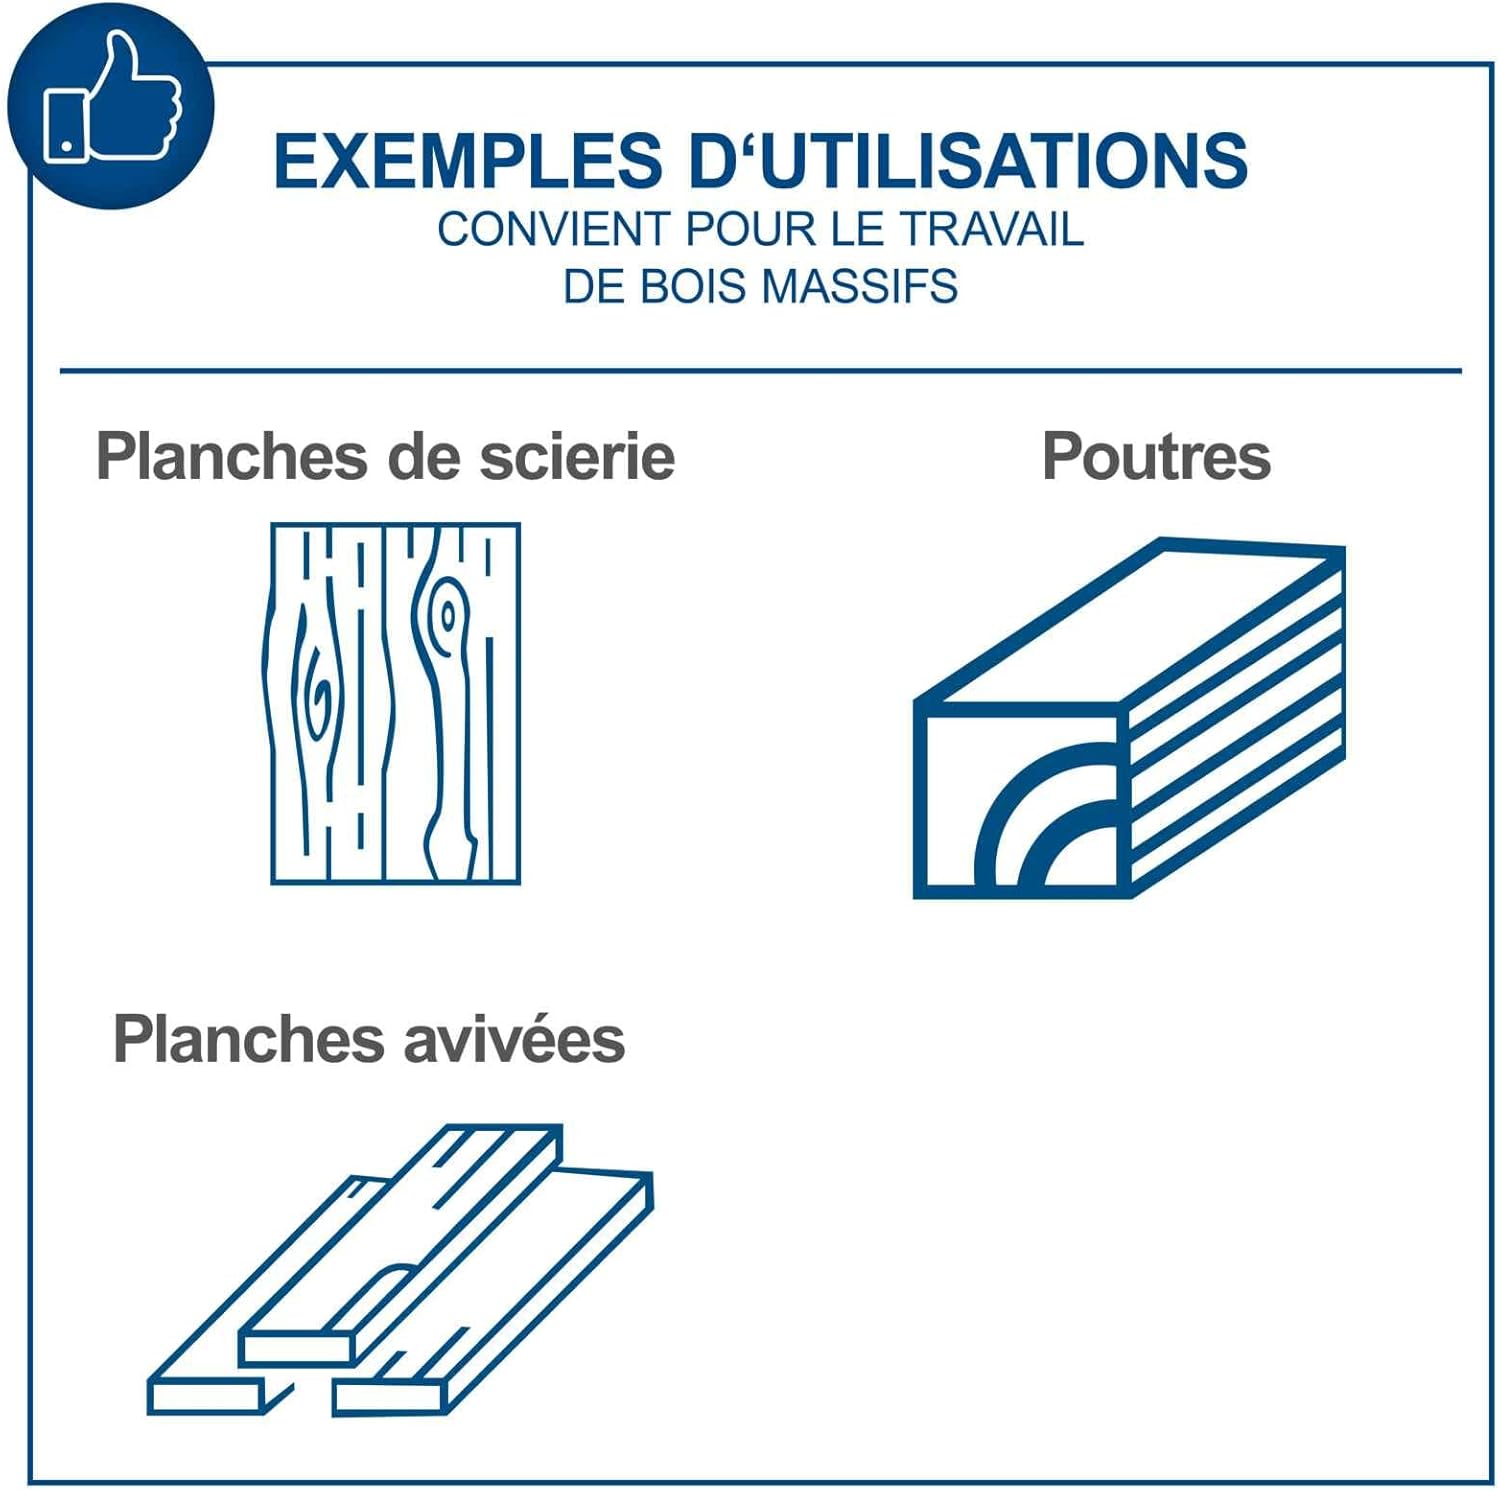
Figure 3: Illustrations showing various types of solid wood suitable for planing, including sawn boards, beams, and planed boards.

Figure 4: Manual feed rollers facilitate effortless handling of workpieces.

Figure 5: The PLM1800 precisely planes wood up to 330 x 152 mm in cross-section.

Figure 6: The infeed and outfeed table extensions are ideal for planing long workpieces.
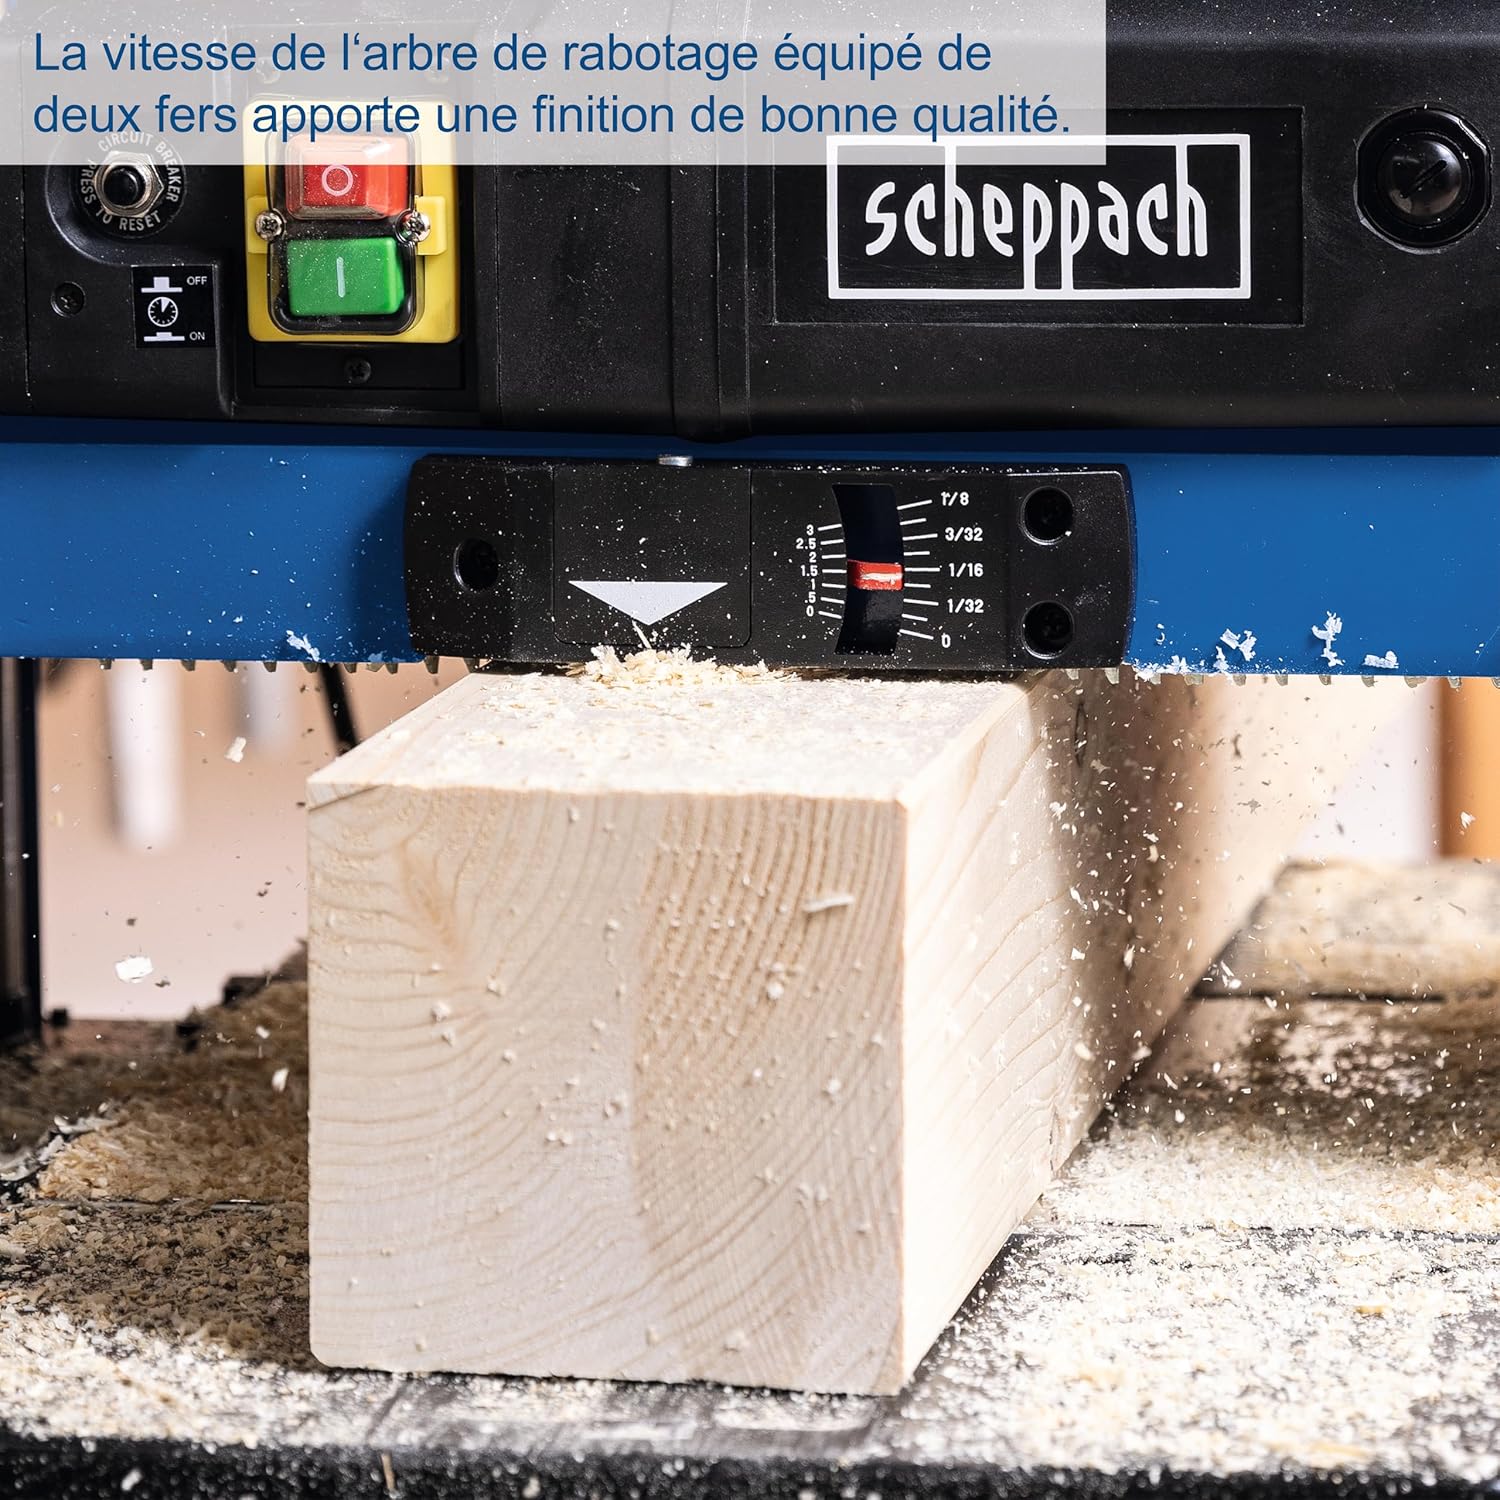
Figure 7: The high-speed cutter block with two blades ensures a high-quality finish.

Figure 8: Convenient height adjustment via the hand crank.

Figure 9: Diagram illustrating the 2-blade cutter block and automatic feed mechanism.
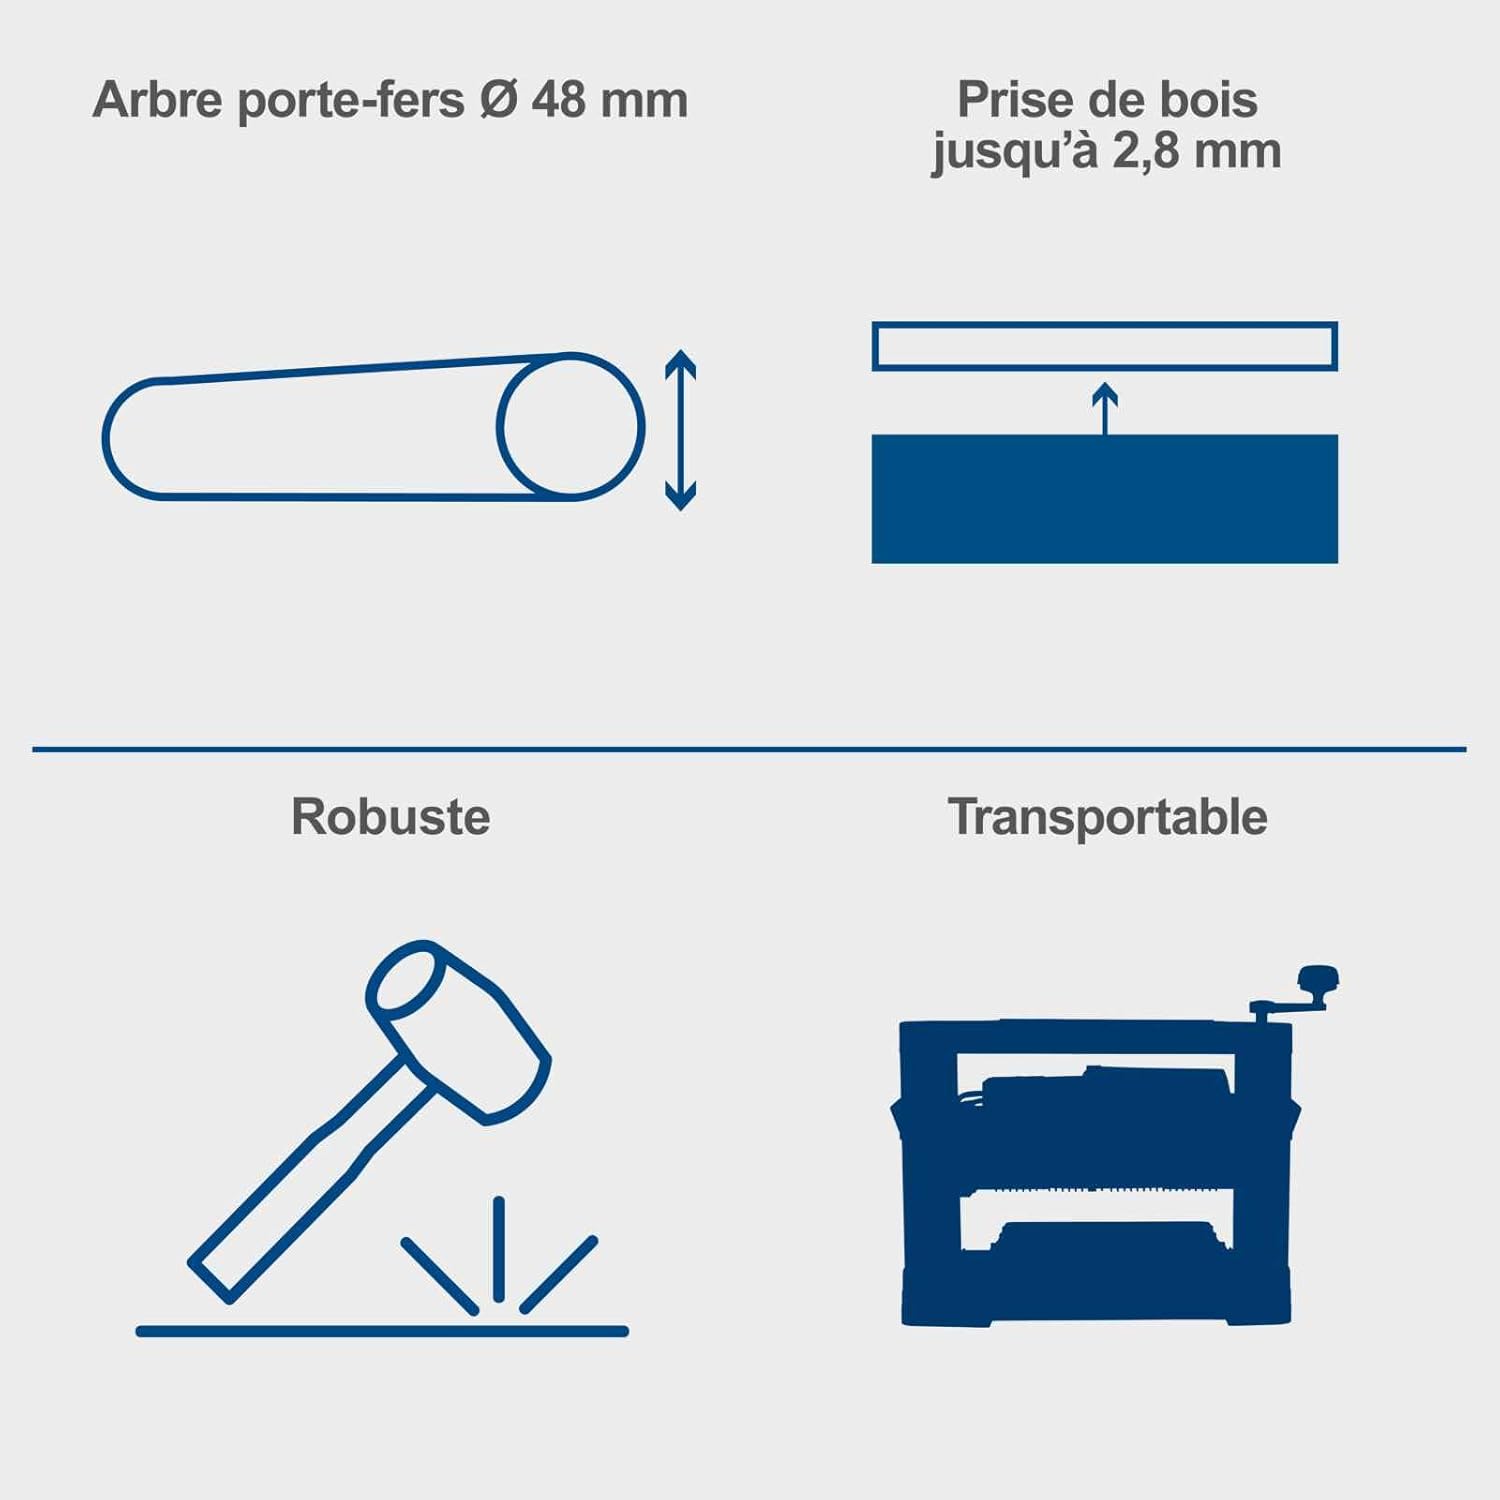
Figure 10: Diagram highlighting the 48mm cutter block diameter, maximum 2.8mm depth of cut, and the machine's robust and portable design.
4. Setup
- Unpacking: Carefully remove the planer from its packaging. Inspect for any shipping damage.
- Mounting: Securely fasten the planer to a sturdy workbench using appropriate bolts and washers. Ensure the workbench can support the machine's weight (30.5 kg) and withstand operational vibrations.
- Table Extensions: Attach the infeed and outfeed table extensions if not already installed. Ensure they are level with the main planing bed.
- Dust Extraction: Connect a suitable dust extraction system to the dust port. Proper dust collection is crucial for safety and machine performance.
- Power Connection: Plug the machine into a grounded electrical outlet that meets the specified voltage and current requirements.
5. Operating Instructions
- Preparation: Ensure the workpiece is clean, free of debris, and has no metal inclusions.
- Adjusting Planing Height: Use the height adjustment crank (Figure 8) to set the desired planing thickness. Refer to the measurement scale for accuracy. For best results, take multiple shallow passes rather than one deep pass. The maximum depth of cut is 2.8mm per pass.
- Starting the Machine: Press the green 'ON' button to start the planer. Allow the motor to reach full speed before feeding material.
- Feeding Material: Carefully feed the workpiece into the infeed table, ensuring it is flat against the table. The automatic feed mechanism will pull the wood through the machine. Maintain a steady, even pressure.
- Receiving Material: Support the workpiece as it exits the outfeed table to prevent it from dropping and damaging the planed surface.
- Stopping the Machine: Press the red 'OFF' button to stop the planer. Disconnect from power when finished or before making adjustments.
6. Maintenance
Regular maintenance ensures the longevity and optimal performance of your planer.
- Cleaning: After each use, disconnect the power and clean the machine. Remove sawdust and chips from the tables, cutter block area, and dust port. Use compressed air for hard-to-reach areas.
- Blade Inspection and Replacement: Regularly inspect the planer blades for sharpness and damage. Dull or chipped blades can lead to poor finish and increased motor strain. Replace both blades simultaneously to maintain balance. Refer to the manufacturer's instructions for specific blade replacement procedures.
- Lubrication: Periodically lubricate moving parts as indicated in the full product manual (not provided here).
- Power Cord Inspection: Check the power cord for any signs of damage or wear.
7. Troubleshooting
This section addresses common issues you might encounter with your planer.
| Problem | Possible Cause | Solution |
|---|---|---|
| Machine does not start | No power supply; Emergency stop engaged; Overload protection tripped | Check power connection; Release emergency stop; Reset overload protection (if applicable) |
| Poor planing finish (e.g., ripples, tear-out) | Dull blades; Too deep a cut; Incorrect feed rate; Wood grain issues | Replace blades; Reduce depth of cut; Adjust feed rate; Plane with the grain |
| Wood jams or stops feeding | Too deep a cut; Excessive resin buildup on rollers; Foreign object in wood | Reduce depth of cut; Clean feed rollers; Inspect wood for obstructions |
| Excessive vibration or noise | Loose components; Unbalanced blades; Worn bearings | Check all fasteners; Ensure blades are correctly installed and balanced; Contact service for bearing issues |
8. Specifications
Technical specifications for the Scheppach PLM1800 Thickness Planer:
| Feature | Specification |
|---|---|
| Model | PLM1800 (SC-PLM1800) |
| Power | 1500 Watts |
| Cutter Block Diameter | 48 mm |
| Cutter Block Speed | 8500 min-1 |
| Number of Blades | 2 (High-Speed Steel) |
| Max. Planing Width | 330 mm |
| Max. Planing Height | 152 mm |
| Max. Depth of Cut | 2.8 mm |
| Feed Rate | 7.4 m/min |
| Table Dimensions (with extensions) | 330 x 630 mm |
| Product Dimensions (L x W x H) | 63 x 58 x 50 cm |
| Weight | 30.5 kg |
| Material | Metal (Cast Iron base) |
| Power Source | Corded Electric |
9. Warranty and Support
The Scheppach PLM1800 Thickness Planer comes with a 2-year manufacturer's warranty. Please retain your proof of purchase for warranty claims.
Spare parts for this model are available for a period of 7 years. For technical support, spare parts, or warranty service, please contact your authorized Scheppach dealer or visit the official Scheppach website for contact information.


