
Tiny Love PY420FGO
Tiny Love 6-in-1 Here I Grow Deluxe Playard Instruction Manual
Model: PY420FGO
Introduction
The Tiny Love 6-in-1 Here I Grow Deluxe Playard is designed to provide a versatile and safe environment for your baby from newborn to toddler stages. This multi-functional playard offers six modes of use, adapting to your child's developmental needs for both care and play.
Important Safety Information
Please read all instructions carefully before assembly and use of the Tiny Love 6-in-1 Here I Grow Deluxe Playard. Failure to follow these warnings and instructions could result in serious injury or death.
- Always keep the playard away from open flames, heaters, and other heat sources.
- Never leave your child unattended in the playard.
- Discontinue use of the bassinet feature when the infant begins to push up on hands and knees, or has reached 15 pounds, whichever comes first.
- Ensure all locking mechanisms are securely engaged before placing a child in the playard.
- Do not use this product if any parts are missing, damaged, or broken. Contact Tiny Love for replacement parts and instructional literature if needed.
- Only use the mattress/pad provided by the manufacturer. Never add a pillow, comforter, or another mattress for padding.
Parts List
Ensure all components are present before beginning assembly:
- Main Playard Frame
- Full Size Bassinet Insert
- Removable Changer
- Storage Organizer
- Adjustable & Removable Toy Arches (Gymini)
- Themed Mattress Pad
- Play Mat
- Developmental Toys (5 pieces)
- Travel Bag
- Instruction Manual (this document)

Setup Instructions
- Unpack the Playard: Remove the playard from its travel bag. Stand it upright and separate the legs slightly.
- Lock the Side Rails: Pull up on the center of each side rail until it locks into place. Ensure all four rails are rigid and locked.
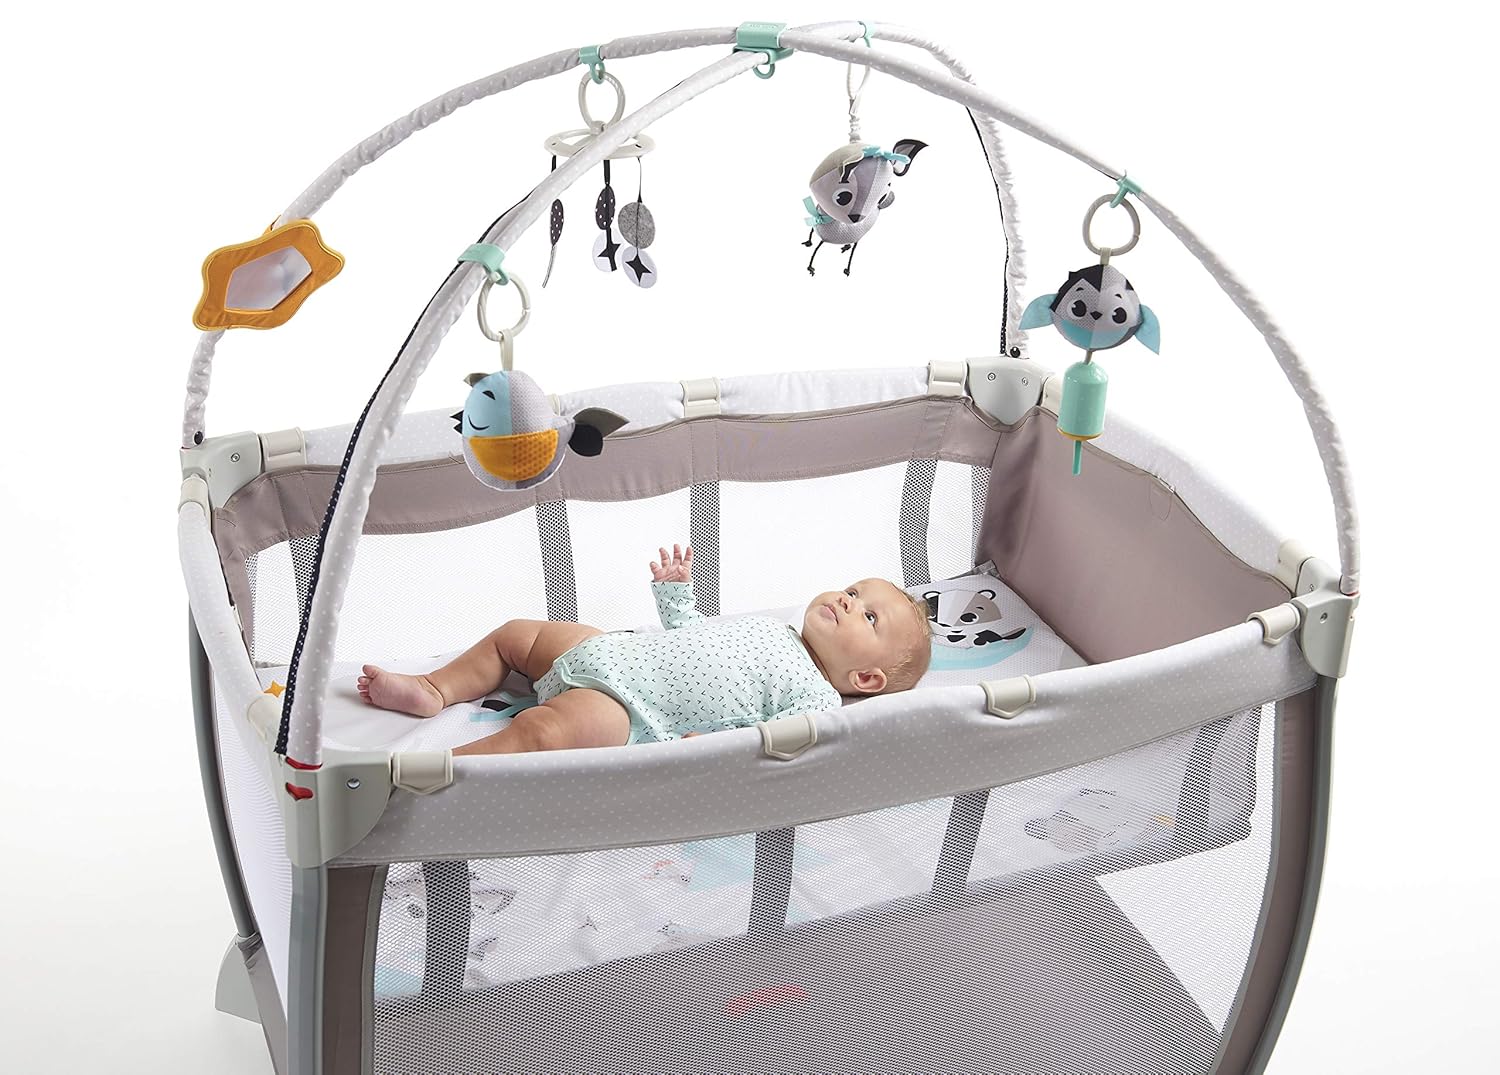
Figure 2: Demonstrates the process of locking the side rails into position during playard setup. - Push Down the Center Hub: Once all side rails are locked, push down the center hub of the playard floor until it lies flat and is secure.
- Install the Bassinet (Optional): If using the bassinet, place the bassinet insert into the playard and secure it according to the specific instructions provided with the bassinet.
- Attach the Changer (Optional): If using the changer, attach it to the top rails of the playard as indicated in the detailed instructions.
- Attach the Storage Organizer (Optional): Hook the storage organizer onto the side of the playard for easy access to essentials.
- Position the Toy Arches: The toy arches can be attached to the playard or used independently with the play mat. Secure them firmly.
Operating Modes
The Tiny Love 6-in-1 Here I Grow Deluxe Playard offers six distinct modes to support your child's development and your convenience.
3 Ways to Care:
- Spacious Changer: The removable changer provides a convenient and elevated surface for diaper changes. It includes a storage organizer for diapers, wipes, and other necessities.
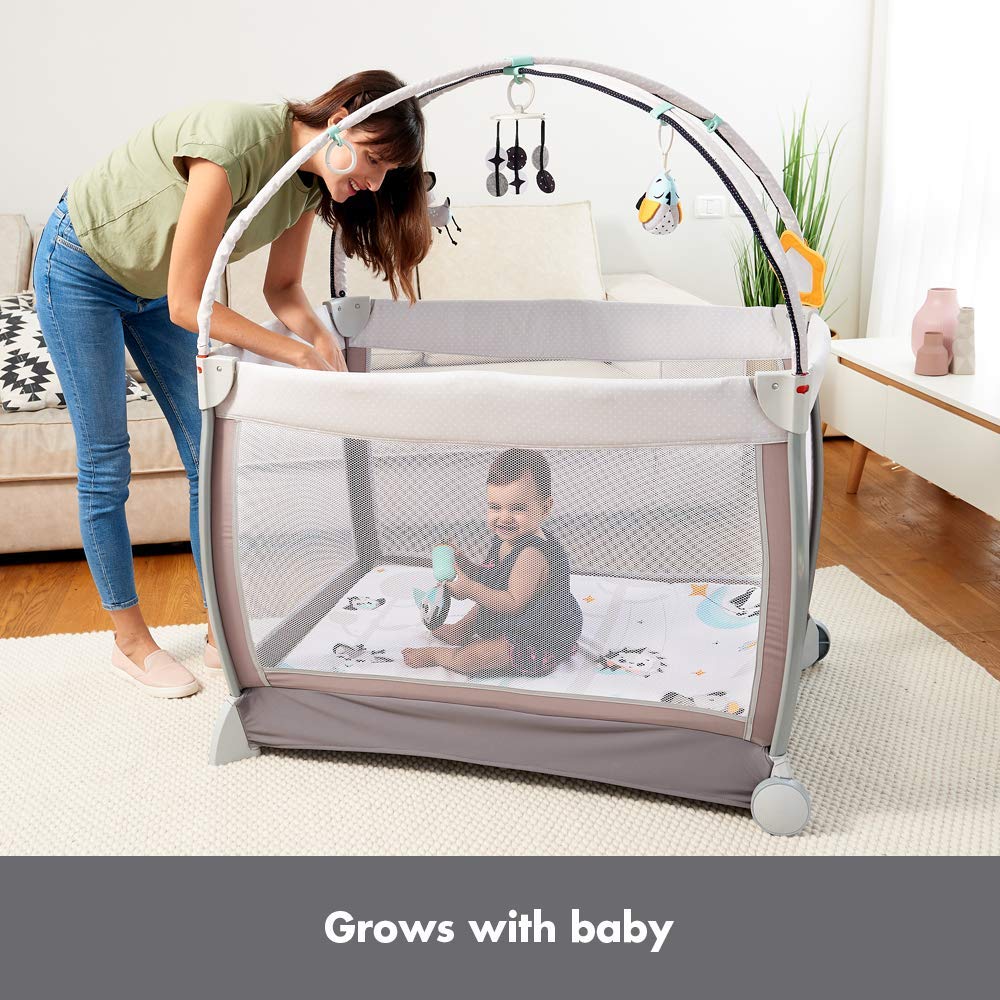
Figure 3: The spacious changer mode, ideal for convenient diaper changes, with an attached storage organizer. - Comfy Bassinet: For newborns, the full-size bassinet insert creates a cozy and elevated sleeping space. This mode is suitable until the infant reaches 15 pounds or begins to push up on hands and knees.

Figure 4: The comfy bassinet mode, offering a secure and elevated sleeping area for infants. - Roomy Play Yard: As your child grows, the playard provides a large, secure space for play and naps. The breathable mesh sides ensure visibility and airflow.

Figure 5: The roomy play yard mode, providing a safe and spacious area for older infants and toddlers to play.

3 Ways to Play:
- Play Bassinet: The bassinet can be used with the adjustable toy arches attached, providing stimulating developmental toys for newborns.
- Play Mat: The included play mat can be used independently on the floor with the toy arches for tummy time and interactive play. It features contrasting patterns and bold graphics to support early development.

Figure 7: The play mat with toy arches, offering an engaging environment for tummy time and sensory exploration. - Play Yard with Toy Arches: The toy arches can also be attached to the full playard, offering entertainment and developmental stimulation for older babies within the secure play space.

Key Features
- Developmental Toys: Includes 5 playful developmental toys designed to stimulate fine and gross motor skills, cognition, and senses.
- Developmental Guide: A comprehensive guide is included to help parents understand how each toy and activity mode contributes to the baby's development.

Figure 9: The included developmental guide, offering insights into child development through play. - Portability: The playard is designed for easy folding and comes with a travel bag for convenient transport and storage.

Figure 10: The playard in its folded state, ready for transport or compact storage. - Wheels: Equipped with wheels for easy movement around the home.
Maintenance and Care
- Cleaning Fabric Parts: Wipe fabric parts clean with a damp cloth and mild soap. Air dry. Do not bleach.
- Cleaning Frame: Wipe the metal and plastic parts of the frame with a soft, damp cloth.
- Storage: When not in use, store the playard in its travel bag in a cool, dry place.
- Regular Checks: Periodically check all fasteners, straps, and components to ensure they are secure and in good working order.
Troubleshooting
| Problem | Possible Cause | Solution |
|---|---|---|
| Playard does not lock open. | Side rails are not fully locked before pushing down the center hub. | Ensure all four side rails are pulled up and locked securely before pushing the center hub down. |
| Playard is difficult to fold. | Center hub is not pulled up before releasing side rails. | Pull the center hub up first, then release the side rail locking mechanisms. |
| Changer or bassinet not attaching securely. | Incorrect alignment or locking tabs not engaged. | Refer to the specific assembly instructions for the changer/bassinet to ensure correct attachment and locking. |
Specifications
| Feature | Detail |
|---|---|
| Product Dimensions | 34.1 x 13.5 x 11 inches |
| Item Model Number | PY420FGO |
| Maximum Weight Recommendation (Bassinet) | 15 Pounds |
| Material Type | Fabric, Metal/Plastic |
| Number Of Items | 1 |
| Batteries Required | No |
| Item Weight | 34.3 pounds |
| UPC | 884392942724 |
| Age Range (Description) | Newborn |
Official Product Videos
Tiny Love Here I Grow Play Yard Overview
Video 1: An official overview of the Tiny Love Here I Grow Play Yard, demonstrating its various features and modes of use. This video highlights the product's versatility and design.
Warranty and Support
For warranty information, replacement parts, or customer support, please refer to the contact details provided in the product packaging or visit the official Tiny Love website. Keep your purchase receipt for warranty claims.
Visit the Tiny Love Store for more products and information.
Related documentsPY420FGO


Ask a question about this manual
Ask about setup, troubleshooting, compatibility, parts, safety, or missing instructions. Manuals+ will review the question and use this page’s manual context to help answer it.