
Walfront Walfront1gxyk2zmtu
Walfront Pneumatic Blind Rivet Gun Instruction Manual
Model: Walfront1gxyk2zmtu
Introduction
This manual provides essential information for the safe and effective operation, setup, maintenance, and troubleshooting of your Walfront Pneumatic Blind Rivet Gun. Please read these instructions thoroughly before using the tool to ensure proper function and user safety. This professional rivet gun is designed for various applications using aluminum, iron, and stainless steel rivets.
Safety Instructions
- Always wear appropriate personal protective equipment, including eye protection and hearing protection, when operating the tool.
- Ensure the air supply is disconnected before performing any maintenance, adjustments, or changing rivet sizes.
- Do not point the tool at yourself or others.
- Keep hands and body parts clear of the working end of the tool during operation.
- Use the tool only for its intended purpose: setting blind rivets.
- Maintain a stable footing and balance when operating the tool.
- Ensure the work area is well-lit and free from obstructions.
Setup
1. Unpacking and Initial Inspection
Carefully remove the rivet gun and all accessories from the packaging. Inspect the tool for any signs of damage that may have occurred during shipping. Ensure all components listed in the package contents are present.

Image Description: The Walfront Pneumatic Blind Rivet Gun is shown alongside its accessories. These include an L-shaped hex wrench, a multi-size wrench, an air inlet connector, and several interchangeable rivet heads. A clear plastic cap is also visible, likely for collecting spent mandrels. The main tool is blue with a black base.
2. Connecting to Air Supply
- Ensure your air compressor is capable of providing the required working pressure (0.62 MPa / 90 PSI).
- Attach the provided 1/4-inch air inlet connector to the base of the rivet gun.
- Connect an air hose from your compressor to the air inlet connector.
- Verify all connections are secure to prevent air leaks.
3. Selecting and Installing the Correct Rivet Head
Choose the appropriate rivet head (nosepiece) that matches the diameter of the rivets you intend to use. Use the provided wrench to securely attach the selected rivet head to the tool's nozzle.
Operating Instructions
1. Preparing the Workpiece
Drill a hole in the workpiece that matches the diameter of the rivet body. Ensure the hole is clean and free of burrs.
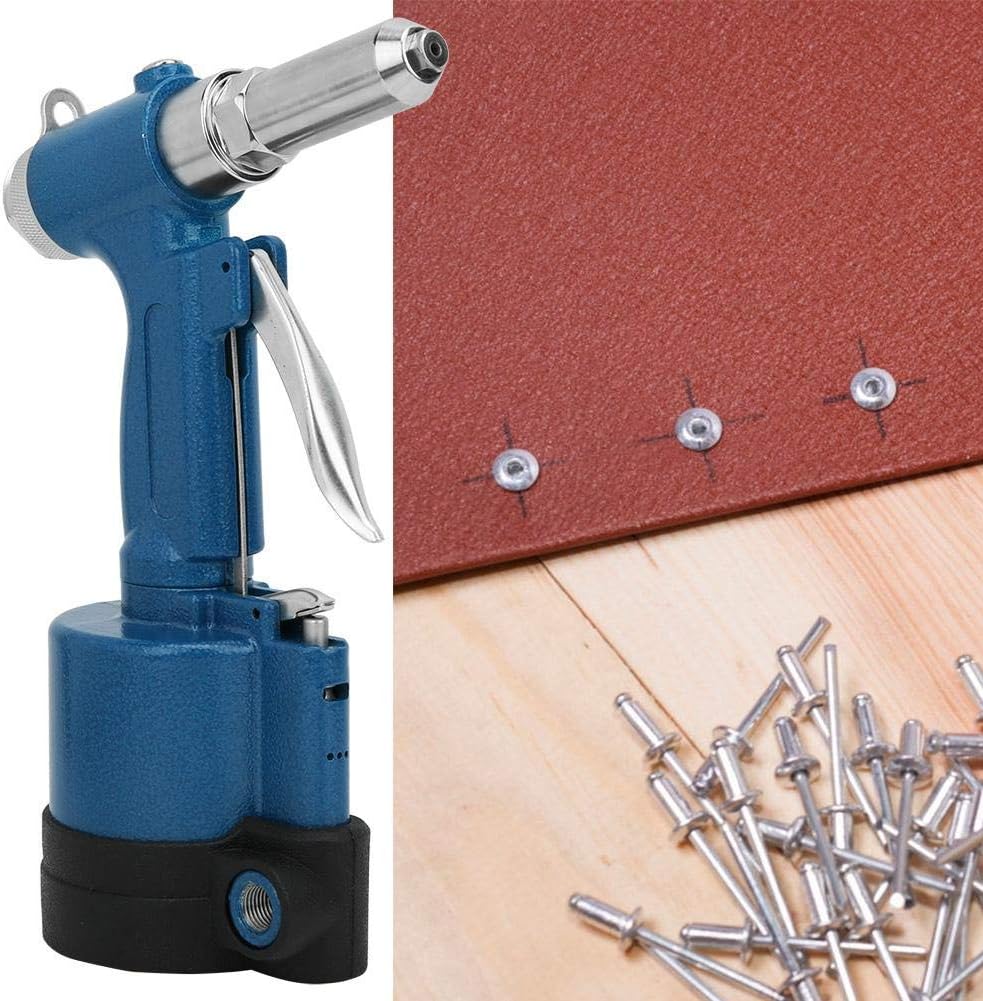
Image Description: The blue Walfront Pneumatic Blind Rivet Gun is shown on a wooden surface, next to a reddish-brown metal sheet with three pre-drilled holes. A pile of silver blind rivets is also visible, ready for use. This illustrates the preparation stage before riveting.
2. Loading a Rivet
Insert the mandrel of the blind rivet into the nosepiece of the rivet gun until it is fully seated.

Image Description: A hand firmly grips the blue Walfront Pneumatic Blind Rivet Gun, showcasing its ergonomic handle and trigger. The tool is held in a ready-to-use position, emphasizing its comfortable design for extended operation.
3. Setting the Rivet
- Place the rivet body into the pre-drilled hole in the workpiece.
- Press the nosepiece firmly against the workpiece.
- Squeeze the trigger to activate the pneumatic mechanism. The tool will pull the rivet mandrel, causing the rivet body to expand and form a secure joint.
- Continue holding the trigger until the mandrel snaps off.
- Release the trigger. The spent mandrel will be ejected from the rear of the tool or collected in the transparent cap (if installed).
Maintenance
1. Lubrication (Oil Injection)
Regular lubrication is crucial for the longevity and performance of your pneumatic rivet gun. The tool features a convenient oil injection port at the top, eliminating the need to disassemble the cylinder for oiling.

Image Description: This image shows a side profile of the Walfront Pneumatic Blind Rivet Gun. Text overlays point out key features: "Strong pulling force," "Can pull for aluminum nails, iron nails, stainless steel nails," "Oil filling hole design, easy to fill oil," and "Universal rotating joint." The oil injection port is clearly visible at the top of the tool.
- Disconnect the air supply before lubricating.
- Apply a few drops of pneumatic tool oil into the oil injection port at the top of the tool.
- Reconnect the air supply and operate the tool briefly to distribute the oil.
- Perform this lubrication daily or after every few hours of continuous use.
2. Cleaning and Storage
- After each use, clean the tool's exterior with a dry cloth.
- Remove any debris or spent mandrels from the nosepiece and collection cap.
- Store the rivet gun in a clean, dry place, away from direct sunlight and extreme temperatures.
Troubleshooting
| Problem | Possible Cause | Solution |
|---|---|---|
| Rivet not setting completely. | Insufficient air pressure; incorrect nosepiece size; worn jaws. | Check air compressor pressure; ensure correct nosepiece is installed; inspect and replace jaws if worn. |
| Air leakage from tool. | Loose air connection; damaged O-rings or seals. | Tighten air connections; inspect and replace O-rings or seals as needed. |
| Mandrel not ejecting. | Obstruction in the mandrel collection area; insufficient lubrication. | Clear any obstructions; lubricate the tool as per maintenance instructions. |
| Tool operates slowly or weakly. | Low air pressure; inadequate air supply volume; lack of lubrication. | Verify air pressure and compressor capacity; ensure air hose is not kinked or too small; lubricate the tool. |
Specifications
| Feature | Specification |
|---|---|
| Product Type | Pneumatic Rivet Gun |
| Material | Alloy |
| Weight | 1.319 kg (approx. 1.56 kg packaged) |
| Maximum Nail Size | 5.0 mm |
| Nail Spacing | 18 mm |
| Aluminum Rivet Capacity | 2.4 - 5.0 mm |
| Steel Rivet Capacity | 2.4 - 4.0 mm |
| Air Inlet Size | 1/4 inch |
| Working Pressure | 0.62 MPa (approx. 90 PSI) |
| Applicable Rivets | Aluminum, Iron, Stainless Steel |
| Model Number | Walfront1gxyk2zmtu |
| Manufacturer | Walfront |
Warranty and Support
For warranty information and technical support, please refer to the documentation provided with your purchase or contact the retailer where the Walfront Pneumatic Blind Rivet Gun was acquired. Keep your proof of purchase for warranty claims.
Ask a question about this manual
Ask about setup, troubleshooting, compatibility, parts, safety, or missing instructions. Manuals+ will review the question and use this page’s manual context to help answer it.