
1. Introduction
The ANENG S1 is a battery-powered, auto-ranging, True RMS digital multimeter featuring a 4000-count LCD display. This device is designed for accurate measurement of various electrical parameters.

Figure 1: Front view of the ANENG S1 Digital Multimeter, showing the display, function buttons, and input terminals.
Safety Information
To prevent potential electrical shock, fire, or personal injury, please read all safety information thoroughly before using this product. Use the product only as specified; otherwise, the protection provided by the product may be compromised.
- Inspect the device casing for cracks or missing plastic before each use.
- Carefully examine the insulation around the input terminals.
- All measurements must be performed within the allowable measuring range.
- Do not use the product in environments with explosive gas, vapor, or in damp or wet conditions.
- Exercise extreme caution to avoid electric shock when measuring voltages exceeding 36V DC or 25V AC.
- Incorrect mode or range selection can lead to hazards. Always be cautious.
- The display will show "OL" when the input exceeds the measurement range.
- Low battery levels can result in inaccurate readings. Replace batteries promptly when indicated.
2. Setup
Battery Installation
The ANENG S1 multimeter requires 2 AAA batteries for operation. Ensure the battery compartment is securely closed after installation.
Connecting Test Leads
Insert the red test lead into the appropriate positive terminal (V or A/mA) and the black test lead into the COM (common) terminal. Ensure connections are firm before proceeding with measurements.
3. Operating Modes
3.1. DC/AC Voltage Measurement (>0.8V)
- Insert the red test lead into the V terminal and the black test lead into the COM terminal.
- The multimeter will automatically select DC or AC voltage measurement.
- Touch the probes to the correct test points in the circuit to measure the voltage.
- Read the measured voltage on the display.
Note: Voltage measurements are displayed only when the voltage is higher than 0.8V.
3.2. Resistance Measurement
- Insert the red test lead into the V terminal and the black test lead into the COM terminal.
- The multimeter will automatically select resistance measurement.
- Touch the probes to the desired test points in the circuit to measure resistance.
- Read the measured resistance on the display.
3.3. Continuity Test
- Insert the red test lead into the V terminal and the black test lead into the COM terminal.
- The multimeter will automatically select continuity measurement.
- Touch the probes to the desired test points in the circuit.
- The built-in beeper will sound when the resistance is below 50 ohms, indicating a short circuit. The central LED light will also illuminate.
3.4. NCV (Non-Contact Voltage) Test
- Press and hold the NCV button to enter NCV mode.
- Hold the multimeter and move it near the area to be tested.
- The built-in beeper will sound when the internal sensor detects AC voltage nearby. The frequency of the beeps increases with stronger voltage, and the central LED light will flash.

Figure 2: The ANENG S1 multimeter demonstrating non-contact voltage detection. When AC voltage is detected, the LED flashes and an alarm sounds.
3.5. Current Measurement
- Insert the red test lead into the A mA terminal and the black test lead into the COM terminal. The multimeter will automatically select current measurement.
- Touch the probes to the correct test points in the circuit to measure the current.
- Read the measured current on the display.
- If measuring current over 2 Amperes, limit the testing time to less than 3 seconds.
- If the probes remain in the current terminal without operation, the product will alarm every 4 seconds to remind you that it is in current mode.
Important: The current input does not have a fuse for protection. Do not overload the test circuit.
4. Key Features
4.1. Back Support
The multimeter includes a rear support frame, allowing it to be tilted on a flat surface for more convenient viewing during measurements.
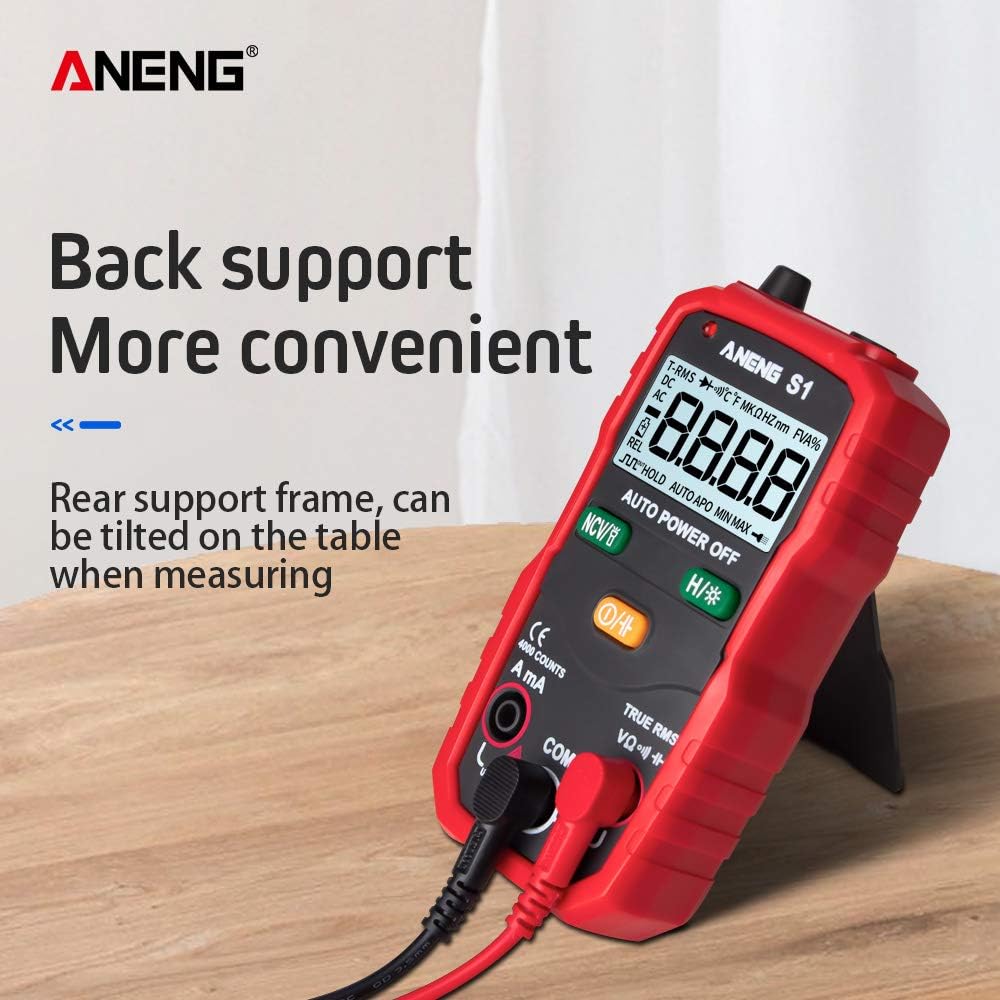
Figure 3: The ANENG S1 multimeter shown with its back support extended, providing a tilted viewing angle.
4.2. Compact Design
The ANENG S1 is designed to be small and ergonomic, making it easy to carry and handle.

Figure 4: The ANENG S1 multimeter held in a hand, highlighting its compact and portable design.
4.3. Clear Backlighting
The HD backlit screen ensures clear visibility of measurements even in dark environments. Activate the screen light as needed.
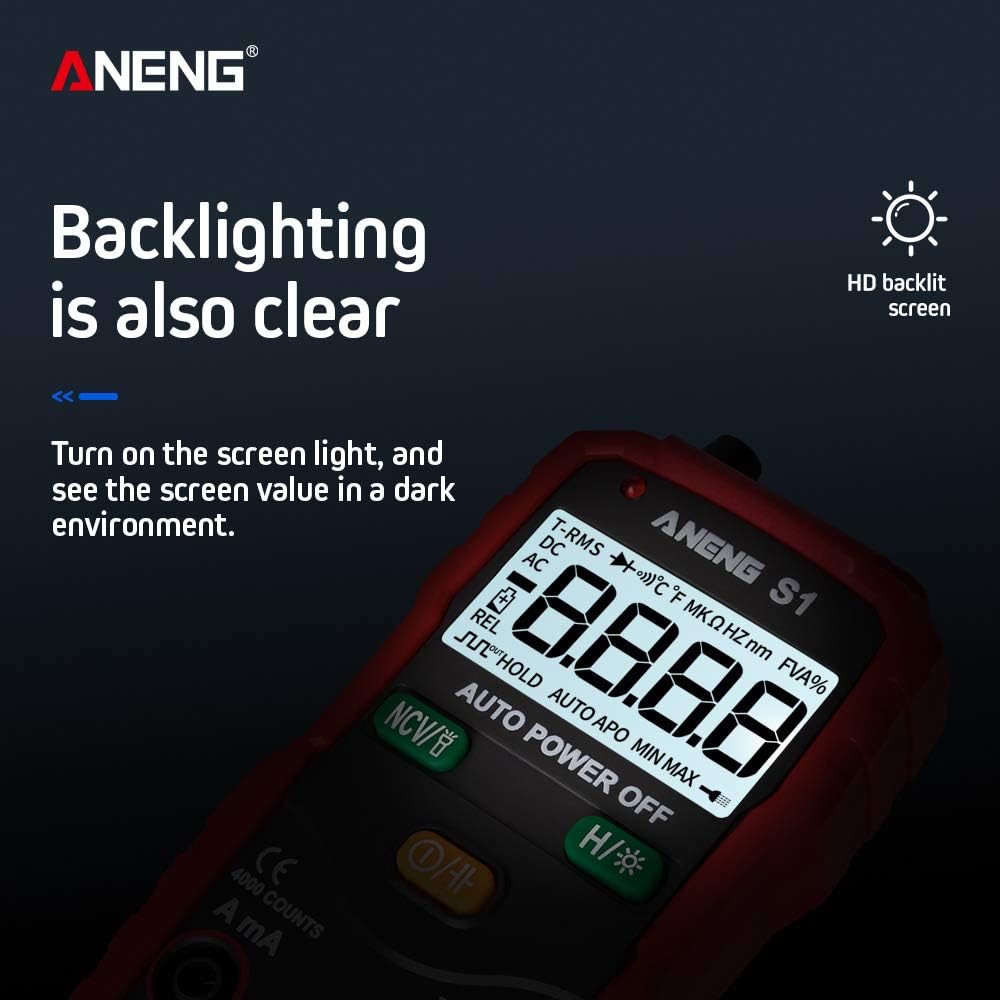
Figure 5: The ANENG S1 multimeter display with its clear backlighting active, improving readability in low-light conditions.
4.4. Night Searchlight
An integrated searchlight allows users to illuminate the measurement area in dark environments, ensuring precise probe placement.

Figure 6: The ANENG S1 multimeter with its night searchlight activated, providing illumination for measurements in dark areas.
5. Specifications
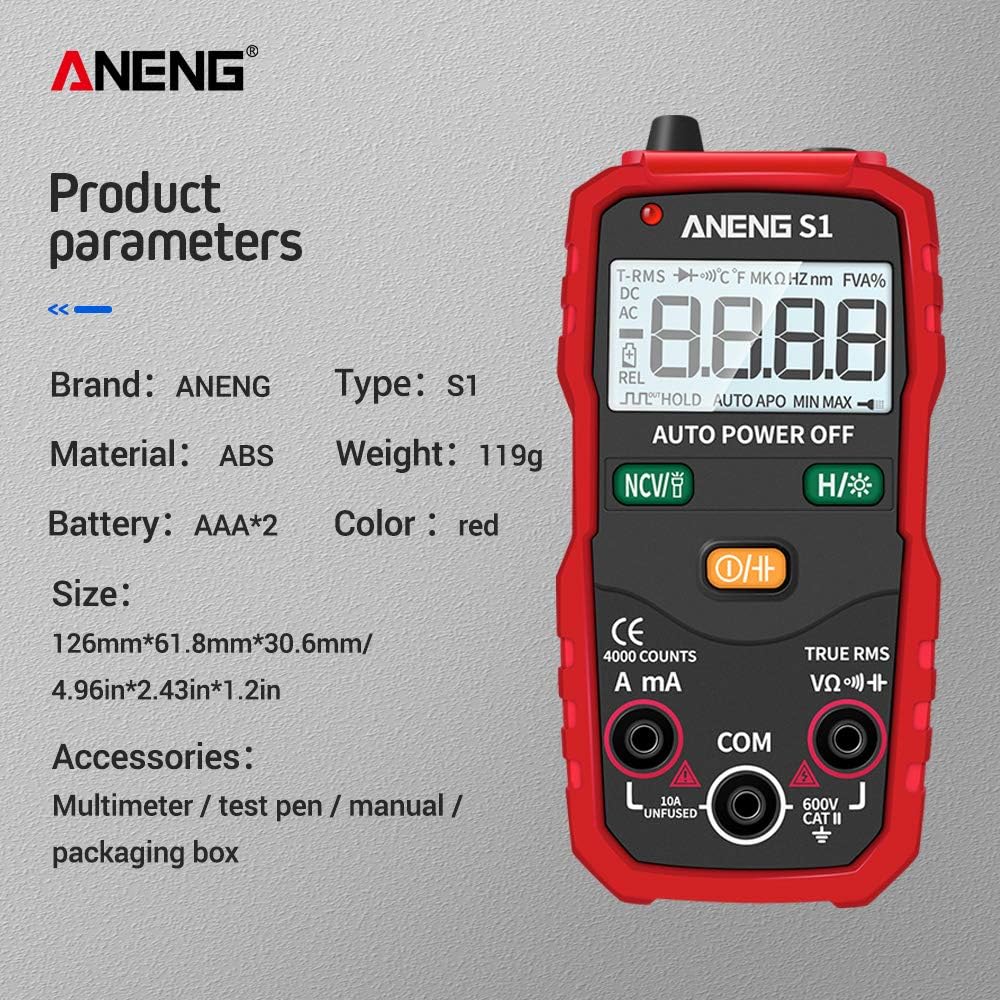
Figure 7: Diagram illustrating the ANENG S1 multimeter's product parameters and dimensions.
| Parameter | Value |
|---|---|
| Brand | ANENG |
| Model | S1 |
| Material | ABS |
| Weight | 119g |
| Battery Type | AAA*2 |
| Color | Red |
| Dimensions (L x W x H) | 126mm x 61.8mm x 30.6mm (4.96in x 2.43in x 1.2in) |
| Display Counts | 4000 Counts |
| Min. Operating Voltage | 25 Volts |
| UPC | 630282720725 |
6. Maintenance
General Care
Keep the multimeter clean and dry. Wipe the casing with a soft, damp cloth. Do not use abrasive cleaners or solvents.
Battery Replacement
When the battery indicator shows a low level, replace the batteries immediately to ensure accurate readings. Ensure the battery door is properly secured after replacement.
7. Troubleshooting
- "OL" Displayed: This indicates that the input value is out of the measurement range. Verify your measurement settings and the expected value.
- Inaccurate Readings: Check the battery level. Low batteries can lead to incorrect measurements. Replace batteries if necessary. Ensure test leads are properly connected and not damaged.
- No Display: Check battery installation and ensure batteries are not depleted.
8. Warranty and Support
Specific warranty information for the ANENG S1 Digital Multimeter is not provided in this manual. Please refer to your purchase documentation or contact the retailer for details regarding warranty coverage and customer support.


