
MicrocKing MK3002-2
MicrocKing Wireless Microphone System User Manual
Model: MK3002-2
Introduction
This user manual provides detailed instructions for the setup, operation, and maintenance of your MicrocKing Wireless Microphone System. This dual-channel VHF wireless microphone system is designed for clear sound quality, signal stability, and ease of use, making it suitable for various applications such as karaoke, parties, public speaking, and church events.

Image: The MicrocKing MK3002-2 Wireless Microphone System, featuring the receiver unit and two handheld microphones.
Package Contents
Please verify that all items are present in the package:
- 2 x Wireless Handheld Microphones
- 1 x Wireless Receiver Box (MK3002)
- 1 x 6.35mm Audio Cable
- 1 x User Manual
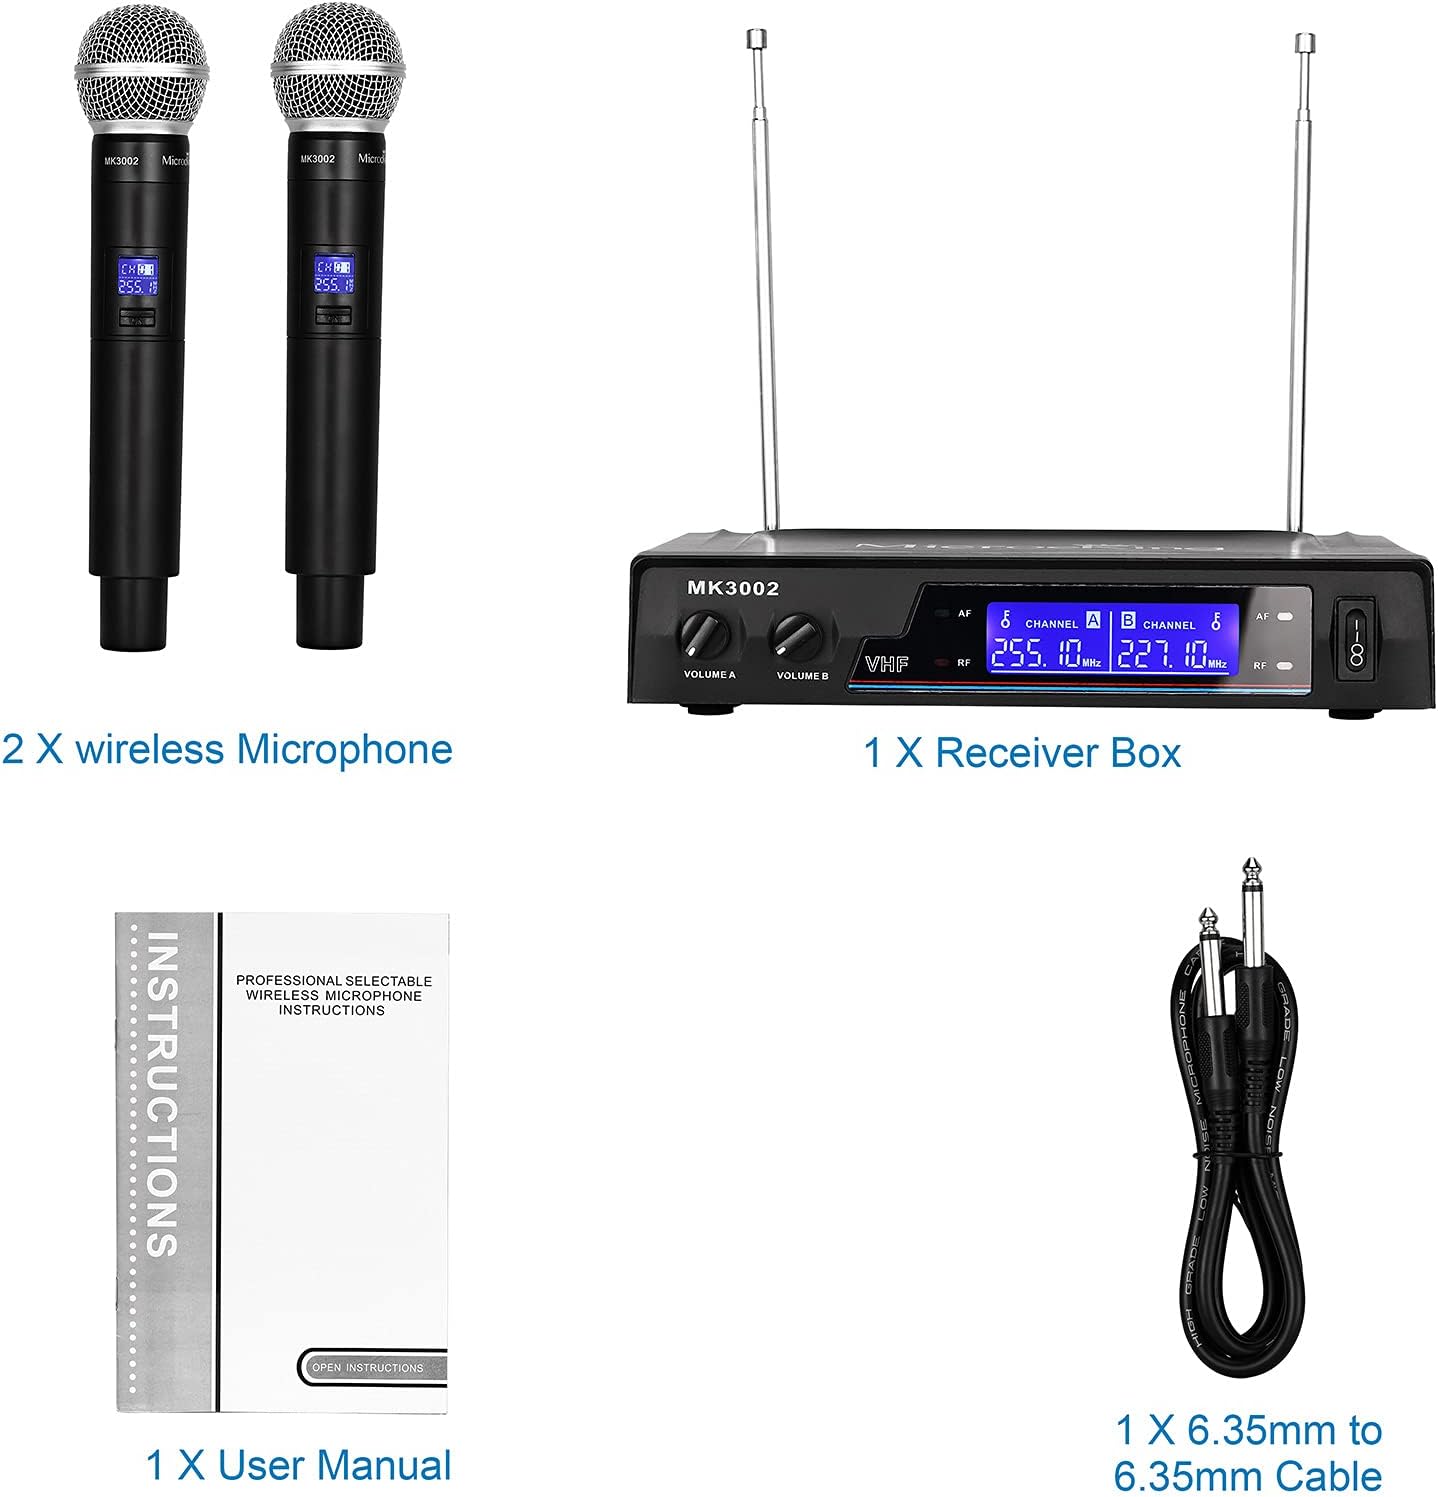
Image: A visual representation of the package contents, including two microphones, the receiver, a user manual, and a 6.35mm audio cable.
Product Overview
Receiver Unit (MK3002)
The receiver unit is the central component of the wireless system, managing the audio signals from both microphones.
- Power Switch: Turns the unit on or off.
- LCD Screen: Displays frequency, channel status, and signal strength.
- Volume Control A & B: Independent volume adjustments for each microphone channel.
- Antennas: Extendable antennas for optimal signal reception.
- XLR Output: Balanced audio output for professional connections.
- 1/4" Unbalanced Mix Out: Standard audio output for connecting to amplifiers or mixers.
- Power Plug: Connection for the power adapter.

Image: Detailed view of the receiver's front and rear panels, indicating the power switch, LCD screen, volume controls, antennas, XLR output, 1/4" mix out, and power input.
Handheld Microphones
The two handheld microphones are designed for clear vocal pickup and durable performance.
- LCD Display: Shows channel number, frequency, and battery indicator.
- Power/Mute Switch: Controls microphone power and mute function.
- Battery Compartment: Located at the base of the microphone, requiring batteries for operation.
- Cardioid Polar Pattern: Designed to pick up sound primarily from the front, reducing background noise.

Image: A handheld microphone with its lower casing removed, revealing the battery compartment.

Image: A visual representation of the microphone's cardioid pickup pattern, showing its directional sound capture.

Image: A close-up view of the microphone's LCD screen, which displays the active channel, frequency, and battery level.
Setup Instructions
- Power Supply: Connect the provided power adapter to the receiver unit's power input and plug it into a standard electrical outlet.
- Antenna Connection: Extend the antennas on the receiver unit for optimal signal reception. Ensure they are positioned vertically.
- Audio Output Connection:
- For a mixed output, connect the supplied 6.35mm audio cable from the receiver's "OUT MIX" jack to the input of your amplifier, mixer, or powered speaker.
- For individual balanced outputs, use XLR cables (not included) to connect the receiver's XLR outputs to a professional mixer or soundboard.
- Microphone Battery Installation: Unscrew the bottom part of each handheld microphone to access the battery compartment. Insert the required batteries (not included), ensuring correct polarity.
- Power On: Turn on the receiver unit using the power switch. Then, turn on each microphone. The microphones and receiver should automatically synchronize. The LCD screens on both the receiver and microphones will display their respective channels and frequencies.
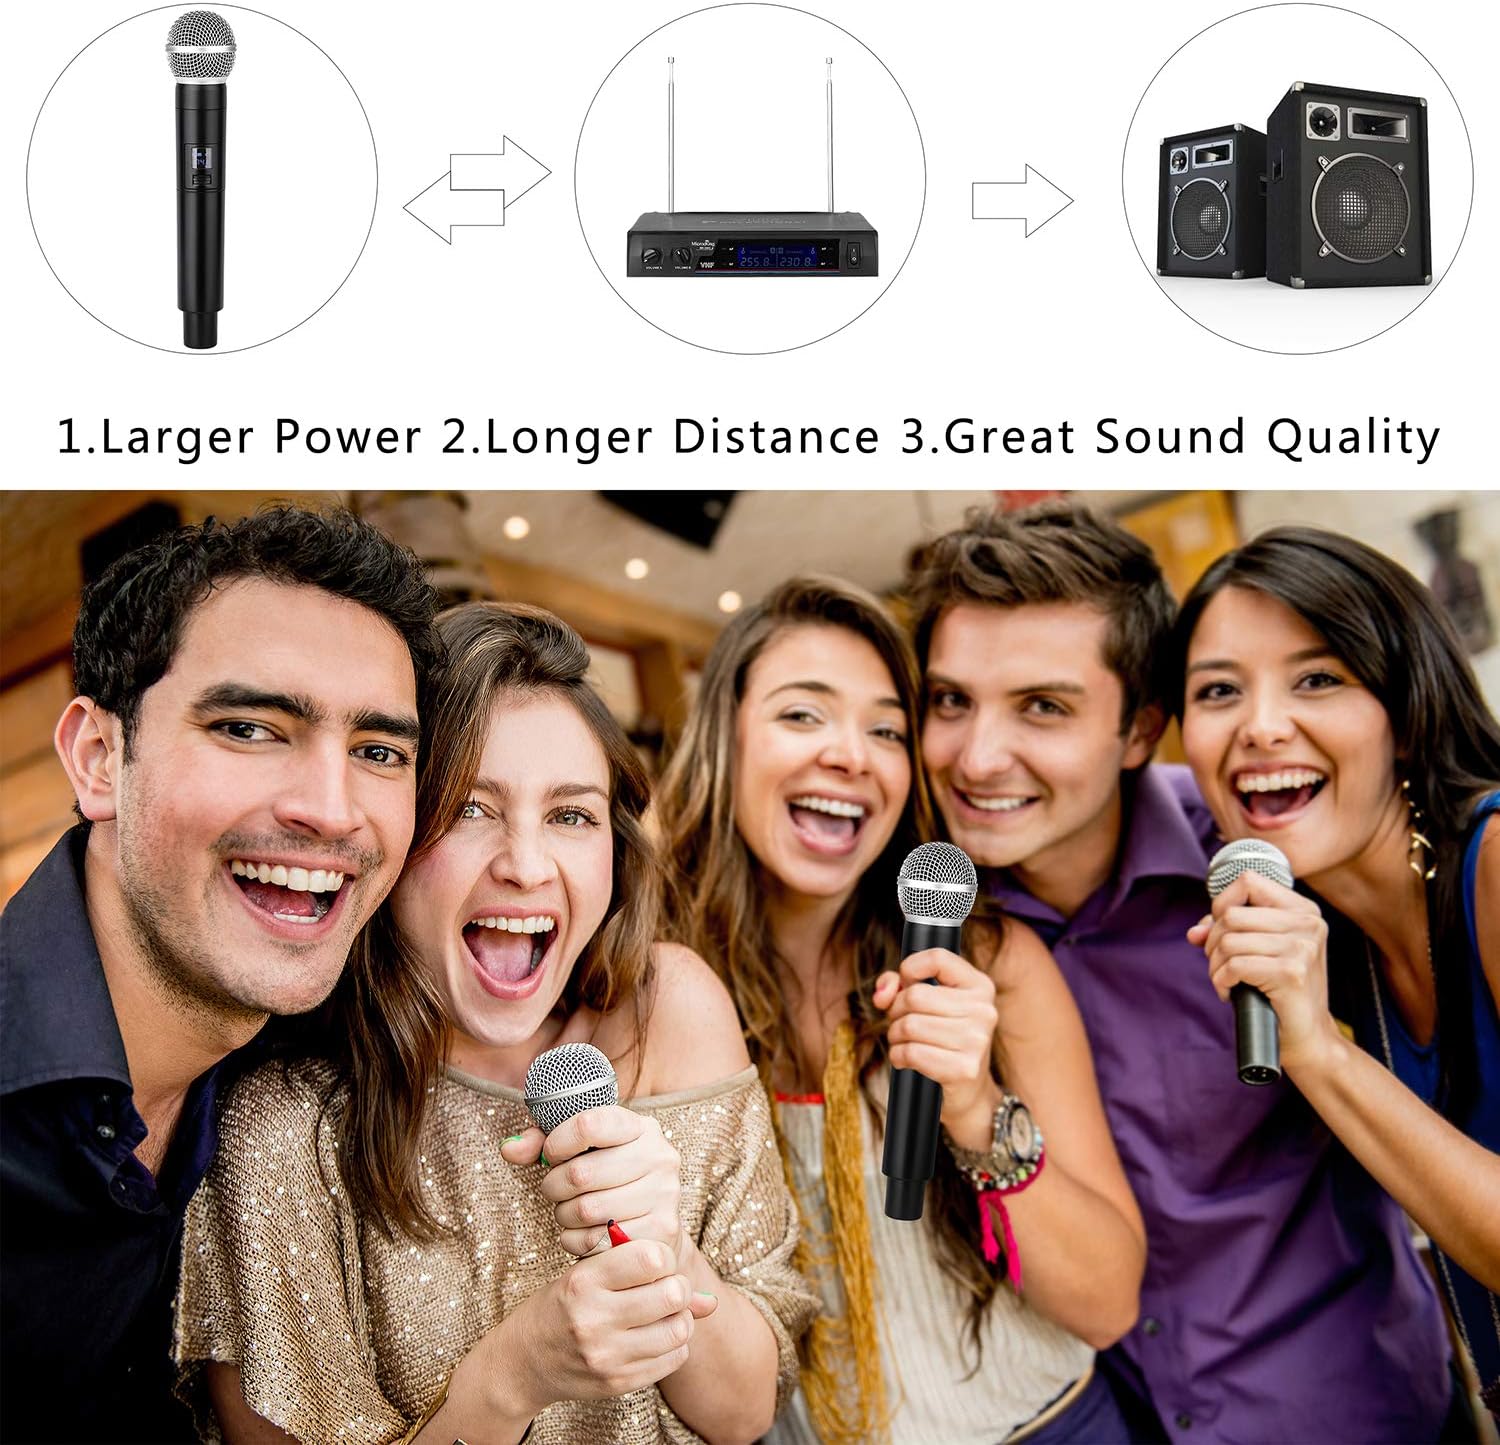
Image: An illustration demonstrating the connection path from the wireless microphones to the receiver, and then to an amplifier or speaker for sound output.

Image: A detailed connection diagram showing how to connect the receiver to a soundboard, power amplifier, or powered speaker using both XLR and 1/4-inch outputs.
Operating Instructions
- Volume Adjustment: Use the "VOLUME A" and "VOLUME B" knobs on the receiver to adjust the output level of each microphone independently. Start with a low volume and gradually increase it to avoid feedback.
- Microphone Usage: Hold the microphone approximately 2-6 inches from your mouth for optimal sound pickup. The cardioid polar pattern is designed to focus on sound directly in front of the microphone.
- Mute Function: Briefly press the power button on the microphone to mute or unmute the audio output. The microphone's LCD display will indicate its mute status.
- Operating Range: The system operates effectively within a range of up to 150-260 feet (45-80 meters) in open areas. Obstacles like walls and other electronic devices may reduce this range.
- Anti-Interference: The system utilizes VHF technology for stable signal transmission and anti-interference capabilities. Position the receiver away from other wireless devices or strong electromagnetic fields to minimize potential interference.

Image: The receiver unit with visual cues indicating its anti-interference capabilities, ensuring stable signal transmission.
Maintenance
- Cleaning: Use a soft, dry cloth to clean the receiver and microphones. Do not use liquid cleaners or abrasive materials.
- Battery Replacement: Replace microphone batteries when the battery indicator on the microphone's LCD display shows low power. Always use fresh batteries of the specified type.
- Storage: When not in use for extended periods, remove batteries from the microphones and store the system in a cool, dry place away from direct sunlight and extreme temperatures.
- Durability: The microphones feature a stainless steel casing and steel meshed microphone head for durability. However, avoid dropping or subjecting them to severe impacts.

Image: Information detailing the microphone's dimensions and its resistance to temperature variations, shattering, and shock, along with button life test results.
Troubleshooting
| Problem | Possible Cause | Solution |
|---|---|---|
| No sound output |
|
|
| Interference or static noise |
|
|
| Microphone not pairing with receiver |
|
|
Specifications
| Feature | Detail |
|---|---|
| Model Number | MK3002-2 |
| Brand | MicrocKing |
| Microphone Form Factor | Handheld |
| Number of Channels | 2 |
| Frequency Range | 170 MHz - 270 MHz (VHF) |
| Frequency Response | 18 KHz |
| Operating Range | Up to 150-260 feet (45-80 meters) |
| Signal to Noise Ratio | 120 dB |
| Audio Sensitivity | 30 dB |
| Polar Pattern | Bidirectional (Cardioid) |
| Connectivity Technology | XLR, 1/4" Jack |
| Power Source | Battery Powered (Microphones), AC Adapter (Receiver) |
| Material | Metal |
| Color | Black |
| Item Weight | 816 g (total system) |
| Compatible Devices | PC, Television, Karaoke Machine, Amplifiers, Mixers, PA Systems |
Warranty and Support
For warranty information and technical support, please refer to the documentation included with your purchase or contact MicrocKing customer service directly. Contact details can typically be found on the manufacturer's official website or on the product packaging.
Related documentsMK3002-2

Ask a question about this manual
Ask about setup, troubleshooting, compatibility, parts, safety, or missing instructions. Manuals+ will review the question and use this page’s manual context to help answer it.