
EPEVER Triron-2210-N
EPEVER TRIRON N Series MPPT Solar Charge Controller User Manual
Model: TRIRON-2210-N (20A)
1. Introduction and Overview
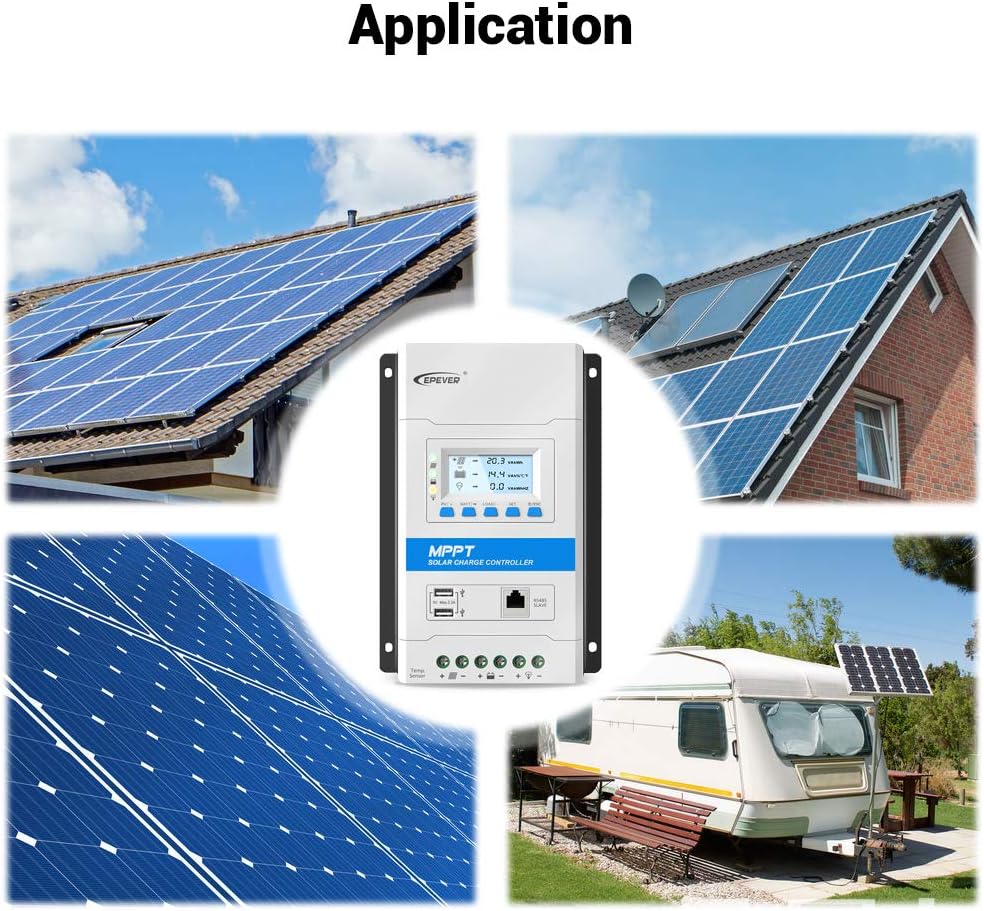
The EPEVER TRIRON N series MPPT Solar Charge Controller is a high-performance, modular-designed product engineered for efficient solar energy management. It utilizes advanced Maximum Power Point Tracking (MPPT) technology to optimize power harvesting from photovoltaic (PV) arrays, ensuring maximum charge conversion efficiency for your battery system. This controller is suitable for various solar applications, including home systems, RVs, and off-grid setups.
Key features include a clear LCD display for real-time data monitoring, user-friendly buttons for easy operation, and comprehensive electronic protection functions to safeguard your battery and system components. The modular design allows for integration with different display and interface modules to meet diverse functional requirements.
2. Safety Information
Please read all instructions carefully before installation and operation. Failure to follow these instructions may result in serious injury, damage to the controller, or damage to other equipment.
- Ensure all wiring is correctly polarized and securely connected.
- Do not connect the solar panel array to the controller without a battery connected first.
- Always disconnect the solar panel and load before disconnecting the battery.
- Install the controller in a well-ventilated area, away from flammable materials and corrosive gases.
- Ensure proper grounding for safety.
- Avoid touching live terminals.
- This device is for indoor use only. Protect it from water and excessive humidity.
3. Product Components and Features
The EPEVER TRIRON N series controller is designed with a power module as the main unit, allowing for various display and interface module combinations.

This image highlights the main components of the controller, including the display module, mounting holes, 5V USB ports, RS485 slave interface, RTS interface, PV terminals, Battery terminals, and Load terminals.

This diagram illustrates the modularity of the TRIRON N series, showing various optional modules such as DB1, DS2, DS1 (display modules), UCS, RCM, RCS, and USB1 (interface modules) that can be integrated with the main unit.
Key Features:
- Advanced MPPT Technology: Ensures high tracking efficiency (above 99.5%) and maximum charge conversion efficiency (up to 98%).
- Modular Design: Allows for flexible configuration with different display and interface modules.
- LCD and Indicators: Provides clear display of operating data and system status.
- Dual USB Ports: Offers 5V/2.2A DC power output for charging electronic devices.
- RS485 Communication: Supports master and slave communication for data reading and external monitoring.
- Comprehensive Protections: Includes lithium battery low temperature protection, controller overheating protection, battery over-discharge protection, PV reverse polarity protection, and more.
- Aluminum Alloy Material: Ensures good heat dissipation and durability.

The image highlights the robust aluminum alloy construction of the controller, which contributes to excellent heat dissipation, ensuring stable and reliable operation.
4. Setup and Installation
4.1 Mounting the Controller
Mount the controller vertically on a solid surface, ensuring adequate air circulation around the unit for proper heat dissipation. Use the mounting holes provided on the controller's casing.

This image provides various perspectives of the controller, including its front, side, and the heatsink on the bottom, which is crucial for understanding mounting requirements and ensuring proper ventilation.
4.2 Wiring Connections
Follow the wiring sequence strictly to avoid damage to the controller or other components. Always connect the battery first, then the solar panels, and finally the load.

This diagram illustrates the correct wiring sequence for connecting the solar panel, battery, and DC load to the EPEVER TRIRON N controller. It also shows an optional inverter connection for AC loads.
- Connect the Battery: Connect the battery to the controller's battery terminals (+ and -). Ensure correct polarity. The controller will automatically detect the battery voltage.
- Connect the Solar Panel: Connect the solar panel array to the controller's PV terminals (+ and -). Ensure correct polarity.
- Connect the DC Load: Connect the DC load to the controller's load terminals (+ and -). Ensure correct polarity.
- Optional Connections: Connect external accessories like the Remote Temperature Sensor (RTS) to the designated RTS interface, or communication modules (e.g., RS485 to USB, eBox-WIFI-01, eBox-BLE-01) to the RS485 slave port for monitoring via PC or mobile app.

This image details how various accessories, such as the MT50 remote meter, eBox-WIFI-01, eBox-BLE-01, and eLOG01 data logger, can be connected to the controller for enhanced monitoring and control.
5. Operating Instructions
5.1 LCD Display and Buttons
The controller features an intuitive LCD display and user-friendly buttons for easy navigation and system monitoring.
- PV/+: Press to view PV parameters or increase values in settings.
- BATT/-: Press to view battery parameters or decrease values in settings.
- LOAD/SET: Press to view load parameters or enter/confirm settings.
- ON/OFF/ESC: Press to turn load on/off or exit settings.
5.2 Monitoring Data
The LCD displays real-time data such as PV voltage, current, power, battery voltage, charging current, load current, and more. Use the navigation buttons to cycle through different display screens.
5.3 USB Output
The two 5V/2.2A USB ports can be used to charge small electronic devices like mobile phones or tablets. Ensure the device's charging requirements are within the controller's USB output specifications.
6. Maintenance
Regular maintenance ensures the longevity and optimal performance of your solar charge controller.
- Check Connections: Periodically inspect all wiring connections for tightness and corrosion. Loose connections can cause overheating and damage.
- Clean the Controller: Keep the controller clean and free from dust and debris. Use a dry cloth to wipe the surface. Ensure ventilation openings are not blocked.
- Inspect for Damage: Check for any physical damage to the casing, cables, or terminals.
- Battery Health: Monitor battery voltage and ensure it is within the recommended operating range. Refer to your battery manufacturer's guidelines for maintenance.
- Environmental Conditions: Ensure the operating environment remains within the specified temperature and humidity ranges.
7. Troubleshooting
This section provides solutions to common issues you might encounter with your EPEVER TRIRON N series controller.
| Problem | Possible Cause | Solution |
|---|---|---|
| Controller not powering on | Battery not connected or low voltage; reverse polarity. | Ensure battery is connected with correct polarity and has sufficient voltage (above 9V for 12V system). |
| No charging from PV | PV array not connected; low sunlight; PV reverse polarity; PV open circuit. | Check PV connections and polarity; ensure sufficient sunlight; check for open circuits in PV wiring. |
| Load not working | Load disconnected; load overcurrent; battery low voltage; load short circuit. | Check load connections; reduce load; charge battery; check for short circuits in load wiring. |
| High controller temperature | Poor ventilation; excessive ambient temperature. | Ensure adequate airflow around the controller; relocate to a cooler environment if necessary. |
If the problem persists after attempting these solutions, please contact EPEVER customer support.
8. Specifications
Detailed technical specifications for the EPEVER TRIRON-2210-N (20A) MPPT Solar Charge Controller.
This image provides the physical dimensions of the TRIRON2210N model, showing its length (216 mm), width (150 mm), and height (56.7 mm).
| Specification | Value |
|---|---|
| Model | TRIRON-2210-N |
| Rated Charge Current | 20A |
| System Voltage | 12V/24V Auto Work |
| Max. PV Input Voltage | 100V |
| Max. PV Input Power | 260W (12V), 520W (24V) |
| MPPT Tracking Efficiency | ≥99.5% |
| Charge Conversion Efficiency | Up to 98% |
| Operating Temperature | -25°C to +55°C (-13°F to 131°F) |
| USB Output | 5VDC/2.2A (Total 2 USB Ports) |
| Dimensions (L x W x H) | 216 x 150 x 56.7 mm |
| Weight | 1.15 kg |
| Display Type | LCD or LED |
9. Warranty and Support
9.1 Warranty Information
EPEVER products typically come with a standard manufacturer's warranty. Please refer to the warranty card included with your product or visit the official EPEVER website for detailed warranty terms and conditions specific to your region and model.
9.2 Customer Support
For technical assistance, troubleshooting, or product inquiries, please contact EPEVER customer support. You can find contact information, FAQs, and additional resources on the official EPEVER website:
EPEVER Official Website: www.epever.com
When contacting support, please have your product model number (TRIRON-2210-N) and purchase information ready.
Ask a question about this manual
Ask about setup, troubleshooting, compatibility, parts, safety, or missing instructions. Manuals+ will review the question and use this page’s manual context to help answer it.