
Anlapus A1R-M8A4-B1K or M1H08T4
Anlapus 1080p DVR 8 Channel CCTV Camera System User Manual
Model: A1R-M8A4-B1K / M1H08T4
1. Introduction
Thank you for choosing the Anlapus 1080p DVR 8 Channel CCTV Camera System. This Digital Video Recorder (DVR) is designed to provide reliable 24/7 surveillance recording for your home or business. It supports various camera types including analog, HD-TVI, CVI, and AHD, offering flexibility for your security needs. This manual provides detailed instructions for setup, operation, and maintenance of your DVR system.
Please read this manual thoroughly before installation and operation to ensure proper use and to maximize the performance and longevity of your device.

Image: The Anlapus 1080p DVR unit, shown with a 1TB hard drive for storage.
2. What's in the Box
Upon opening the package, please verify that all components listed below are present and in good condition. If any items are missing or damaged, contact Anlapus customer support immediately.
- Anlapus 8 Channel DVR Unit
- Power Adapter
- USB Mouse
- User Manual (this document)
- (Optional) 1TB Security Grade Hard Drive (if purchased with HDD)

Image: The package contents including the DVR, USB mouse, power adapter, 1TB hard drive, and user manual.
3. Product Features
The Anlapus DVR system is equipped with advanced features to enhance your surveillance experience:
- 4-in-1 Hybrid DVR: Supports analog, HD-TVI, CVI, and AHD cameras, allowing connection of up to 8 cameras (720P, 1080P, 3MP, 4MP, 5MP).
- Advanced H.265+ Video Format: Doubles data compression ratio while maintaining high video quality, maximizing storage space and enabling ultra-long recording times.
- Customizable Motion Detection: Set specific motion zones and receive instant app pushes and email alerts with snapshots when motion events occur.
- Multiple Record Modes: Choose from continuous, scheduled, motion-activated, or recycle recording modes for each camera.
- USB Backup: Easily transfer video files to a memory stick or external hard drive via USB.
- Remote Viewing: Access live view and playback from anywhere using the associated mobile application on your phone, tablet, or computer.
- Data Encryption: Utilizes high-level encryptions and private protocols for secure remote access, ensuring your privacy.

Image: Overview of Anlapus 5MP LITE DVR features including channels, FHD, H.265+, HDMI, Remote Connectivity, Recording, and 4-in-1 compatibility.

Image: Diagram illustrating data encryption features, including high-level encryptions, private protocols, activation password, and verification code.
4. Setup Guide
Follow these steps to set up your Anlapus DVR system:
4.1. Connecting the DVR
- Connect Cameras: Connect your CCTV cameras to the BNC video input ports on the back of the DVR. The DVR supports up to 8 cameras.
- Connect Monitor: Connect a monitor (TV or PC monitor) to the DVR using either the HDMI or VGA port. HDMI is recommended for best video quality.
- Connect Mouse: Plug the included USB mouse into one of the USB ports on the DVR (front or back).
- Connect Network (Optional but Recommended): For remote viewing and updates, connect an Ethernet cable from your router to the LAN port on the DVR.
- Connect Power: Plug the power adapter into the DVR's power input, then plug the adapter into a power outlet. The DVR will power on automatically.

Image: Detailed diagram of the Anlapus DVR's back panel, showing ports for video input, audio in/out, VGA, HDMI, LAN, USB, and power.

Image: Visual guide for easy installation, showing simple connection, downloading the free app, and viewing cameras.
4.2. Initial Setup Wizard
Upon first boot, the DVR may guide you through an initial setup wizard. Follow the on-screen prompts to:
- Set language and region.
- Create a strong password for the administrator account.
- Configure network settings (DHCP is usually sufficient for most home networks).
- Adjust date and time settings.
- Format the hard drive (if a new one is installed).
5. Operating Instructions
5.1. Live View
Once the DVR is set up, you can view live feeds from your cameras on the connected monitor. Use the USB mouse to navigate the on-screen interface. Double-click a camera view to enlarge it, and double-click again to return to multi-camera view.
5.2. Recording Modes
The DVR offers flexible recording options:
- Continuous Recording: Records 24/7.
- Scheduled Recording: Records only during specified time periods.
- Motion Detection Recording: Records only when motion is detected in designated areas.
- Recycle Recording: Automatically overwrites the oldest footage when the hard drive is full.
To configure recording modes, access the DVR's main menu, navigate to "Record" or "Schedule" settings, and adjust preferences for each camera channel.

Image: Illustration of customized motion detection zones and alerts, showing a child and dog in a yard.
5.3. Playback
To review recorded footage:
- From the main menu, select "Playback".
- Choose the camera channel and date/time range you wish to review.
- Use the playback controls (play, pause, fast forward, rewind) to navigate through the footage.
5.4. Remote Viewing (Mobile App)
The Anlapus DVR supports remote viewing via a dedicated mobile application. Follow these steps:
- Download the App: Search for the "Anlapus" app (or specified app name in the DVR interface) on the Google Play Store or Apple App Store.
- Register Account: Create a new user account within the app.
- Add Device: Scan the QR code displayed on your DVR's monitor (usually found in Network settings or P2P Cloud settings) or manually enter the device ID to add your DVR to the app.
- View Live/Playback: Once added, you can view live feeds, play back recorded footage, and receive alerts directly on your smartphone or tablet.

Image: Depiction of live view functionality accessible from various devices including phone, tablet, laptop, and PC.
6. Maintenance
Regular maintenance ensures optimal performance and longevity of your DVR system:
- Keep Clean: Gently wipe the DVR unit with a soft, dry cloth. Avoid using liquid cleaners or aerosols.
- Ventilation: Ensure the DVR is placed in a well-ventilated area to prevent overheating. Do not block ventilation openings.
- Firmware Updates: Periodically check the Anlapus official website or app for firmware updates. Keeping the firmware updated can improve performance and security.
- Password Security: Regularly change your DVR and app passwords to strong, unique combinations.
- Data Backup: For critical footage, regularly back up data to an external USB drive.
7. Troubleshooting
If you encounter issues with your Anlapus DVR, refer to the following common problems and solutions:
| Problem | Possible Cause / Solution |
|---|---|
| No Video Output on Monitor |
|
| "Video Loss" Message |
|
| Cannot Access DVR Remotely |
|
| No Recording / Hard Drive Not Detected |
|
If the problem persists after trying these solutions, please contact Anlapus customer support for further assistance.
8. Specifications
| Feature | Detail |
|---|---|
| Model Number | A1R-M8A4-B1K or M1H08T4 |
| Video Input | 8 Channels (BNC), supports Analog/HD-TVI/CVI/AHD |
| Video Compression | H.265+ |
| Video Output | HDMI, VGA |
| Audio Input/Output | Yes (RCA) |
| Recording Resolution | Up to 5MP (12.5fps), 4MP (12.5fps), 3MP (12.5fps), 1080p, 720p |
| Storage Capacity | Supports 1TB HDD (pre-installed or user-installed) |
| Network Interface | RJ45 10M/100M Ethernet |
| USB Interface | 2 x USB 2.0 |
| Dimensions (L x W x H) | 23 x 23 x 4.3 cm |
| Weight | 1.77 kg |
| Power Supply | DC 12V |
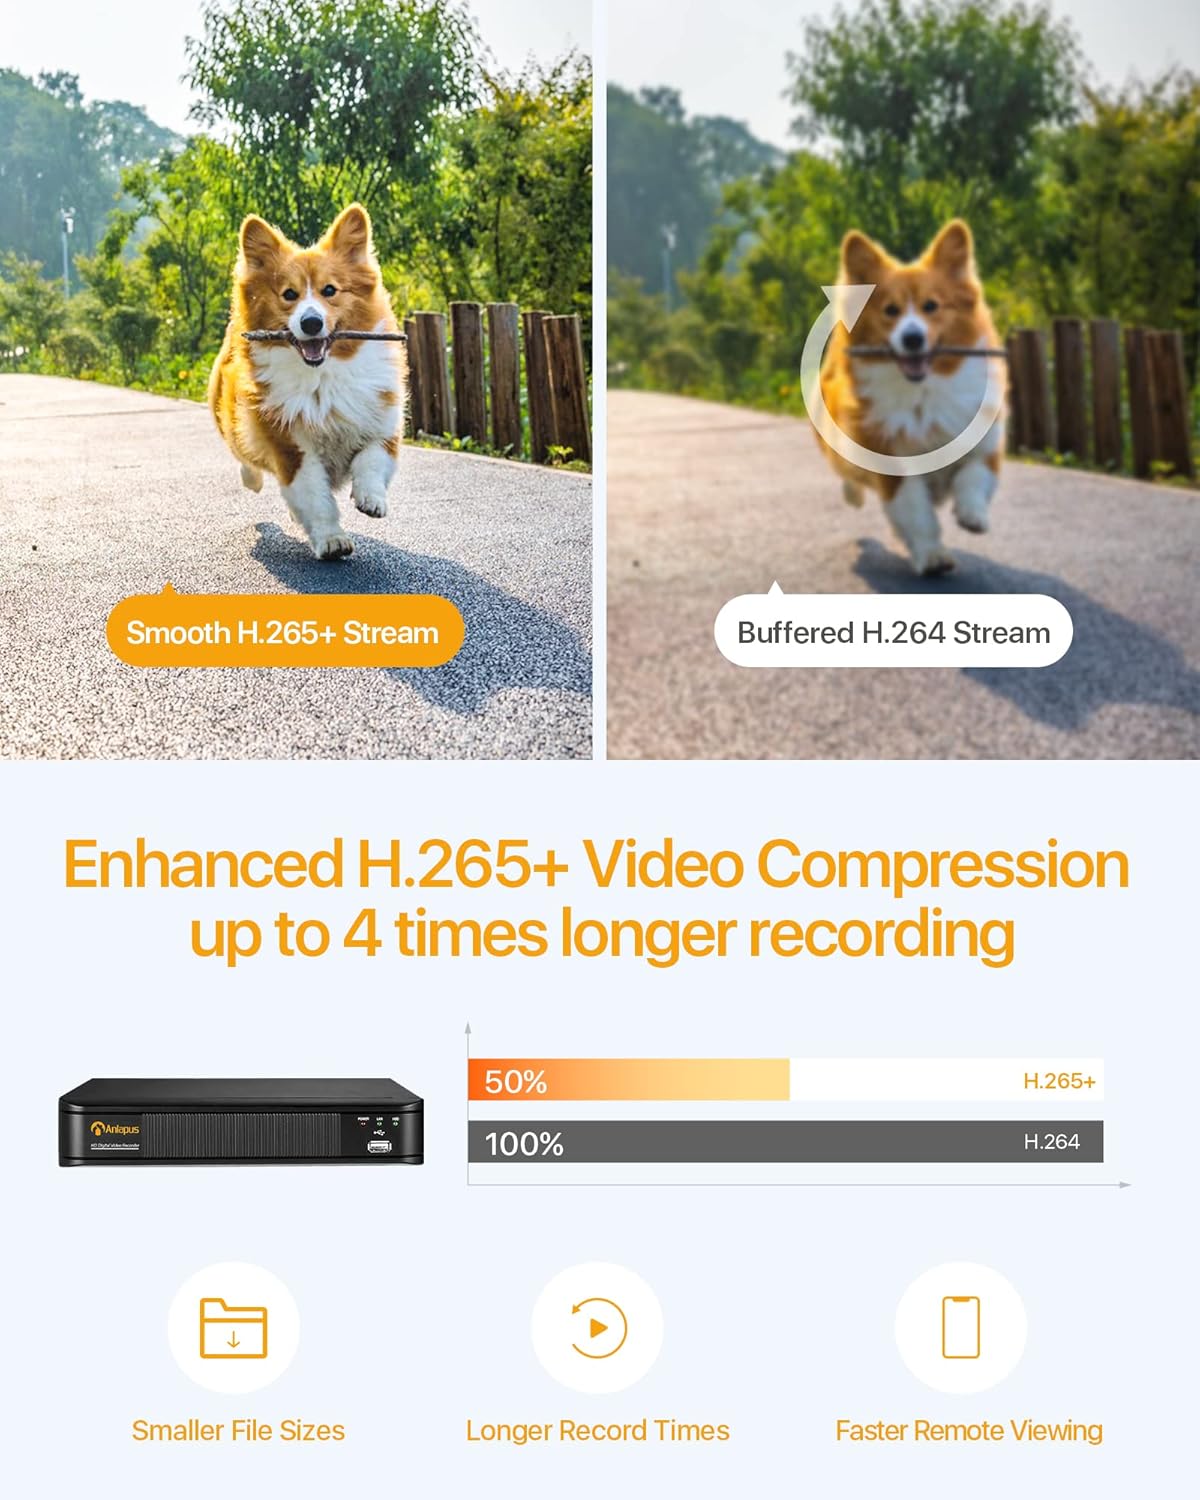
Image: Comparison illustrating the efficiency of H.265+ video compression, offering smaller file sizes and longer record times compared to H.264.
9. Warranty and Support
Anlapus provides comprehensive support for its products. For warranty information, technical assistance, or customer service, please refer to the contact details provided with your product packaging or visit the official Anlapus website.
The product includes Free Lifetime Support.

Image: Icons representing 24/7 Secure Recording, Scheduled Recording, Customizable Individual Cameras, and Free Lifetime Support.
Ask a question about this manual
Ask about setup, troubleshooting, compatibility, parts, safety, or missing instructions. Manuals+ will review the question and use this page’s manual context to help answer it.