
Introduction
This manual provides essential instructions for the safe and efficient use of your KRUPS BW801852 Smart Temp Digital Kettle. Please read all instructions carefully before first use and retain for future reference.

Figure 1: KRUPS BW801852 Smart Temp Digital Kettle. This image shows the sleek black exterior of the kettle with its digital temperature display and silver handle.
The KRUPS BW801852 kettle features a 1.7-liter capacity, a full stainless steel interior, and a safe-to-touch exterior. It offers precise temperature control with 5 preset options and a convenient one-touch operation for various hot beverages and cooking needs.
Important Safety Instructions
When using electrical appliances, basic safety precautions should always be followed to reduce the risk of fire, electric shock, and/or injury to persons, including the following:
- Read all instructions.
- Do not touch hot surfaces. Use handles or knobs.
- To protect against fire, electric shock, and injury to persons, do not immerse cord, plugs, or kettle in water or other liquid.
- Close supervision is necessary when any appliance is used by or near children.
- Unplug from outlet when not in use and before cleaning. Allow to cool before putting on or taking off parts, and before cleaning the appliance.
- Do not operate any appliance with a damaged cord or plug or after the appliance malfunctions, or has been damaged in any manner. Return appliance to the nearest authorized service facility for examination, repair, or adjustment.
- The use of accessory attachments not recommended by the appliance manufacturer may result in fire, electric shock, or personal injury.
- Do not use outdoors.
- Do not let cord hang over edge of table or counter, or touch hot surfaces.
- Do not place on or near a hot gas or electric burner, or in a heated oven.
- Always attach plug to appliance first, then plug cord into the wall outlet. To disconnect, turn any control to "off", then remove plug from wall outlet.
- Do not use appliance for other than intended use.
- Extreme caution must be used when moving an appliance containing hot water.
- The kettle is designed for heating water only. Do not fill with other liquids.
- Ensure the lid is securely closed before operating.
Product Components
Familiarize yourself with the different parts of your KRUPS Smart Temp Digital Kettle.

Figure 2: Labeled diagram of the kettle. Key components include the automatic lid opening, large opening for easy fill, large digital temperature screen, 5 pre-set temperature selections, ON/OFF button, stainless steel interior, cool touch exterior, and 360° rotating base.
- Automatic Lid Opening
- Large Opening for Easy Fill
- Large Digital Temperature Screen
- 5 Pre-set Temperature Selections
- ON/OFF Button
- Stainless Steel Interior
- Cool Touch Exterior
- 360° Rotating Base
Setup
Unpacking
Carefully remove all packaging materials from the kettle and its base. Ensure all components are present and undamaged. Dispose of packaging responsibly.
First Use Cleaning
- Fill the kettle with fresh water up to the MAX fill line.
- Boil the water (select 212°F).
- Discard the boiled water.
- Repeat this process two to three times to remove any manufacturing residues.
- Wipe the exterior with a damp cloth. Do not immerse the kettle or base in water.
Placement
Place the power base on a flat, stable, heat-resistant, and dry surface. Ensure the power cord is not dangling where it can be pulled or tripped over. The kettle can be placed on the 360° rotational base in any direction.
Operating Instructions
Filling the Kettle
Press the lid release button to open the automatic lid. Fill the kettle with the desired amount of fresh water. Do not fill below the MIN mark or above the MAX mark (1.7 L). Close the lid securely until it clicks.
Selecting Temperature and Boiling
Place the kettle on its power base. The digital screen will display the current water temperature. Use the one-touch button on the handle to cycle through the 5 preset temperatures:
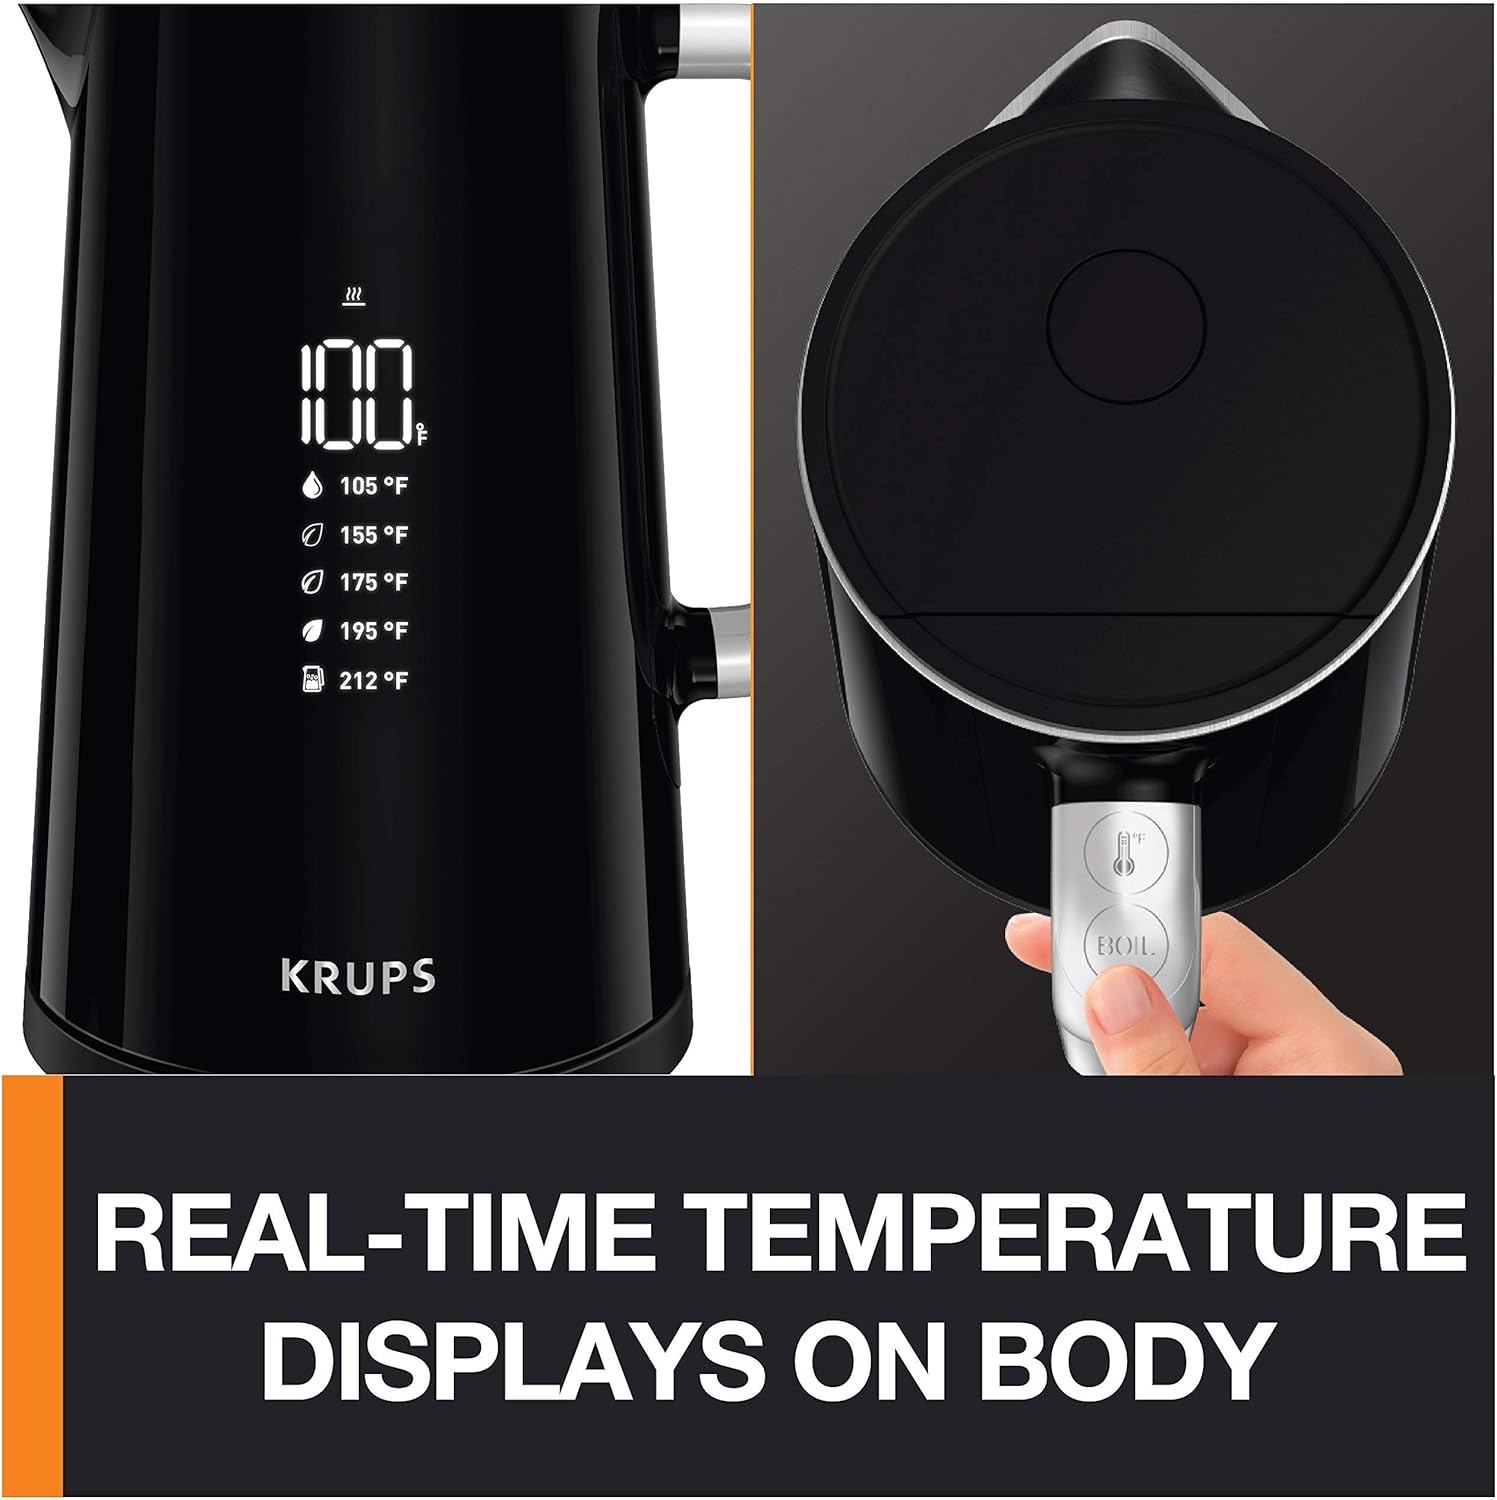
Figure 3: Real-time temperature display on the kettle body. This image highlights the digital screen showing the current water temperature and the selected preset.
- 105°F (Warm)
- 155°F (White Tea)
- 175°F (Green Tea)
- 195°F (Oolong Tea and Brewing Coffee)
- 212°F (Boil, Black & Herbal Tea)

Figure 4: Explanation of the 5 preset temperatures and their recommended uses. This image visually associates each temperature with a type of beverage.
Once the desired temperature is selected, the kettle will begin heating. The digital display will show the water's temperature as it rises. The kettle will beep when the target temperature is reached.
Keep-Warm Function
The kettle features an automatic 30-minute keep-warm function. After reaching the selected temperature, the kettle will maintain that temperature for 30 minutes. This function activates automatically.
Automatic Shut-Off
For safety and energy efficiency, the kettle will automatically shut off after the 30-minute keep-warm cycle or if it runs dry.
Cordless Serving
The kettle is cordless and can be lifted from its 360° rotational base for convenient serving.
Maintenance
Cleaning the Exterior
Wipe the exterior of the kettle and the power base with a soft, damp cloth. Do not use abrasive cleaners or scouring pads. Ensure the kettle is unplugged and cool before cleaning.
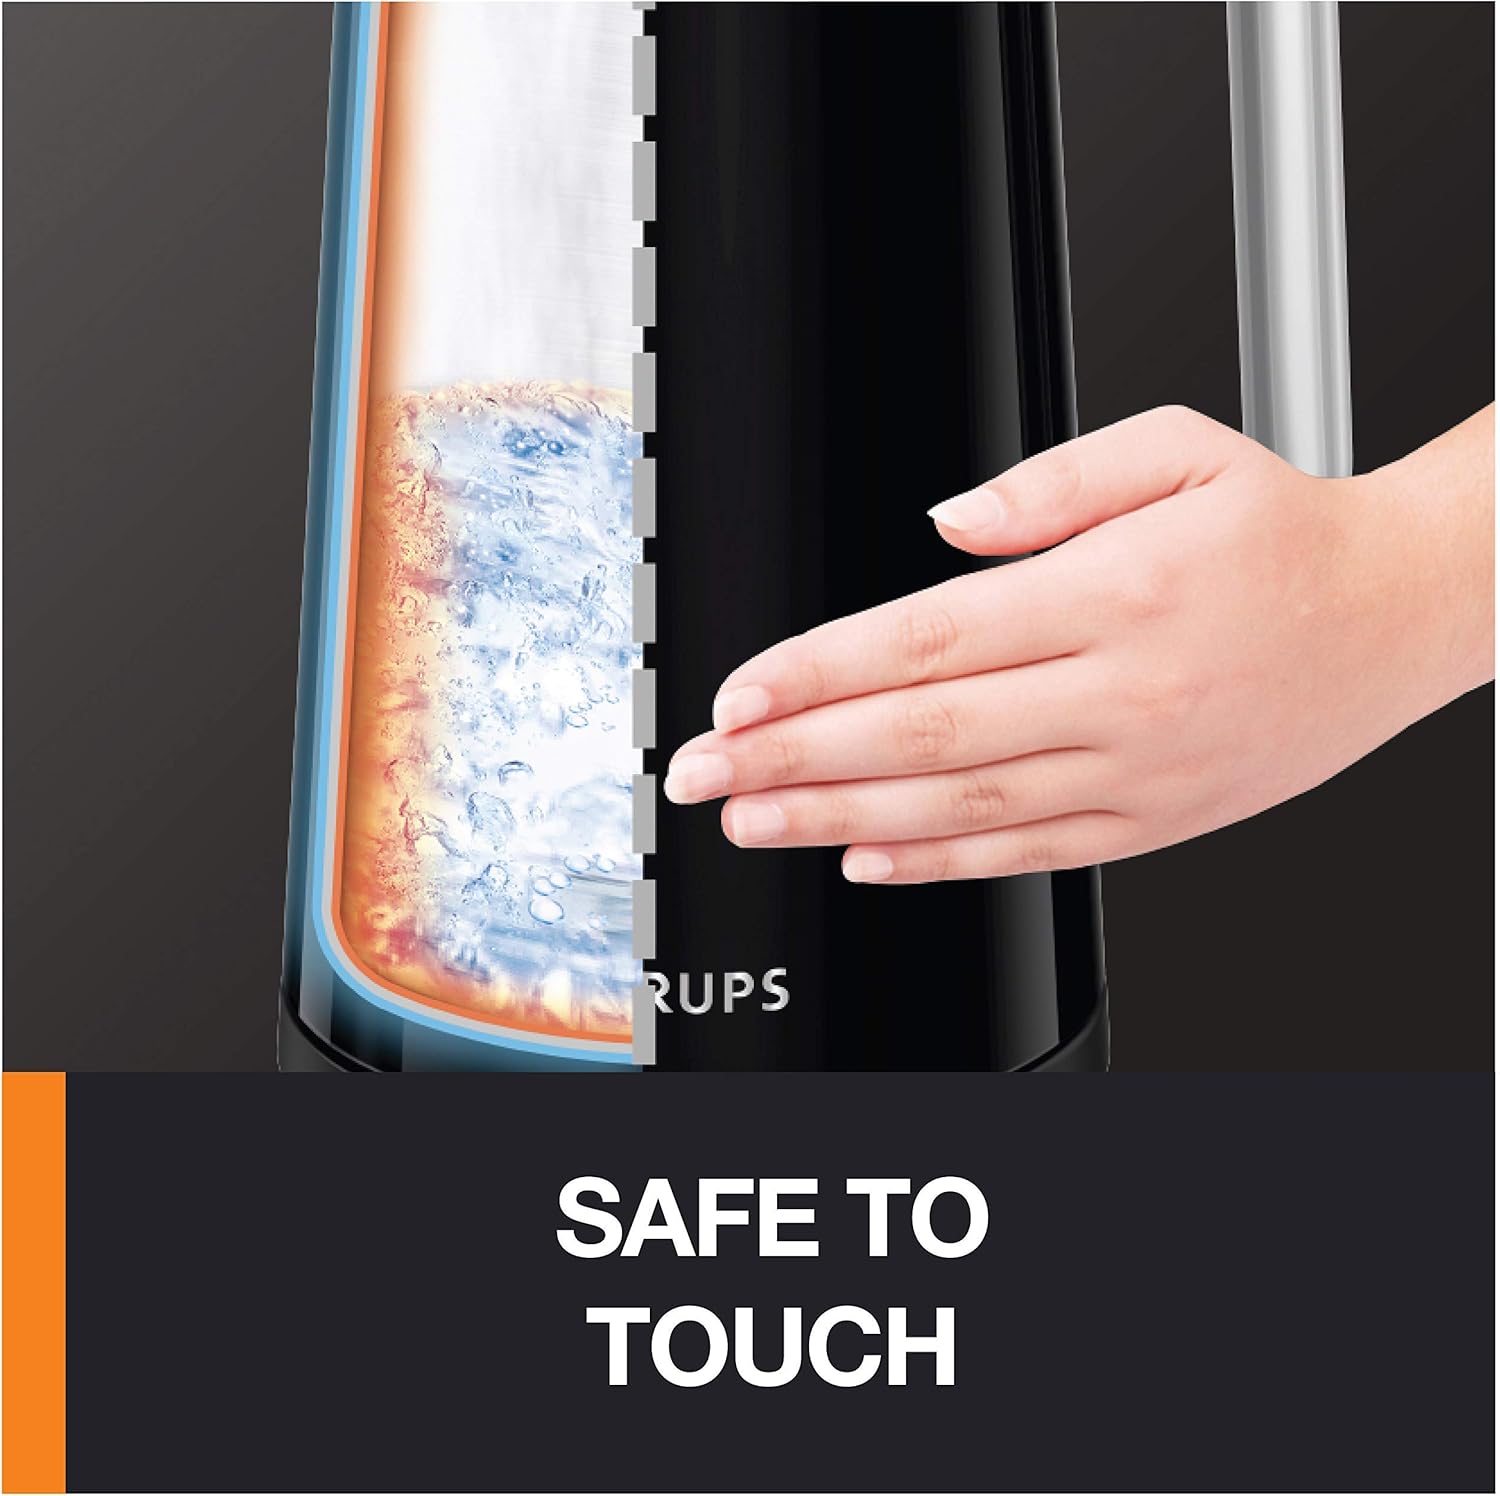
Figure 5: Illustration demonstrating the kettle's double-wall construction, which keeps the exterior cool to the touch even when water inside is boiling.
Descaling
Mineral deposits (limescale) can build up inside the kettle, especially in hard water areas. Regular descaling is recommended to maintain performance and extend the kettle's lifespan. Descale at least monthly or every other month, depending on water hardness.
- Fill the kettle with 2 cups of white vinegar and 2 cups of water. Alternatively, use a commercial descaling solution following its instructions.
- Bring the mixture to a boil (212°F) and let it stand for at least 30 minutes, or longer for heavy buildup.
- Empty the kettle and rinse thoroughly with fresh water several times.
- If necessary, repeat the process until all deposits are removed.
Note: Do not use abrasive materials or harsh chemicals inside the kettle, as this may damage the stainless steel interior.
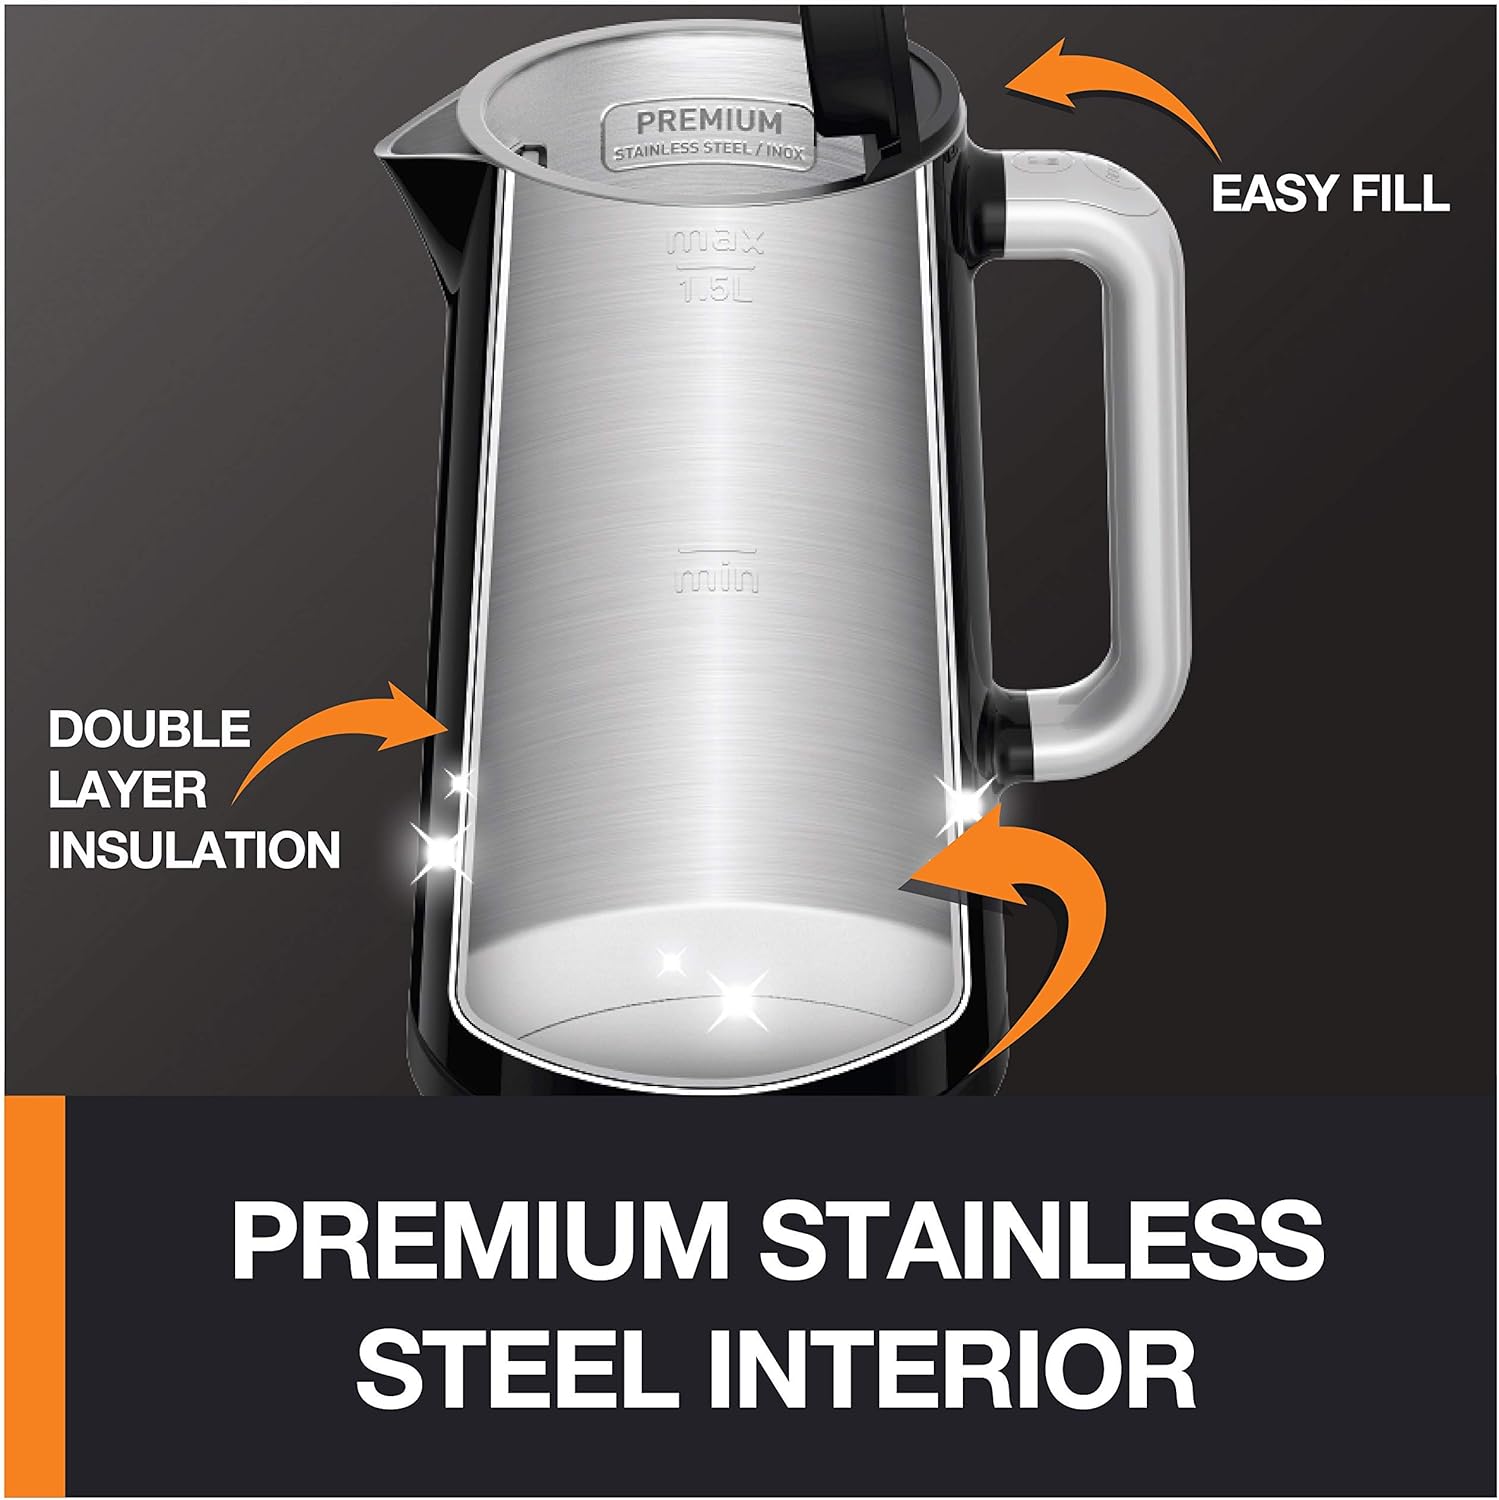
Figure 6: View of the kettle's premium stainless steel interior, highlighting the seamless construction and fill level markings.
Storage
Ensure the kettle is clean, dry, and cool before storing. Wrap the power cord around the base for neat storage. Store in a dry place away from direct sunlight and moisture.
Troubleshooting
| Problem | Possible Cause | Solution |
|---|---|---|
| Kettle does not heat. | Not plugged in; kettle not properly seated on base; no water; power outage. | Ensure plug is securely in outlet; place kettle correctly on base; fill with water; check household circuit breaker. |
| Water does not reach desired temperature. | Lid not closed properly; incorrect temperature setting selected. | Ensure lid is securely closed; verify the correct temperature preset is selected. |
| Kettle switches off too quickly. | Kettle is dry boiling; excessive limescale buildup. | Ensure kettle has sufficient water; descale the kettle regularly. |
| Unusual noise during operation. | Limescale buildup. | Descale the kettle. |
| Water tastes metallic or has residue. | New kettle residue; limescale buildup. | Perform first use cleaning again; descale the kettle. |
If the problem persists, please contact customer support.
Specifications
| Feature | Detail |
|---|---|
| Brand | KRUPS |
| Model | BW801852 |
| Capacity | 1.7 Liters |
| Color | Black |
| Material | Plastic, Stainless Steel (Interior) |
| Special Feature | Programmable, Digital Temperature Display, Keep-Warm Function, Auto Shut-Off, Cordless |
| Product Dimensions | 8.66 x 6.89 x 10.83 inches |
| Item Weight | 3.84 pounds |
| UPC | 786513108890 |
Warranty and Support
For detailed warranty information, please refer to the warranty card included with your product or visit the official KRUPS website. For technical support, replacement parts, or service inquiries, please contact KRUPS customer service directly.
You can typically find contact information on the manufacturer's website or in the product packaging.

