1. Introduction
Thank you for choosing the BEPER 50.245 USB Rechargeable Lint Remover. This innovative device is designed to effectively remove lint, fuzz, and pills from various fabrics, revitalizing your garments and upholstery. Its compact design, stainless steel blades, and USB rechargeable battery make it a convenient and efficient tool for fabric care. Please read this manual carefully before use to ensure safe and optimal operation.

Image 1.1: The BEPER 50.245 Lint Remover, showing the main unit, USB charging cable, transparent lint collector, and small cleaning brush.
2. Safety Information
To prevent injury or damage to the appliance, always observe basic safety precautions:
- Keep the device out of reach of children.
- Do not use the device on wet fabrics or directly on skin.
- Ensure the safety cap is securely in place when not in use.
- Do not disassemble the device beyond cleaning instructions.
- Avoid touching the blades directly.
- Use only the provided USB cable for charging.
- If the device is damaged, do not operate it. Contact customer support.
- The device features a safety system that prevents operation if the lint collector is not correctly installed. Ensure it is properly secured before turning on.
3. Product Components
- Main Lint Remover Unit with Stainless Steel Blades
- Removable Lint Collector
- USB Charging Cable (5V)
- Cleaning Brush
- Protective Cap

Image 3.1: Key features of the BEPER 50.245, including its rechargeable battery, stainless steel blades, 40-minute autonomy, and USB charging capability.
4. Setup and Charging
4.1 Initial Charge
Before first use, fully charge the lint remover. Connect the provided USB charging cable to the device's charging port and plug the other end into a standard USB power adapter (not included) or a computer's USB port. The charging indicator light will illuminate. A full charge provides approximately 40 minutes of continuous use.
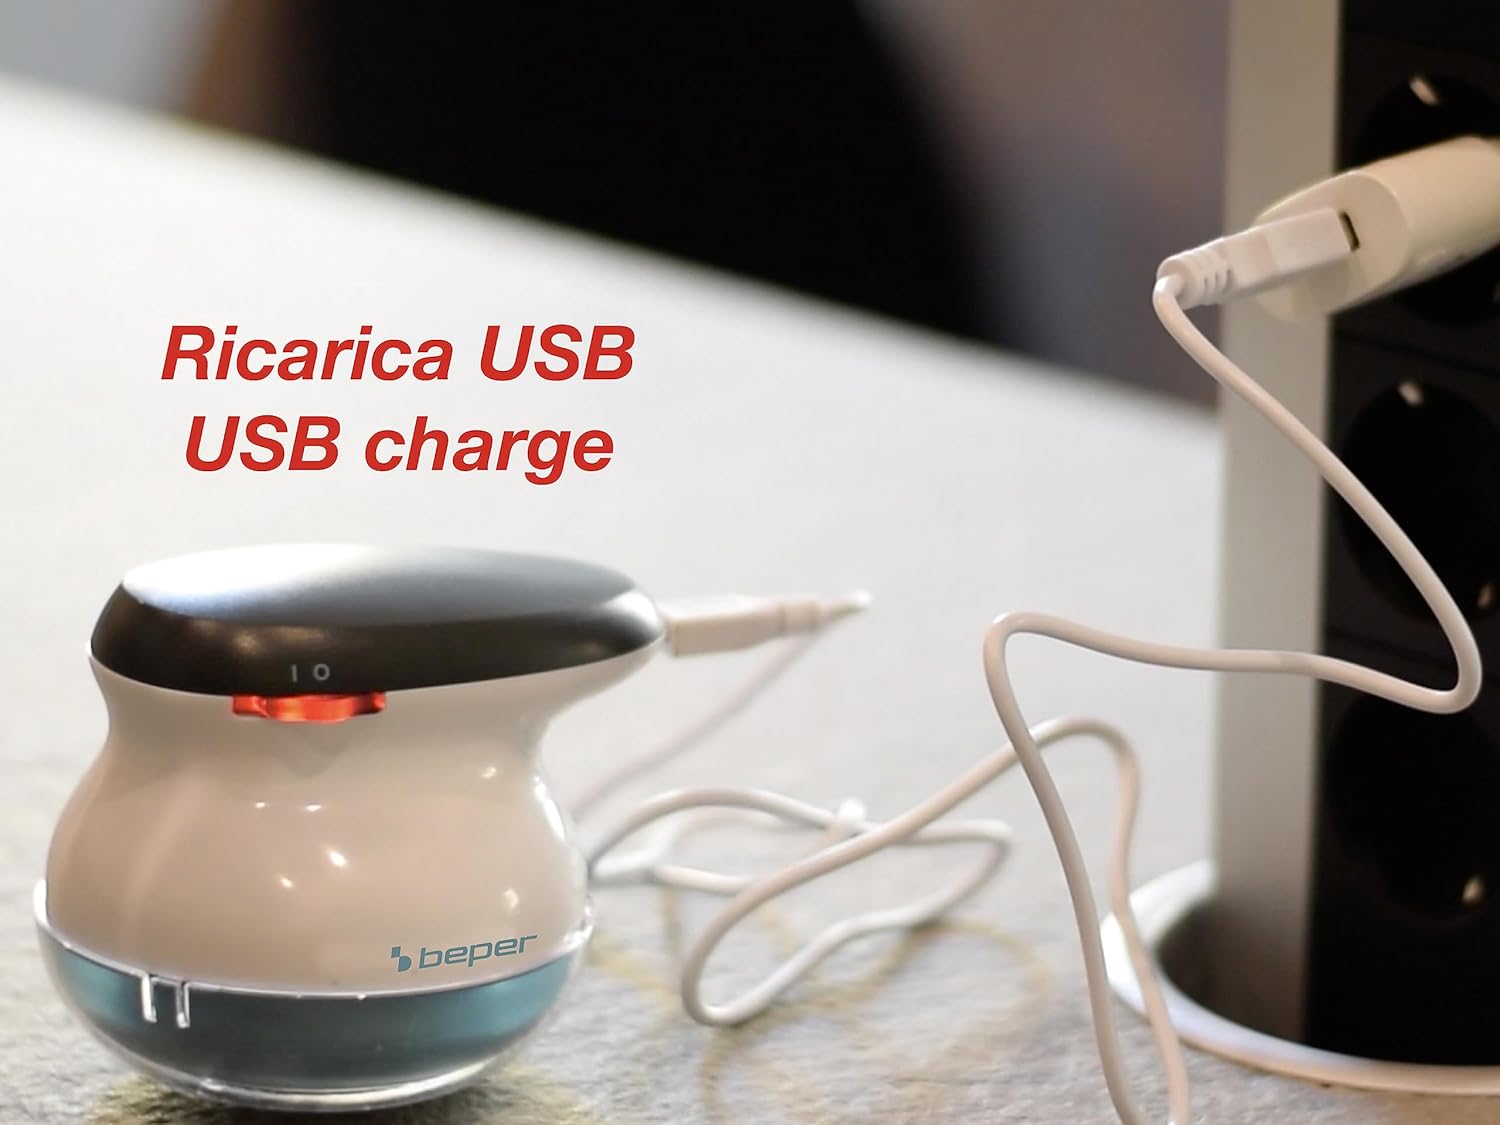
Image 4.1: The lint remover connected via USB cable to a power source, indicating it is charging.
4.2 Preparing for Use
Ensure the lint collector is securely attached to the main unit. The device will not operate if the collector is not properly installed due to its integrated safety mechanism.
5. Operating Instructions
5.1 Using the Lint Remover
- Place the garment or fabric on a flat, firm surface. Smooth out any wrinkles to ensure even contact with the shaver head.
- Turn on the device using the power switch.
- Gently glide the shaver head over the fabric surface, applying light pressure. Move in small, circular motions or straight strokes.
- The large blade surface and varied hole sizes on the protective grid are designed to efficiently capture lint and pills of all sizes.
- Periodically check the lint collector and empty it when it becomes full to maintain optimal performance.
- After use, turn off the device and replace the protective cap.

Image 5.1: Demonstrating the lint remover in action on a sweater, effectively removing fabric pills.

Image 5.2: The lint remover positioned on an ironing board, ready for use on various garments.
5.3 Suitable Fabrics
This lint remover is suitable for various fabrics, including:
- Sweaters (wool, cashmere, synthetic blends)
- Coats and jackets
- Socks
- Upholstery and blankets

Image 5.3: Examples of items suitable for lint removal, including socks, sweaters, coats, and home textiles.

Image 5.4: A visual demonstration of how the lint remover regenerates old clothes, showing a 'before' image with pilling and an 'after' image of smooth fabric.
6. Maintenance and Cleaning
Regular cleaning ensures the longevity and optimal performance of your lint remover.
- Emptying the Lint Collector: After each use, or when the collector is full, twist and remove the transparent lint collector from the main unit. Dispose of the collected lint.
- Cleaning the Blades and Grid: Use the provided cleaning brush to gently brush away any remaining lint or debris from the stainless steel blades and the protective grid. Do not use water or harsh chemicals.
- Reassembly: Once clean, securely reattach the lint collector to the main unit. Ensure it clicks into place to activate the safety mechanism.

Image 6.1: Illustration of how to remove the lint collector for easy emptying.
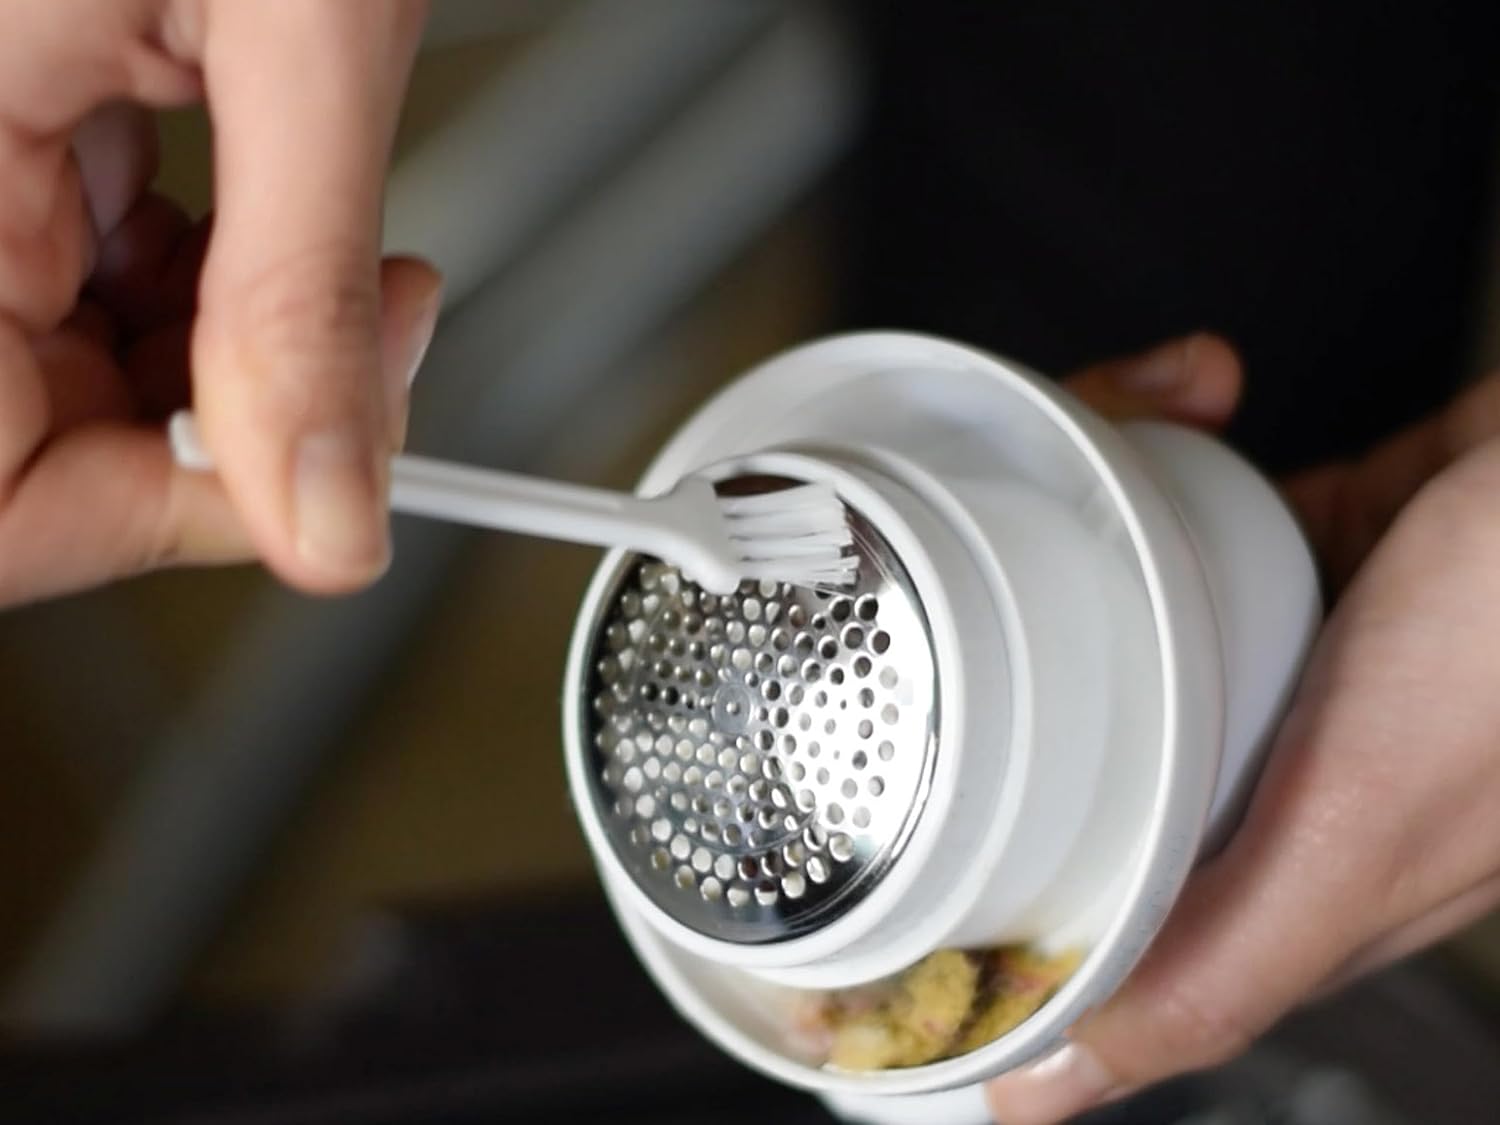
Image 6.2: The cleaning brush being used to clear lint from the shaver head and blades.
7. Troubleshooting
| Problem | Possible Cause | Solution |
|---|---|---|
| Device does not turn on. | Battery is depleted. Lint collector not properly installed. | Charge the device using the USB cable. Ensure the lint collector is securely attached. |
| Lint is not being removed effectively. | Lint collector is full. Blades are clogged with lint. Battery is low. | Empty the lint collector. Clean the blades and grid with the brush. Recharge the device. |
| Device stops during operation. | Lint collector is full or loose. Battery is low. | Empty and re-secure the lint collector. Recharge the device. |
| Device feels warm during use. | Normal operation, especially during extended use. | If excessively hot, turn off and allow to cool. Ensure blades are clean and not obstructed. |
8. Specifications
- Brand: BEPER
- Model Number: 50.245
- Color: White/Octane
- Dimensions (L x W x H): 9.2 x 9.1 x 9.32 cm
- Item Weight: 210 grams
- Material: Alloy Steel (Blades)
- Power Source: USB Rechargeable (5V)
- Battery Autonomy: Approximately 40 minutes
- Operation Mode: Automatic
- Country of Origin: China
9. Warranty and Support
BEPER products are designed for quality and reliability. For any questions, concerns, or warranty claims, please refer to the warranty card included with your purchase or contact BEPER customer support through their official website or your retailer. Please retain your proof of purchase for warranty purposes.


