1. Introduction
The Honeywell Home MT1 Mechanical On/Off Room Thermostat is designed to provide automatic on/off control for gas boilers, circulation pumps, relays, and zone valves in various heating, cooling, or combined heating/cooling systems. Its robust design and simple operation make it an effective solution for temperature regulation.
This manual provides essential information for the safe and efficient installation, operation, and maintenance of your thermostat.
2. Safety Information
WARNING: Electrical Shock Hazard
- Always disconnect power to the heating/cooling system at the main circuit breaker before installing or servicing the thermostat.
- Installation should only be performed by a qualified electrician or heating engineer in accordance with local regulations.
- Do not operate the thermostat with wet hands.
- Ensure all wiring connections are secure and properly insulated.
Read all instructions carefully before proceeding with installation or operation.
3. Package Contents
Verify that your package contains the following items:
- Honeywell Home MT1 Mechanical On/Off Room Thermostat
- Instruction Manual
- Mounting Screws
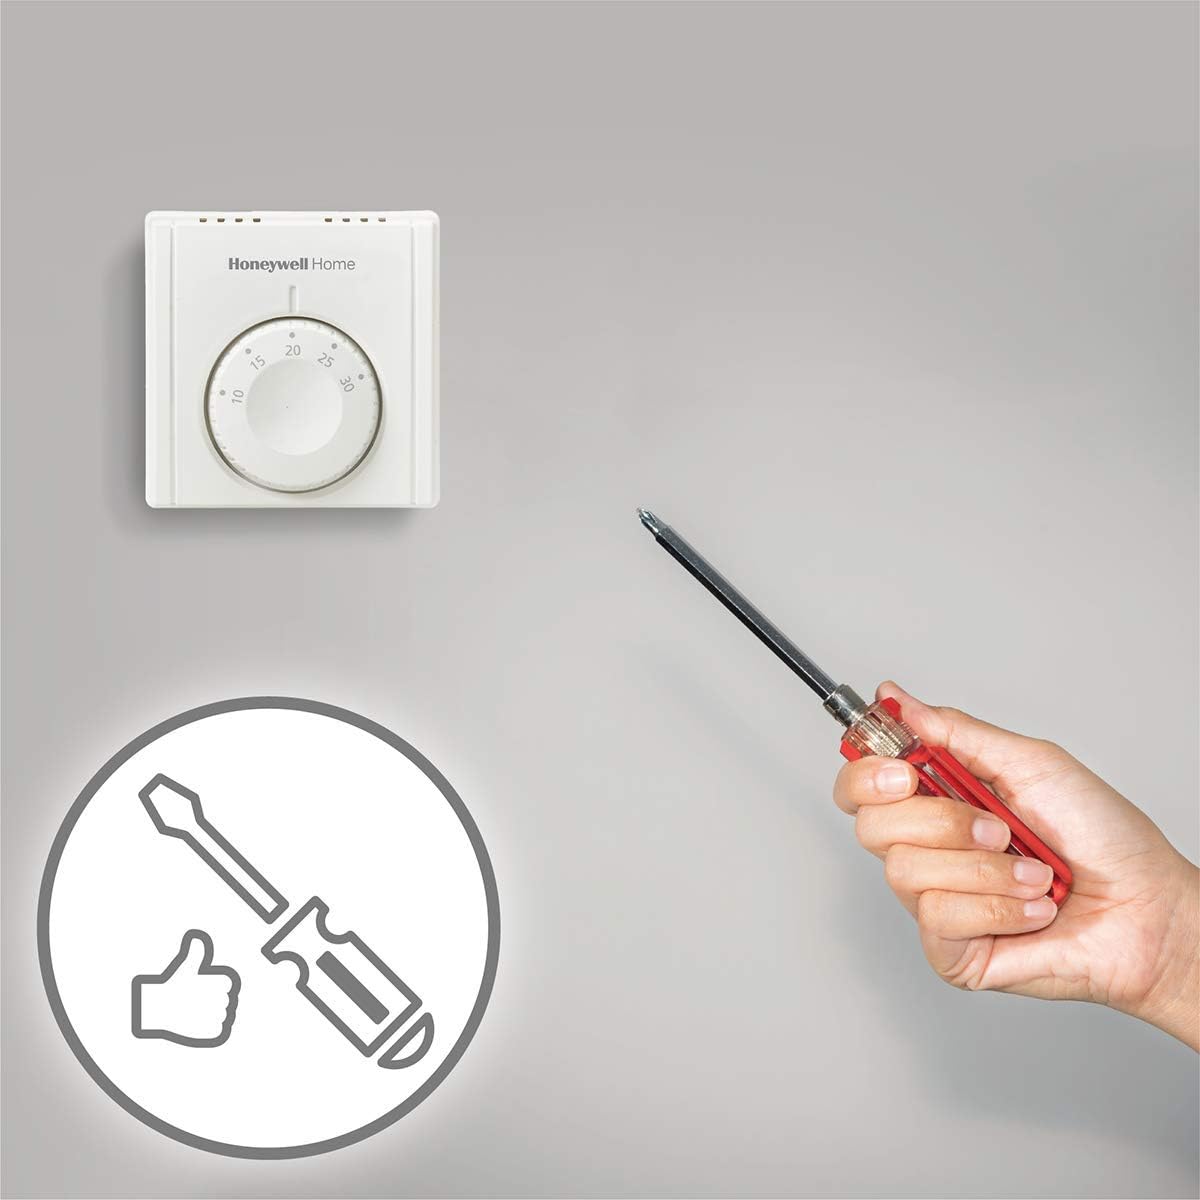
4. Installation
The MT1 thermostat is designed for direct wall mounting or installation on a conduit box. Follow these steps for proper installation:
- Choose a Location: Select a central location in the room, away from direct sunlight, drafts, or heat sources (e.g., radiators, lamps) that could affect temperature readings. The thermostat should be mounted at approximately 1.5 meters (5 feet) above the floor.
- Disconnect Power: Turn off the power supply to your heating/cooling system at the main circuit breaker before beginning any wiring.
- Separate the Thermostat: Carefully separate the front cover from the backplate of the thermostat. The backplate is used for mounting and wiring.
- Mount the Backplate: Position the backplate on the wall or conduit box. Mark the drilling points. Drill holes if necessary and insert wall plugs. Secure the backplate using the provided mounting screws.
- Wiring: Connect the system wiring to the easy-to-connect terminals on the backplate. The integrated conductor clamps ensure secure wiring. Refer to the wiring diagram provided with your specific unit for correct connections.
- Attach the Thermostat: Once wiring is complete and secure, carefully reattach the front cover of the thermostat to the mounted backplate. Ensure it clicks firmly into place.
- Restore Power: Turn the power supply back on at the main circuit breaker.


Installation Video
Video 1: This video provides a product demonstration, including aspects of its physical installation and basic setup. It shows the thermostat being handled and its backplate revealed for wiring.
5. Operating Instructions
The Honeywell Home MT1 thermostat features a simple mechanical dial for temperature adjustment.
- Adjusting Temperature: Rotate the central dial to set your desired room temperature. The temperature scale is typically from 10°C to 30°C.
- Temperature Control: The thermostat will automatically turn your heating or cooling system on or off to maintain the set temperature. The dual diaphragm sensing element ensures accurate temperature control.
- Heat Anticipator: The integrated heat anticipator helps to provide close temperature control, especially in systems with a high heating ramp rate, preventing overshoots.
- Cooling Loads: The thermostat supports changeover contact switching for cooling applications.


Operation Video
Video 2: This product demonstration video also illustrates the basic operation of the thermostat, including how to adjust the temperature using the dial.
Video 3: A close-up video showing the thermostat's components and how the dial mechanism works, providing a detailed view of its internal structure and functionality.
6. Maintenance
The Honeywell Home MT1 thermostat requires minimal maintenance.
- Cleaning: Periodically wipe the exterior of the thermostat with a soft, dry cloth. Do not use abrasive cleaners, solvents, or chemical sprays, as these can damage the finish or internal components.
- Avoid Obstructions: Ensure that the thermostat is not covered by furniture, curtains, or other objects that could obstruct airflow and affect its ability to accurately sense room temperature.
- No User Serviceable Parts: The thermostat contains no user-serviceable parts. Do not attempt to open or repair the unit yourself. Contact qualified personnel for any issues beyond basic operation.
7. Troubleshooting
If you experience issues with your Honeywell Home MT1 thermostat, consider the following common solutions:
- System Not Responding:
- Check if the main power supply to your heating/cooling system is on.
- Ensure the thermostat is securely mounted and all wiring connections are firm.
- Verify that the set temperature is above (for heating) or below (for cooling) the current room temperature.
- Inaccurate Temperature Reading:
- Confirm the thermostat is not exposed to direct sunlight, drafts, or heat sources.
- Ensure there are no obstructions around the thermostat that could impede airflow.
- Thermostat Not Turning On/Off:
- If the system is a boiler with radiators, ensure that individual radiator thermostats (TRVs) are not set to a lower temperature than the room thermostat.
- If the issue persists, contact a qualified technician for inspection.
8. Specifications
| Feature | Specification |
|---|---|
| Model Number | THR830TEU |
| Dimensions (L x W x H) | 8.3 x 3.5 x 8.3 cm |
| Weight | 290 g |
| Size | Compact |
| Color | White |
| Style | On/Off Mechanical |
| Finish | Matte |
| Shape | Rectangular |
| Power Source | Cables |
| Voltage | 230 Volts |
| Number of Products | 1 |
| Display Type | Analog |
| Mounting Type | Wall mount |
| Special Features | Automatic |
| Usage | Boiler |
| Batteries Required | No |
| Connectivity Technology | Wifi (Note: This is a mechanical thermostat; Wi-Fi functionality may refer to compatible smart home systems or other product variants.) |
| Control Type | Push button (Note: The primary control is a mechanical dial.) |
| Temperature Control Type | Heating |
| Setpoint Range | 10 to 30°C |
| Operating Temperature Range | 0 to 40°C |
9. Warranty and Support
For warranty information, please refer to the documentation provided at the time of purchase or contact your retailer. For technical support or further assistance, please visit the official Honeywell Home website or contact their customer service.
You can find more information about Honeywell Home products at their official store: Honeywell Home Store.


