1. Introduction
This manual provides essential instructions for the safe and effective use of your HZPOWEN YM-928 6 Volt Battery Charger. This charger is designed to power various 6V ride-on toys and vehicles. Please read this manual thoroughly before first use and retain it for future reference.
1.1 Product Overview
The HZPOWEN YM-928 is a 6V 1A AC adapter charger featuring a red square plug, specifically designed for compatibility with numerous children's ride-on cars and quads. It is built with multiple protection features to ensure safe charging.

Image 1.1: The HZPOWEN YM-928 6 Volt Battery Charger, showing the main unit, power cord, and red square connector plug.
1.2 Compatibility
This charger is compatible with a range of 6V ride-on vehicles that utilize a red square plug connector. Known compatible models include, but are not limited to:
- BMX X6
- Kid TRAX Disney GMC
- Dinsney Wal-Mart Kid TRAX Moto ATV Quad
- Disney Ride On Car
- Pacific Cycle Disney Quad 4 Wheel
- Marvel The Avenger, Good Dinosaur, Princess, Fairies, Minnie Mouse, Frozen, Car McQueen ATV 6V battery ride-on toys.
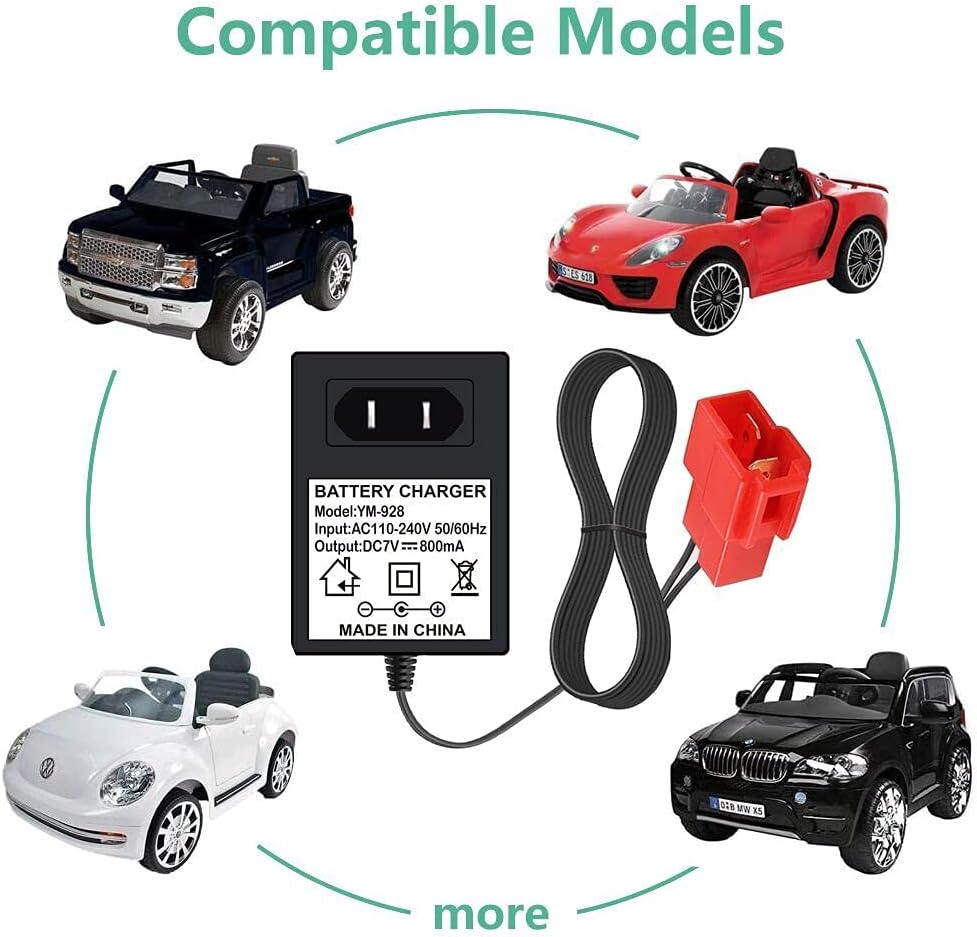
Image 1.2: Visual representation of various ride-on car models compatible with the HZPOWEN YM-928 charger, including a black truck, red sports car, white beetle, and black SUV.
2. Safety Instructions
To prevent injury or damage to the charger or battery, always observe the following safety precautions:
- Indoor Use Only: This charger is designed for indoor use. Do not expose it to rain, moisture, or extreme temperatures.
- Voltage Compatibility: Only use this charger with 6V batteries. Using it with incompatible voltage batteries may cause damage or fire.
- Inspect Before Use: Before each use, inspect the charger, cord, and connector for any signs of damage. Do not use if damaged.
- Proper Ventilation: Ensure adequate ventilation around the charger during operation. Do not cover the charger.
- Unplug When Not In Use: Always unplug the charger from the power outlet and the battery when not in use or before cleaning.
- Adult Supervision: Charging should always be performed under adult supervision, especially when children are present.
- Avoid Overcharging: The charger is designed to prevent overcharging, but it is recommended to disconnect the battery once fully charged. Ensure the battery is healthy and has not been left uncharged for extended periods (longer than 6 months).
- Protection Features: The charger incorporates multiple protection designs including over voltage, over current, short circuit, and temperature protection.

Image 2.1: Diagram illustrating the multiple protection features of the charger, including over voltage, over current, short circuit, and temperature protection, indicated by icons.
3. Setup
Follow these steps to prepare your charger for use:
- Unpack: Carefully remove the charger from its packaging.
- Inspect: Examine the charger unit, power cord, and the red square connector for any visible damage. Do not proceed if any damage is found.
- Identify Connector: Ensure the red square plug on the charger matches the charging port on your 6V ride-on vehicle.

Image 3.1: A detailed close-up of the red square plug connector, highlighting its shape and terminals for proper identification.
4. Operating Instructions (Charging)
To charge your 6V ride-on vehicle battery:
- Connect to Battery: Insert the red square plug of the charger firmly into the charging port of your ride-on vehicle.
- Connect to Power: Plug the charger's AC adapter into a standard 100-240V wall outlet.
- Monitor Indicator Light: The charger typically features an indicator light.
- A red light usually indicates that the battery is charging.
- A green light typically indicates that the battery is fully charged or not connected.
- Charging Time: Charging times vary depending on the battery's capacity and discharge level. Refer to your vehicle's manual for specific charging duration recommendations.
- Disconnect: Once the battery is fully charged (indicated by a green light), first unplug the charger from the wall outlet, then disconnect the red square plug from the vehicle's charging port.
Important: Do not leave the battery connected to the charger indefinitely after it is fully charged. While the charger has overcharge protection, prolonged connection is not recommended.
5. Maintenance
Proper maintenance ensures the longevity and safe operation of your charger:
- Cleaning: Disconnect the charger from both the power outlet and the battery before cleaning. Wipe the exterior with a dry, soft cloth. Do not use liquid cleaners or solvents.
- Storage: Store the charger in a cool, dry place away from direct sunlight and moisture when not in use. Keep it out of reach of children.
- Cord Care: Avoid bending or crimping the power cord excessively. Do not wrap the cord tightly around the charger.
- Battery Health: For optimal battery life, ensure the ride-on vehicle's battery is not left uncharged for periods longer than 6 months. Regular charging helps maintain battery health.
6. Troubleshooting
If you encounter issues with your charger, refer to the following common problems and solutions:
| Problem | Possible Cause | Solution |
|---|---|---|
| Charger indicator light does not turn on. | No power from outlet, charger not plugged in correctly, or charger malfunction. | Check wall outlet with another device. Ensure charger is fully plugged into the outlet. Inspect charger and cord for damage. |
| Battery is not charging (light remains green or off when connected). | Loose connection, faulty battery, or incorrect charger. | Ensure the red square plug is securely connected to the vehicle's charging port. Verify the battery is healthy. Confirm this charger is the correct voltage (6V) and connector type for your vehicle. |
| Charger becomes excessively hot. | Poor ventilation, internal fault. | Ensure charger is in a well-ventilated area. Discontinue use immediately if overheating occurs and contact support. |
If the problem persists after attempting these solutions, please contact customer support.
7. Specifications
Detailed specifications for the HZPOWEN YM-928 6 Volt Battery Charger:
- Model: YM-928
- Input: AC 100-240V, 50/60Hz
- Output: DC 6V, 1A (800mA as per image)
- Connector Type: Red Square Plug
- Cord Length: Approximately 5 feet (1.5 meters)
- Dimensions (Charger Unit): Approximately 3.07 inches (length) x 1.96 inches (width)
- Item Weight: Approximately 2.08 ounces (0.06 Kilograms)
- Certifications: CE, FCC, RoHS
- Protection Features: Over Voltage Protection, Over Current Protection, Short Circuit Protection, Temperature Protection

Image 7.1: Diagram showing the physical dimensions (3.07 inches length, 1.96 inches width) and electrical specifications (Input: 110-240V, Output: 7V-800mA) of the charger unit, along with a 5-foot cord length.

Image 7.2: A close-up view of the charger's label, displaying the model number (YM-928), input voltage (AC110-240V 50/60Hz), and output voltage/current (DC7V 800mA), along with safety symbols.
8. Warranty and Support
8.1 Warranty Information
The HZPOWEN YM-928 6 Volt Battery Charger comes with a 1-Year Warranty from the date of purchase. This warranty covers manufacturing defects under normal use. It does not cover damage caused by misuse, accidents, unauthorized modifications, or improper installation.
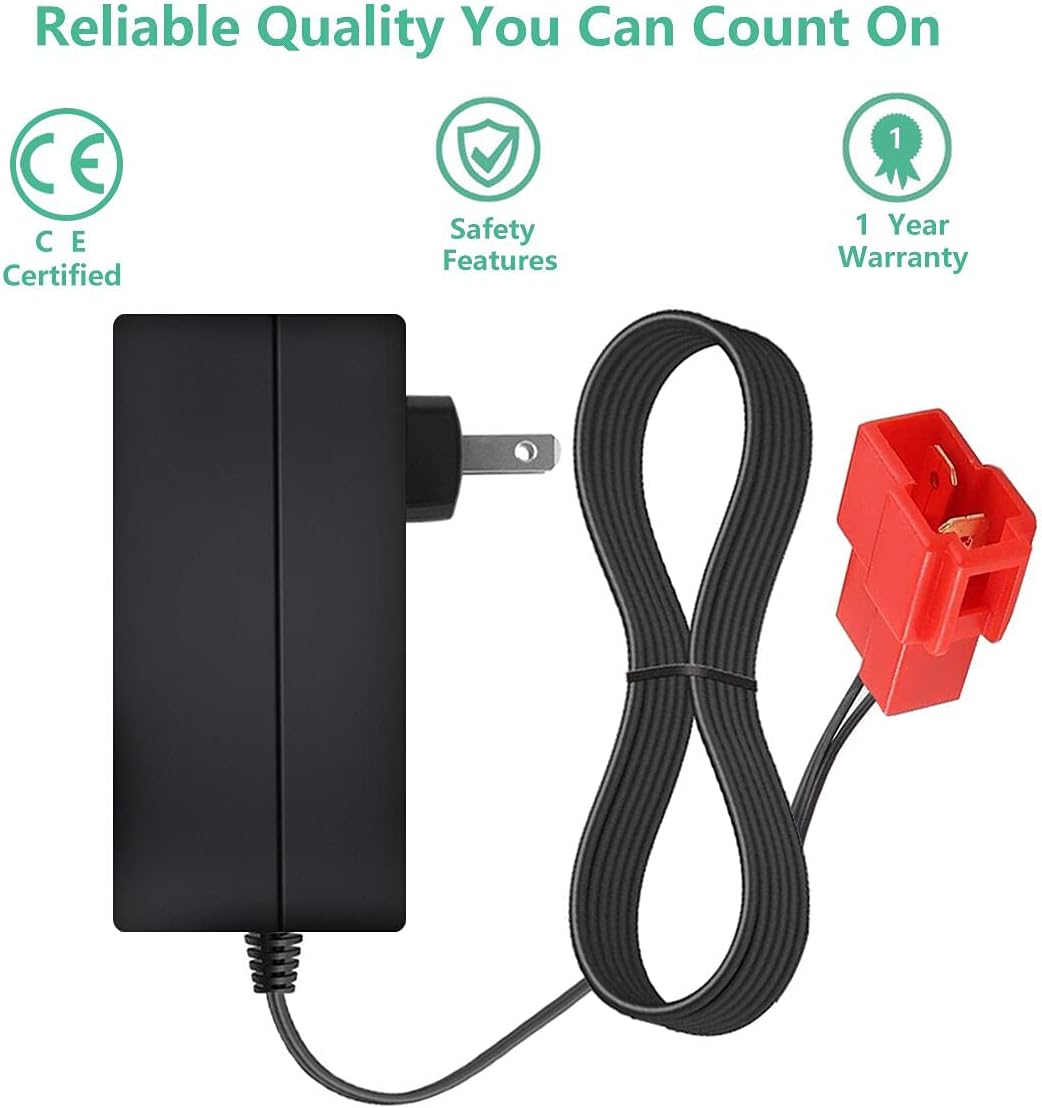
Image 8.1: Icons representing reliable quality, including CE certification, safety features, and a 1-year warranty.
8.2 Customer Support
For technical assistance, warranty claims, or any questions regarding your HZPOWEN YM-928 charger, please contact the seller or manufacturer directly through your purchase platform. Please have your order number and product model (YM-928) available when contacting support.


