
EUGAD 0018WY
EUGAD 0018WY Under-Sink Bathroom Cabinet Instruction Manual
Model: 0018WY
Introduction
This manual provides detailed instructions for the assembly, operation, and maintenance of your EUGAD 0018WY Under-Sink Bathroom Cabinet. Please read this manual thoroughly before beginning assembly to ensure proper installation and safe use of the product. Keep this manual for future reference.

Image: Front view of the EUGAD 0018WY under-sink bathroom cabinet, showcasing its two white doors, natural wood top, and four splayed wooden legs.
Safety Instructions
- Always follow the assembly instructions carefully. Incorrect assembly can lead to instability and potential injury.
- Ensure all screws and fasteners are securely tightened before use. Periodically check and re-tighten as necessary.
- Do not overload the cabinet. The maximum weight capacity for the cabinet is 5 kg.
- Keep small parts and assembly hardware out of reach of children and pets to prevent choking hazards.
- Place the cabinet on a flat, stable surface to prevent tipping.
- Avoid exposing the cabinet to excessive moisture or direct water contact for prolonged periods, despite its moisture-resistant properties, to prolong its lifespan.
- Use caution when moving the cabinet to prevent damage or injury.
Package Contents
Before assembly, verify that all components are present and undamaged. If any parts are missing or damaged, please contact customer support.
| Part | Description | Quantity |
|---|---|---|
| Top Panel | With sink cutout | 1 |
| Side Panels | Left and Right | 2 |
| Bottom Panel | Base of the cabinet | 1 |
| Back Panels | Rear sections | 2 |
| Shelf | Adjustable interior shelf | 1 |
| Doors | Front cabinet doors | 2 |
| Wooden Legs | Support legs | 4 |
| Door Handles | Wooden handles | 2 |
| Hardware Pack | Screws, dowels, hinges, magnetic catches | 1 set |
Setup and Assembly
Follow these steps to assemble your EUGAD under-sink cabinet. It is recommended to have two people for assembly.
- Step 1: Attach Legs to Bottom Panel.
Secure the four wooden legs to the designated corners on the underside of the bottom panel using the provided screws. Ensure they are firmly attached.

Image: Detail showing the splayed wooden legs, which attach to the bottom panel of the cabinet.
- Step 2: Assemble the Cabinet Frame.
Connect the side panels to the bottom panel and the top panel. Use dowels and screws as indicated in the detailed diagram. The top panel has a U-shaped cutout for the sink pipe.

Image: Assembly diagram illustrating the connection points and dimensions of the cabinet components, including the top panel with its sink cutout.
- Step 3: Install the Back Panels.
Slide the two back panels into the grooves on the rear of the cabinet frame. Ensure the cutouts on the back panels align with the sink pipe area.
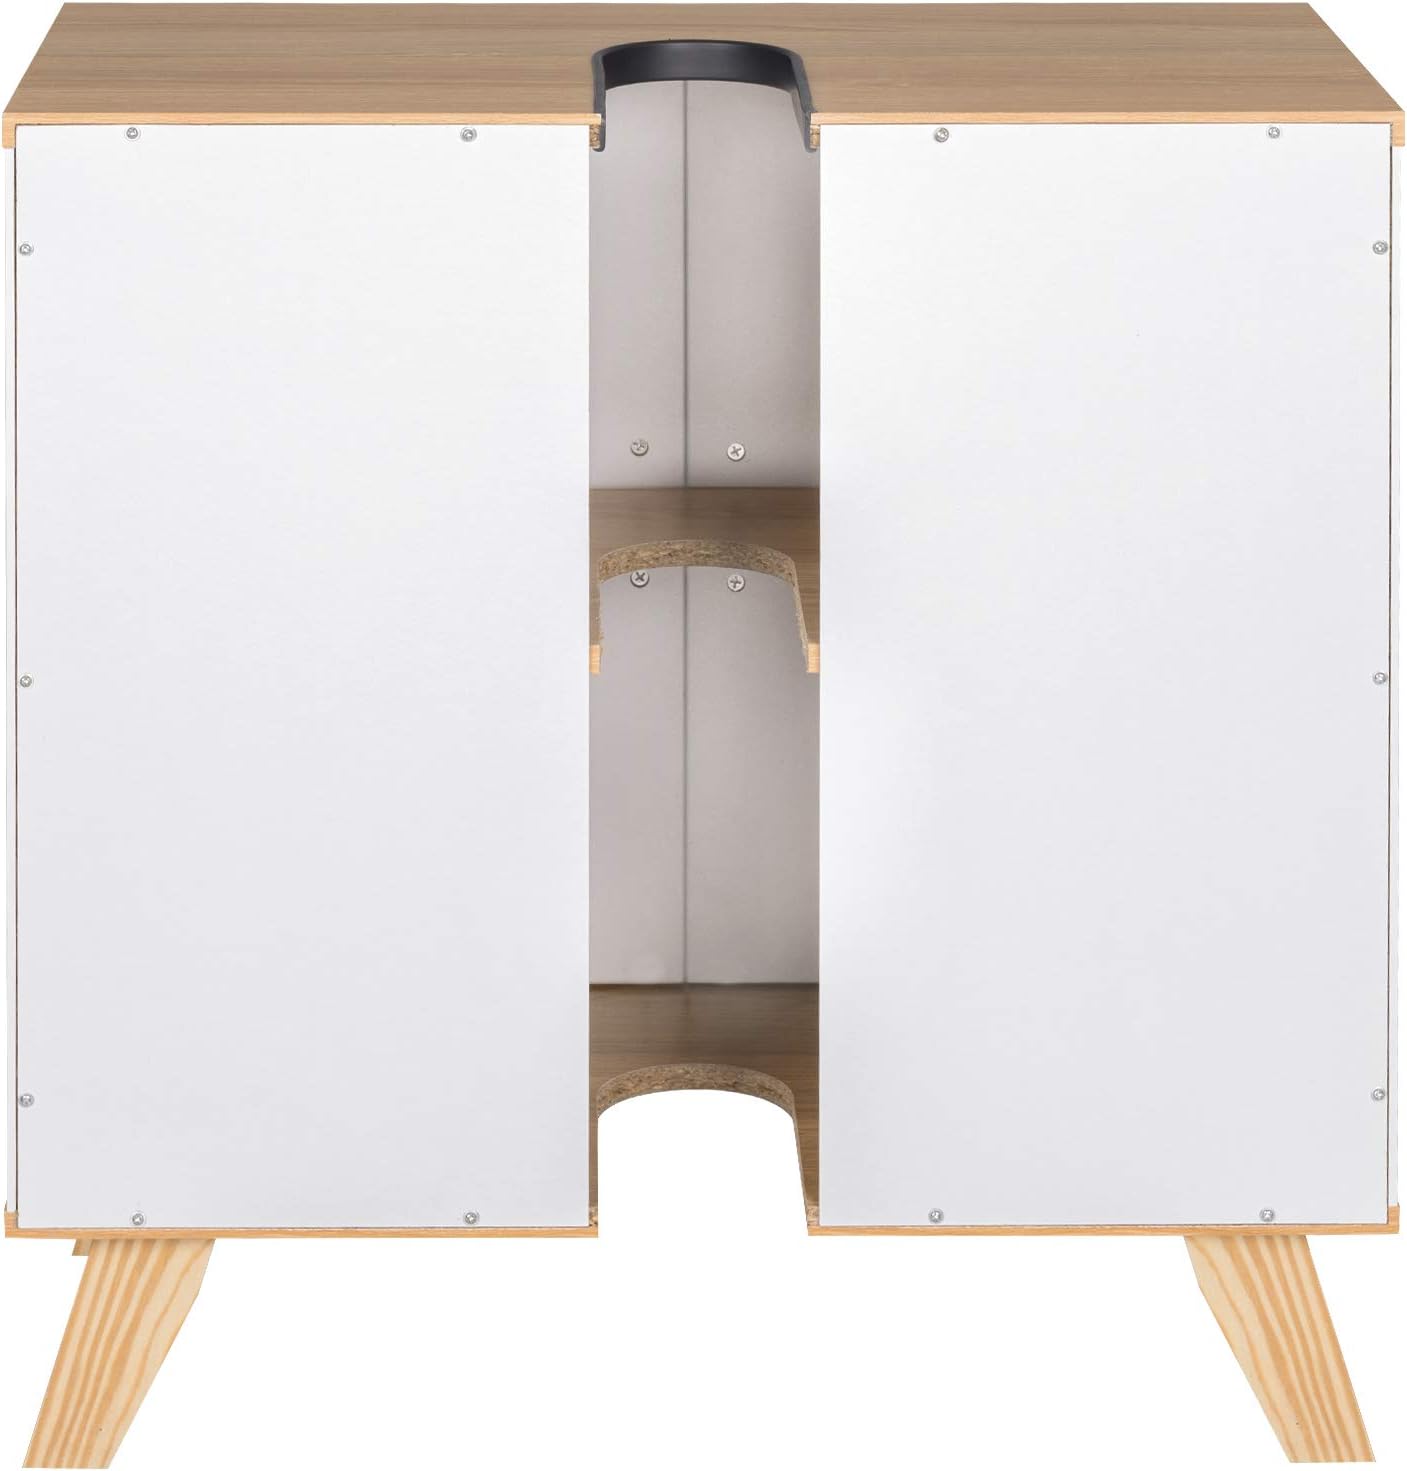
Image: Rear view of the cabinet, highlighting the two back panels and the central cutout designed to accommodate plumbing pipes.
- Step 4: Insert the Interior Shelf.
Place the adjustable shelf into the desired position using the shelf pins. The shelf also has a cutout to accommodate the sink pipe.
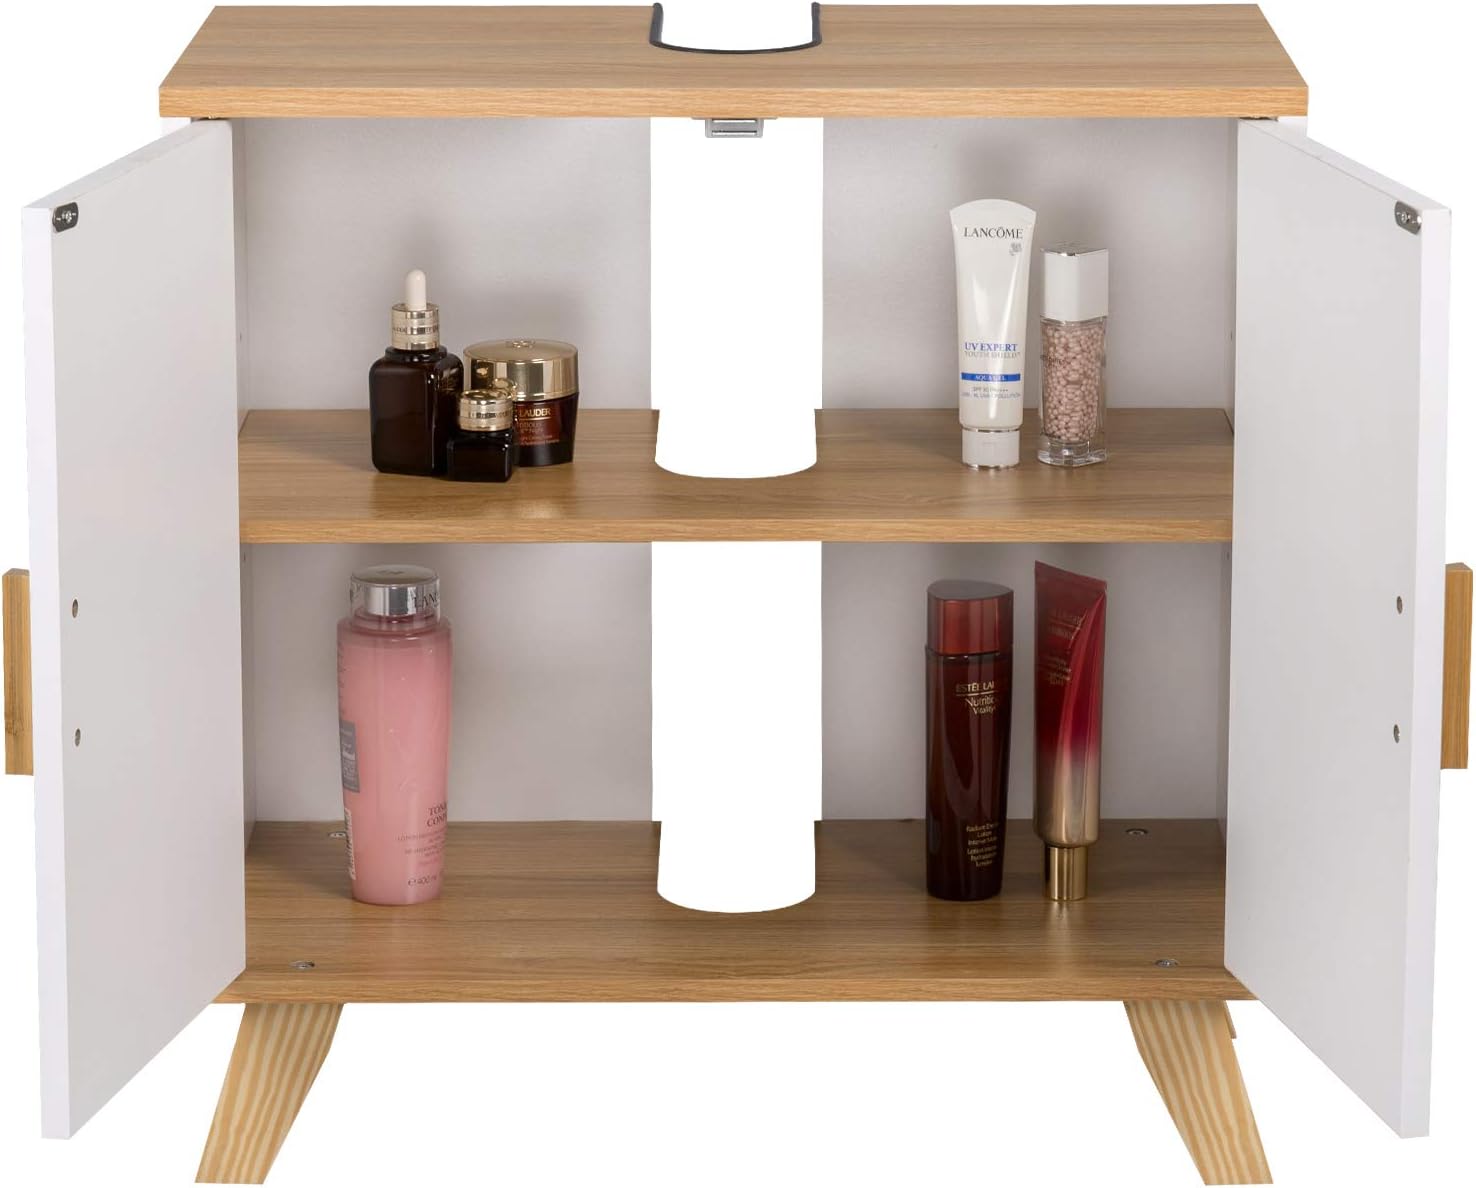
Image: Open cabinet interior, displaying the adjustable shelf with a central cutout for plumbing, and demonstrating storage capacity for toiletries.
- Step 5: Attach Doors and Handles.
Attach the hinges to the cabinet doors and then to the side panels of the cabinet. Install the magnetic catches on the top panel and the corresponding plates on the doors. Finally, attach the wooden handles to the front of the doors.

Image: Detailed view of the cabinet's magnetic door catch located on the top panel and a metal door hinge, ensuring secure closure.
Operating Instructions
The EUGAD 0018WY cabinet is designed for storage under a bathroom sink. Its primary function is to conceal plumbing and provide organized storage space for bathroom essentials.
- Placement: Position the cabinet directly under your bathroom sink, ensuring the U-shaped cutout on the top panel and the cutouts on the shelf and back panels align with your sink's plumbing.
- Storage: Open the two front doors to access the interior. Utilize the adjustable shelf to organize items such as toiletries, cleaning supplies, or towels.
- Door Closure: The doors are equipped with magnetic catches to ensure they remain securely closed when not in use.
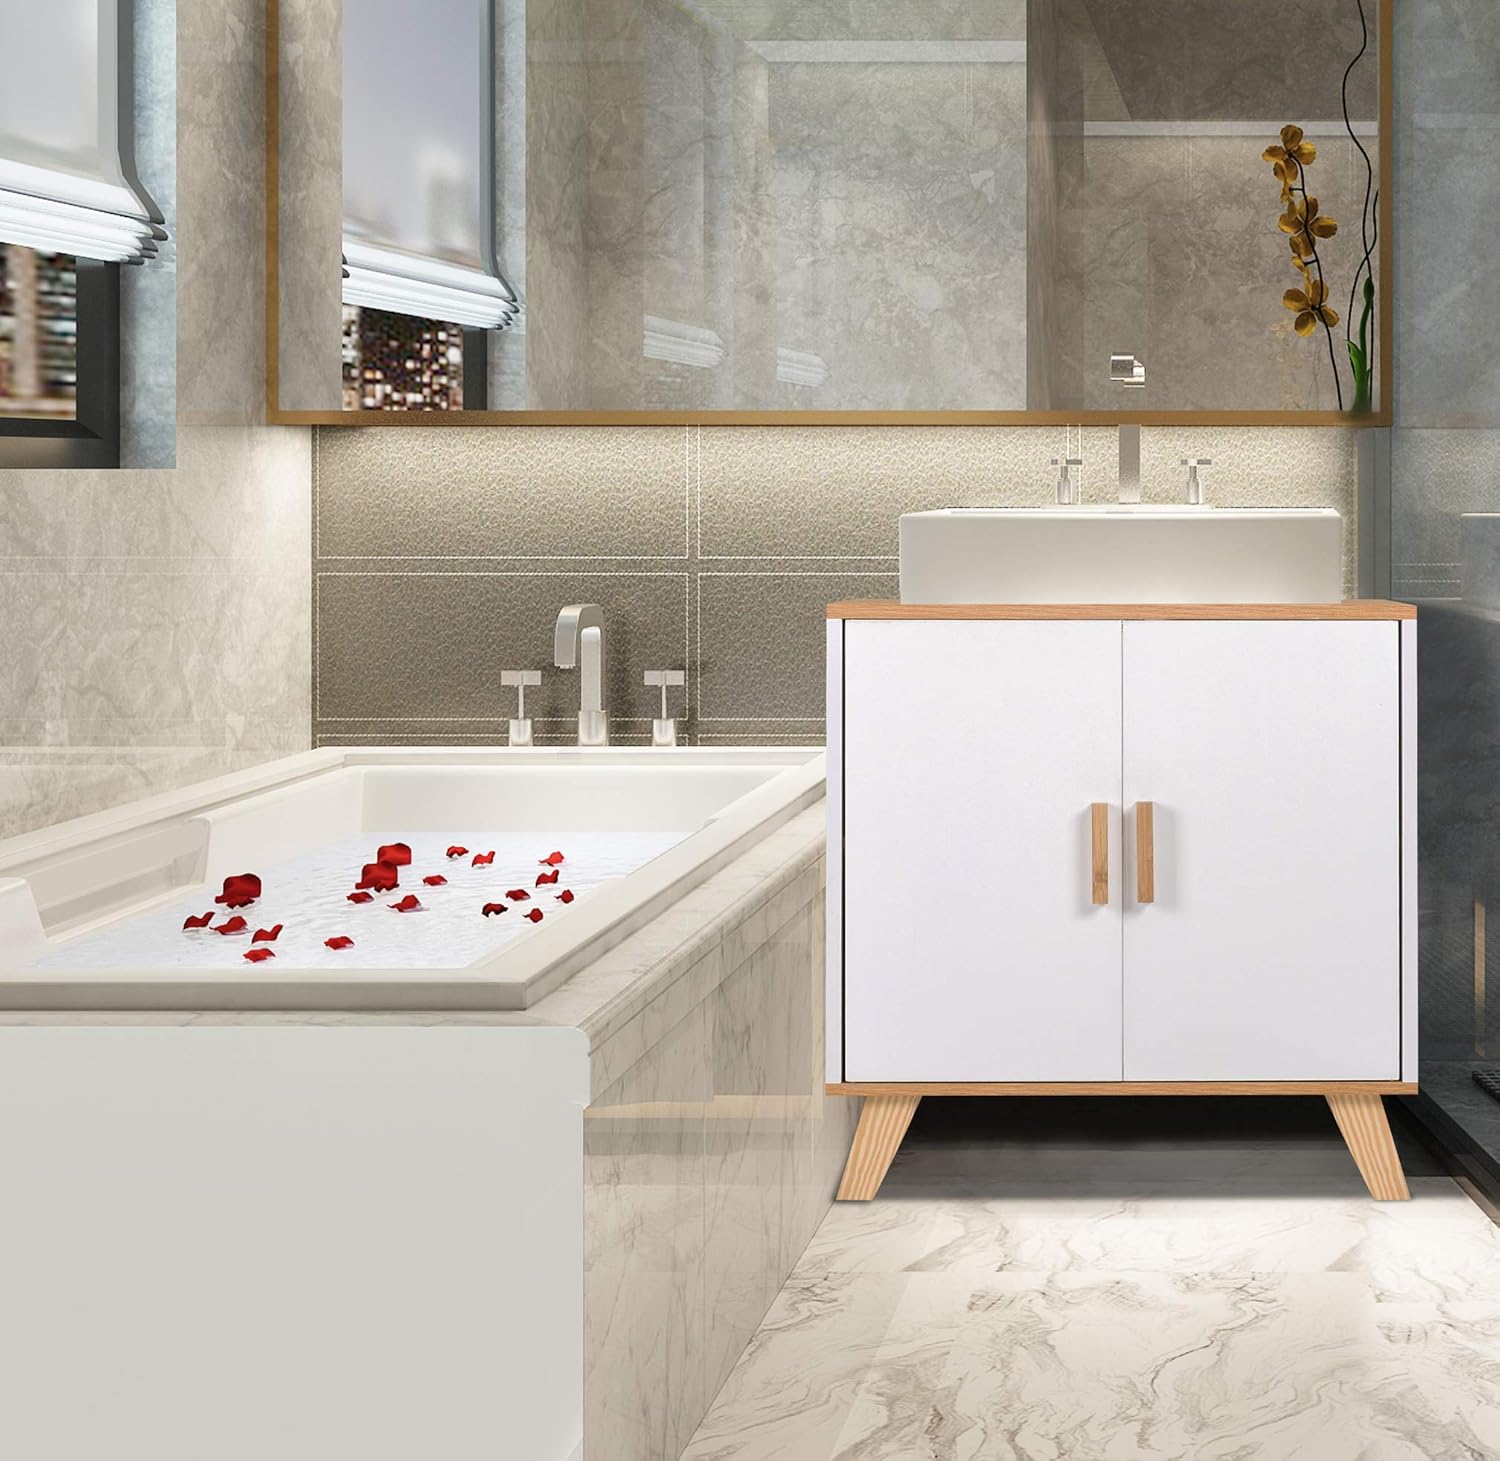
Image: The EUGAD under-sink cabinet positioned in a bathroom, demonstrating its intended use and aesthetic integration.
Maintenance
Proper maintenance will extend the life and appearance of your cabinet.
- Cleaning: Wipe the cabinet surfaces with a soft, damp cloth. Avoid using abrasive cleaners or harsh chemicals, as these can damage the finish.
- Moisture: Although the surface is moisture-resistant, promptly wipe away any spilled water or condensation to prevent long-term damage. Ensure the bathroom is well-ventilated to reduce humidity.
- Hardware: Periodically check all screws and fasteners to ensure they remain tight. Re-tighten if necessary.
- Scratches: The cabinet surface is scratch-resistant, but avoid dragging sharp or heavy objects across it to prevent damage.
Troubleshooting
| Problem | Possible Cause | Solution |
|---|---|---|
| Cabinet is wobbly/unstable. | Loose fasteners or uneven floor. | Ensure all screws are tightened. If the floor is uneven, use shims under the legs to stabilize the cabinet. |
| Doors do not close properly. | Misaligned hinges or magnetic catches. | Adjust the hinges to align the doors. Check if the magnetic catches are properly installed and aligned with the door plates. |
| Sink pipe does not fit through cutout. | Pipe dimensions exceed cutout size. | The cutout dimensions are approximately 20x10cm. If your plumbing is larger, modifications may be required (consult a professional). |
| Shelf does not fit. | Incorrect orientation or obstruction. | Ensure the shelf is oriented correctly and that no plumbing or internal components are obstructing its placement. |
Specifications
| Feature | Detail |
|---|---|
| Brand | EUGAD |
| Model Number | 0018WY |
| Color | Nature (White cabinet with natural wood top and legs) |
| Overall Dimensions (L x W x H) | 60 x 30 x 60 cm (approximately 23.6 x 11.8 x 23.6 inches) |
| Sink Cutout Dimensions | Approximately 20 x 10 cm (7.9 x 3.9 inches) |
| Door Dimensions (L x H) | Approximately 28 x 45 cm (11 x 17.7 inches) |
| Height of Space Below Cabinet | Approximately 23 cm (9.1 inches) |
| Material | E1 Class Particle Board (Engineered Wood), Pine Wood Legs |
| Maximum Weight Capacity | 5 Kilograms (11 lbs) |
| Special Features | Moisture-resistant, Scratch-resistant, Magnetic door closure |
| Item Weight | 10 Kilograms (22 lbs) |
Warranty and Support
EUGAD products are manufactured to high-quality standards. For information regarding warranty coverage, returns, or technical support, please refer to the retailer's policy where you purchased this product or visit the official EUGAD website.
For direct assistance, you may contact EUGAD customer service through their official channels. Please have your model number (0018WY) and purchase details ready when contacting support.
Online Support: Visit the EUGAD Store on Amazon
Ask a question about this manual
Ask about setup, troubleshooting, compatibility, parts, safety, or missing instructions. Manuals+ will review the question and use this page’s manual context to help answer it.