
Deco Gear DCIMWHT
Deco Rapid Portable Automatic Electric Countertop Ice Maker User Manual
Brand: Deco Gear | Model: DCIMWHT
1. Introduction
This manual provides comprehensive instructions for the setup, operation, and maintenance of your Deco Rapid Portable Automatic Electric Countertop Ice Maker, Model DCIMWHT. Learn how to efficiently produce bullet ice cubes and ensure the longevity of your appliance.
This compact and portable ice maker is designed for convenience, producing up to 26 lbs of bullet ice cubes per day. It features an insulated storage bin, easy-to-use controls, and alert indicators for low water or full ice capacity.
2. Important Safety Information
DANGER - Risk of Fire or Explosion: Flammable refrigerant used. Do not use mechanical devices to defrost ice maker. Do not puncture refrigerant tubing. Only qualified service personnel should service this equipment. Consult the repair manual or owner's guide before attempting to install or service this product. All safety precautions must be followed.
- Always ensure the unit is placed on a stable, level surface.
- Keep the ice maker away from heat sources and direct sunlight.
- Do not immerse the appliance, power cord, or plug in water or other liquids.
- Unplug the unit from the power outlet before cleaning or when not in use for extended periods.
- Ensure proper ventilation around the unit. Do not block any ventilation openings.
- Use only potable water in the ice maker.
- Keep children away from the ice maker during operation.
3. Package Contents
Upon unpacking, please verify that all items listed below are included and in good condition:
- Compact Electric Ice Maker (Model DCIMWHT)
- Ice Tray
- Ice Scoop
- Instruction Manual
4. Setup Guide
Unpacking: Carefully remove the ice maker from its packaging. Remove all packing materials, including any tape or protective film.
Placement: Place the ice maker on a flat, stable, and heat-resistant surface. Ensure there is adequate ventilation around the unit (at least 5 inches of space on all sides).
Initial Cleaning: Before first use, clean the interior of the ice maker. Remove the ice basket and wash it with warm water and a mild detergent. Wipe the interior with a soft cloth. Ensure all parts are dry before reassembling.
Power Connection: Plug the ice maker into a grounded electrical outlet. Ensure the voltage matches the specifications of the appliance (115 Volts).
Handle Installation (if applicable): Some models may require attaching a handle for portability. Align the handle with the designated slots on the top of the unit and secure it firmly.

Figure 1: Attaching the handle for portability.
5. Operating Instructions
Add Water: Open the lid and remove the ice basket. Fill the water reservoir with potable water up to the "MAX" fill line. Do not overfill. Replace the ice basket and close the lid.
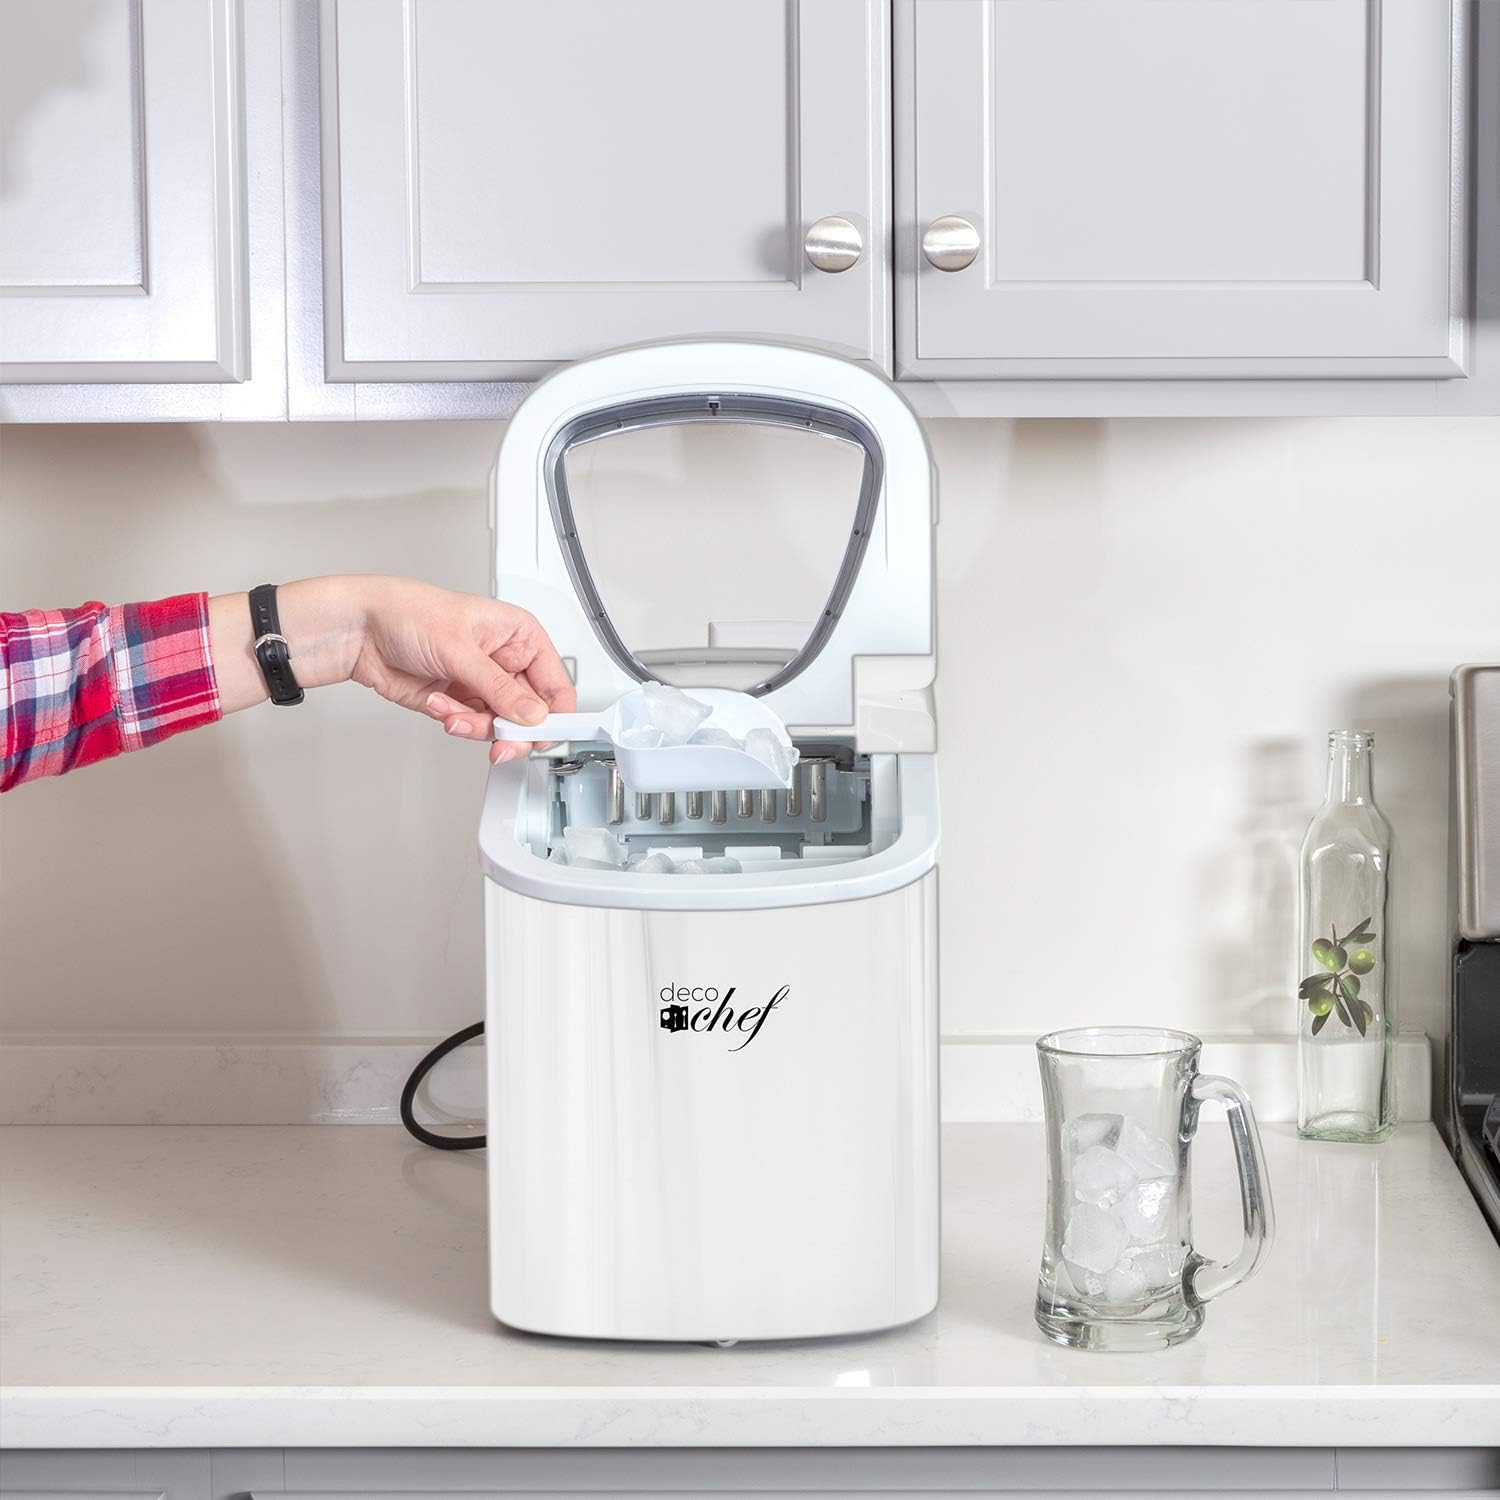
Figure 2: Filling the water reservoir to the MAX line.
Power On: Press the "ON/OFF" button on the control panel to turn on the ice maker. The "POWER" indicator light will illuminate.

Figure 3: Control panel with indicator lights and buttons.
Select Ice Size: Press the "SELECT" button to choose between small (S) or large (L) ice cubes. The corresponding indicator light will illuminate. The first batch of ice may be smaller or less formed, which is normal.
Ice Production: The ice maker will begin the ice-making cycle. The first batch of ice is typically ready in as little as 6 minutes. The unit will continue to produce ice until the ice basket is full or the water reservoir is low.

Figure 4: Ice cubes forming and dropping into the basket.
Ice Full / Add Water Indicators:
- If the "ICE FULL" indicator light illuminates, the ice basket is full. Remove some ice to resume production.
- If the "ADD WATER" indicator light illuminates, the water reservoir is low. Add more water as described in step 1.
Serving Ice: Use the provided ice scoop to remove ice from the basket. The clear window allows you to monitor the ice level without opening the lid.
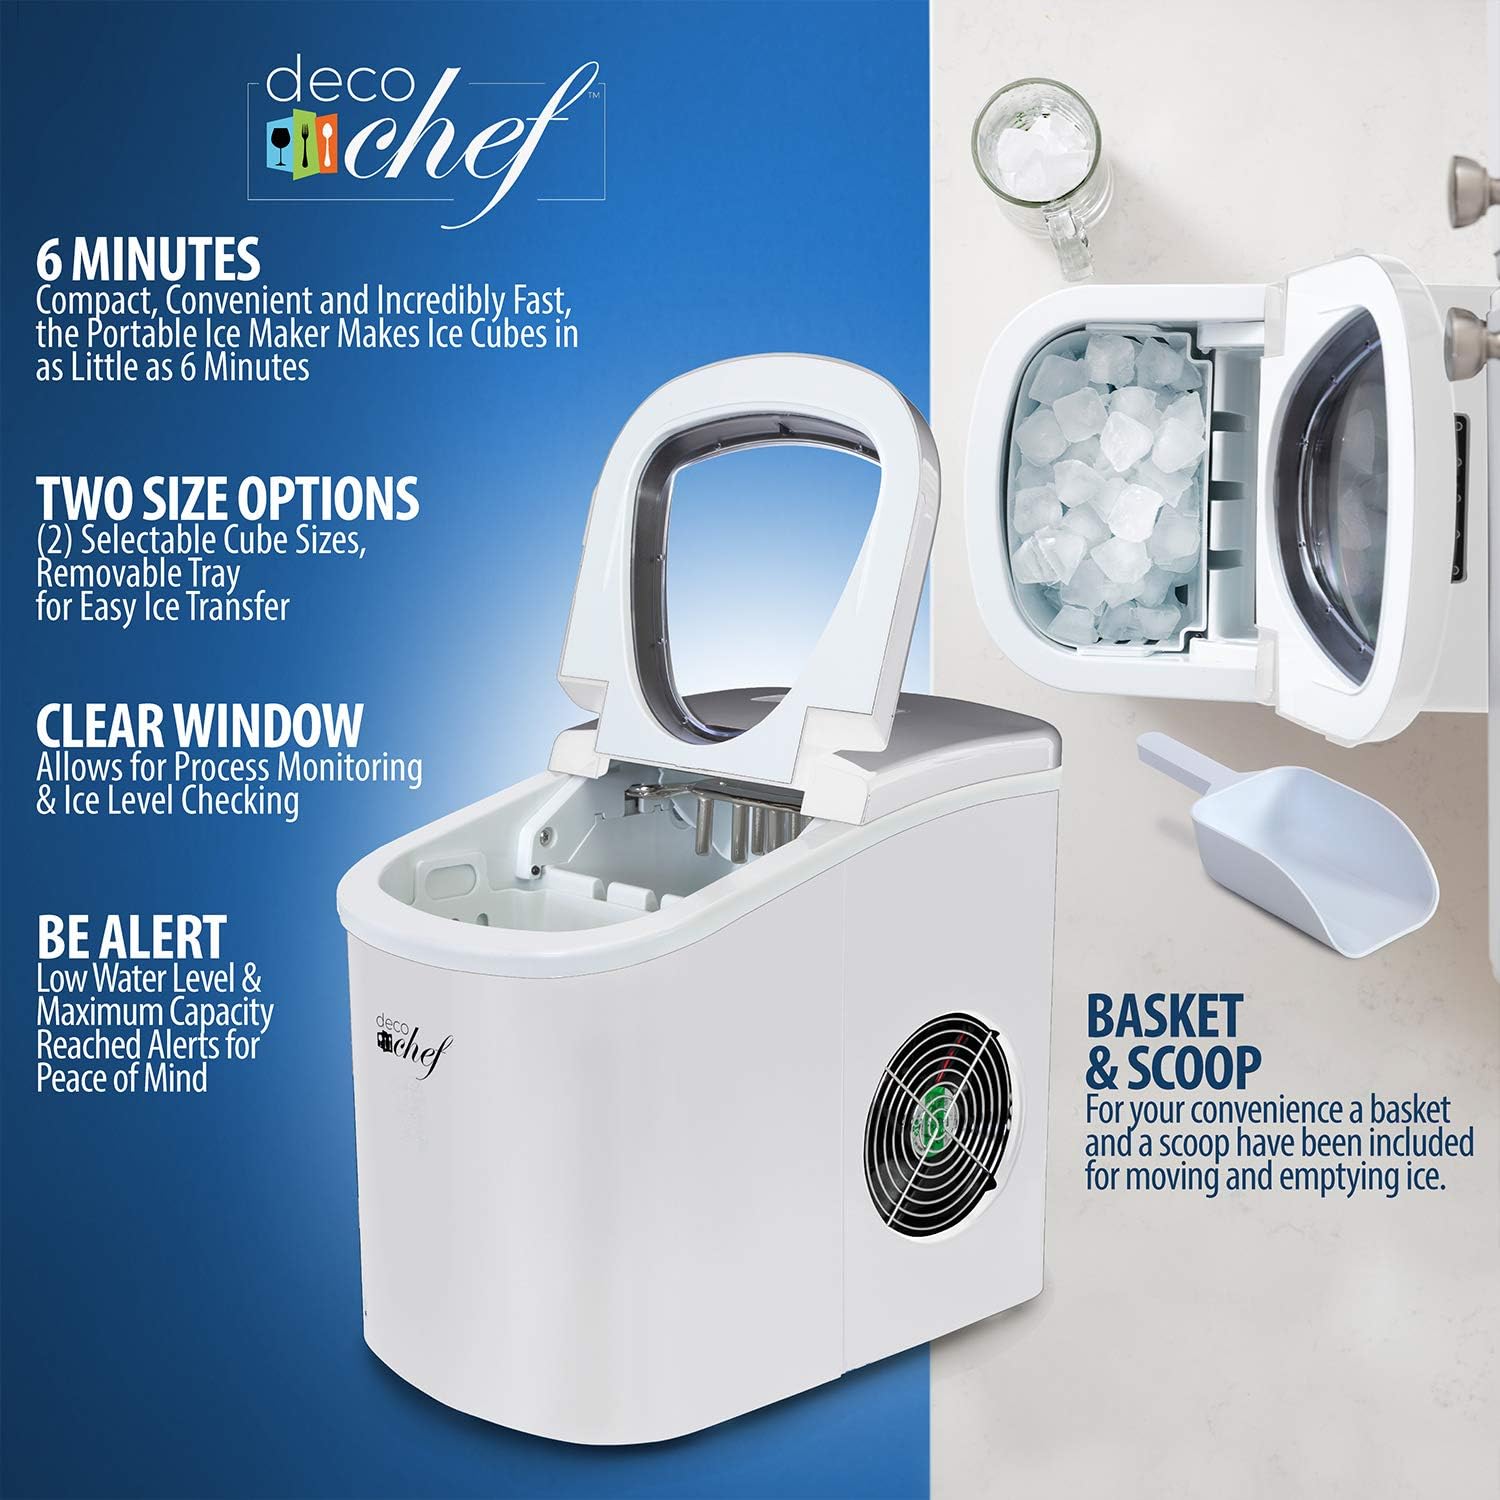
Figure 5: Using the ice scoop to retrieve ice.
Automatic Recycling: Any melted ice will drain back into the water reservoir to be re-frozen, minimizing water waste.
Power Off: Press the "ON/OFF" button to turn off the ice maker when not in use.
Official Product Videos:
Deco's Super Awesome Ice Machine
This video provides an overview of the Deco Gear ice maker, demonstrating its features and ice production process.
Self cleaning and bullet ice? Nothing more needed
This video highlights the self-cleaning function and the bullet ice production of the Deco Gear ice maker.
6. Maintenance
6.1. Regular Cleaning
- Unplug the ice maker before cleaning.
- Remove the ice basket and wash it with warm water and mild detergent.
- Wipe the interior of the unit with a soft cloth and mild detergent. Rinse thoroughly with clean water.
- For thorough cleaning, drain any remaining water from the reservoir using the drain plug located at the bottom of the unit.
- Ensure all parts are completely dry before reassembling and storing or using the unit again.
6.2. Self-Cleaning Function
The ice maker is equipped with a self-cleaning function to simplify maintenance. Refer to the user manual for specific instructions on activating this mode. Typically, this involves holding down the ON/OFF button for a few seconds until the cleaning cycle begins. The cycle usually takes about 30 minutes.

Figure 6: Location of the drain plug for water removal.
7. Troubleshooting
| Problem | Possible Cause | Solution |
|---|---|---|
| Ice maker not producing ice. | No water in reservoir; unit not plugged in; power off. | Fill water reservoir; ensure unit is plugged in and powered on. |
| "ADD WATER" indicator is on. | Water level is too low. | Add potable water to the reservoir up to the MAX fill line. |
| "ICE FULL" indicator is on. | Ice basket is full. | Remove ice from the basket to resume ice production. |
| Ice cubes are too small or soft. | Water temperature is too high; ambient temperature is too high; first cycle of ice. | Use colder water; ensure unit is in a cool environment; subsequent cycles will produce firmer ice. |
| Unit is noisy. | Normal operation sounds (water pump, refrigerant flow, ice dropping). | Some operational noise is normal. If noise is excessive or unusual, contact support. |
| Difficulty with drain plug. | Plug may be tight or rubber sleeve detached. | Carefully pull the plug. If the rubber sleeve detaches, reattach it. For persistent issues, contact support. |
8. Specifications
| Feature | Detail |
|---|---|
| Brand | Deco Gear |
| Model Name | IMWHT |
| Product Dimensions | 9.53"D x 14.09"W x 12.9"H |
| Capacity | 26 Pounds (per 24 hours) |
| Voltage | 115 Volts |
| Refrigerant | R134a |
| Manufacturer | Deco Chef |
| UPC | 843342185376 |
| Material | Plastic |
| Item Weight | 5 pounds |
| Installation Type | Countertop |
| Color | White |
9. Warranty and Support
Deco Chef provides a Full 1 Year Manufacturer’s Limited Protection Plan for this product. For warranty claims, technical support, or any inquiries regarding your Deco Rapid Portable Automatic Electric Countertop Ice Maker, please contact Deco Gear customer service.
Please retain your proof of purchase for warranty service.
Ask a question about this manual
Ask about setup, troubleshooting, compatibility, parts, safety, or missing instructions. Manuals+ will review the question and use this page’s manual context to help answer it.