
Introduction
This manual provides detailed instructions for the setup, operation, maintenance, and troubleshooting of your Bushnell 119938m Low Glow Trail Camera. This camera is designed for reliable outdoor surveillance, capturing high-quality images and videos of wildlife or property. It features 24-megapixel resolution, low-glow infrared LEDs for discreet night vision, and adjustable trigger intervals to suit various monitoring needs.
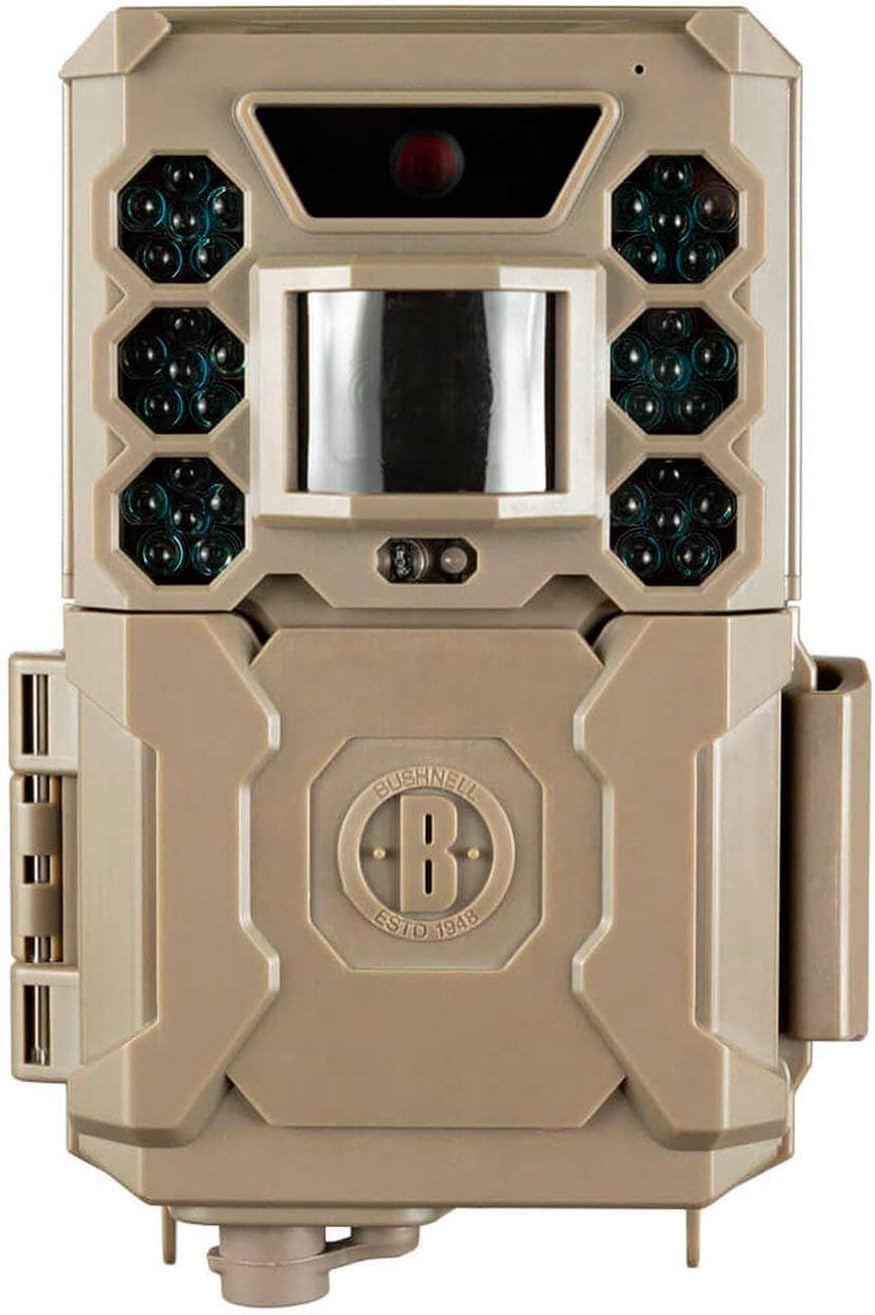
Image: Front view of the Bushnell 119938m Low Glow Trail Camera, showing the lens, PIR sensor, and infrared LEDs.
Setup
1. Battery Installation
- Locate the battery compartment on the camera.
- Open the compartment. Note that the battery housing may be delicate; exercise caution during opening and closing.
- Insert 6 AA batteries, ensuring correct polarity (+/-) as indicated inside the compartment. Batteries are not included with the camera.
- Securely close the battery compartment.
2. SD Card Installation
- Locate the SD card slot, typically found near the battery compartment or on the side of the camera.
- Insert a compatible SD card (up to 32GB, not included) into the slot until it clicks into place. Ensure the card is inserted in the correct orientation.
3. Mounting the Camera
- Identify a suitable location for camera placement, considering the desired monitoring area and potential obstructions.
- Use the provided mounting strap to secure the camera to a tree or post. Thread the strap through the camera's mounting points and tighten it firmly.
- Adjust the camera's angle to ensure optimal coverage of the target area.
Operating Instructions
1. Powering On/Off
- To power on the camera, slide the power switch to the 'ON' position.
- To power off, slide the switch to the 'OFF' position.
2. Menu Navigation and Settings
The camera features an easy-to-navigate menu system. Use the directional buttons (Up, Down, Left, Right) and the 'OK' button to browse and select options on the display.
- Mode Selection: Choose between 'Photo' for still images, 'Video' for video clips, or 'Hybrid' for both.
- Photo Settings: Adjust image resolution (default 24MP), photo burst (1-3 images per trigger).
- Video Settings: Set video length (5-60 seconds) and resolution (1080p).
- Trigger Interval: Configure the delay between triggers, ranging from one second to 60 minutes.
- Sensitivity: Adjust the PIR sensor sensitivity to prevent false triggers or missed events.
- Time & Date: Set the current time and date for accurate timestamping of captured media.
- Automatic Day/Night Sensor: The camera automatically adjusts for optimal image capture in varying light conditions.
3. Retrieving Media
- To view captured images and videos, power off the camera and remove the SD card.
- Insert the SD card into a computer or compatible device to access the files.
Maintenance
1. Cleaning
- Gently wipe the camera lens and PIR sensor window with a soft, lint-free cloth to remove dirt or smudges.
- Clean the camera casing with a damp cloth as needed. Avoid using harsh chemicals or abrasive materials.
2. Battery Management
- Regularly check battery levels, especially before extended deployment.
- Replace all batteries simultaneously with fresh, high-quality AA batteries to ensure consistent performance.
- Remove batteries if the camera will be stored for a prolonged period to prevent leakage.
3. Storage
- Store the camera in a cool, dry place away from direct sunlight and extreme temperatures.
- Ensure the camera is clean and dry before storage.
Troubleshooting
- Camera does not power on:
- Ensure batteries are correctly installed with proper polarity and are fully charged. Check that the power switch is in the 'ON' position.
- Poor image or video quality:
- Clean the camera lens and ensure it is free from dirt or condensation. Verify that the camera settings (resolution, mode) are appropriate for the lighting conditions. Ensure the camera is within optimal range (up to 5 meters).
- False triggers or excessive recordings:
- Adjust the PIR sensor sensitivity to a lower setting. Reposition the camera to avoid areas with moving branches, tall grass, or direct sunlight that can cause false detections.
- No images or videos captured:
- Check if the SD card is properly inserted and has sufficient free space. Ensure the camera is in the correct operating mode (Photo or Video). Verify that the trigger interval is not set too long.
- Sound issues in videos:
- Some users have reported sound issues. Ensure the microphone port is clear of obstructions. If issues persist, contact customer support.
- Battery housing is fragile:
- Exercise extreme care when opening and closing the battery compartment to prevent damage to the plastic housing.
Specifications
| Model Name | 119938m |
| Item Model Number | BN119936M |
| Brand | Bushnell |
| Resolution | 24 Megapixels |
| Video Capture Resolution | 1080p |
| Frame Rate | 30 frames per second |
| Display Size | 3.9 Centimetres |
| Product Dimensions (L x W x H) | 6.5 x 10.5 x 15 cm |
| Item Weight | 309 g |
| Batteries Required | 6 AA batteries (not included) |
| Material | Plastic |
| Color | Sand Brown |
| Range | 5 Meters |
| Wattage | 1 watts |
| Voltage | 12 Volts |
Warranty Information
Bushnell products are manufactured to high standards and are backed by a manufacturer's warranty. For specific details regarding the warranty period and coverage for your Bushnell 119938m Low Glow Trail Camera, please refer to the warranty card included with your product or visit the official Bushnell website.
Customer Support
If you encounter any issues not covered in this manual or require further assistance, please contact Bushnell customer support. Contact information, including phone numbers and email addresses, can typically be found on the official Bushnell website or in the product packaging.


