
Uten 2685A
Uten 2685A Electronic Sewing Machine User Manual
Model: 2685A
1. Introduction
Welcome to the Uten 2685A Electronic Sewing Machine user manual. This guide provides essential information for the safe and effective operation, maintenance, and troubleshooting of your new sewing machine. Please read this manual thoroughly before using the machine to ensure optimal performance and longevity.
The Uten 2685A is an advanced electronic sewing machine designed for durability and versatility. It features 200 unique built-in stitches, including alphanumeric characters, and 8 types of one-step auto-size buttonholes. Its user-friendly design, including an LCD screen and convenient control buttons, makes it suitable for various sewing projects.

Image 1.1: The Uten 2685A Electronic Sewing Machine, a versatile tool for various sewing tasks.
2. Important Safety Instructions
To reduce the risk of electric shock, burns, fire, or injury to persons, always follow basic safety precautions when using an electrical appliance.
- Read all instructions before using this sewing machine.
- Keep these instructions in a convenient place near the machine.
- Always unplug the machine from the electrical outlet immediately after using and before cleaning, removing covers, or making any user servicing adjustments.
- Never leave the machine unattended when plugged in.
- Do not operate the machine if it has a damaged cord or plug, if it is not working properly, or if it has been dropped or damaged.
- Keep fingers away from all moving parts. Special care is required around the sewing machine needle.
- Use only accessories recommended by the manufacturer.
- Do not use outdoors.
3. Parts Identification
Familiarize yourself with the components of your Uten 2685A sewing machine for efficient operation.

Image 3.1: Labeled diagram illustrating the key components of the Uten 2685A sewing machine.
Key Components:
- Handle: For carrying the machine.
- Bobbin Winder Shaft: Used for winding bobbins.
- LCD Display: Shows selected stitch, length, and width settings.
- Operation Buttons for Pattern Selection: Buttons to navigate and select stitch patterns.
- Stitch Length and Width Adjustment: Buttons to modify stitch dimensions.
- Letter Mode Switch/BH Selection: Toggles between letter mode and buttonhole selection.
- Twin Needle Button: Activates twin needle sewing mode.
- Power/Light Switch: Turns the machine and LED light on/off.
- Cord Socket: For power cord connection.
- Feed Dog Control: Adjusts the feed dogs for different fabric types or free-motion sewing.
- Presser Foot Lifter: Raises and lowers the presser foot.
- Start/Stop Button: Initiates and halts sewing without the foot pedal.
- Reverse Stitch/Needle Position Button: For reverse stitching and adjusting needle up/down position.
- Thread Tension Control: Adjusts the tension of the upper thread.
- Sewing Speed Control: Slider to adjust sewing speed.
- Automatic Needle Threader: Assists in threading the needle.
4. Setup
4.1 Unpacking and Placement
- Carefully remove the machine from its packaging.
- Place the machine on a stable, flat surface.
- Ensure adequate lighting for your workspace. The machine includes an LED work light.
4.2 Power Connection
- Insert the power cord into the cord socket on the machine.
- Plug the other end into a suitable electrical outlet.
- Use the Power/Light switch to turn the machine on.
4.3 Winding the Bobbin
The Uten 2685A features a quick and automatic bobbin winding system.
- Place an empty bobbin onto the bobbin winder shaft.
- Follow the threading path indicated on the machine for bobbin winding.
- Push the bobbin winder shaft to the right.
- Start the machine (using the Start/Stop button or foot pedal) to wind the thread onto the bobbin.
- Once full, stop the machine, cut the thread, and push the shaft back to the left.

Image 4.1: Top view of the machine showing the bobbin winding area.
4.4 Threading the Machine
Proper threading is crucial for good stitch quality.
- Raise the presser foot lifter.
- Place a spool of thread on the spool pin.
- Follow the numbered threading guides on the machine for the upper thread.
- Use the automatic needle threader to easily thread the needle.
- Insert the wound bobbin into the bobbin case, ensuring the thread feeds correctly.

Image 4.2: Close-up of the automatic needle threader mechanism.
4.5 Attaching Presser Feet
The Uten 2685A comes with several quick-change presser feet for various sewing tasks.
- To change a presser foot, raise the presser foot lifter.
- Press the release button at the back of the presser foot holder to detach the current foot.
- Align the new presser foot with the holder and lower the presser foot lifter until it snaps into place.
Included presser feet typically include:
- General Purpose Foot
- Zipper Foot
- Satin Stitch Foot
- Button Foot
- Blind Stitch Foot
- Buttonhole Foot

Image 4.3: A selection of quick-change presser feet included with the machine.
5. Operating Instructions
5.1 Basic Sewing
- Place your fabric under the presser foot.
- Lower the presser foot.
- Select your desired stitch pattern using the operation buttons.
- Press the Start/Stop button or use the foot pedal to begin sewing.
- Adjust the sewing speed with the speed control slider.
5.2 Stitch Selection and Adjustment
The Uten 2685A offers 200 built-in stitches, displayed on the machine's body and selected via the LCD screen.

Image 5.1: Visual representation of the 200 available stitch patterns, including decorative and utility stitches.
- Use the stitch selection buttons to scroll through the available patterns. The selected stitch number will appear on the LCD.
- Adjust stitch length (0mm to 7mm) and stitch width (0mm to 4.5mm) using the dedicated adjustment buttons.
- The LCD screen provides real-time feedback on your selections.

Image 5.2: Close-up of the LCD display and control buttons for stitch selection and adjustment.
5.3 Buttonholes and Lettering
- Buttonholes: Select one of the 8 one-step auto-size buttonhole patterns. Attach the buttonhole foot and follow the machine's instructions for automatic buttonhole creation.
- Lettering and Numbers: Switch to letter mode to access the 100 alphanumeric patterns. These can be used for basic monogramming or labeling.
5.4 Advanced Features
- Twin Needle Sewing: Use the twin needle button to activate this mode for decorative stitching with two threads.
- Free Arm Sewing: Remove the accessory storage compartment to reveal the free arm, ideal for sewing cuffs, sleeves, and other small, circular items.
- Reverse Stitching: Press the reverse stitch button to sew backwards, securing the beginning and end of seams.
- Adjustable Thread Tension: Fine-tune the thread tension control to achieve balanced stitches on different fabric types.
- Needle Up/Down Position: Use the needle position button to stop the needle in the up or down position, useful for pivoting fabric.
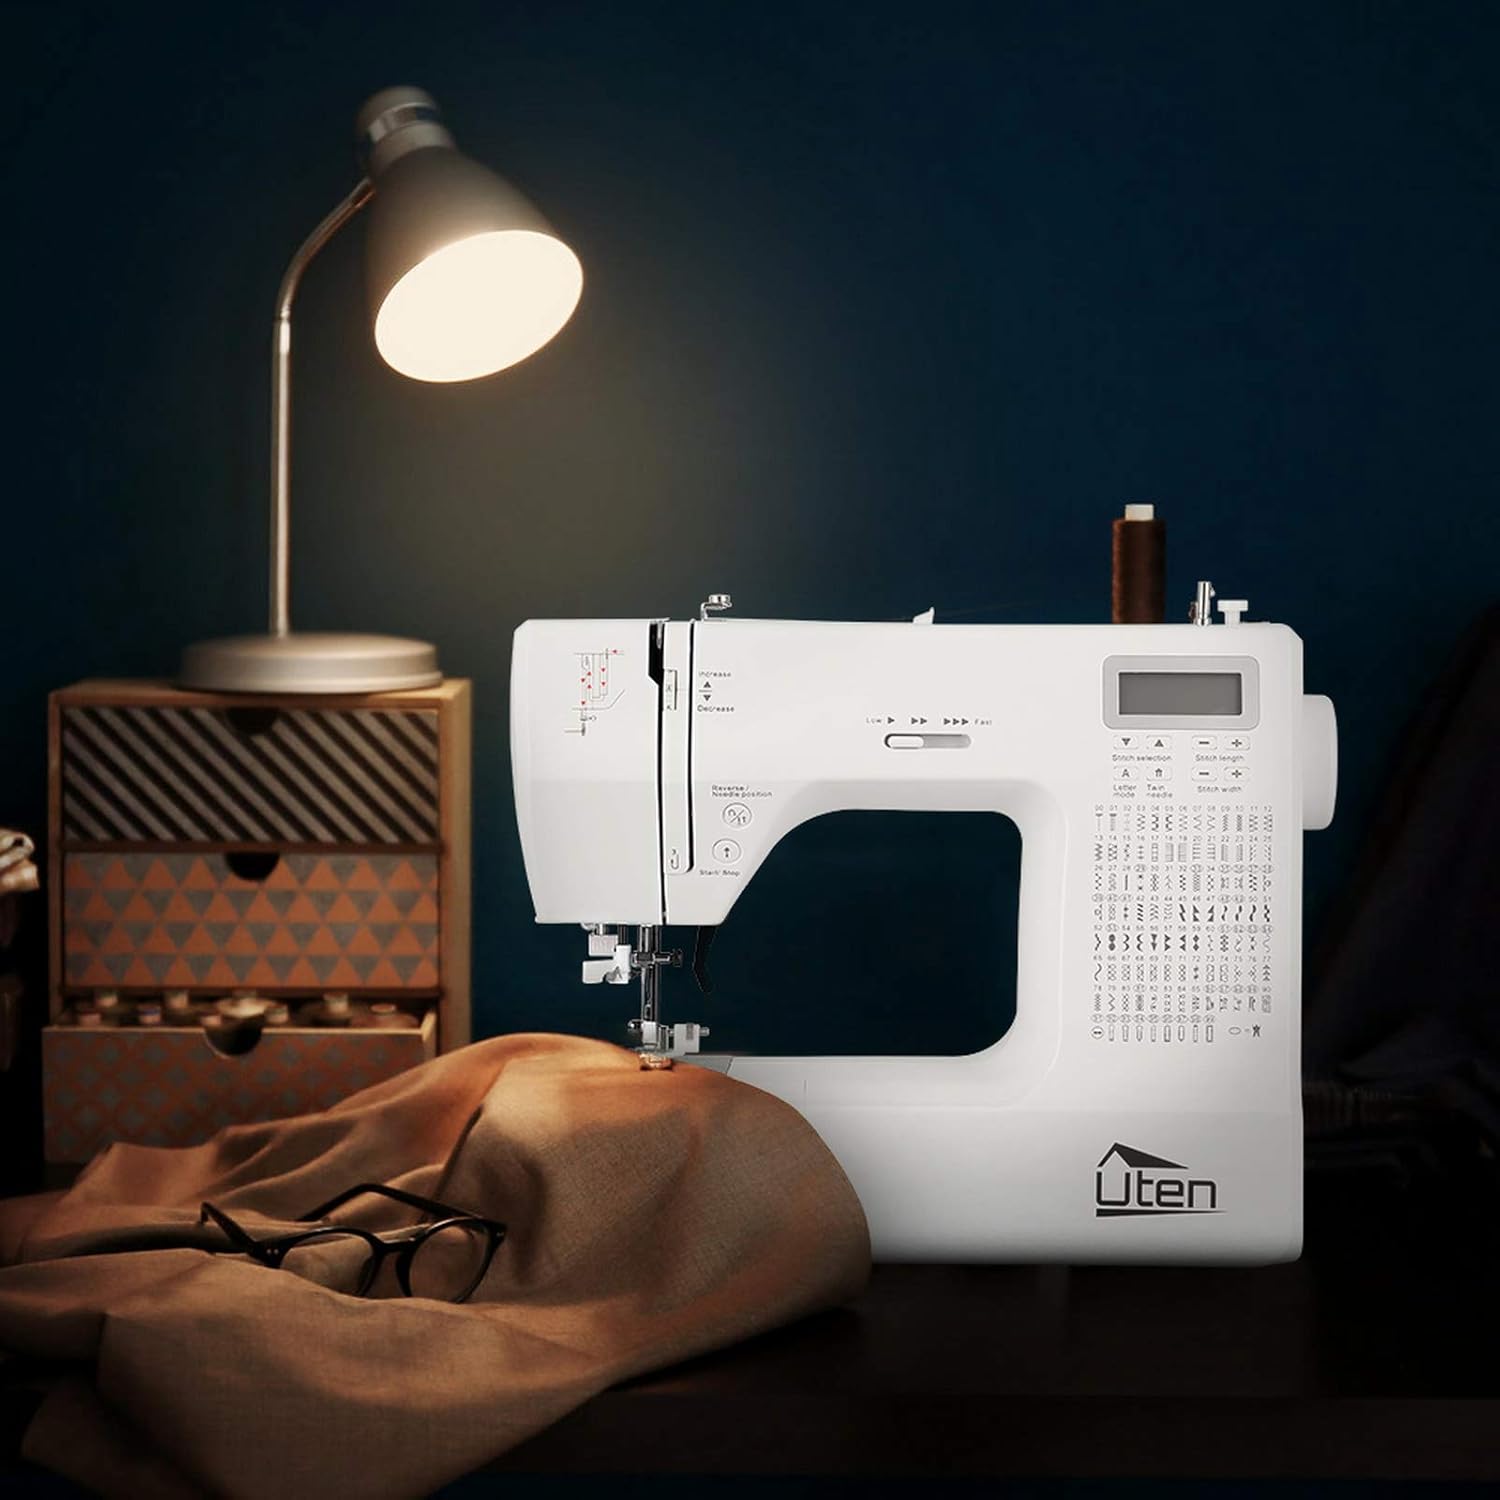
Image 5.3: Demonstrating the free arm feature for sewing cylindrical items like pant legs.
6. Maintenance
Regular maintenance ensures your sewing machine remains in optimal working condition.
6.1 Cleaning
- Always unplug the machine before cleaning.
- Use a soft brush to remove lint and dust from the bobbin area, feed dogs, and needle plate.
- Wipe the exterior of the machine with a soft, dry cloth. Do not use liquid cleaners or harsh chemicals.
6.2 Needle Replacement
Replace the needle regularly, especially if it becomes bent, dull, or if you experience skipped stitches.
- Turn off and unplug the machine.
- Loosen the needle clamp screw.
- Remove the old needle.
- Insert a new needle with the flat side facing the back of the machine, pushing it up as far as it will go.
- Tighten the needle clamp screw securely.
6.3 Storage
- When not in use, cover the machine to protect it from dust.
- Store in a dry, cool place away from direct sunlight.
7. Troubleshooting
This section addresses common issues you might encounter with your sewing machine.
| Problem | Possible Cause | Solution |
|---|---|---|
| Skipped Stitches | Incorrect needle, bent needle, improper threading. | Replace needle, re-thread machine, ensure correct needle type for fabric. |
| Thread Breaking | Incorrect thread tension, poor quality thread, burr on needle/machine part. | Adjust tension, use good quality thread, check for rough spots. |
| Fabric Not Feeding | Feed dogs lowered, presser foot not down, stitch length set to zero. | Raise feed dogs, lower presser foot, adjust stitch length. |
| Machine Not Starting | Not plugged in, power switch off, safety mechanism engaged. | Check power connection, turn on switch, ensure presser foot is down. |
8. Specifications
| Feature | Detail |
|---|---|
| Brand | Uten |
| Model Number | FR-2685A / E1097-2685A |
| Color | White |
| Dimensions (L x W x H) | 31.5 x 14.5 x 27 cm |
| Weight | 5.9 Kilograms |
| Power | 36 Watts |
| Material | Plastic |
| Stitch Patterns | 200 (100 utility/decorative, 100 alphanumeric) |
| Buttonhole Types | 8 (one-step auto-size) |
| Max Sewing Speed | 700 ± 50 stitches per minute |
| Stitch Length Adjustment | 0mm to 7mm |
| Stitch Width Adjustment | 0mm to 4.5mm |
| UPC | 841834113951 |
| Country of Origin | China |
9. Warranty and Support
9.1 Product Warranty
The Uten 2685A Electronic Sewing Machine comes with a 24-month warranty from the date of purchase. This warranty covers manufacturing defects and ensures the product meets quality standards under normal use.
9.2 Customer Support
Uten is committed to providing lifetime customer service for your product. If you encounter any issues or have questions regarding your sewing machine, please do not hesitate to contact our support team. We will offer technical support to resolve any problems you may experience.
For assistance, please refer to the contact information provided with your purchase documentation or visit the official Uten website.
Related documents2685A


Ask a question about this manual
Ask about setup, troubleshooting, compatibility, parts, safety, or missing instructions. Manuals+ will review the question and use this page’s manual context to help answer it.