1. Introduction
The eRapta 1080P Wired Backup Camera System Kit (Model A9) is designed to enhance driving safety and visibility for large vehicles such as RVs, trucks, semi-trailers, box trucks, and trailers. This system features a 9-inch HD DVR monitor and four IP69 waterproof cameras, providing comprehensive surveillance and recording capabilities.

Image: The eRapta 1080P Wired Backup Camera System Kit, showing the 9-inch monitor and four cameras.
2. Key Features
- Larger 9-inch Split Screen Monitor: The 9-inch monitor features 1920x1080 pixel resolution and a 4-split screen function, allowing simultaneous viewing from up to four cameras. This provides more detailed and expansive views compared to smaller screens, ideal for large vehicles.
- Built-in DVR System: Supports simultaneous recording from all four cameras with loop recording functionality. This system can serve as crucial driving evidence when needed. It also includes mirroring and split-screen settings for versatile viewing.
- Excellent Night Vision & 4-Split: Equipped with infrared lights and multi-layer glass lenses, the cameras provide clear images even in low-light conditions. The 4-split screen capability helps eliminate blind spots, enhancing overall driving safety.
- IP69K Waterproof Cameras: The backup cameras are designed with glue-filled technology, offering professional-grade waterproof, shockproof, and high/low-temperature resistance. This ensures reliable performance in various challenging weather and environmental conditions.
- Flexible Vehicle Adaptability: The system operates within a 12-24V DC voltage range, making it compatible with a wide array of large vehicles, including buses, semi-trailers, box vans, trailers, caravans, campers, 5th wheelers, and motor homes.

Image: The 9-inch monitor highlighting its HD display, DVR system, 9-inch screen size, parking line, remote control, and mirror function capabilities.
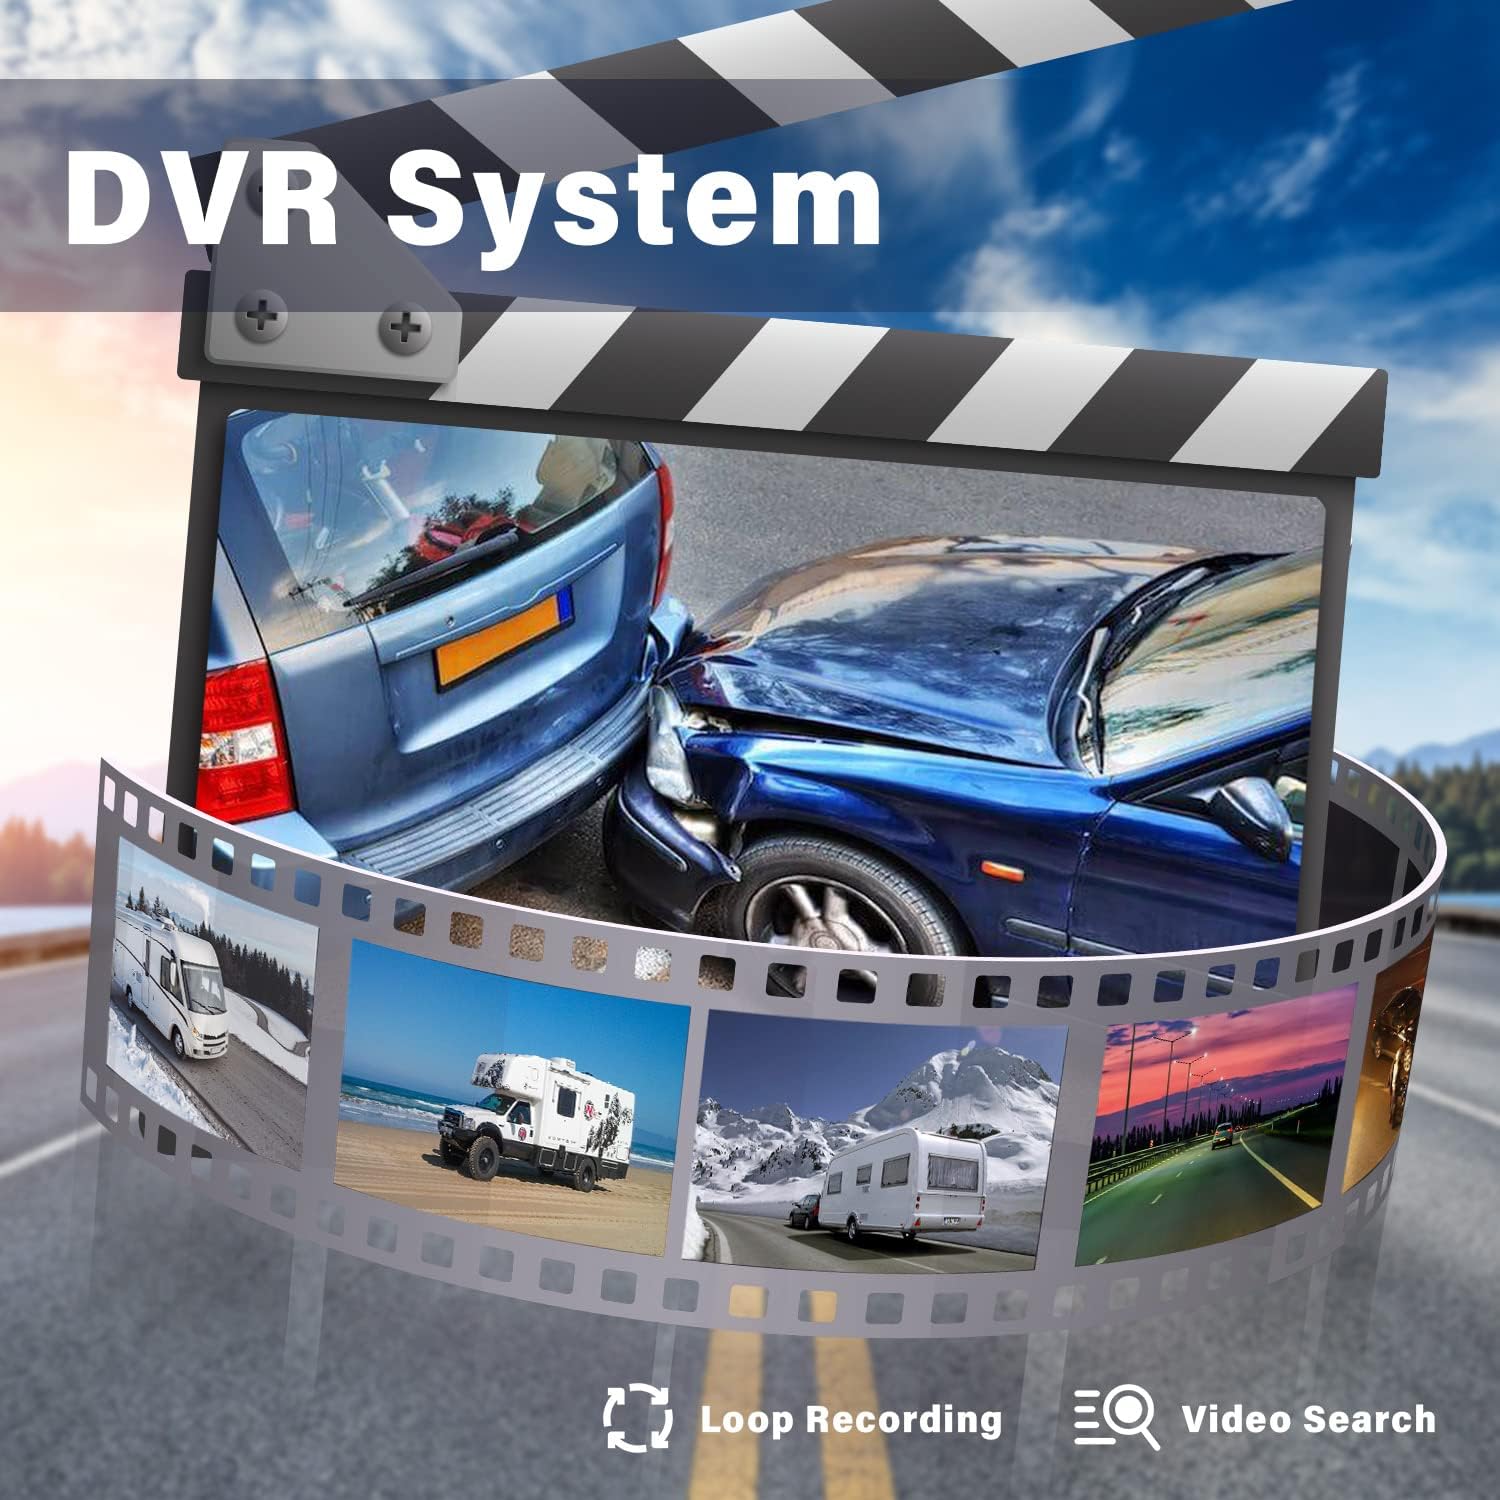
Image: Visual representation of the DVR system with loop recording and video search features.

Image: The system's superb night vision capabilities, powered by CCD chips, LED lights, and an AHD screen.

Image: A camera demonstrating its IP69K waterproof durability against water splashes.
3. Package Contents
Please verify that all items listed below are included in your package:
- 1x 9-inch HD DVR Monitor
- 4x Cameras (2x Rectangle Cameras, 2x Side Cameras)
- 4x Video Cables (2x 33ft, 2x 66ft)
- 1x Power Cable
- 1x Remote Control
- 1x U-bracket
- 1x Installation Manual
- 1x 32GB SD Card
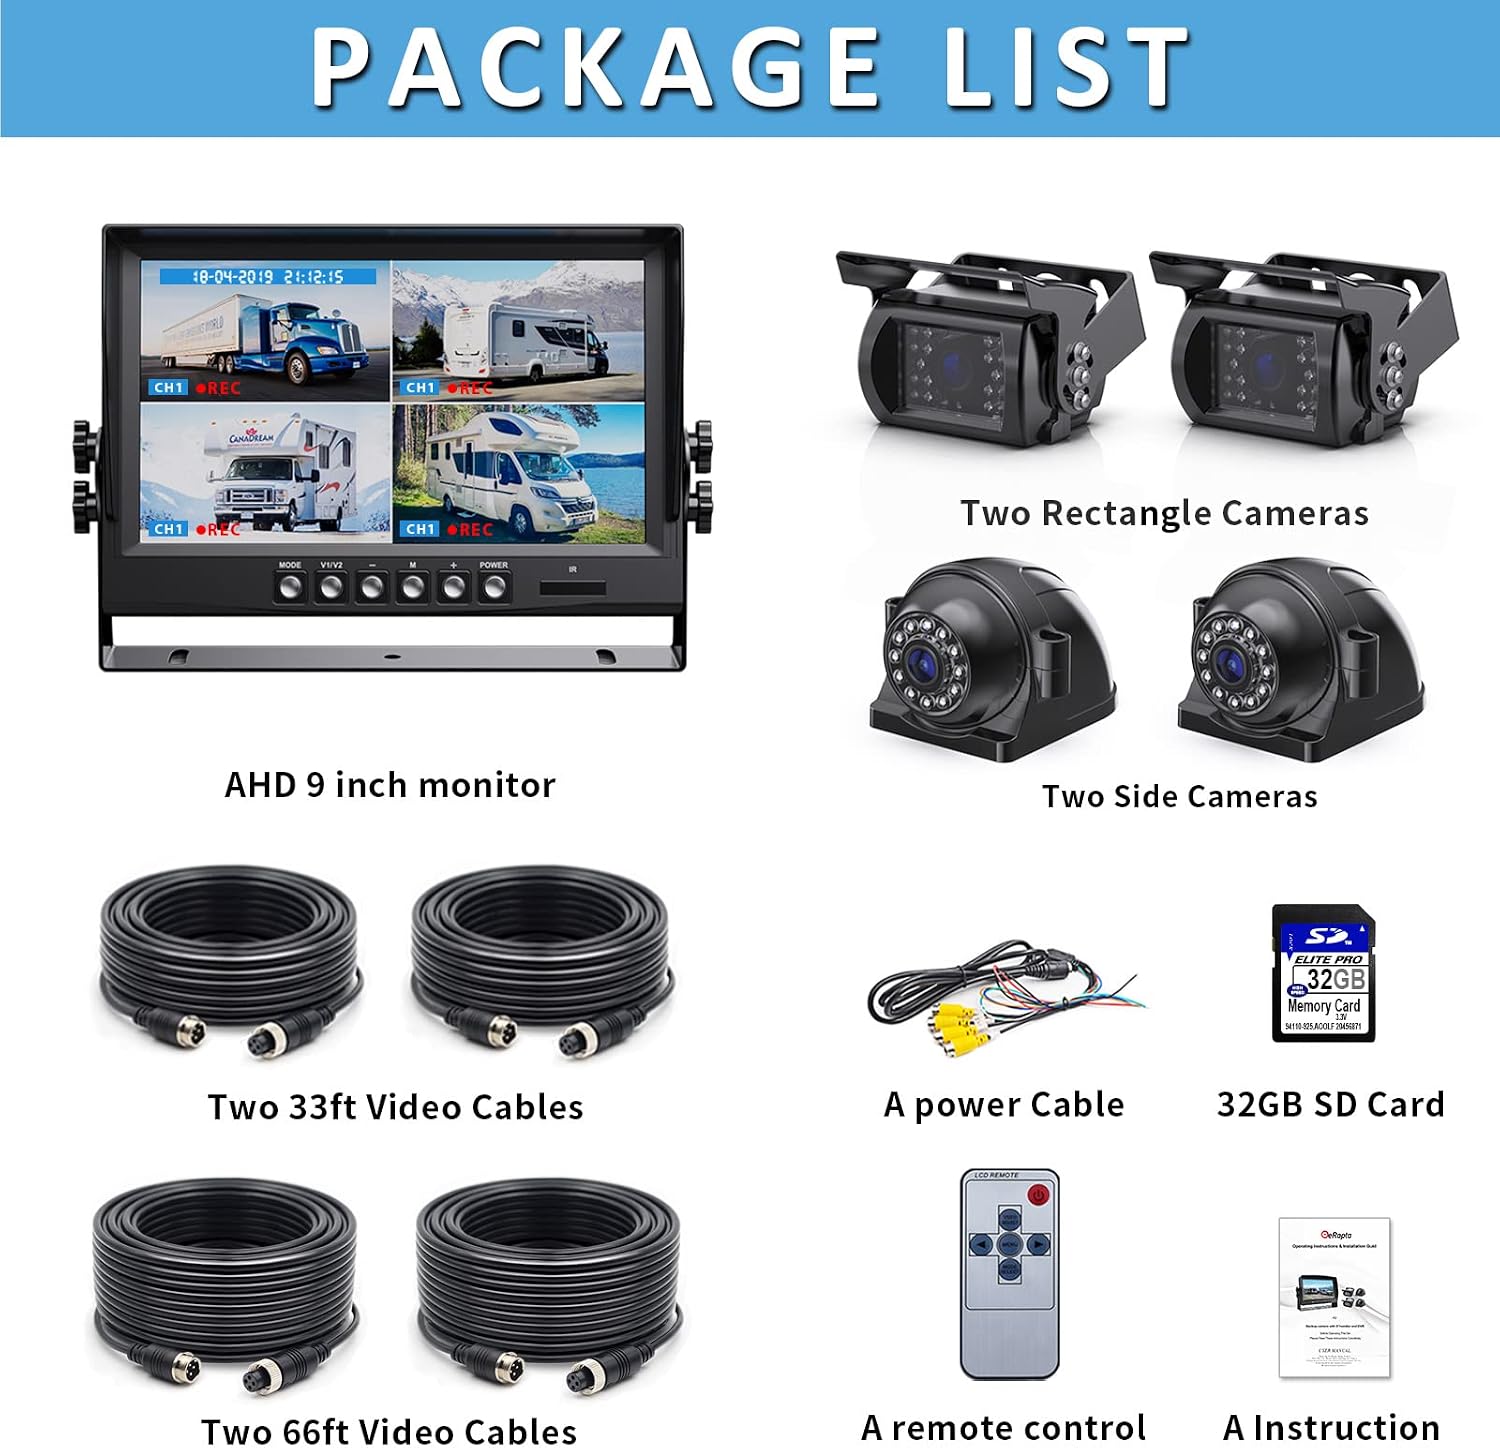
Image: A visual list of all components included in the product package, such as the monitor, cameras, cables, remote, and manual.
4. Technical Specifications
| Feature | Specification |
|---|---|
| Product Dimensions | 9.1 x 5.6 x 1.1 inches (Monitor) |
| Item Weight | 9.68 pounds (Total) |
| Model Number | A9 |
| Display Technology | LED |
| Screen Size | 9 Inches |
| Compatible Devices | Monitor |
| Installation Type | Surface Mount |
| Voltage | 12-24 Volts DC |
| Optical Sensor Technology | CCD |
| Lens Type | Wide Angle |
| Real Angle of View | 170 Degrees |
| Connector Type | Wired |
| Waterproof Rating | IP69K |
| DVR Function | Simultaneous recording, Loop recording |
| Special Features | 1080P HD display, 4 split screens, Night vision, Durable metal bracket, Upgrade chip |
5. Setup and Installation
Proper installation is crucial for optimal performance. It is recommended to consult a professional if you are unsure about any steps.
5.1. Camera Placement
The cameras can be installed in various positions depending on your vehicle type and viewing needs. Common placements include:
- Rear: For backup assistance.
- Front: For forward view or parking.
- Side (Left/Right): To eliminate blind spots along the vehicle's sides.
- Specific applications: For campers, trailers, or other specialized vehicles.

Image: Examples of camera installation points for rear, front, right, left, camper, and trailer applications.
5.2. Wiring Diagram
Connect the monitor and cameras according to the following wiring scheme. Ensure all connections are secure and properly insulated.

Image: A comprehensive wiring diagram illustrating connections for the monitor, cameras, power, ground, and trigger wires.
- Red Wire: Connect to ACC or DC 12-36V power source.
- Yellow Wire: Connect to Positive Power.
- Black Wire: Connect to Ground.
- Trigger Wire: Connect to reverse light or vehicle turn signal light, depending on desired automatic activation.
6. Operating Instructions
6.1. Monitor Controls
The monitor features several buttons for easy navigation and control:
- MODE: Cycles through display modes (e.g., single camera, split-screen).
- V1/V2: Selects video input channels.
- M: Menu button for settings.
- +/-: Navigation or adjustment buttons within the menu.
- POWER: Turns the monitor on/off.
- IR: Infrared receiver for remote control.
6.2. Display Modes
The monitor supports various display configurations to suit your needs:
- Full Screen: Displays a single camera view.
- Dual-split: Displays two camera views simultaneously.
- Quad-split: Displays four camera views simultaneously.

Image: Examples of full screen, dual-split, and quad-split display modes on the monitor.
6.3. DVR Functions
The built-in DVR system allows for continuous recording:
- Simultaneous Recording: All connected cameras record simultaneously.
- Loop Recording: Older footage is automatically overwritten when the storage card is full.
- Video Search: Recorded footage can be reviewed directly on the monitor or by removing the SD card and viewing on a computer.

Image: The loop recording feature, showing how the system records and manages footage on a 32GB or 128GB card with auto-delete.
6.4. Image Adjustments (Mirror/Flip & Guide Lines)
The system allows for customization of camera views and parking guide lines:
- Mirror/Flip: Adjust the image orientation (Normal, Mirror, Flip, Mir-flip) to suit the camera's mounting position and desired view.
- DIY Guide Lines: Customize the parking guide lines by adjusting their width, horizontal movement, and height.

Image: Options for adjusting image orientation (Normal, Mirror, Flip, Mir-flip) and customizing DIY guide lines (width, horizontal movement, height).
7. Maintenance and Care
To ensure the longevity and optimal performance of your eRapta backup camera system, follow these maintenance guidelines:
- Regular Cleaning: Keep camera lenses and the monitor screen clean from dirt, dust, and debris using a soft, damp cloth. Avoid abrasive cleaners.
- Check Connections: Periodically inspect all wired connections for tightness and signs of wear or corrosion. Secure any loose connections.
- Camera Durability: The cameras are IP69K waterproof and resistant to extreme temperatures. However, avoid direct high-pressure water jets on the camera lens.

Image: The rugged and durable design of the cameras, highlighting IP69K waterproof, low temperature resistance, and high temperature resistance.
8. Troubleshooting
If you encounter issues with your eRapta backup camera system, refer to the following common problems and solutions:
| Problem | Possible Cause & Solution |
|---|---|
| No image on monitor / Black screen |
|
| Image is blurry or distorted |
|
| DVR not recording |
|
| Remote control not working |
|
9. Warranty and Customer Support
eRapta provides a 2-year warranty for this product. For any inquiries, missing accessories, or technical assistance, please contact eRapta customer support.
Our support department is available 24 hours online to provide consultation and assistance.
For further assistance, please visit the official eRapta store or contact their support channels as provided in your product packaging or on their official website.
You can also visit the eRapta store on Amazon: eRapta Amazon Store


