Introduction
The Eurotime Quartz Alarm Clock Model 27000-03 is designed for ease of use and features a silent, non-ticking quartz movement. It includes a crescendo alarm, snooze function, and a white backlight for nighttime visibility. This manual provides detailed instructions to help you get the most out of your alarm clock.
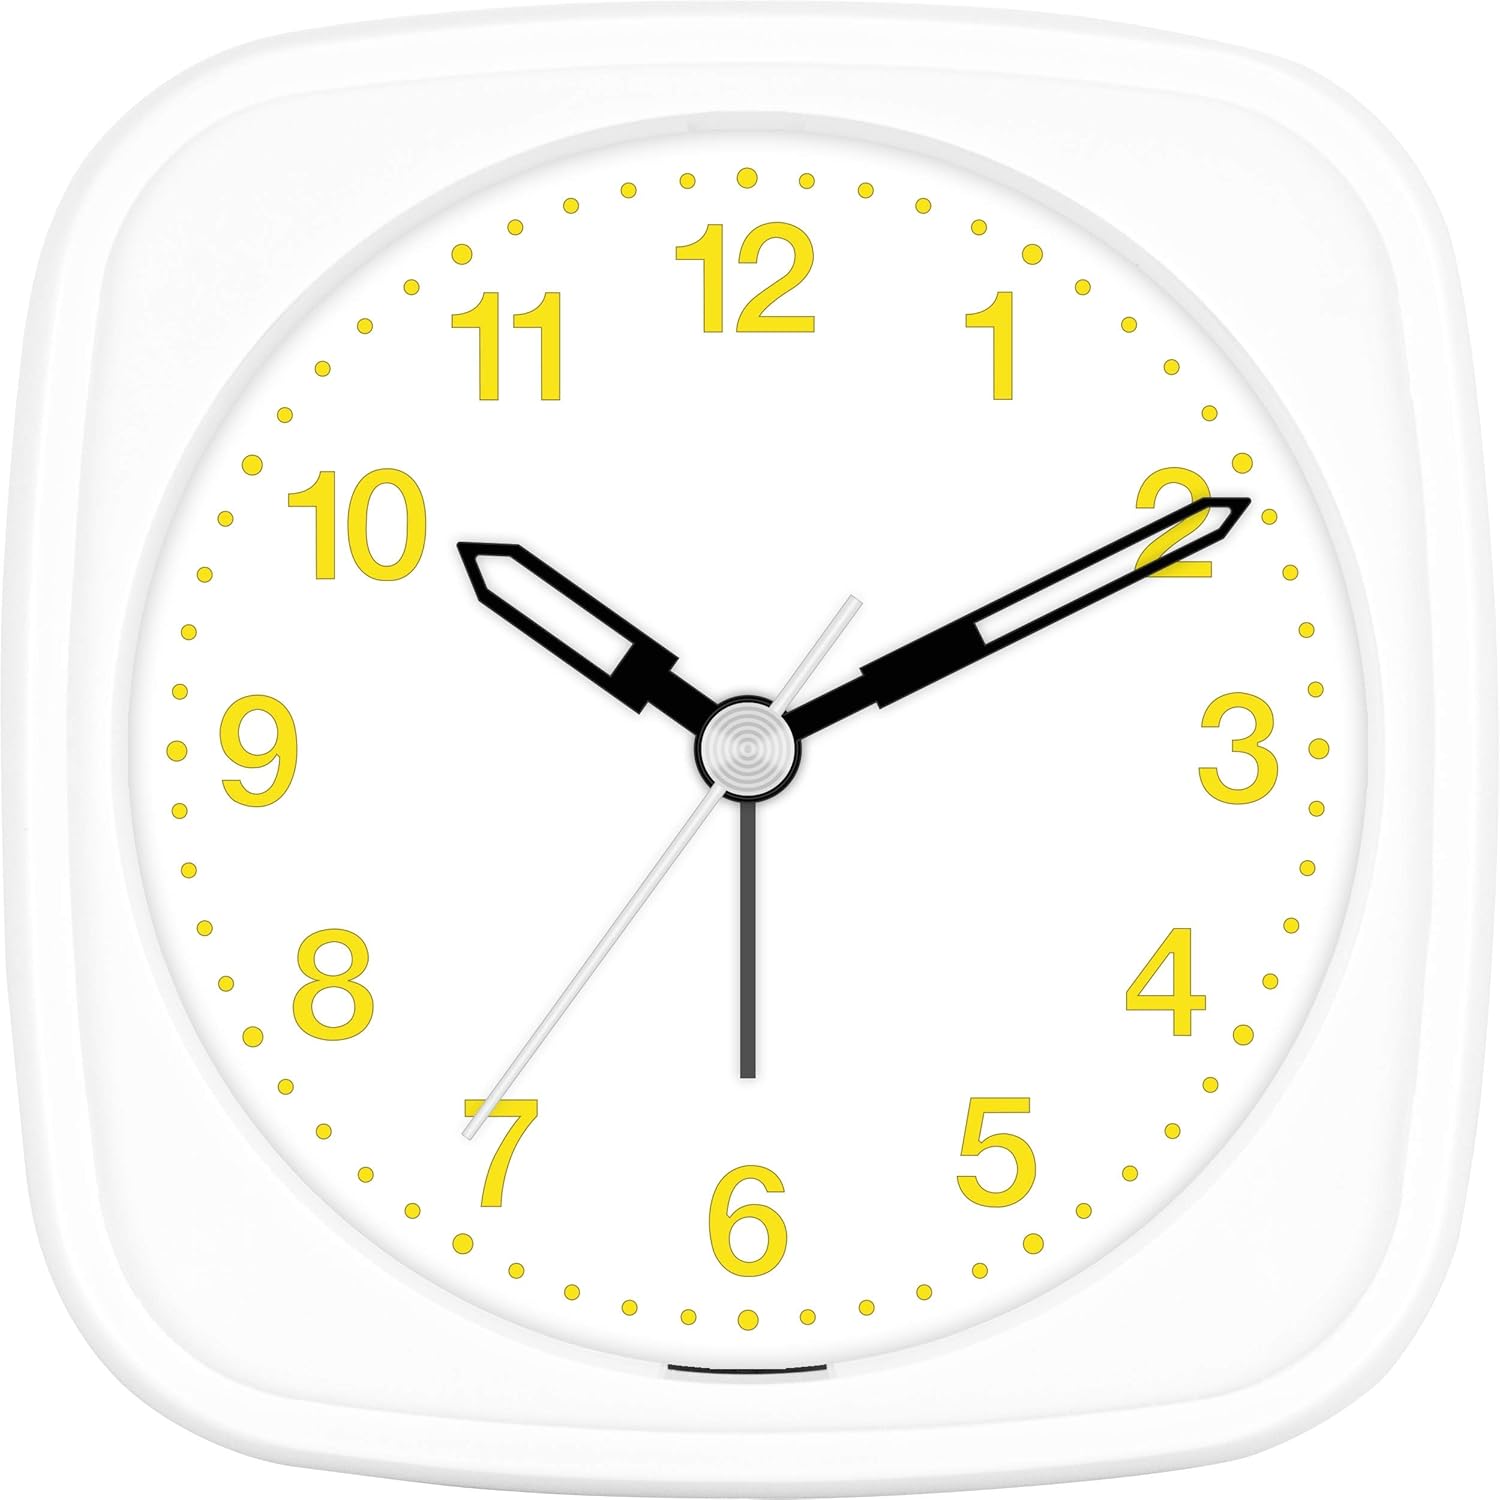
Figure 1: Front view of the Eurotime Quartz Alarm Clock. This image displays the clock's face with yellow numbers, black hour and minute hands, and a silver second hand, all set within a white plastic casing.
Setup
1. Battery Installation
Your Eurotime alarm clock requires 1 AA 1.5V alkaline battery (not included). For optimal performance and to avoid common functional errors, ensure a new, full alkaline battery is used. Non-alkaline batteries are not suitable for this model.
- Open the battery compartment cover located on the back of the clock.
- Insert one AA 1.5V alkaline battery, ensuring the polarity (+ and -) matches the indicators inside the compartment.
- Close the battery compartment cover securely.
2. Setting the Time and Alarm
Use the adjustment knobs located on the back of the clock to set the current time and your desired alarm time.
- Time Setting Knob: Rotate this knob to adjust the hour and minute hands to the current time.
- Alarm Setting Knob: Rotate this knob to set the alarm hand to your desired wake-up time.

Figure 2: Back view of the alarm clock. This image highlights the battery compartment, the time setting knob, and the alarm setting knob, essential for initial setup.
Operating Instructions
1. Turning the Alarm ON/OFF
A switch on the side of the clock controls the alarm function.
- To activate the alarm, slide the switch to the ON position.
- To deactivate the alarm, slide the switch to the OFF position.
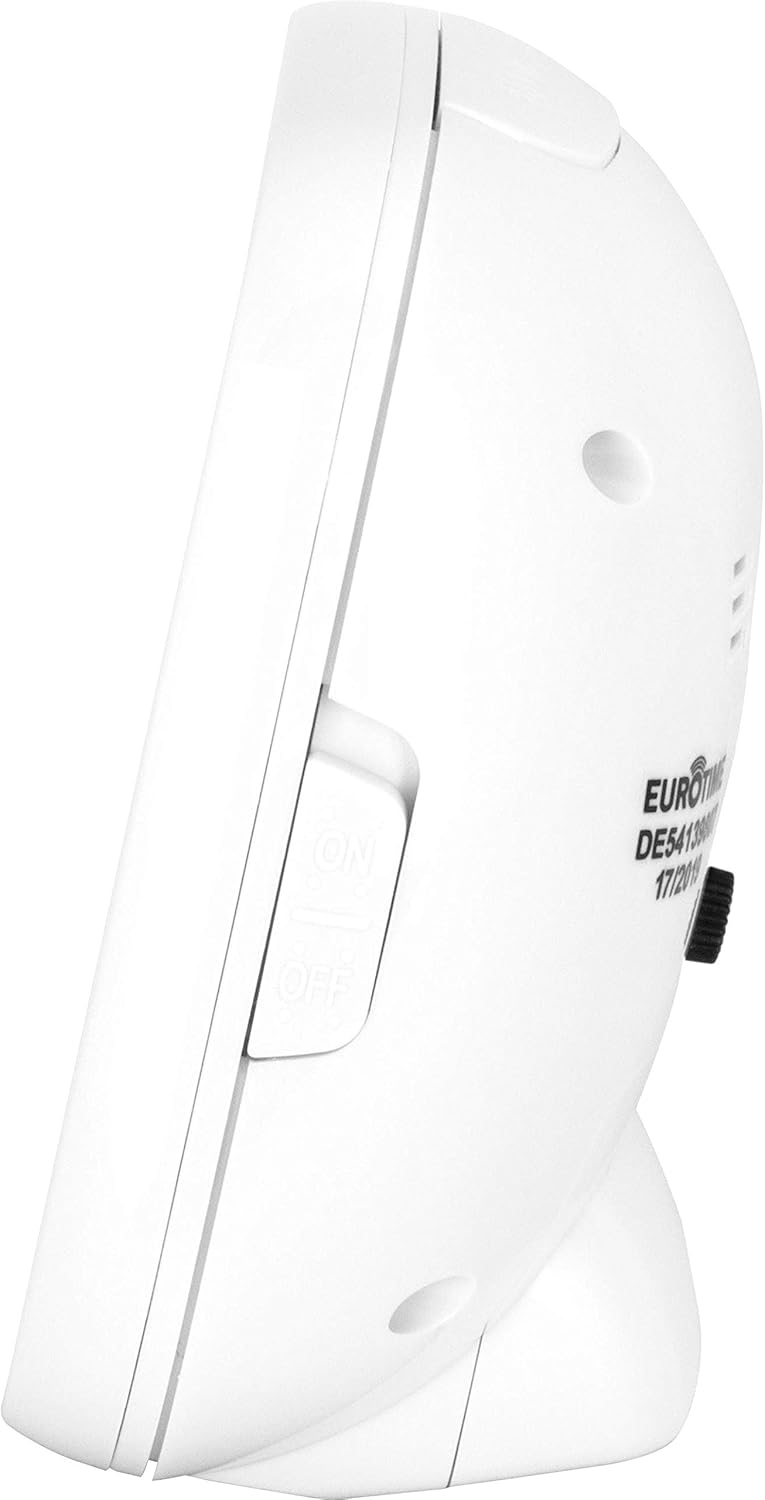
Figure 3: Side view of the alarm clock. This image clearly shows the ON/OFF switch for the alarm function.
2. Snooze and Light Function
The button located on the top of the clock serves two functions:
- Light: Press the button to illuminate the clock face with a white backlight for easy viewing in the dark. The light will stay on as long as the button is pressed.
- Snooze: When the alarm is sounding, press this button to temporarily silence the alarm. The alarm will sound again after approximately 5 minutes.
3. Crescendo Alarm
The alarm features a crescendo (ascending) sound, meaning it starts softly and gradually increases in volume to gently wake you up.
Maintenance
Cleaning
To clean your alarm clock, gently wipe the casing and plastic lens with a soft, dry cloth. Avoid using abrasive cleaners or solvents, as these can damage the finish.
Battery Replacement
If the second hand stops moving or the alarm function becomes unreliable, it is an indication that the battery needs to be replaced. Follow the battery installation steps outlined in the Setup section to replace the battery.
Troubleshooting
- Clock not working or alarm not sounding:
The most common cause for functional errors is an incorrect or depleted battery. Ensure you are using a new, full 1.5V AA alkaline battery. - Alarm sounds immediately after setting:
Analog alarm clocks do not distinguish between AM and PM. If you set the alarm within approximately one hour of the current time, it may trigger immediately. To ensure the alarm sounds at the desired time (e.g., 7:00 AM), set it outside this one-hour window (e.g., set it at 9:00 PM for a 7:00 AM alarm). - Second hand stops or clock runs intermittently:
This indicates that the battery power is low and the battery needs to be replaced.
Specifications
| Feature | Detail |
|---|---|
| Brand | Eurotime |
| Model Number | 27000-03 |
| Dimensions | 9.5 x 4.5 x 9.5 cm |
| Weight | 170 g |
| Material | Plastic casing, plastic lens |
| Movement | High-quality Quartz, non-ticking second hand |
| Display Type | Analog |
| Power Source | 1 x AA 1.5V Battery (not included) |
| Special Features | Crescendo Alarm, Snooze Function, White Backlight, Silent Operation |
Warranty and Support
For any further questions or issues with your Eurotime Quartz Alarm Clock, please contact the manufacturer or your retailer for assistance. Please refer to your purchase documentation for specific warranty information.


