
1. Introduction
Thank you for choosing the DLLT WSCL30-B Modern 3-Light Semi Flush Mount Ceiling Light. This manual provides essential information for the safe installation, operation, and maintenance of your new lighting fixture. Please read these instructions thoroughly before beginning installation and retain them for future reference.
Important Safety Information
- Always turn off the power at the main circuit breaker before installation, maintenance, or bulb replacement.
- Consult a qualified electrician if you are unsure about the installation process.
- Ensure all electrical connections are secure and comply with local codes and ordinances.
- Do not exceed the maximum wattage for bulbs (60W per socket).
- Handle the fixture with care to prevent damage.
2. Package Contents
Verify that all components are present before beginning installation:
- Drum Shade Ceiling Lamp
- Mounting Hardware (screws, wire nuts, mounting bracket)
- Product Manual
Note: E26 bulbs are NOT included and must be purchased separately.
3. Setup and Installation
Follow these steps for proper installation of your ceiling light fixture:
- Turn Off Power: Before starting, ensure the power supply to the junction box is turned off at the circuit breaker.
- Prepare Mounting: Attach the mounting bracket to the ceiling junction box using the provided screws. Ensure it is securely fastened.
- Wiring Connections: Connect the fixture's wires to the corresponding household wires using the provided wire nuts. Connect the ground wire (usually bare copper or green) from the fixture to the ground wire from the junction box. Connect the white (neutral) wire from the fixture to the white (neutral) wire from the junction box. Connect the black (hot) wire from the fixture to the black (hot) wire from the junction box.
- Secure Fixture: Carefully push the wired fixture up to the ceiling, aligning the mounting screws on the bracket with the holes in the fixture's canopy. Secure the fixture in place with the decorative nuts or screws.
- Install Bulbs: Screw three E26 base bulbs (max 60W each, not included) into the sockets.
- Attach Diffuser: Place the frosted white acrylic diffuser at the bottom of the drum shade and secure it with the central finial.
- Restore Power: Once installation is complete, turn the power back on at the circuit breaker.
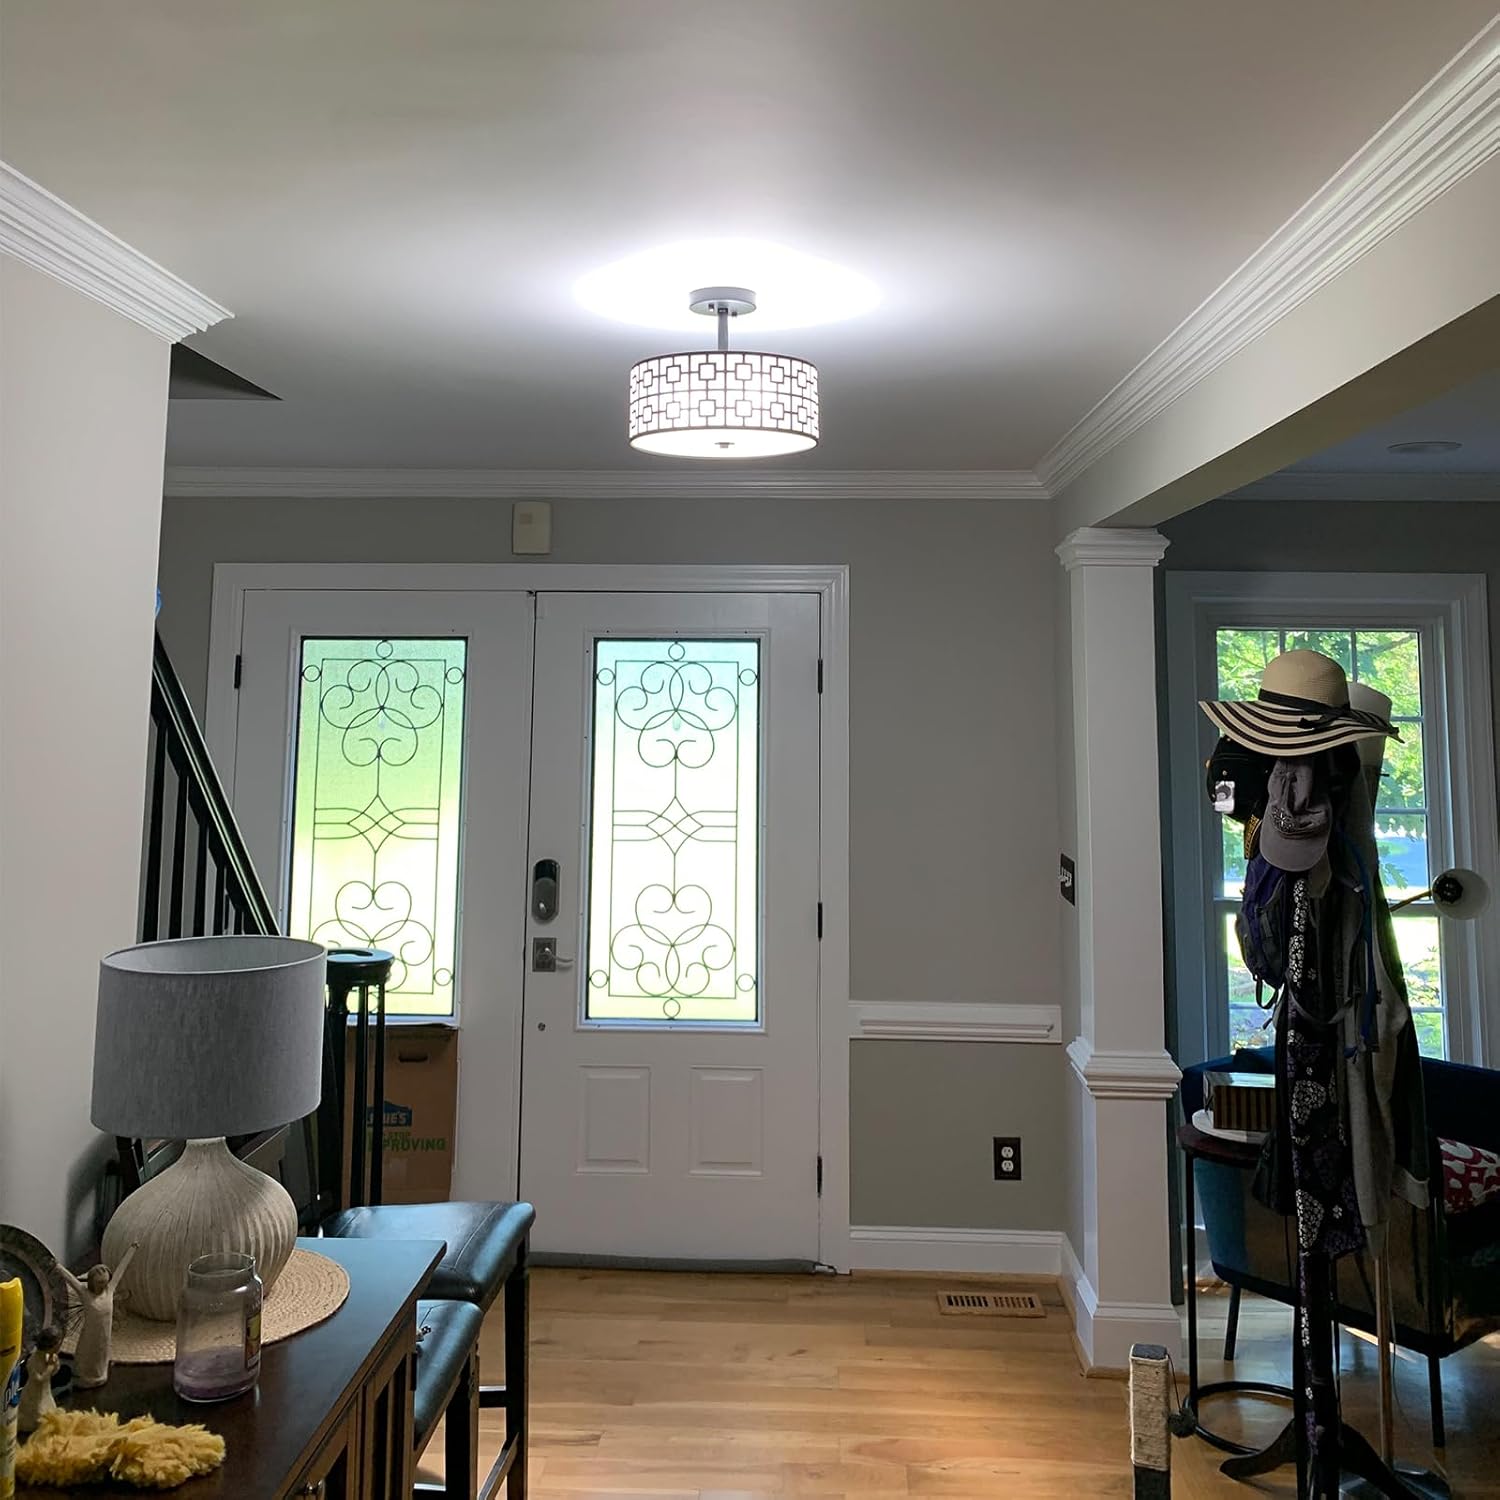
Figure 3.1: Exploded view of the light fixture showing the canopy, double drum shade with intricate lattice metal, and high-transparency bottom cover. The image highlights the E26 sockets and the simple assembly process.
Video 3.1: An official seller video demonstrating the unboxing and installation process of the DLLT Semi Flush Mount Ceiling Light, including wiring and assembly steps.
Video 3.2: An official seller video showcasing the DLLT Modern Semi Flush Light Fixture, providing a visual guide to its features and how it appears once installed.
4. Operating Instructions
Your DLLT ceiling light is designed for simple operation:
- Power On/Off: Use your standard wall switch to turn the light fixture on or off.
- Dimming Functionality: If you have installed dimmable E26 bulbs and connected the fixture to a compatible dimmer switch (not included), you can adjust the brightness level to suit your preference.

Figure 4.1: The light fixture demonstrating its on and off states, and the ability to display different light temperatures (warm white and daylight) depending on the bulbs used.

Figure 4.2: Visual representation of the light fixture's effect in a hallway when turned on versus off, highlighting its illumination capabilities.
5. Maintenance
To ensure the longevity and appearance of your DLLT ceiling light, follow these simple maintenance guidelines:
- Cleaning: The fixture is made from high-quality metal and acrylic, making it easy to clean. Simply wipe it with a soft, dry cloth. Avoid using abrasive cleaners or solvents that may damage the finish.
- Bulb Replacement: To replace bulbs, ensure the power is off at the circuit breaker. Unscrew the central finial, carefully remove the acrylic diffuser, and then replace the E26 bulbs. Reattach the diffuser and finial before restoring power.
6. Troubleshooting
If you encounter any issues with your DLLT ceiling light, refer to the following common troubleshooting steps:
- Light Not Turning On:
- Check the circuit breaker to ensure power is on.
- Verify that the bulbs are securely screwed into their sockets and are not burnt out.
- Ensure all wiring connections are correct and secure.
- Flickering Lights:
- Ensure bulbs are fully tightened.
- If using dimmable bulbs, ensure they are compatible with your dimmer switch.
- Insufficient Light:
- Check the wattage of your bulbs; ensure they are appropriate for your room size and do not exceed the fixture's maximum wattage.
- Consider using bulbs with a higher lumen output.
If the issue persists after attempting these steps, please contact customer support.
7. Specifications
| Feature | Specification |
|---|---|
| Brand | DINGLILIGHTING |
| Model Name | Semi Flush Mount Ceiling Light Fixture |
| Item Model Number | WSCL30-B |
| Color | Black |
| Material | Acrylic, Aluminum, Metal |
| Style | Modern, Contemporary, Traditional, Farmhouse, Classic, Rustic |
| Light Fixture Form | Close to Ceiling |
| Product Dimensions | 12.6"L x 12.6"W x 10.24"H |
| Power Source | AC |
| Installation Type | Semi Flush Mount |
| Special Feature | Dimmable, Energy Efficient |
| Light Source Type | E26 LED Bulb (Bulbs not included) |
| Number of Light Sources | 3 |
| Voltage | 120 Volts |
| Wattage | 60 watts (Max per bulb) |
| Bulb Base | E26 |
| Item Weight | 3.26 Pounds |
| Indoor/Outdoor Usage | Indoor, Outdoor |
| Assembly Required | No |

Figure 7.1: Detailed dimensions and bulb compatibility information for the DLLT ceiling light fixture.

Figure 7.2: The light fixture is compatible with a variety of E26 based bulbs, including LED, CFL, incandescent, and halogen (bulbs not included).
8. Warranty and Support
Your DLLT ceiling light fixture comes with the following assurances:
- 12-Month Quality Guarantee: We offer a 12-month quality guarantee from the date of purchase.
- 30-Day Refund Policy: If you are not satisfied with your purchase, you may be eligible for a refund within 30 days.
- Customer Support: For any issues or inquiries, please contact us. We are committed to resolving any concerns promptly within 24 hours.
9. Product Applications
The DLLT WSCL30-B ceiling light is versatile and suitable for various indoor settings:
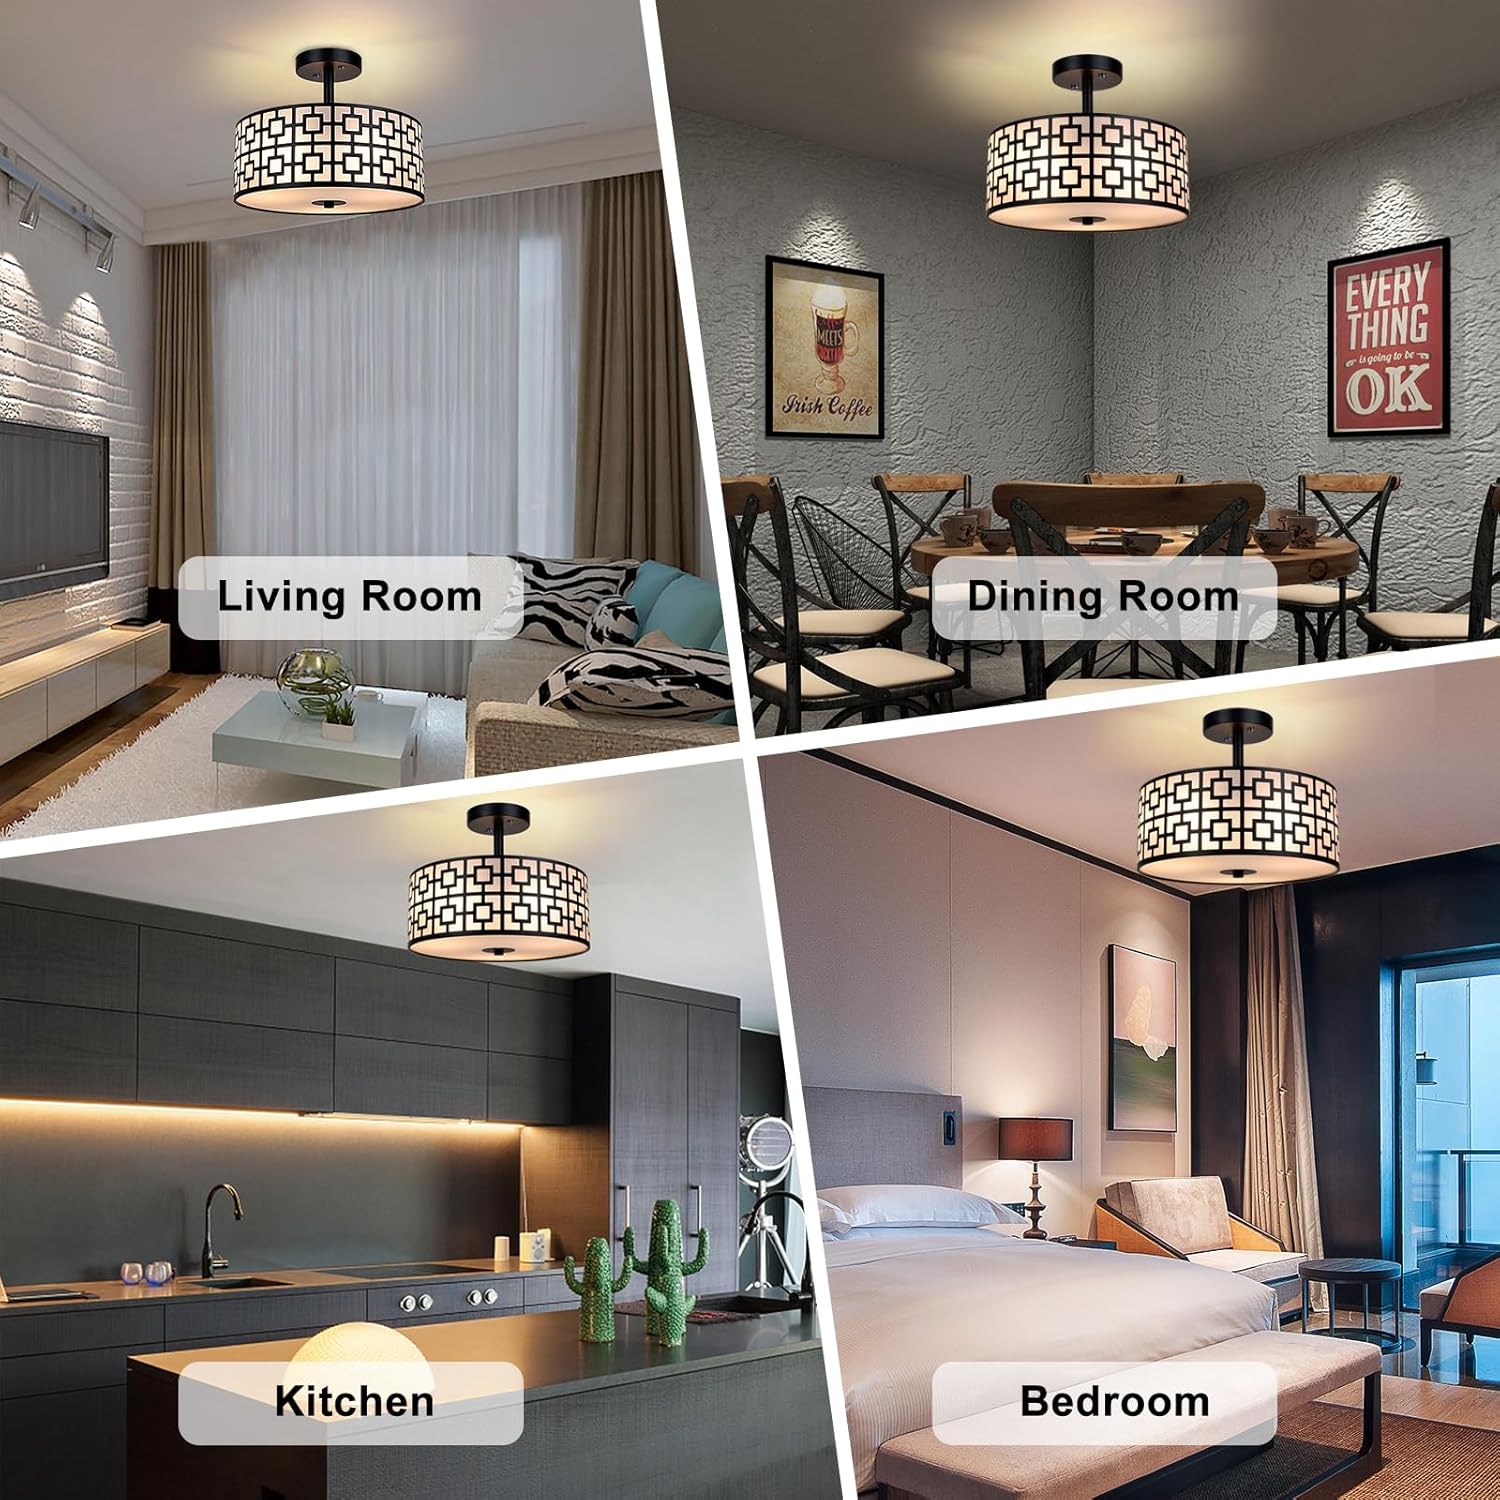
Figure 9.1: Examples of the light fixture installed in different rooms, including living room, dining room, kitchen, and bedroom.

Figure 9.2: The light fixture provides ample illumination for kitchen areas.

Figure 9.3: The fixture creates a cozy and serene environment in bedrooms.

