
APC AR3006
APC by Schneider Electric NetShelter SX 18U Server Rack Enclosure
User Manual
1. Introduction
This manual provides essential information for the safe and efficient installation, operation, and maintenance of your APC by Schneider Electric NetShelter SX 18U Server Rack Enclosure (Model: AR3006). This feature-rich rack enclosure is optimized for easy installation, efficient cable management, integrated power distribution, and maximized airflow, designed to house and protect your critical IT equipment.

Figure 1.1: Angled front view of the APC NetShelter SX 18U Server Rack Enclosure.
2. What's in the Box
Upon unpacking, please verify that all components listed below are present and undamaged.
- NetShelter SX 18U Server Rack Enclosure (600mm x 900mm, Black)
- Casters (pre-installed or included for installation)
- Front and Rear Doors
- Key(s) for door locks
- Leveling feet
- Roof panel
- Side panels
3. Features and Benefits
The NetShelter SX 18U Server Rack Enclosure is engineered with several key features to enhance usability, security, and performance for your IT infrastructure.
3.1. Safety and Structural Integrity
- Integrated Electrical Grounding: The roof, side panels, and front/rear doors are grounded to the enclosure frame. Eight additional electrical grounding inserts are provided for external grounding.
- Enhanced Structural Stability: A robust frame design, heavy-gauge mounting rails, and heavy-duty casters support static loads up to 3000 lb (1364 kg) with leveling feet and dynamic loads up to 2250 lb (1023 kg) with casters.
- Seismic Requirements: Enclosures can be combined with proper bolt-down accessories to meet various seismic requirements. Refer to apc.com for specific documentation.
3.2. Agility and Installation Ease
- Adjustable Mounting Rails: Vertical mounting rails can be adjusted in 1/4 inch (6.4 mm) increments, accommodating diverse IT equipment. An integrated alignment feature simplifies verification without tools. U positions are numbered for rapid equipment installation.
- Assemble-to-Order (ATO) Options: Customization options allow for assembly without sides, doors, or both, depending on specific deployment needs. Check apc.com for availability.
- Integrated Joining Hardware: Pre-installed hardware facilitates joining multiple enclosures in a row, providing additional stability. Holes are provided for 600mm or 24-inch centers.
- Special Packaging for Pre-racked Equipment: Standard enclosures can be shipped with equipment pre-mounted inside, with packaging designed for this purpose. Certified with Cisco® for pre-racking Cisco Unified Computing Systems (UCS).
3.3. Cable Management and Airflow
- Pre-installed Full-enclosure Height Rear Accessory Channels: Integrated and adjustable channels provide zero U mounting locations for toolless accessories. Each channel has two mounting bays, supporting up to four accessories like PDUs and vertical cable organizers.
- Optimized Airflow: The design maximizes airflow for efficient cooling of installed equipment.
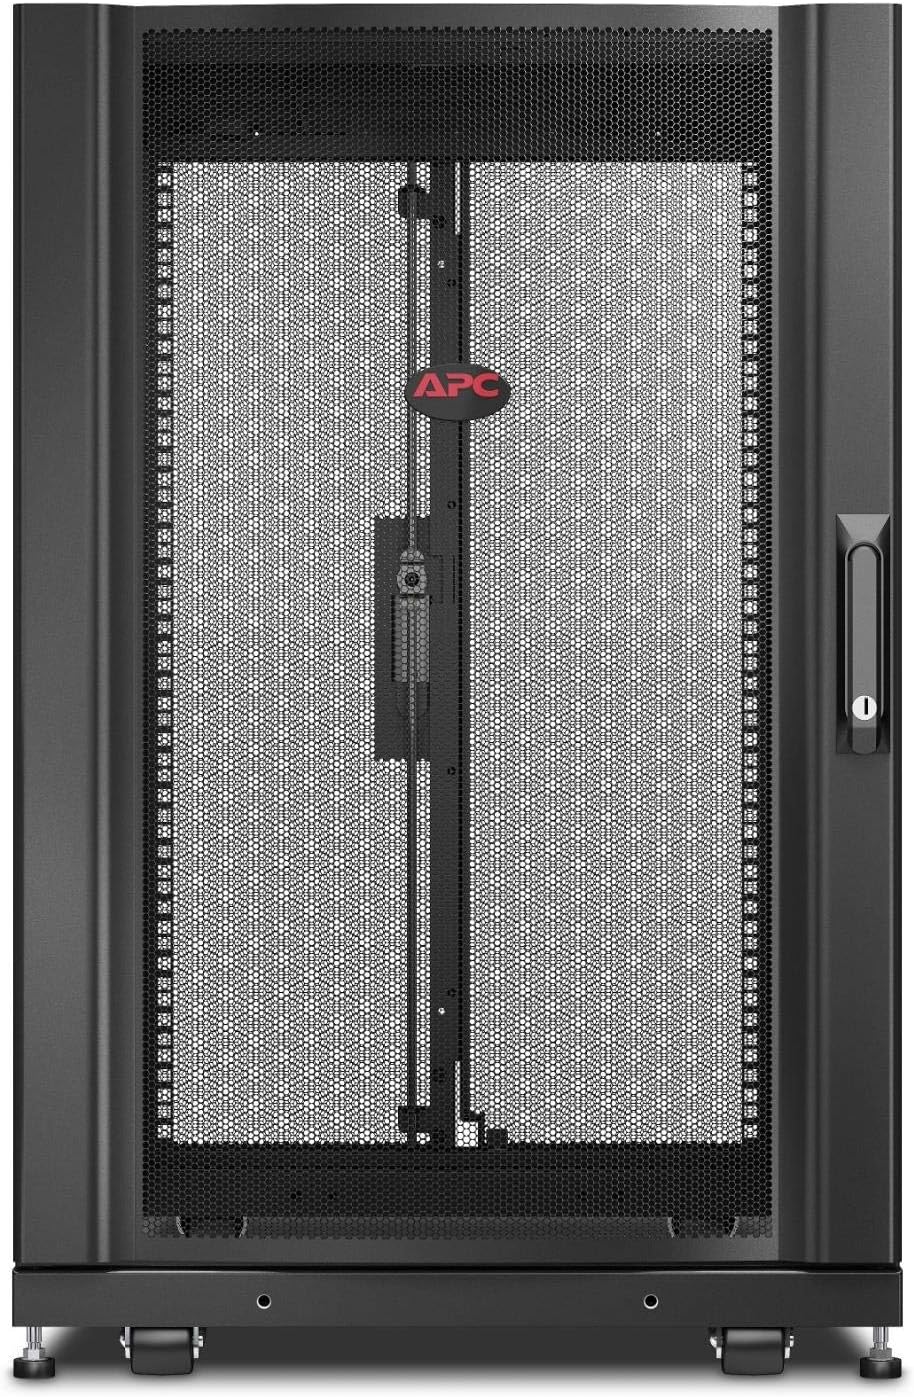

Figure 3.1: Front views of the enclosure, showing the solid and split door configurations.
4. Safety Information
Please read and understand all safety instructions before installing or operating the enclosure. Failure to do so may result in injury or equipment damage.
- Always ensure the enclosure is placed on a level, stable surface capable of supporting its weight and the weight of all installed equipment.
- Use appropriate lifting techniques and equipment when moving the enclosure, especially when it is loaded.
- Ensure all grounding connections are properly made before powering any equipment within the enclosure.
- Do not overload the enclosure beyond its specified weight capacity.
- Keep all doors and side panels securely closed during operation to maintain proper airflow and security.
- Avoid placing objects on top of the enclosure that could obstruct ventilation or fall.
- Do not step on the roof of the enclosure.
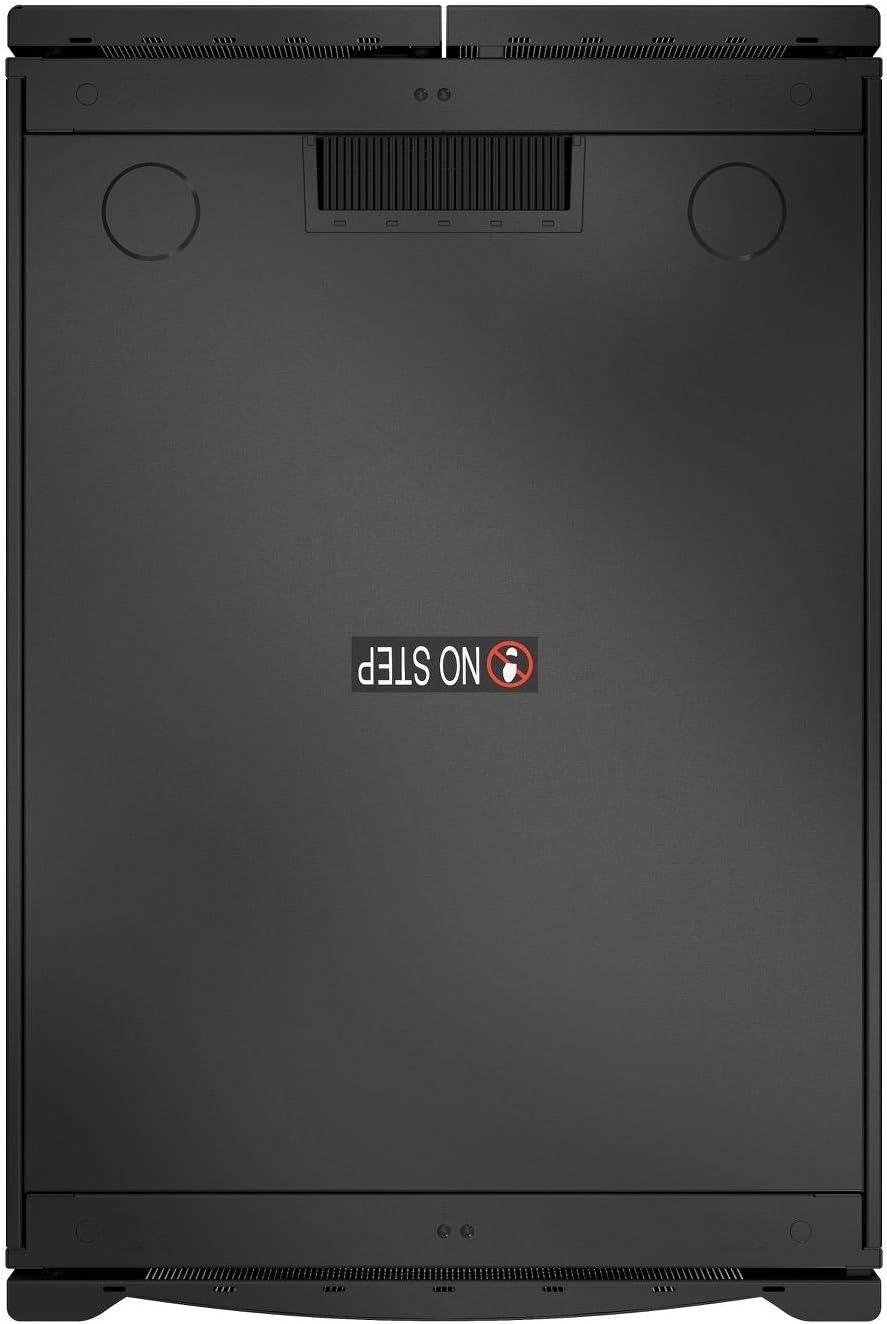
Figure 4.1: Top view of the enclosure, highlighting the "NO STEP" warning.
5. Setup
Follow these steps for the initial setup of your NetShelter SX enclosure.
5.1. Unpacking and Placement
- Carefully remove the enclosure from its packaging. Retain packaging materials for future transport if needed.
- Move the enclosure to its desired location. The pre-installed casters facilitate movement.
- Once in position, extend the leveling feet at each corner to stabilize the enclosure and lift the casters off the floor. Adjust the feet until the enclosure is level and stable.
5.2. Door and Side Panel Installation/Adjustment
The doors and side panels are typically pre-installed. If removed for transport or customization, reattach them securely. Ensure the keys operate the locks smoothly.
5.3. Adjusting Mounting Rails
- The vertical mounting rails can be adjusted forward or backward to accommodate various equipment depths.
- Loosen the fasteners securing the rails, slide them to the desired depth (indicated by U-numbers), and re-tighten the fasteners.
- Use the rapid alignment feature to ensure rails are parallel and correctly positioned.
5.4. Joining Multiple Enclosures (Optional)
If installing multiple NetShelter SX enclosures in a row:
- Align the enclosures side-by-side.
- Utilize the pre-installed joining hardware to connect adjacent enclosures. Ensure the enclosures are securely fastened together for stability.
6. Operating
This section covers the general operation and use of the server rack enclosure.
6.1. Installing Equipment
- Ensure the enclosure is stable and level before installing any equipment.
- Mount servers, network devices, and other IT equipment onto the adjustable mounting rails using appropriate rack-mount hardware.
- Distribute equipment weight evenly within the enclosure to maintain stability.
6.2. Cable Management
Effective cable management is crucial for airflow and ease of maintenance.
- Utilize the pre-installed rear accessory channels for vertical cable organizers and Power Distribution Units (PDUs).
- Route cables neatly using cable ties or hook-and-loop fasteners.
- Ensure cables do not obstruct airflow or prevent doors/panels from closing properly.
6.3. Security
Always lock the front and rear doors, and secure the side panels, to protect your valuable IT equipment from unauthorized access.
7. Maintenance
Regular maintenance ensures the longevity and optimal performance of your NetShelter SX enclosure.
- Cleaning: Periodically wipe down the exterior surfaces with a soft, damp cloth. Avoid abrasive cleaners.
- Inspection: Regularly inspect all fasteners, hinges, and locks for tightness and proper operation.
- Airflow: Ensure that the perforated doors and any ventilation openings are free from dust and obstructions to maintain optimal airflow.
- Grounding: Periodically check all grounding connections to ensure they remain secure.
8. Troubleshooting
This section provides solutions to common issues you might encounter.
| Problem | Possible Cause | Solution |
|---|---|---|
| Enclosure is not stable/wobbles. | Leveling feet not properly adjusted or extended. | Adjust leveling feet until all casters are off the floor and the enclosure is stable. |
| Doors or side panels do not close properly. | Obstruction (e.g., cables), misaligned hinges, or damaged panel. | Check for cable obstructions. Inspect hinges for damage or misalignment and adjust if possible. |
| Difficulty mounting equipment. | Mounting rails not adjusted to correct depth or misaligned. | Verify mounting rail depth and alignment. Ensure correct rack-mount hardware is used. |
9. Specifications
| Attribute | Detail |
|---|---|
| Brand | APC |
| Series | NetShelter SX |
| Model Number | AR3006 |
| Item Weight | 148 pounds (67.13 kg) |
| Product Dimensions (LxWxH) | 39.7 x 27 x 37.1 inches (100.8 x 68.6 x 94.2 cm) |
| Color | Black |
| Rack Units | 18U |
| Static Load Rating (with leveling feet) | 3000 lb (1364 kg) |
| Dynamic Load Rating (with casters) | 2250 lb (1023 kg) |
| Compatible Devices | Server equipment |
10. Warranty and Support
For detailed warranty information, technical support, or to purchase replacement parts, please visit the official APC by Schneider Electric website or contact their customer service.
Online Resources: www.apc.com
Related documentsAR3006


Ask a question about this manual
Ask about setup, troubleshooting, compatibility, parts, safety, or missing instructions. Manuals+ will review the question and use this page’s manual context to help answer it.