
1. Introduction
Welcome to your new tectake Raised Garden Bed. This manual provides essential information for the safe assembly, operation, and maintenance of your elevated planter. Please read these instructions thoroughly before beginning assembly or use.
2. Safety Instructions
- Read all instructions carefully before assembly and use.
- Ensure all components are present and undamaged before starting assembly.
- Assemble the garden bed on a flat, stable surface.
- Do not overload the garden bed. The maximum load capacity is 120 kg.
- Keep children and pets away from the assembly area.
- Regularly inspect the wood for signs of wear, rot, or damage.
- Wear appropriate safety gear, such as gloves, during assembly if necessary.
3. Package Contents
Before assembly, verify that all parts listed below are included in your package:
- Wooden panels for the planter box
- Wooden legs and support beams
- Wooden slats for the lower storage shelf
- Protective polyethylene liner
- Assembly hardware (screws, etc.)
- Instruction manual

Image: The tectake Raised Garden Bed, fully assembled, representing the complete product.
4. Assembly Instructions
Follow these steps carefully for proper assembly. A screwdriver (manual or electric) will be required.
- Step 1: Assemble the Planter Box Sides. Attach the side panels to the end panels using the provided screws. Ensure the grooves for the bottom panel are aligned correctly.
- Step 2: Insert the Bottom Panel. Slide the bottom panel into the grooves of the assembled planter box sides. Secure it in place if necessary.
- Step 3: Attach the Legs. Securely attach the four wooden legs to the corners of the planter box using the designated screws. Ensure they are firmly attached and stable.

Image: Detail of a leg attachment point on the wooden planter, showing screw connection.
- Step 4: Install the Lower Storage Shelf Supports. Attach the support beams for the lower shelf between the legs, ensuring they are level and securely fastened.
- Step 5: Place the Lower Storage Shelf Slats. Lay the wooden slats onto the installed support beams to form the storage shelf.

Image: The lower storage shelf of the raised garden bed, constructed from wooden slats.
- Step 6: Insert the Protective Liner. Carefully place the polyethylene liner inside the planter box, ensuring it covers all interior surfaces and the bottom. The liner protects the wood from moisture and soil.

Image: A close-up view of the black polyethylene liner correctly installed within the wooden planter box.
- Step 7: Final Check. Verify that all screws are tightened and the entire structure is stable before proceeding to fill the planter.
5. Operating Instructions
Your tectake Raised Garden Bed is designed for easy and ergonomic gardening.
5.1. Filling the Planter
- Drainage Layer (Optional): For improved drainage, you may place a layer of gravel or broken pottery at the bottom of the liner.
- Soil: Fill the planter with high-quality potting mix suitable for the plants you intend to grow. Leave about 2-3 cm (1 inch) from the top edge.
5.2. Planting
Plant your desired herbs, vegetables, or flowers according to their specific needs for spacing and depth. The elevated design provides a comfortable working height.

Image: A raised garden bed filled with a variety of green and red leafy plants, ready for cultivation.
5.3. Watering
Water your plants regularly, ensuring the soil remains moist but not waterlogged. The polyethylene liner helps retain moisture while the elevated design allows for good drainage, preventing root rot.
6. Maintenance
Proper care and maintenance will significantly extend the life of your raised garden bed.
- Wood Treatment: The pine wood is impregnated for initial weather resistance. However, applying an additional wood sealant or stain annually can further protect it from UV rays and moisture, especially if the bed is exposed to harsh outdoor conditions.
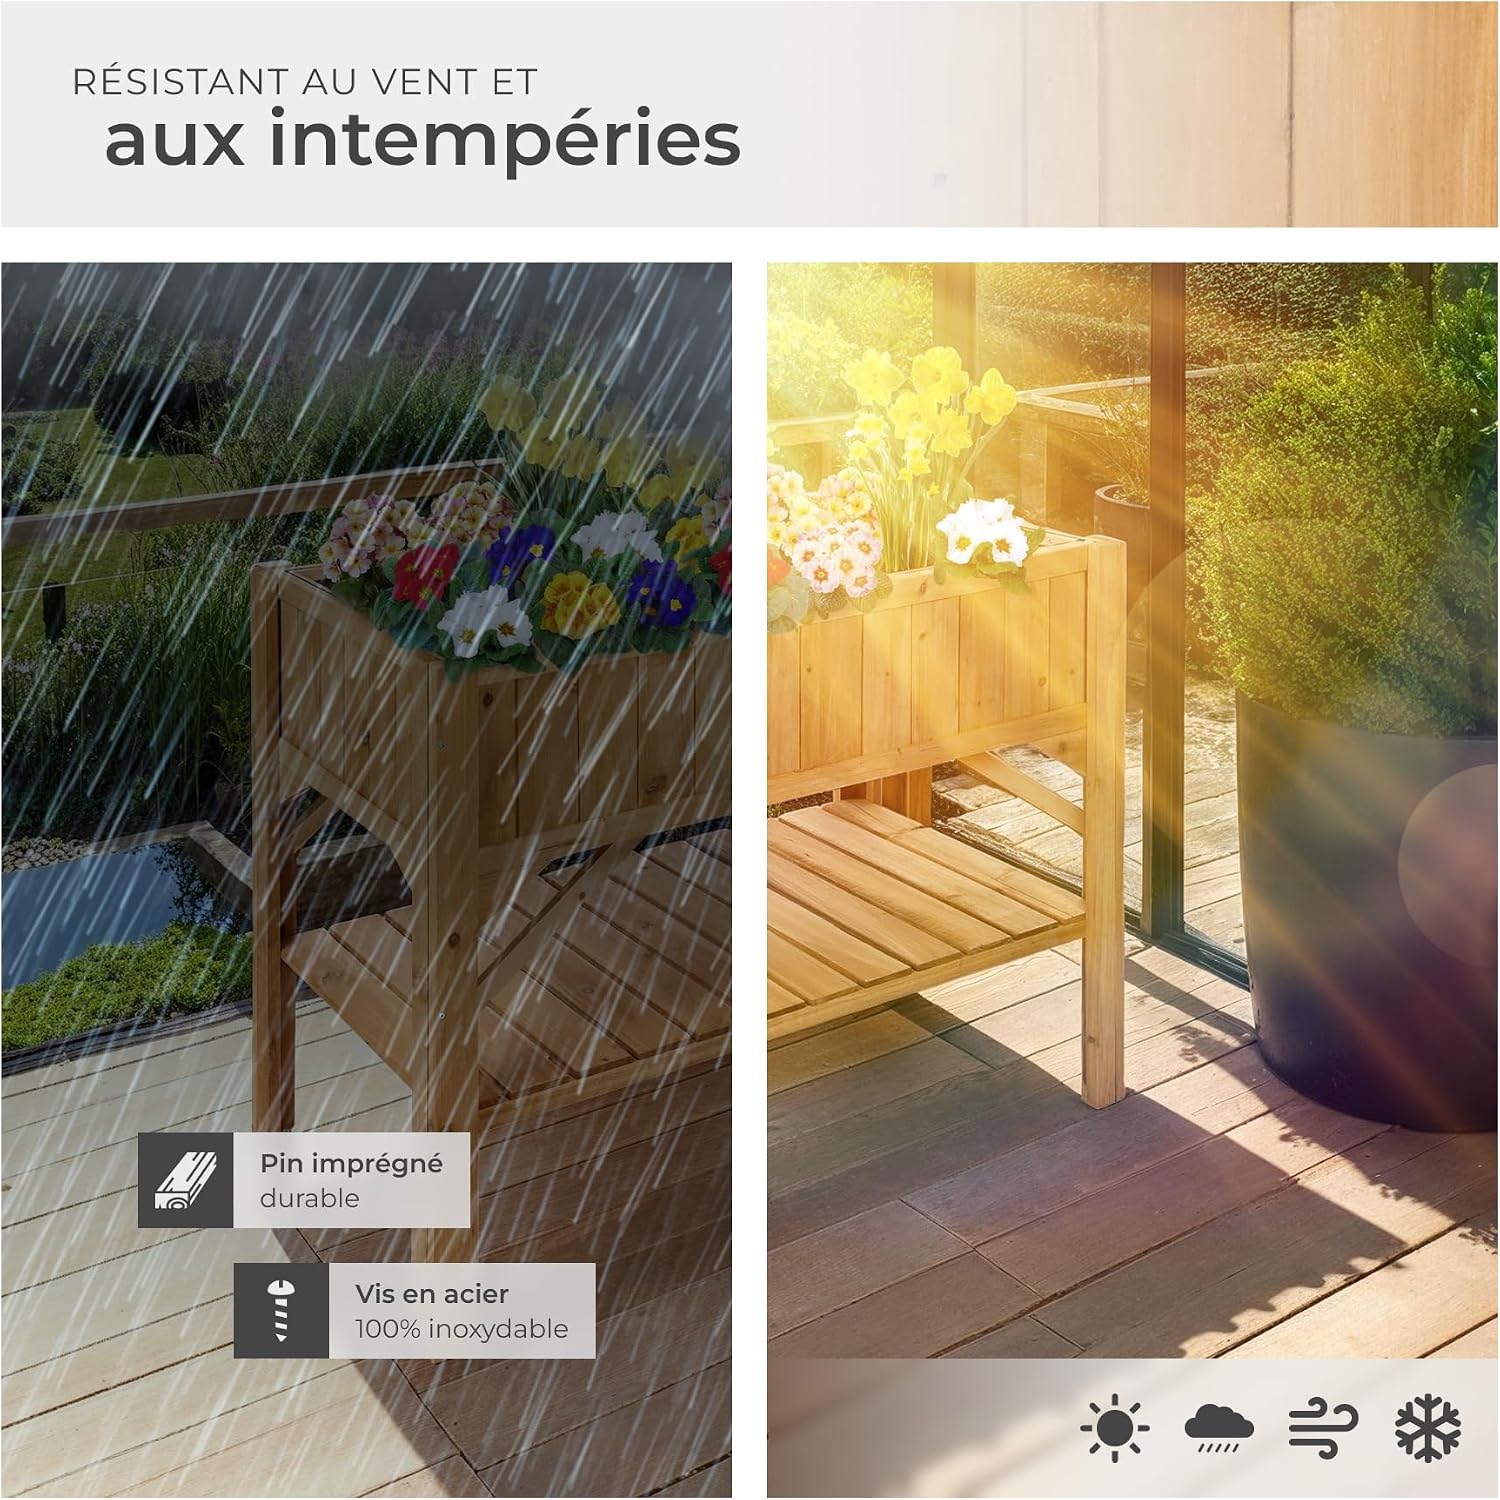
Image: The raised garden bed shown under both rainy and sunny conditions, demonstrating its resilience to weather.
- Liner Inspection: Periodically check the polyethylene liner for tears or punctures. Replace the liner if it is significantly damaged to prevent direct contact between soil and wood, which can lead to premature wood degradation.
- Cleaning: Clean the exterior wood surfaces with a damp cloth. Avoid using harsh chemical cleaners, which can damage the wood finish.
- Winter Storage: In regions with severe winter weather, consider emptying the planter and storing it in a sheltered area (e.g., a shed or garage) to prolong its lifespan and protect it from extreme cold and moisture.
7. Troubleshooting
7.1. Instability
If the garden bed feels unstable after assembly, re-check all screw connections. Ensure they are tightened securely. Make sure the bed is placed on a flat, level, and firm surface.
7.2. Water Leakage
If water leaks from the planter box, inspect the polyethylene liner for any holes or tears. The liner is crucial for preventing water damage to the wood. Repair any small holes with waterproof tape or replace the liner if it is extensively damaged.
7.3. Wood Discoloration or Warping
Wood is a natural material and can react to environmental changes. Slight discoloration or graying is normal over time, especially with outdoor exposure. Warping can occur due to extreme moisture fluctuations. Regular wood treatment (as described in the Maintenance section) can help mitigate these issues and preserve the wood's appearance and integrity.
8. Specifications
| Feature | Detail |
|---|---|
| Brand | tectake |
| Model Number | 403232-2 |
| Color | Natural Wood |
| Total Dimensions (L x W x H) | 119 x 57 x 90 cm (approximately 46.9 x 22.4 x 35.4 inches) |
| Internal Planter Dimensions (L x W x H) | 108 x 50 x 24 cm (approximately 42.5 x 19.7 x 9.4 inches) |
| Material | Impregnated Pine Wood, Polyethylene Liner |
| Weight | 13.5 kg (approximately 29.8 lbs) |
| Maximum Load Capacity | 120 kg (approximately 264.5 lbs) |
| Special Feature | Ergonomic working height, lower storage shelf |
| Usage Environment | Indoor/Outdoor |

Image: A detailed diagram showing the overall and internal dimensions of the raised garden bed.
9. Warranty and Support
For warranty information or technical support, please refer to the contact details provided with your purchase or visit the official tectake website. It is recommended to keep your proof of purchase for any warranty claims.

