
Wendry B07W7X4BPL
Wendry LCD Car Display User Manual
Model: B07W7X4BPL
1. Product Overview
The Wendry LCD Car Display is a versatile 7-inch rearview mirror monitor designed for vehicle use. It features multiple video inputs for connecting to car DVD players, set-top boxes, and reversing cameras, providing enhanced visibility and convenience for drivers. Its wide voltage compatibility and built-in short-circuit protection ensure reliable operation across various vehicle types.

Image: Front view of the Wendry 7-inch LCD Car Display, showing a car displayed on the screen.
2. Key Features
- Dual Video Inputs: Features AV1 for car DVD/set-top box display and AV2 for reversing camera connection.
- Automatic Reversing Display: When connected to a reversing camera via AV2, the screen automatically switches to the camera feed upon reversing.
- Wide Voltage Compatibility: Operates directly with DC9V to DC26V power sources, eliminating the need for a power inverter.
- Short-Circuit Protection: Designed with protection against incorrect positive and negative pole connections, preventing damage to the unit.
- Broad Application: Suitable for various vehicle types.
3. Setup and Installation
Before installation, ensure the vehicle's power is off. Carefully follow the steps below for proper setup.
- Mounting: Securely attach the LCD car display to your vehicle's rearview mirror using the integrated clips or mounting mechanism. Ensure it is stable and does not obstruct your view.
- Power Connection: Connect the power cable to a DC9V-DC26V power source in your vehicle. The unit is designed with short-circuit protection, so incorrect polarity will not burn the machine; simply reconnect correctly.
- AV1 Connection: For connecting a car DVD player or set-top box, use the AV1 video input.
- AV2 (Reversing Camera) Connection: Connect your reversing camera to the AV2 video input. This input supports the reversing priority function, meaning the display will automatically switch to the camera feed when the vehicle is in reverse.
- Cable Management: Route all cables safely and neatly to avoid interference with driving controls and to prevent damage.

Image: The Wendry LCD Car Display shown with its power and video input cables, illustrating the connections.
4. Operating Instructions
Once installed and powered on, the display is ready for operation.
- Power On/Off: Use the power button (often marked with a power symbol) on the display or remote control to turn the unit on or off.
- Input Switching: Use the "V1/V2" button (or similar) to switch between AV1 and AV2 video inputs.
- Automatic Reversing: When the vehicle is shifted into reverse, the display will automatically switch to the video feed from the camera connected to AV2. Upon shifting out of reverse, it will return to the previously selected input.
- Menu Navigation: Use the menu buttons (Up, Down, M for Menu, etc.) to access and adjust display settings such as brightness, contrast, color, and aspect ratio. Refer to the remote control for specific button functions.
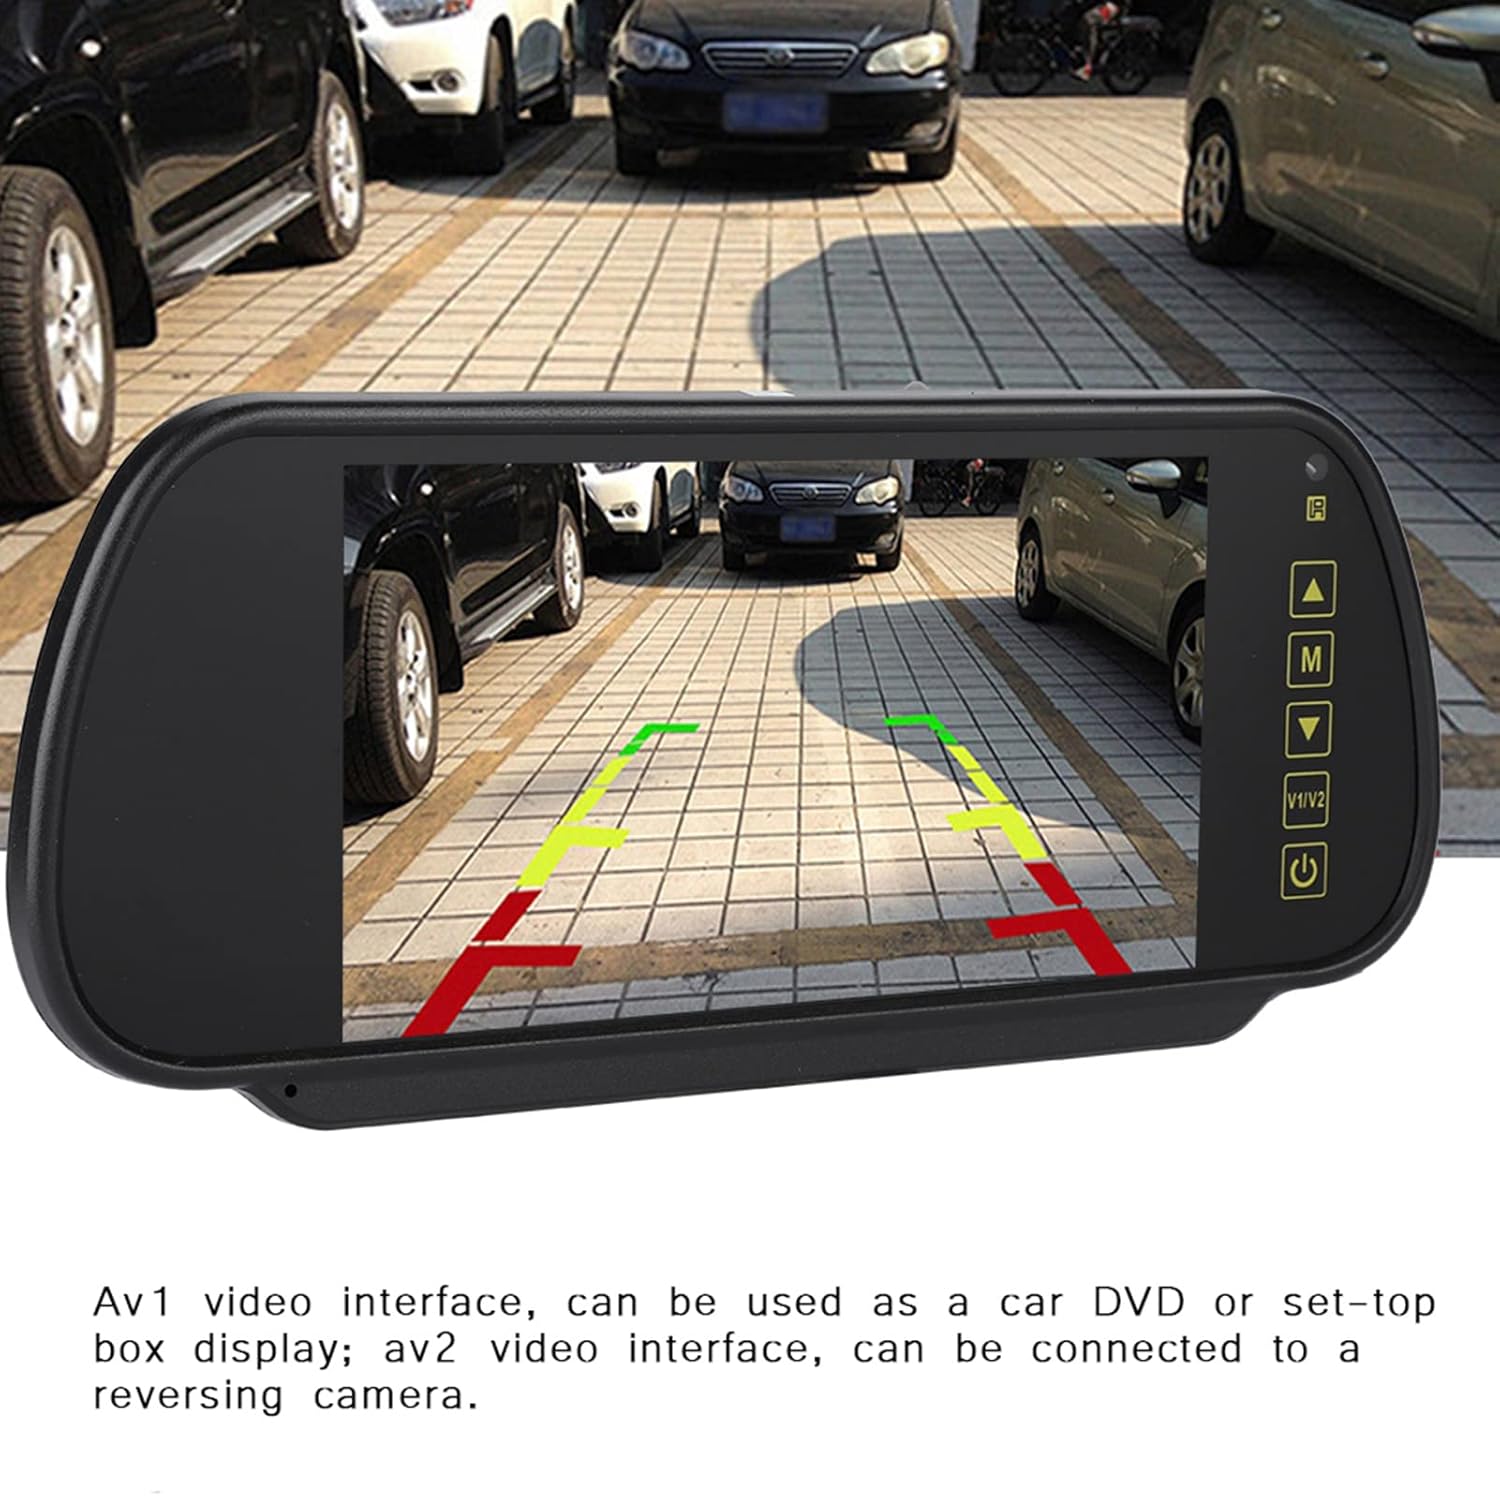
Image: The display showing a reversing camera view with green, yellow, and red parking guide lines.
5. Maintenance
To ensure the longevity and optimal performance of your Wendry LCD Car Display, follow these maintenance guidelines:
- Cleaning: Use a soft, dry, lint-free cloth to clean the display screen. For stubborn smudges, slightly dampen the cloth with water or a screen-safe cleaner. Avoid abrasive materials or harsh chemicals.
- Environmental Conditions: Avoid exposing the unit to extreme temperatures, direct sunlight for prolonged periods, or excessive moisture.
- Cable Inspection: Periodically check all connected cables for any signs of wear, fraying, or damage. Replace damaged cables immediately to prevent electrical issues.
- Secure Mounting: Ensure the display remains securely mounted to prevent vibrations or accidental dislodgement during driving.
6. Troubleshooting
| Problem | Possible Cause | Solution |
|---|---|---|
| Display does not power on. | No power supply; incorrect power connection; blown fuse in vehicle. | Check power cable connection. Ensure correct positive and negative polarity (unit has short-circuit protection). Verify vehicle's power source and fuse. |
| No video signal. | Incorrect input selected; loose video cable connection; faulty source device. | Press the "V1/V2" button to switch inputs. Check that video cables are securely connected to both the display and the source device (DVD, camera). Test with another source device if possible. |
| Image colors are incorrect (e.g., pink grass). | Video signal issue; display settings. | Check the video cable connection for any damage or loose pins. Access the display's menu settings to adjust color, tint, and saturation. If the issue persists, the source device or cable may be faulty. |
| Display does not switch to reversing camera automatically. | Camera not connected to AV2; reversing trigger wire not connected (if applicable). | Ensure the reversing camera is connected to the AV2 input. Verify that the reversing trigger wire (if present on your camera/vehicle setup) is correctly wired to the vehicle's reverse light circuit. |
7. Specifications
- Brand: Wendry
- Model: B07W7X4BPL
- Screen Size: 7 Inches
- Display Technology: LCD
- Product Dimensions: 9.76 x 4.17 x 1.5 inches (24.8 x 10.6 x 3.8 cm)
- Item Weight: 1.17 pounds (0.53 kg)
- Voltage: DC9V - DC26V
- Video Capture Resolution: 480p
- Installation Type: Surface Mount (Mirror Clip-on)
- Compatible Devices: Monitor (for car DVD, set-top box, reversing camera)
8. Warranty and Support
For warranty information, technical support, or service inquiries, please contact Wendry customer service through the retailer where the product was purchased or visit the official Wendry brand store online. Keep your purchase receipt as proof of purchase for warranty claims.
Wendry Brand Store: Visit Wendry Store on Amazon
Ask a question about this manual
Ask about setup, troubleshooting, compatibility, parts, safety, or missing instructions. Manuals+ will review the question and use this page’s manual context to help answer it.