
NOCO GENIUS2
NOCO GENIUS2 Smart Battery Charger User Manual
Model: GENIUS2 | Brand: NOCO
1. Introduction
The NOCO GENIUS2 is an advanced 2-amp smart battery charger, maintainer, and desulfator designed for 6-volt and 12-volt lead-acid (AGM, gel, flooded, and deep-cycle) and lithium-ion (LiFePO4) batteries. This compact and powerful device offers comprehensive battery care, ensuring optimal performance and extended lifespan for a wide range of vehicles and equipment.
It features integrated thermal compensation for efficient charging in varying climates and a Force Mode to recover deeply discharged batteries. The GENIUS2 is engineered for safe, long-term connection, providing worry-free battery maintenance.
2. Safety Information
Always prioritize safety when operating battery charging equipment. Read and understand all instructions before use.
- Eye Protection: Always wear eye protection when working with batteries.
- Ventilation: Ensure adequate ventilation in the charging area to prevent accumulation of explosive gases.
- Sparks and Flames: Keep sparks, flames, and smoking materials away from batteries.
- Corrosive Acid: Batteries contain corrosive acid. Avoid contact with skin, eyes, or clothing. In case of contact, flush immediately with water and seek medical attention.
- Proper Connection: Connect the charger to the battery terminals in the correct order (positive to positive, negative to negative, or chassis ground if applicable) to prevent sparks.
- Disconnecting: Always disconnect the AC power from the charger before disconnecting the battery clamps.
- Children and Pets: Keep the charger and batteries out of reach of children and pets.
- Damaged Equipment: Do not operate the charger if it has been damaged in any way.
3. Product Overview
3.1 Key Features
- Compact and Powerful: 30% smaller design with 140% more power compared to its predecessor.
- Multi-Voltage and Multi-Chemistry: Supports 6-volt and 12-volt lead-acid (AGM, Gel, SLA, VRLA) and lithium-ion (LiFePO4) batteries.
- Precision Charging: Integrated thermal sensor adjusts charging based on ambient temperature, preventing overcharging or undercharging.
- Dead Battery Recovery: Capable of charging batteries as low as 1 volt, with a Force Mode for zero-volt batteries.
- Automatic Maintenance: Safely monitors and maintains battery charge indefinitely without overcharging.
- Battery Restoration: Precision pulse charging reverses sulfation and acid stratification to restore battery health and extend lifespan.
- Wide Compatibility: Suitable for cars, motorcycles, ATVs, UTVs, boats, RVs, and various other vehicles.
3.2 What's in the Box
- GENIUS2 2A Smart Battery Charger and Battery Maintainer
- Needle-Nose Battery Clamps With Integrated Eyelet Terminals
- Battery Charger Mounting Bracket With Velcro Strap
- (2) Black Truss-Head Screws
- Battery Charger User Guide (this manual)
- 3-Year Limited Warranty Information
4. Setup and Connection
Follow these steps to safely connect your NOCO GENIUS2 charger to a battery.
- Identify Battery Terminals: Locate the positive (+) and negative (-) terminals on your battery. The positive terminal is usually larger and marked with a plus sign, while the negative terminal is marked with a minus sign.
- Connect Positive Clamp: Attach the red positive (+) battery clamp to the positive (+) battery terminal.
- Connect Negative Clamp: Attach the black negative (-) battery clamp to the negative (-) battery terminal. For vehicles, if connecting to the chassis, ensure it is a non-painted, metal part of the vehicle frame away from the battery and fuel lines.
- Plug into Power: Once the clamps are securely connected to the battery, plug the charger's AC cable into a suitable electrical outlet.
- Select Mode: The charger will automatically detect the battery voltage and type. Press the MODE button to cycle through the available charging modes (12V, 12V AGM, 12V LITHIUM, 6V) until the desired mode is selected.
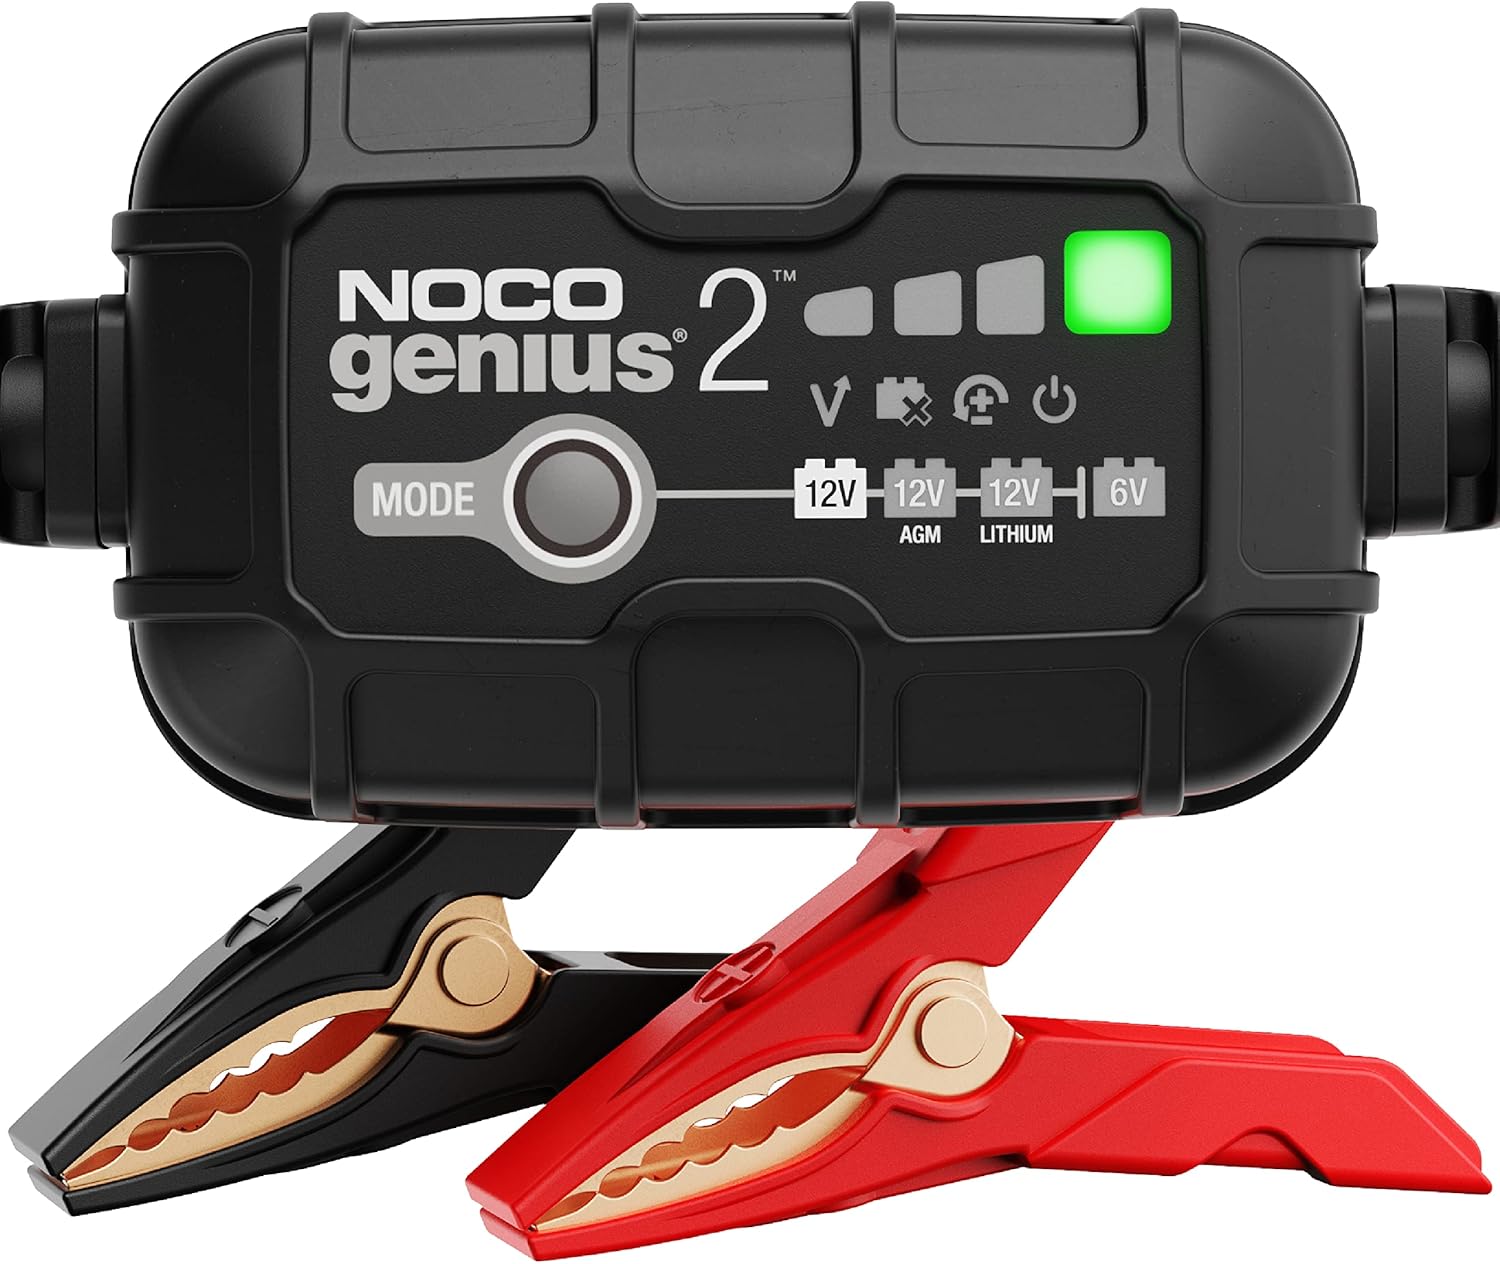
Image: The NOCO GENIUS2 charger connected to a battery with its red positive and black negative clamps.
5. Operating Instructions
5.1 Charging Modes
The GENIUS2 offers various charging modes to suit different battery types and conditions. Use the MODE button to select the appropriate setting.
- 12V Mode: For 12-volt wet cell, gel, enhanced flooded, maintenance-free, and calcium batteries.
- 12V AGM Mode: Specifically for 12-volt AGM (Absorbed Glass Mat) batteries.
- 12V LITHIUM Mode: For 12-volt lithium-ion batteries (including Lithium Iron Phosphate) with Battery Management Systems (BMS).
- 6V Mode: For 6-volt wet cell, gel, enhanced flooded, maintenance-free, and calcium batteries.
- Force Mode: Used to manually charge extremely dead batteries (below 1-volt, down to zero volts). To activate, press and hold the MODE button for 7 seconds until all lights flash, then select the desired voltage mode.
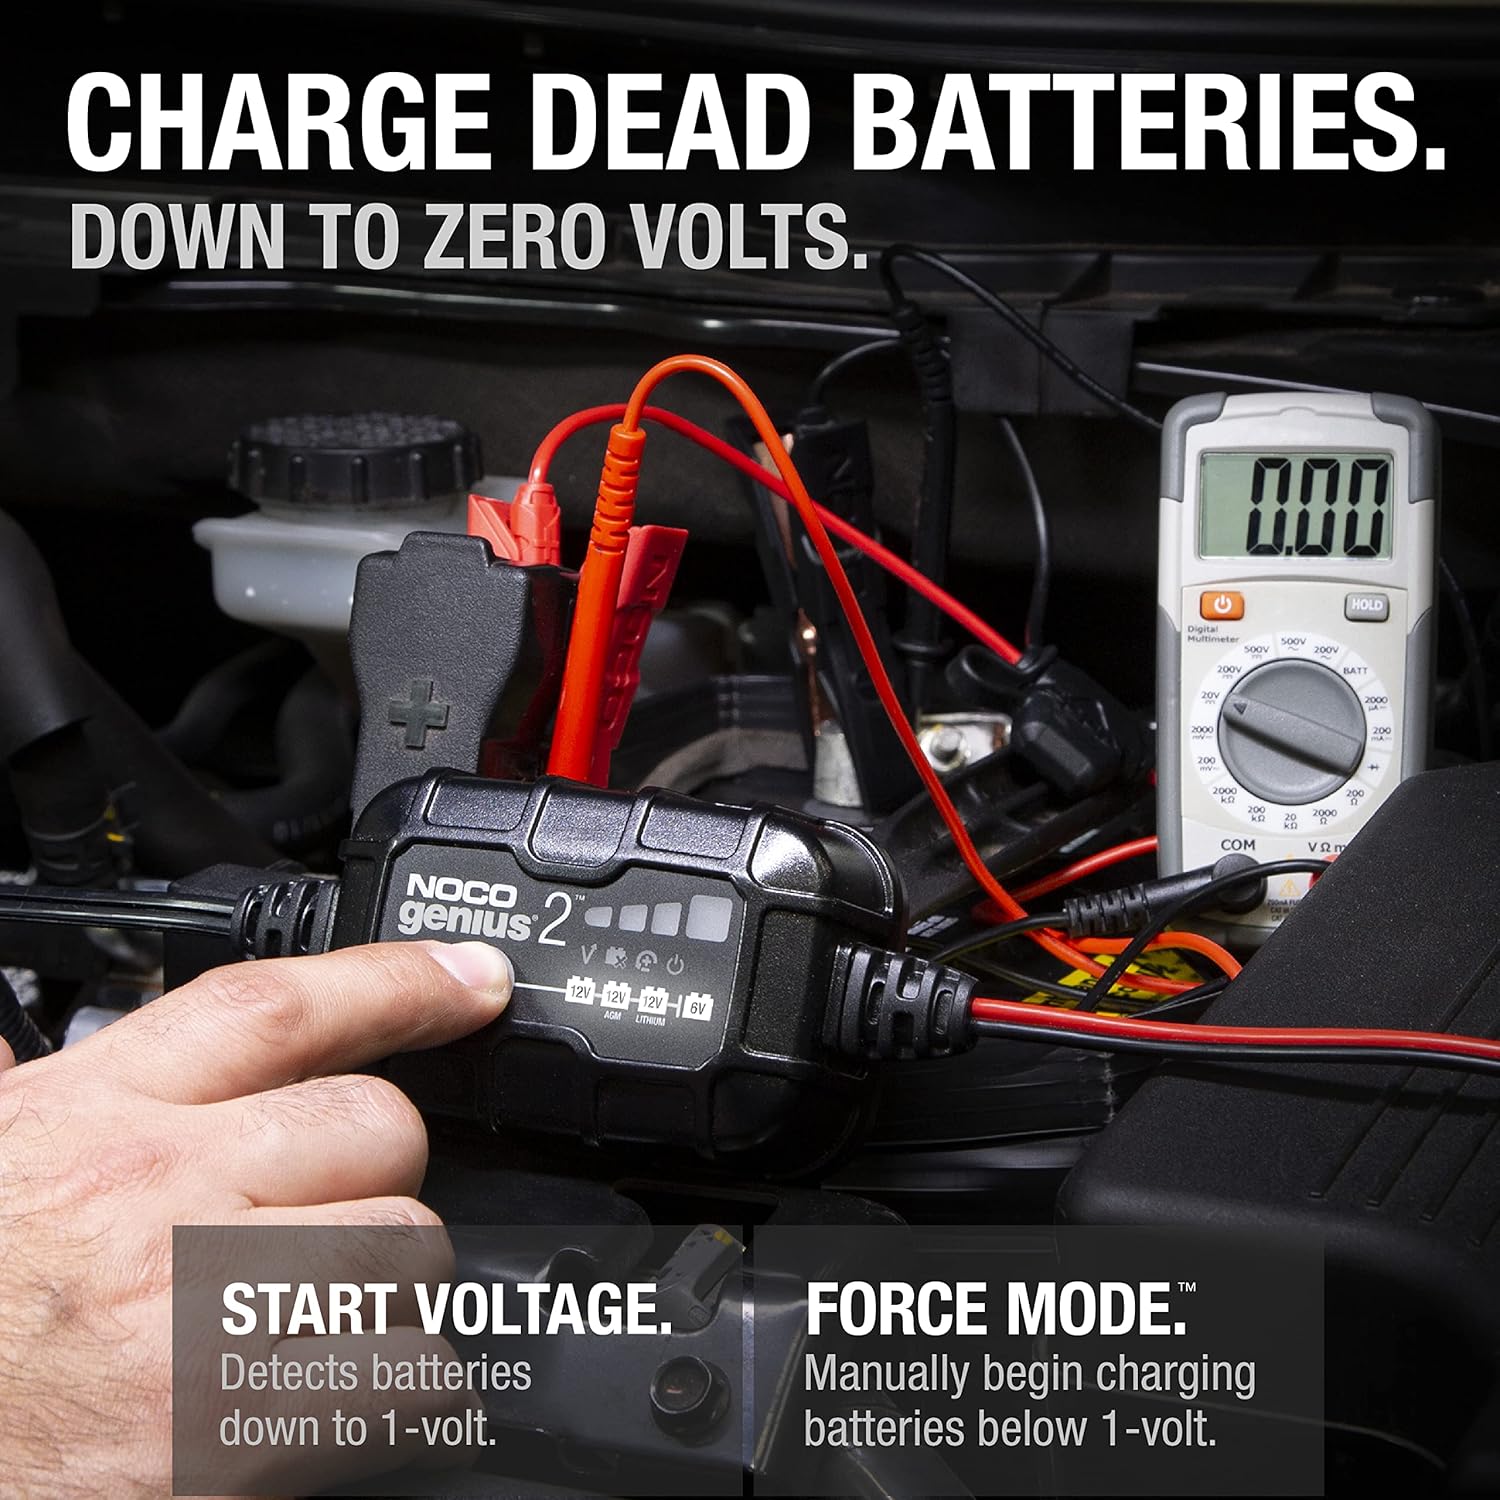
Image: A hand pressing the mode button on the NOCO GENIUS2 charger, connected to a battery with a multimeter showing 0.00 volts, illustrating the Force Mode capability.
5.2 Thermal Compensation
The GENIUS2 features an integrated thermal sensor that automatically adjusts the charging profile based on the ambient temperature. This prevents overcharging in hot conditions and undercharging in cold conditions, optimizing battery performance and extending its life.

Image: Illustration showing the NOCO GENIUS2 charger adjusting its charging profile for both hot (104°F) and cold (-4°F) weather conditions, highlighting its thermal compensation feature.
5.3 Automatic Maintenance
The charger is designed for safe, indefinite connection. It constantly monitors the battery's state and automatically switches to maintenance mode once fully charged, preventing overcharging and ensuring the battery remains optimally charged for extended periods.
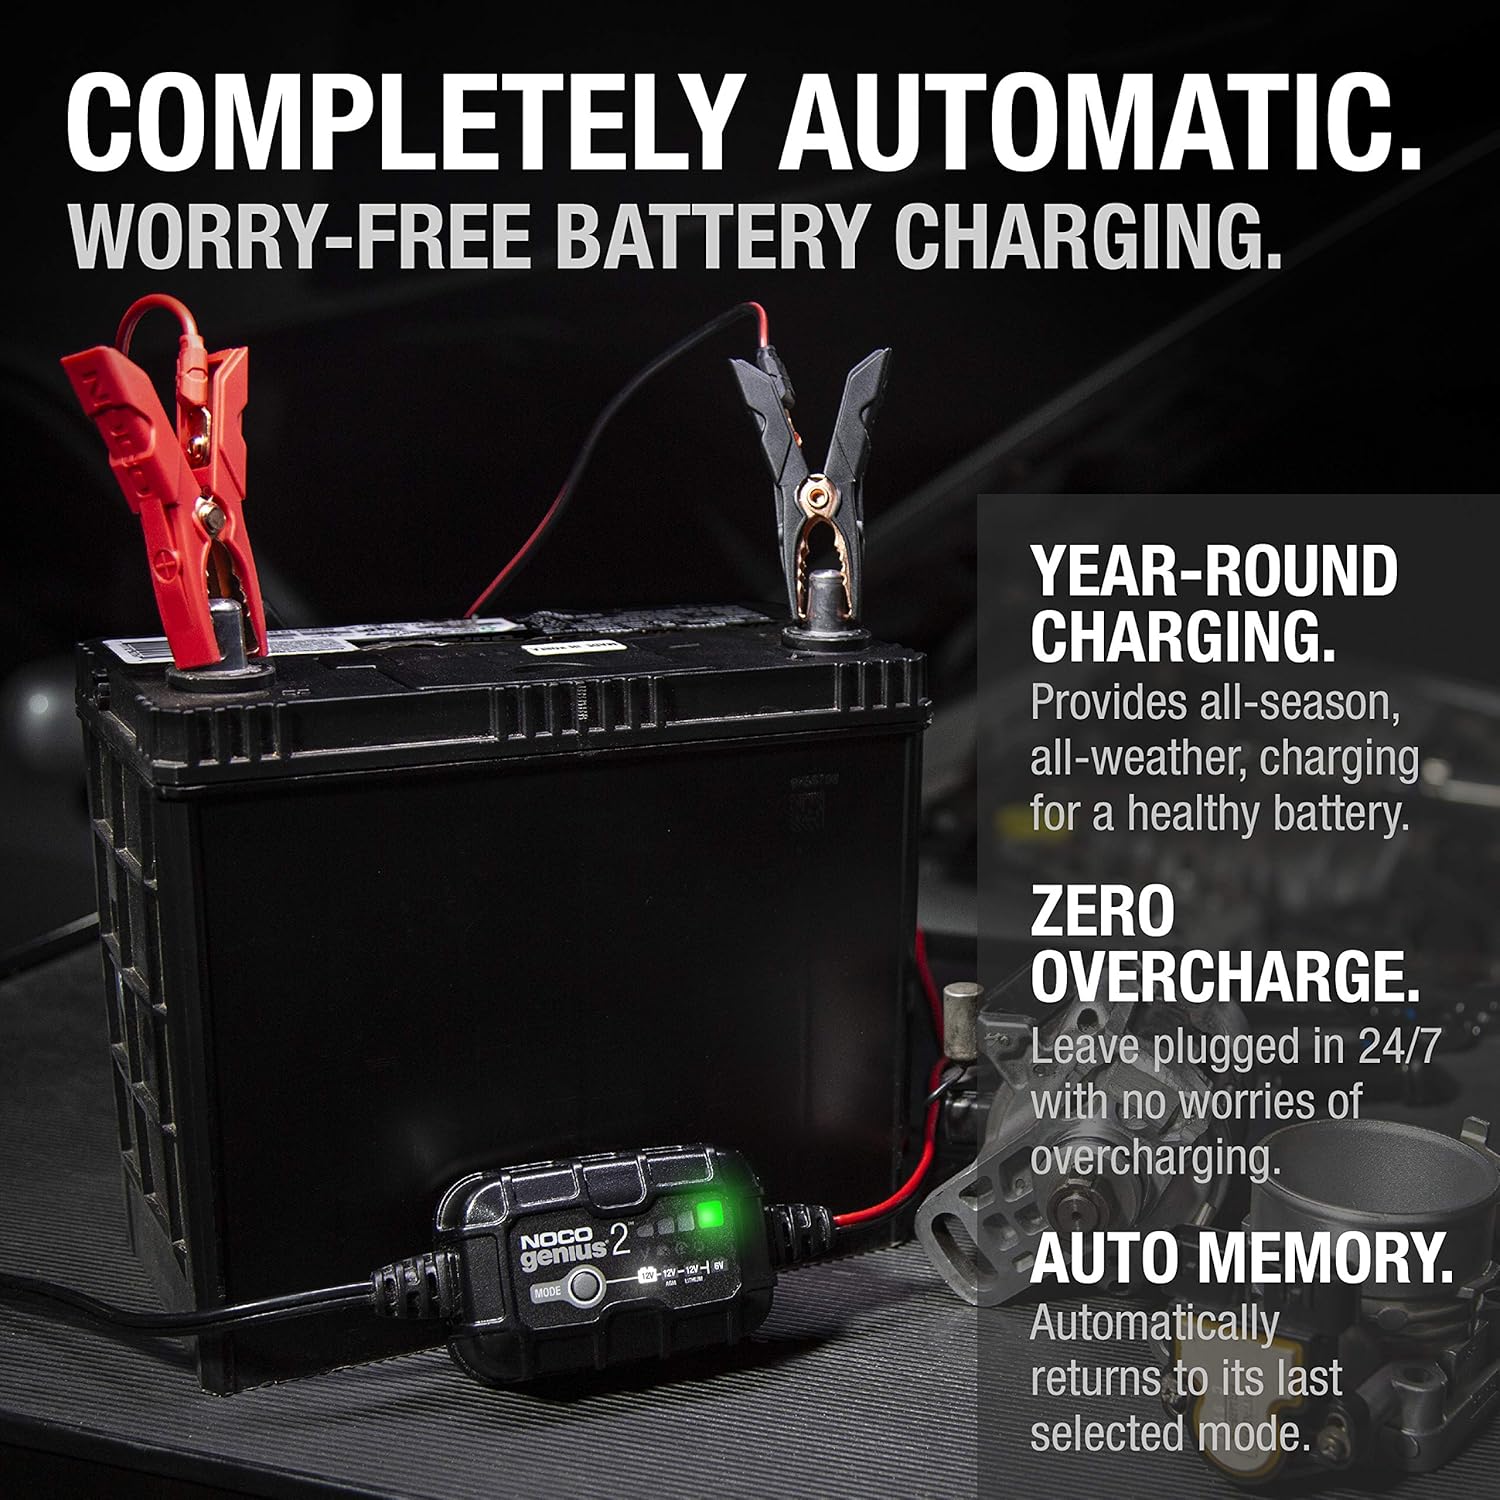
Image: The NOCO GENIUS2 charger connected to a car battery, with text indicating "Completely Automatic, Worry-Free Battery Charging" and features like "Year-Round Charging," "Zero Overcharge," and "Auto Memory."
5.4 Battery Restoration
The GENIUS2 utilizes precision pulse charging to automatically detect and reverse battery sulfation and acid stratification. This process helps restore lost battery performance, leading to stronger engine starts and an extended battery lifespan.

Image: An illustration depicting the internal process of battery restoration by the NOCO GENIUS2, showing "Auto Detection," "Auto Repair," and improved "Performance."
6. Maintenance
The NOCO GENIUS2 is designed for minimal maintenance. Keep the unit clean and dry. Regularly inspect the cables and clamps for any damage or corrosion. Store the charger in a cool, dry place when not in use.
For long-term battery maintenance, the charger can be left connected indefinitely. Its advanced monitoring system will ensure the battery remains optimally charged without overcharging.
7. Troubleshooting
If you encounter issues with your GENIUS2 charger, refer to the following common problems and solutions:
| Problem | Possible Cause | Solution |
|---|---|---|
| Charger does not turn on. | No AC power; faulty outlet; damaged charger. | Check AC outlet, ensure charger is properly plugged in. Inspect AC cord for damage. |
| Charger not charging battery. | Incorrect mode selected; poor connection; battery too dead; battery fault. | Verify correct mode for battery type. Ensure clamps are securely connected. For batteries below 1V, use Force Mode. If still no charge, battery may be faulty. |
| Force Mode does not revive completely dead battery. | Battery voltage too low for Force Mode to initiate; severe battery damage. | For batteries at 0 volts, Force Mode may require a slight residual voltage to detect. A brief jump start or connection to a higher amperage charger might be needed to bring the voltage up slightly before the GENIUS2 can take over. If unsuccessful, the battery may be beyond recovery. |
| Charger indicates error (specific light pattern). | Reverse polarity; short circuit; open circuit; battery voltage mismatch. | Refer to the LED indicator guide in the full user manual (if available) for specific error codes. Correct polarity, check for shorts, ensure proper connection. |
8. Specifications
| Attribute | Detail |
|---|---|
| Model Number | GENIUS2 |
| Output Voltage | 6V / 12V |
| Charging Amperage | 2A |
| Product Dimensions | 1.7 x 2.4 x 3.7 inches (4.3 x 6.1 x 9.4 cm) |
| Item Weight | 1.23 pounds (0.56 kg) |
| Compatible Battery Types | Lead-Acid (Wet, Gel, MF, CA, EFB, AGM), Lithium-Ion (LiFePO4) |
| Battery Capacity | Up to 40 Amp-Hours (Ah) |
| Input Voltage | 120-240VAC, 50-60Hz |
9. Warranty and Support
The NOCO GENIUS2 comes with a 3-Year Limited Warranty. For warranty claims or technical support, please visit the official NOCO website or contact their customer service directly.
Additional resources, including a detailed user guide in PDF format, may be available for download from the manufacturer's website. You can also refer to the User Guide (PDF) for more in-depth information.
Related documentsGENIUS2


Ask a question about this manual
Ask about setup, troubleshooting, compatibility, parts, safety, or missing instructions. Manuals+ will review the question and use this page’s manual context to help answer it.