
1. Introduction
The Philips Avent Smart Ear Thermometer SCH740 is designed to provide fast, accurate, and comfortable temperature measurements for infants, children, and adults. This device utilizes infrared technology to measure temperature from the ear canal. It also features smart connectivity to track temperature readings over time.
2. Safety Information
Please read all instructions carefully before using this thermometer. Keep this manual for future reference.
- This thermometer is intended for household use only. Consult a physician for medical advice.
- Do not use the thermometer if the ear canal is inflamed or infected.
- Keep the device out of reach of children. Small parts may pose a choking hazard.
- Do not expose the thermometer to extreme temperatures, direct sunlight, or moisture.
- Always ensure the probe is clean before each use to prevent cross-contamination and ensure accuracy.
- If the thermometer is dropped or damaged, do not use it.
3. Product Overview
Familiarize yourself with the components of your Philips Avent Smart Ear Thermometer.

Image: Front view of the Philips Avent Smart Ear Thermometer SCH740, showing the display, power button, and ear probe.
Key Components:
- Probe Tip: For insertion into the ear canal.
- Display Screen: Shows temperature readings, battery status, and other indicators.
- Power/Measurement Button: Turns the device on/off and initiates temperature measurement.
- Battery Compartment: Located at the bottom of the device.
4. Setup
4.1. Inserting Batteries
- Open the battery compartment cover located at the bottom of the thermometer.
- Insert two AAA batteries, ensuring correct polarity (+/-).
- Close the battery compartment cover securely.
4.2. Initial Power-On
Press the Power/Measurement button to turn on the thermometer. The display will show a brief self-test before entering standby mode, ready for measurement.
4.3. Connecting to the Philips Avent App
For smart features and tracking, download the Philips Avent app on your smartphone or tablet. Follow the in-app instructions to pair your thermometer via Bluetooth.
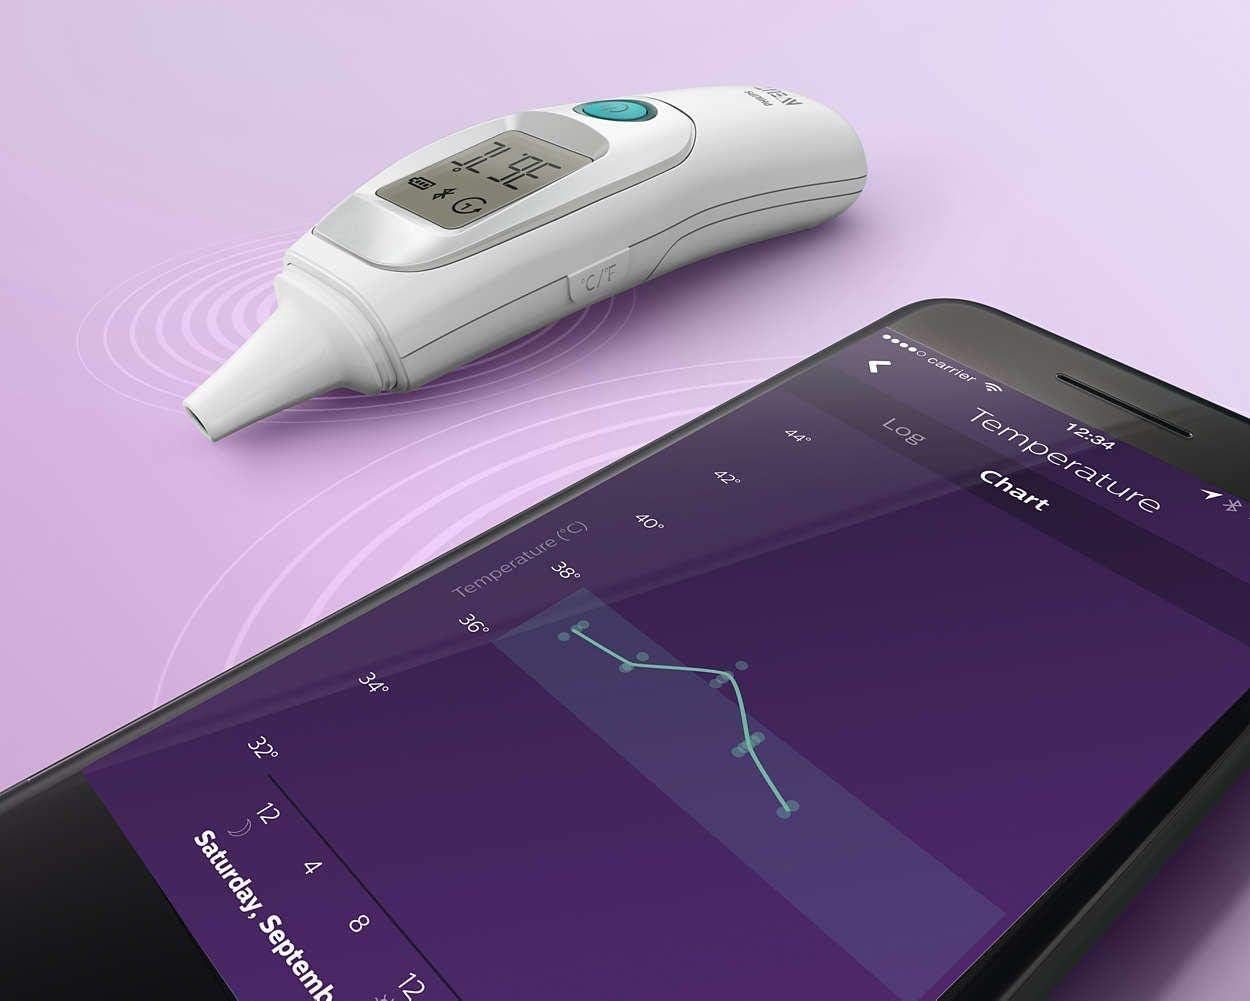
Image: The Philips Avent Smart Ear Thermometer next to a smartphone displaying a temperature tracking chart within the companion app.
5. Operating Instructions
5.1. Taking a Temperature Measurement
- Ensure the probe tip is clean.
- Press the Power/Measurement button to turn on the thermometer.
- Gently insert the probe tip into the ear canal. For accurate readings, ensure the probe is directed towards the eardrum.
- Press the Power/Measurement button again to start the measurement. A beep will indicate completion, and the temperature will be displayed.
- Remove the thermometer from the ear.

Image: A Philips Avent Smart Ear Thermometer being gently inserted into a baby's ear for a temperature reading.
5.2. Reading the Display
The display shows the measured temperature. Indicators for battery level, Bluetooth connection, and memory recall may also be present.
5.3. Memory Function
The thermometer automatically stores the last measurement. Refer to the full app instructions for accessing historical data and tracking trends.

Image: The Philips Avent Smart Ear Thermometer displaying a temperature reading, positioned next to a smartphone showing a detailed temperature log and chart.
5.4. Fever Alarm
The thermometer features an alarm function to alert you to elevated temperatures. Consult the app or device manual for specific alarm thresholds and indicators.
6. Maintenance and Cleaning
6.1. Cleaning the Probe Tip
After each use, gently wipe the probe tip with an alcohol swab or a soft cloth dampened with alcohol (70% isopropyl alcohol is recommended). Allow it to air dry completely before storing.
6.2. Cleaning the Device Body
Wipe the body of the thermometer with a soft, dry cloth. Do not immerse the device in water or use abrasive cleaners.
6.3. Storage
Store the thermometer in a cool, dry place, away from direct sunlight and extreme temperatures. Keep it in its protective case if provided.
6.4. Battery Replacement
When the low battery indicator appears on the display, replace the batteries as described in Section 4.1. Dispose of used batteries according to local regulations.
7. Troubleshooting
- No Power: Check battery insertion and ensure batteries are not depleted. Replace if necessary.
- Inaccurate Readings: Ensure the probe tip is clean and correctly inserted into the ear canal. Avoid taking measurements immediately after bathing or intense physical activity.
- App Connection Issues: Ensure Bluetooth is enabled on your smartphone and the thermometer is within range. Restart both devices if necessary.
- Error Message on Display: Refer to the full Philips Avent app or support website for specific error code meanings and solutions.
8. Specifications
| Feature | Specification |
|---|---|
| Model Name | SCH740 |
| Measurement Mode | In Ear |
| Display Type | Digital |
| Power Source | Battery Powered |
| Special Features | Alarm, Memory for last measurement, Smart Connectivity |
| Material | Plastic |
| Product Care Instructions | Wipe Clean |
| Age Range (Description) | Adult (suitable for all ages with proper use) |
| Manufacturer | Philips Avent |
9. Warranty and Support
For warranty information, product registration, or technical support, please visit the official Philips Avent website or contact their customer service. Keep your proof of purchase for warranty claims.
Online Support: www.philips.com/avent


