Introduction
Thank you for choosing the Severin Programmable Coffee Maker KA 4826. This manual provides essential information for the safe and efficient operation, maintenance, and troubleshooting of your new appliance. Please read it thoroughly before first use and keep it for future reference.

Figure 1: Severin Programmable Coffee Maker KA 4826, front view.
Safety Instructions
- Always ensure the appliance is unplugged before cleaning or maintenance.
- Do not immerse the appliance, cord, or plug in water or other liquids.
- Keep out of reach of children.
- Place the coffee maker on a stable, heat-resistant surface.
- Do not operate the appliance if the cord or plug is damaged.
- Avoid touching hot surfaces, such as the warming plate and glass carafe, during and immediately after operation. Use the handle.
Components Overview
Familiarize yourself with the parts of your coffee maker:
- Water Tank with Level Indicator
- Swivel Filter Holder with Drip Stop
- Glass Carafe with Handle
- Warming Plate
- Control Panel with Digital Display (Clock, Timer)
- Aroma Selector Dial
- Power Cord Storage Compartment
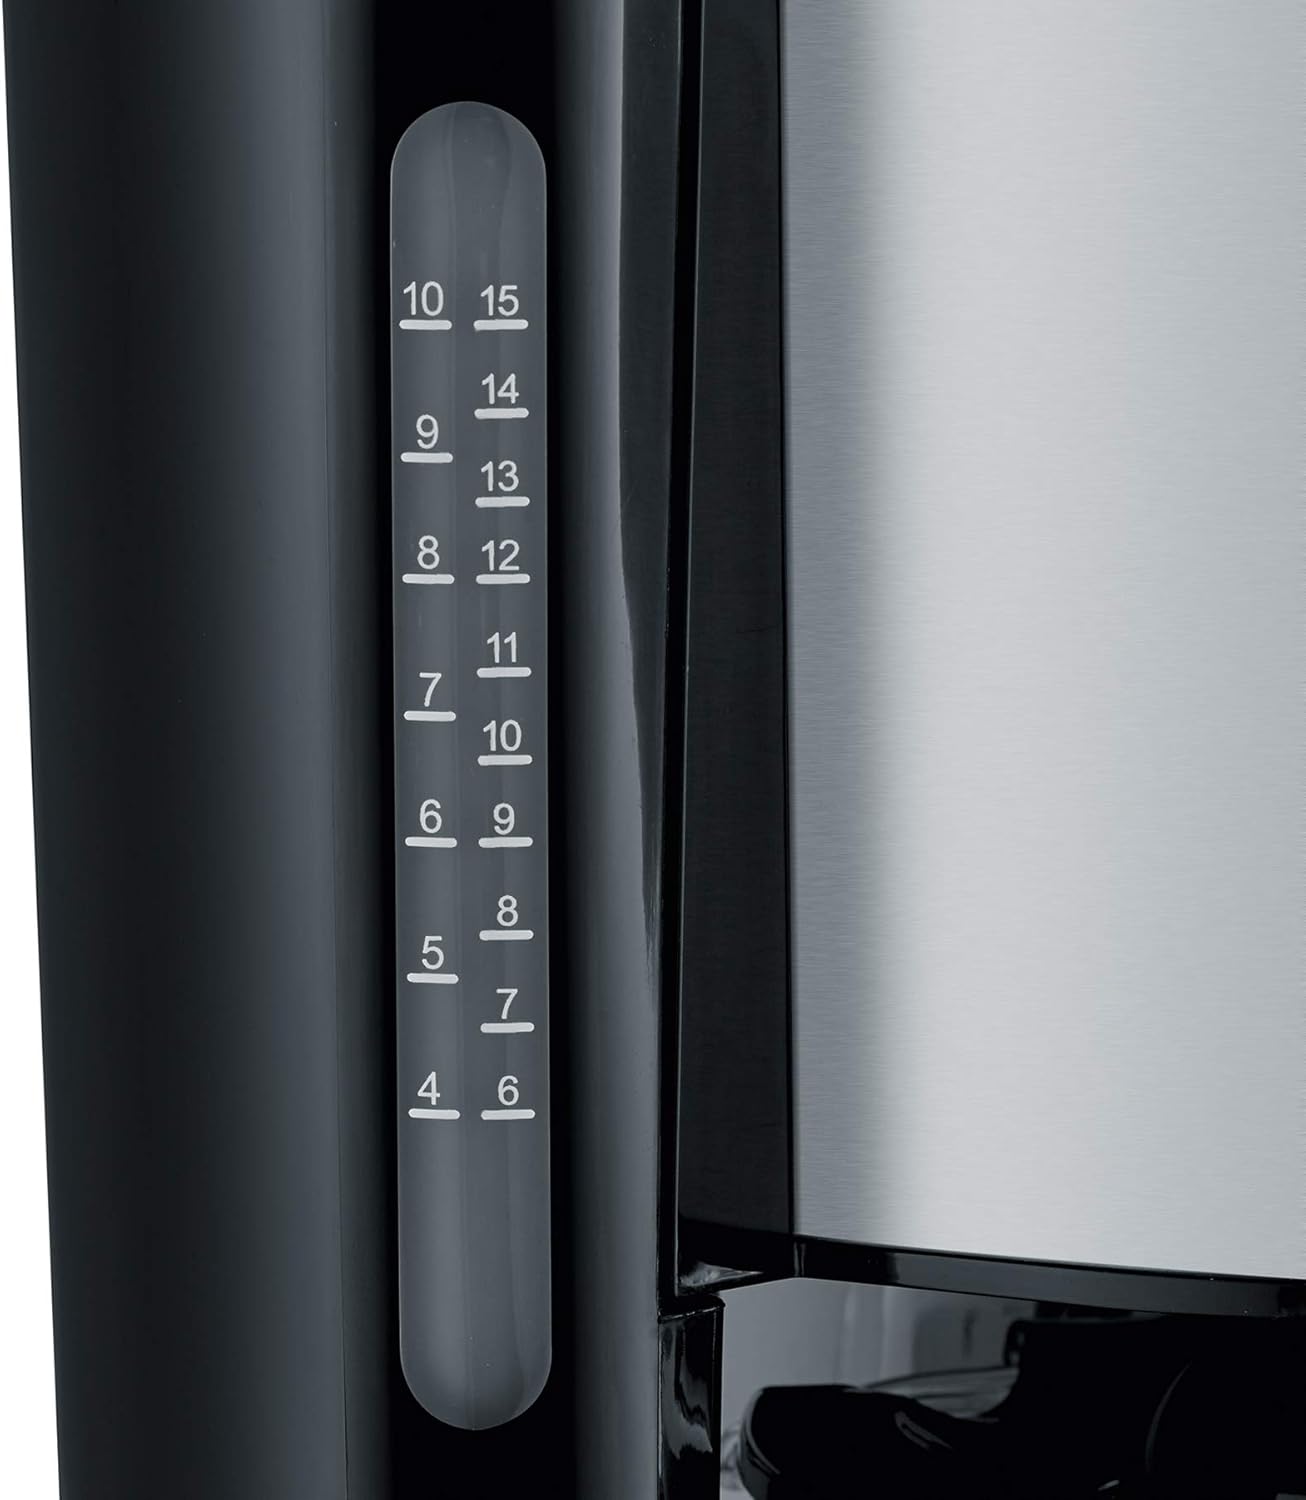
Figure 2: Clear water level indicator for precise filling.
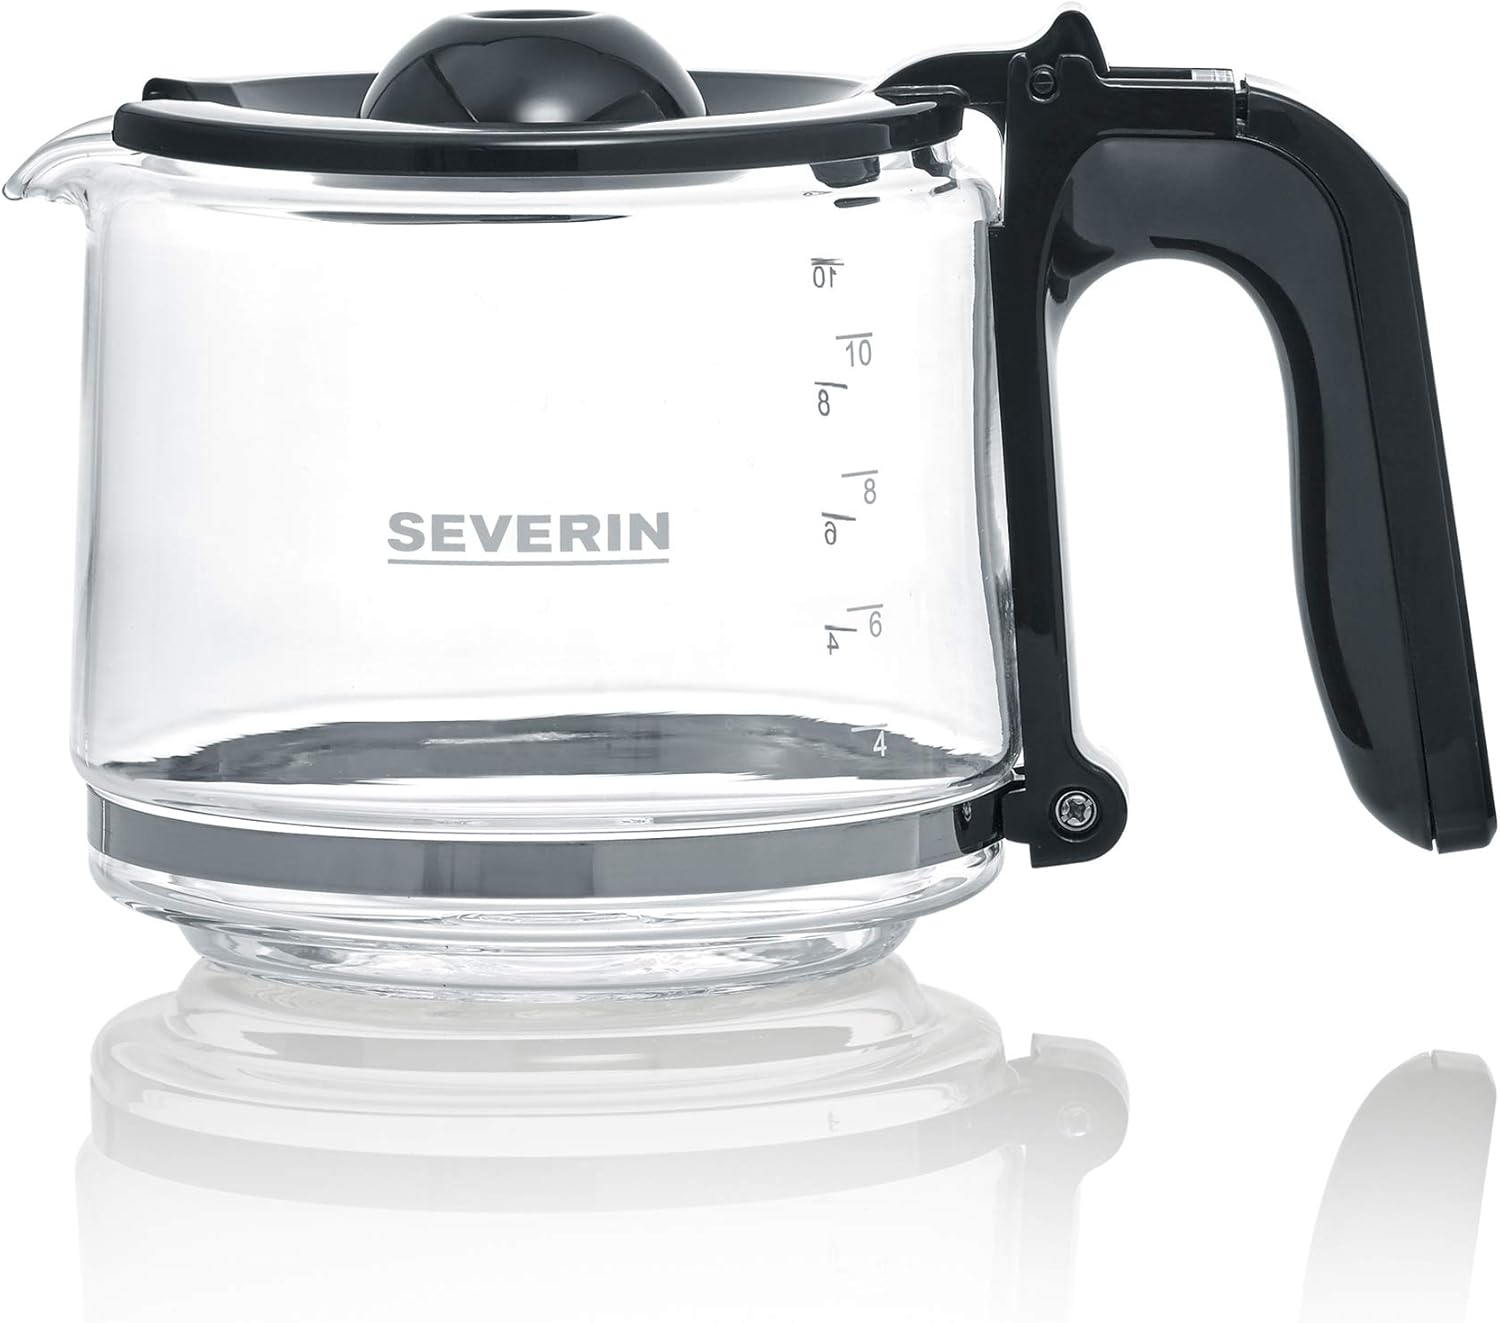
Figure 3: The glass carafe with capacity markings.
Setup
- Unpacking: Carefully remove all packaging materials. Retain packaging for future transport if needed.
- Initial Cleaning: Before first use, clean the glass carafe, filter holder, and lid with warm soapy water. Rinse thoroughly and dry.
- First Brew Cycle (without coffee): Fill the water tank to the maximum level with fresh cold water. Run a full brewing cycle without coffee grounds to rinse the internal components. Discard the water.
- Placement: Place the coffee maker on a flat, stable, and heat-resistant surface, away from walls or cabinets to allow for proper ventilation.
- Power Connection: Plug the appliance into a grounded wall socket. The power cord can be stored in the integrated compartment for neatness.

Figure 4: Integrated power cord storage for tidy placement.
Operating Instructions
Brewing Coffee
- Fill Water Tank: Open the lid and fill the water tank with fresh, cold water up to the desired number of cups, indicated by the water level indicator. The maximum capacity is 1.25 liters, or up to 10 cups.
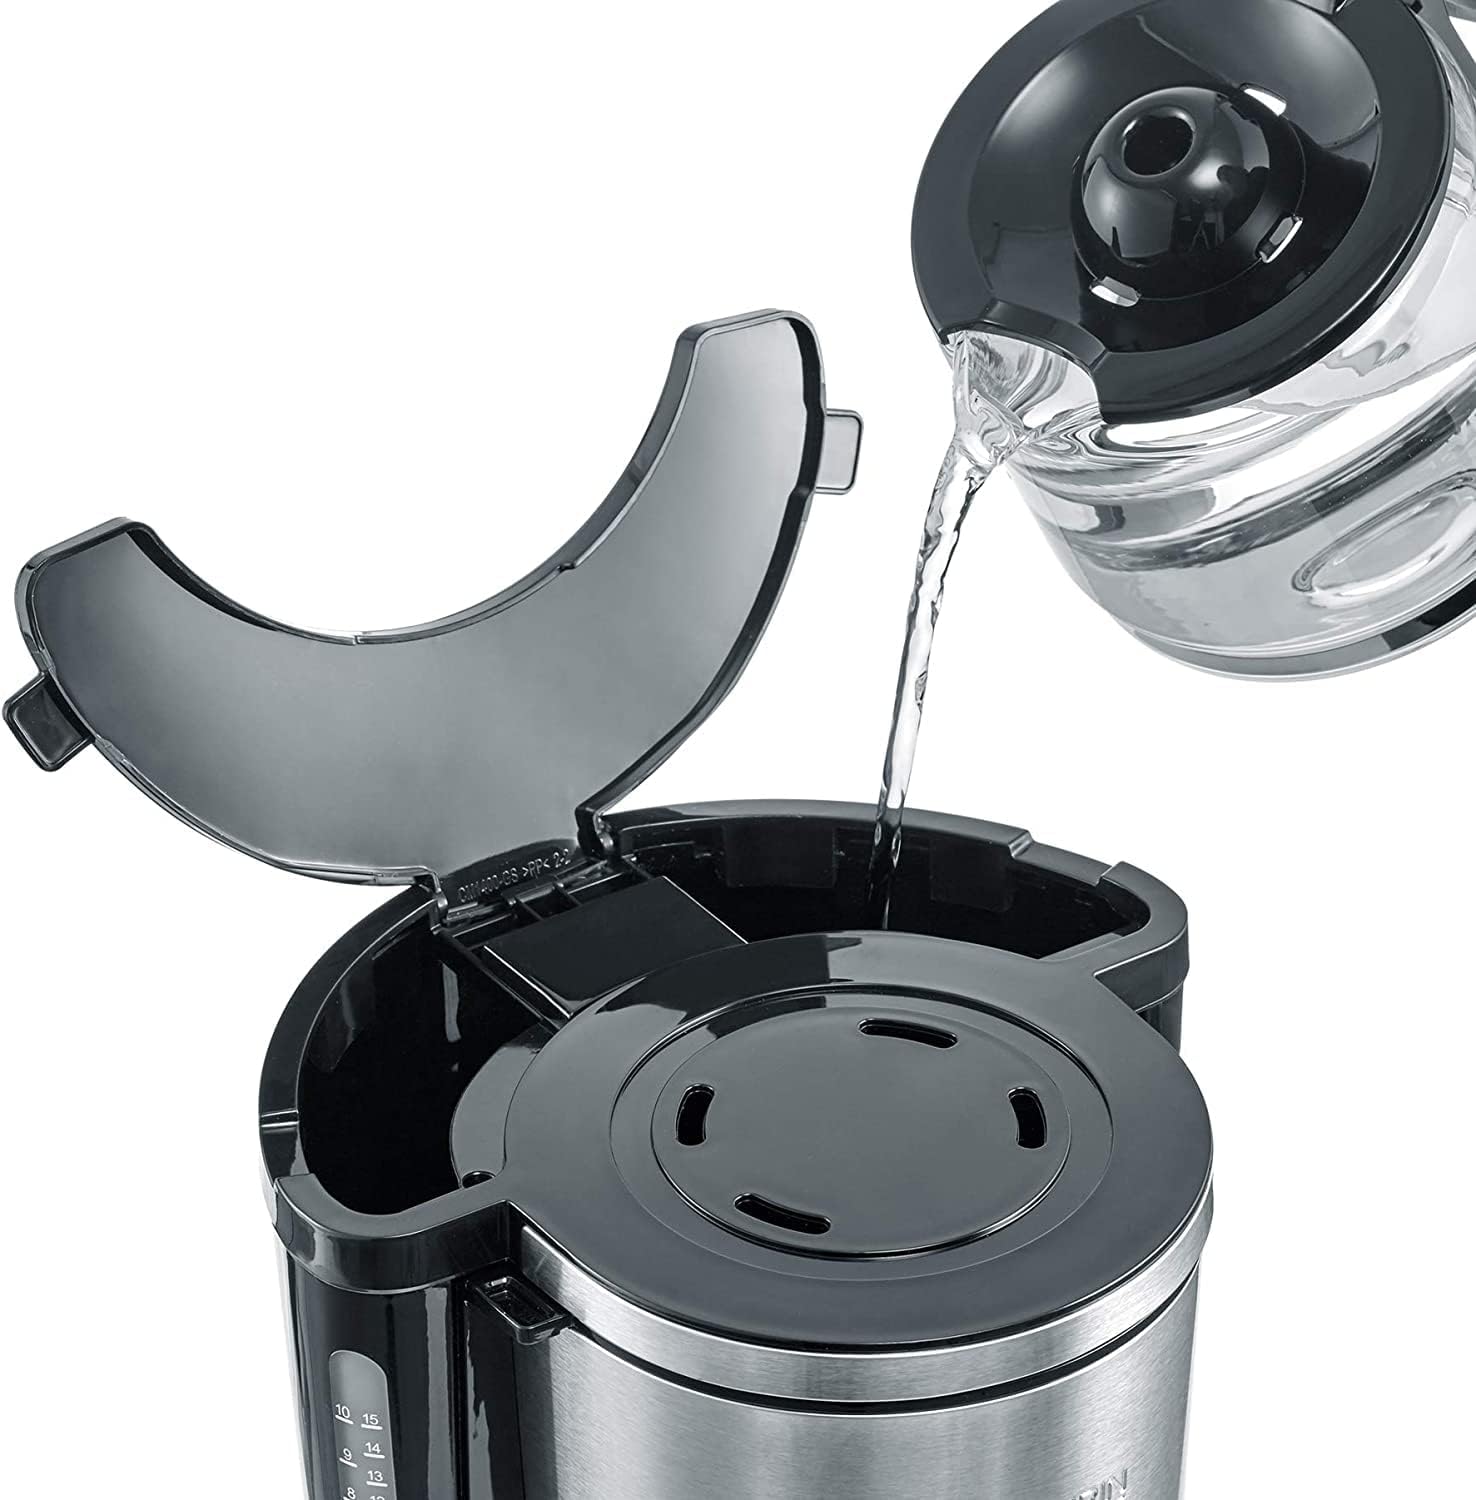
Figure 5: Filling the water tank with fresh water.
- Add Coffee Grounds: Swivel out the filter holder. Insert a paper filter (size 1x4) into the filter holder. Add the desired amount of ground coffee. A general guideline is one level tablespoon of coffee per cup, but adjust to your taste. Swivel the filter holder back into place.

Figure 6: Placing coffee grounds into the filter.
- Place Carafe: Ensure the glass carafe is correctly placed on the warming plate.
- Select Aroma (Optional): Use the Aroma Selector dial to adjust the coffee intensity according to your preference. Turn the dial to the left for a milder brew or to the right for a stronger brew.

Figure 7: Adjusting the aroma selector for desired coffee strength.
- Start Brewing: Press the On/Off button (usually marked with a power symbol). The brewing process will begin.
- Keep Warm Function: After brewing, the warming plate will automatically keep the coffee warm. The warming function typically lasts for a certain period (e.g., 30-40 minutes) before automatically shutting off.
- Serve: Carefully remove the carafe by its handle to pour coffee. The drip-stop feature prevents dripping when the carafe is removed.

Figure 8: Removing the carafe after brewing.
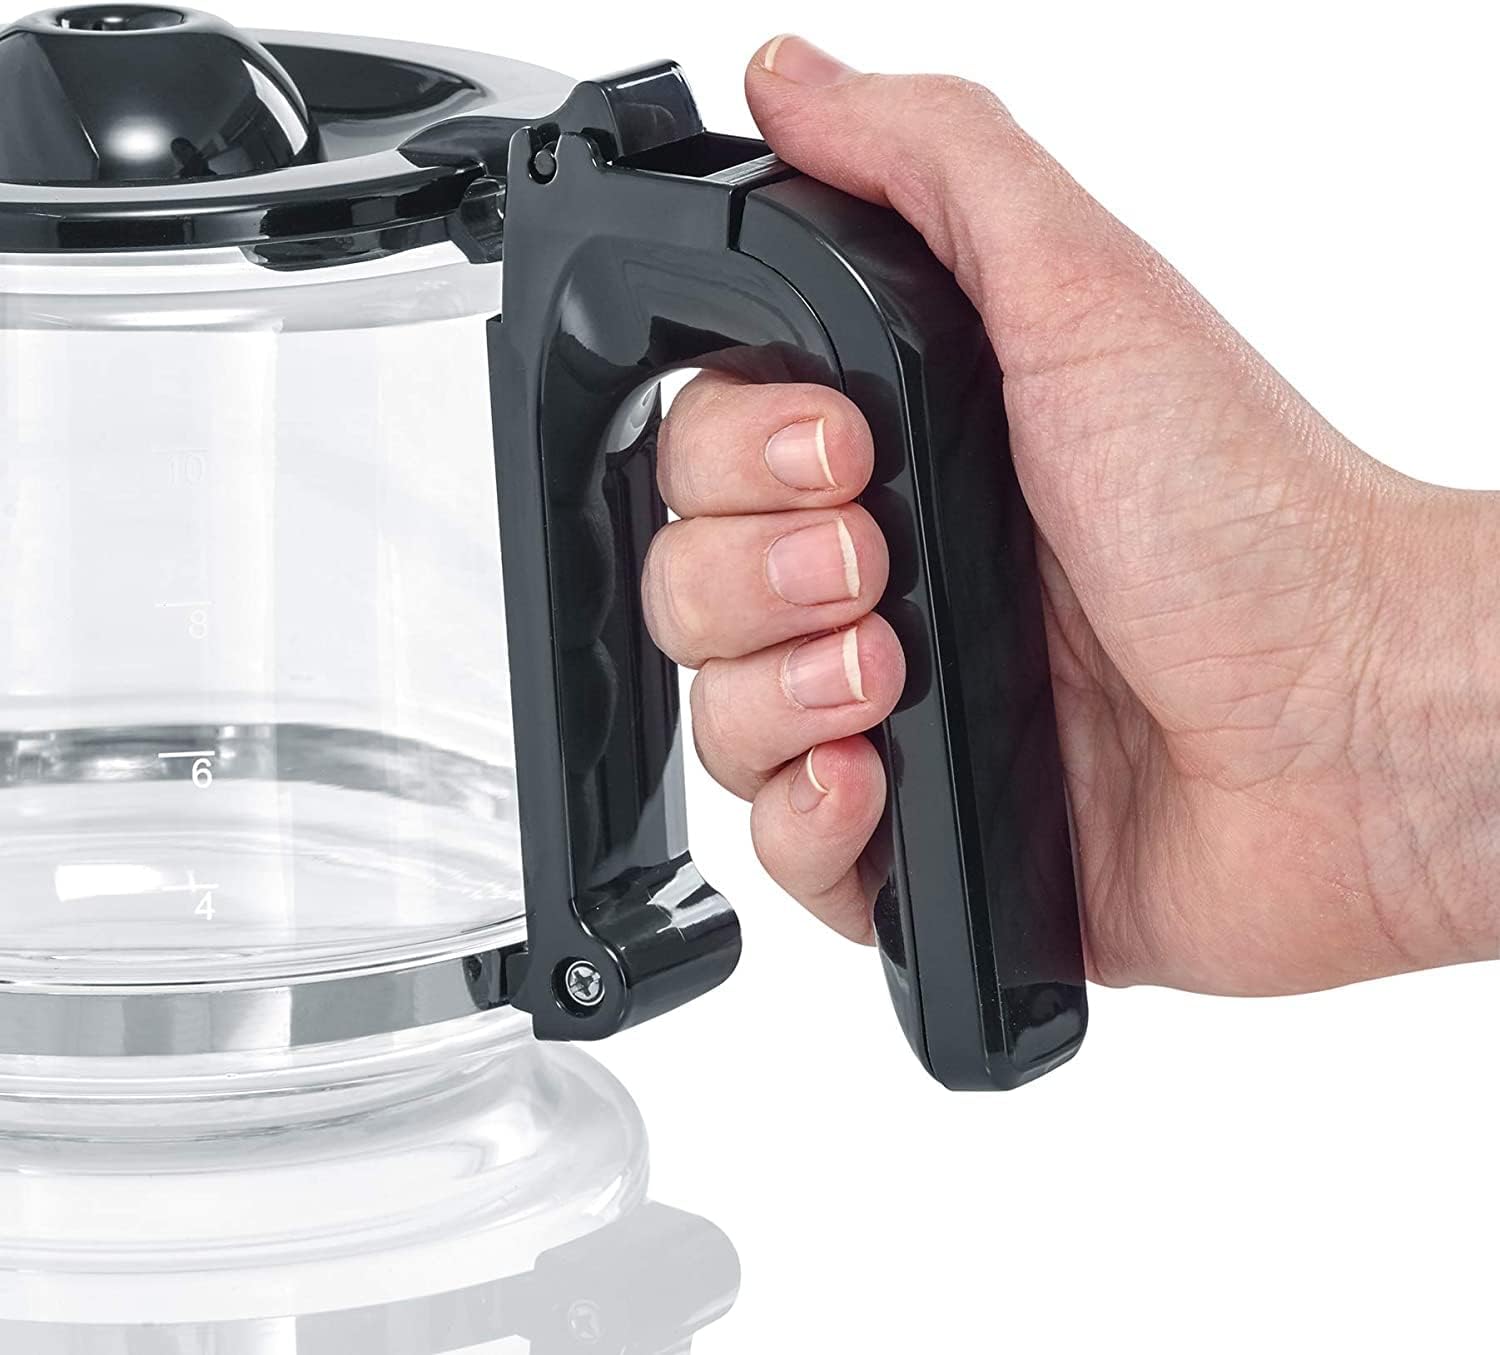
Figure 9: Ergonomic handle of the glass carafe.
Using the Digital Clock and Timer
The KA 4826 features a digital clock and a programmable timer for delayed brewing.

Figure 10: Digital display with hour, minute, and program buttons.
- Setting the Clock:
- Press the 'h' button to set the hour.
- Press the 'min' button to set the minute.
- Setting the Timer for Delayed Brewing:
- Prepare the coffee maker as described in "Brewing Coffee" (water, filter, coffee grounds).
- Press the 'PROG' button. The display will show "PROG" or a similar indicator.
- Use the 'h' and 'min' buttons to set the desired start time for brewing.
- Press the 'PROG' button again to confirm the setting. The "AUTO" indicator light will illuminate, signifying that the timer is active.
- The coffee maker will automatically start brewing at the set time.
Maintenance and Cleaning
Regular cleaning ensures optimal performance and extends the lifespan of your coffee maker.
- Daily Cleaning:
- Unplug the coffee maker and allow it to cool completely.
- Remove the used paper filter and discard coffee grounds.
- Wash the glass carafe, lid, and swivel filter holder with warm water and a mild dish soap. Rinse thoroughly and dry. These parts are generally not dishwasher safe; hand washing is recommended.
- Wipe the exterior of the coffee maker with a damp cloth. Do not use abrasive cleaners or scouring pads.
- Descaling:
Mineral deposits from water can build up over time, affecting performance and taste. Descale your coffee maker regularly, depending on water hardness and frequency of use (e.g., every 2-4 weeks).
- Use a commercial descaling solution suitable for coffee makers, or a mixture of white vinegar and water (1 part vinegar to 2 parts water).
- Pour the descaling solution into the water tank.
- Place the empty carafe on the warming plate.
- Run a brewing cycle. If using vinegar, you may want to stop the cycle halfway through and let it sit for 15-30 minutes before completing the cycle.
- After the descaling cycle, run 2-3 full cycles with fresh, clean water to rinse out any descaling solution residue.
Troubleshooting
| Problem | Possible Cause | Solution |
|---|---|---|
| Coffee does not brew. | No power; water tank empty; carafe not in place; timer set. | Check power connection; fill water tank; ensure carafe is correctly positioned; check timer setting. |
| Coffee tastes weak or too strong. | Incorrect coffee-to-water ratio; aroma selector setting. | Adjust coffee grounds quantity; adjust Aroma Selector dial. |
| Water overflows from filter holder. | Too much coffee grounds; filter clogged; filter holder not properly seated. | Reduce coffee grounds; use correct filter size; ensure filter holder is securely in place. |
| Brewing is slow or noisy. | Mineral buildup (scaling). | Descale the coffee maker as per maintenance instructions. |
Specifications
- Model: KA 4826
- Brand: Severin
- Color: Black/Stainless Steel
- Dimensions (L x W x H): 23.5 x 34.5 x 25 cm (approximately 9.25 x 13.58 x 9.84 inches)
- Weight: 2.13 kg (approximately 4.7 lbs)
- Capacity: 1.25 Liters (up to 10 cups)
- Power: 1000 Watts
- Voltage: 220 Volts
- Material: Stainless Steel, Plastic, Glass
- Special Features: Programmable, Digital Clock, Timer, AromaSwitch, Drip-stop, Automatic Shut-off
Warranty and Support
This Severin product comes with a 2-year warranty from the date of purchase, covering manufacturing defects. Please retain your proof of purchase for warranty claims.
For technical support, spare parts, or warranty inquiries, please contact Severin customer service. Contact details can typically be found on the official Severin website or on the product packaging.
For more information, visit the official Severin Brand Store.


