
1. Introduction
This instruction manual provides important information for the safe installation, operation, and maintenance of your XtremepowerUS 1.6HP Shallow Well Jet Pump. This pump is designed for various water transfer applications, including domestic water supply for high-floor residences, faucet and shower pressurization, groundwater and well water extraction, farmland irrigation, and water tower pressurization. It is suitable for constructing lawn sprinkler systems and features built-in thermal overload protection for safety and an automatic booster system with a high-precision pressure gauge for easy water pressure control. Please read this manual thoroughly before use and retain it for future reference.

Figure 1.1: Overall view of the XtremepowerUS Shallow Well Pump.
2. Safety Information
Always observe basic safety precautions to reduce the risk of fire, electric shock, and personal injury. Failure to follow these instructions may result in serious injury or property damage.
- Electrical Safety: Ensure the pump is properly grounded. Do not operate with a damaged cord or plug. Disconnect power before servicing.
- Water Safety: Do not pump flammable or corrosive liquids. Ensure the pump is not submerged unless specifically designed for submersible use.
- Installation: Install the pump on a stable, level surface. Ensure all connections are secure and leak-free. Protect the pump from freezing temperatures.
- Operation: Never run the pump dry. Ensure the pump is primed before starting. Keep hands and clothing clear of moving parts.
- Maintenance: Only perform maintenance when the pump is disconnected from power. Refer to the maintenance section for specific procedures.
3. Package Contents
Verify that all components are present upon unpacking:
- 1 x XtremepowerUS 1.6HP Shallow Well Pump
- 1 x Instruction Manual (this document)
4. Specifications
Technical specifications for the XtremepowerUS 71041 Shallow Well Pump:
| Manufacturer | XtremepowerUS |
| Model Number | 71041 |
| Power Source | Corded Electric |
| Voltage | 115 Volts |
| Horsepower | 1.6 HP |
| Material | Steel, Aluminum, Metal |
| Product Dimensions (L x W x H) | 43.18 x 26.04 x 56.52 cm (17 x 10.25 x 22.25 inches) |
| Item Weight | 14.33 kg (31.6 lbs) |
| Maximum Lifting Height | 147 Feet |
| Maximum Flow Rate | 1215 GPH (Gallons Per Hour) |
| IPX Rating | IPX4 |

Figure 4.1: Pump control box and pressure gauge with visible specifications.
5. Setup and Installation
Proper installation is crucial for the pump's performance and longevity. If you are unsure about any steps, consult a qualified professional.
5.1 Location
- Place the pump on a firm, level surface to minimize vibration.
- Ensure the location is dry, well-ventilated, and protected from direct sunlight, rain, and freezing temperatures.
- Allow adequate space around the pump for ventilation and maintenance access.
5.2 Plumbing Connections
Connect the suction (inlet) and discharge (outlet) pipes to the pump. Use appropriate thread sealant on all pipe connections to prevent leaks.
- Suction Line: Connect the pipe from your water source (well, tank) to the pump's inlet. Ensure this line is airtight to prevent air from entering the pump, which can cause loss of prime.
- Discharge Line: Connect the pipe leading to your distribution system (faucets, irrigation) to the pump's outlet.
- Install a check valve on the suction line to maintain prime, especially if the pump is above the water source.

Figure 5.1: Detailed view of pump connections.
5.3 Electrical Connection
- Ensure the power supply matches the pump's voltage (115 Volts).
- Connect the pump to a dedicated, properly grounded electrical circuit protected by a fuse or circuit breaker.
- If the power cord is damaged, it must be replaced by the manufacturer or a qualified service agent to avoid a hazard.
5.4 Priming the Pump
Before initial operation, the pump must be primed. This involves filling the pump casing and suction line with water.
- Remove the priming plug located on the top of the pump casing.
- Slowly fill the pump casing and the suction line with clean water until it overflows from the priming port.
- Replace and tighten the priming plug securely.
- Open a faucet in the discharge line to allow air to escape during startup.
6. Operating Instructions
Once installed and primed, the pump is ready for operation.
6.1 Starting the Pump
- Ensure the pump is properly primed (refer to Section 5.4).
- Ensure all plumbing connections are tight and leak-free.
- Turn on the power supply to the pump. The pump should start running.
- Observe the pressure gauge. The pressure should rise as the pump builds pressure in the system.
- Once water flows steadily from the open faucet, close the faucet. The pump will continue to run until the system reaches the cut-off pressure, then it will shut off automatically.

Figure 6.1: Power switch on the pump's control box.
6.2 Monitoring Pressure
The integrated pressure gauge allows you to monitor the system pressure. The pump is equipped with an automatic booster system that maintains desired pressure levels.
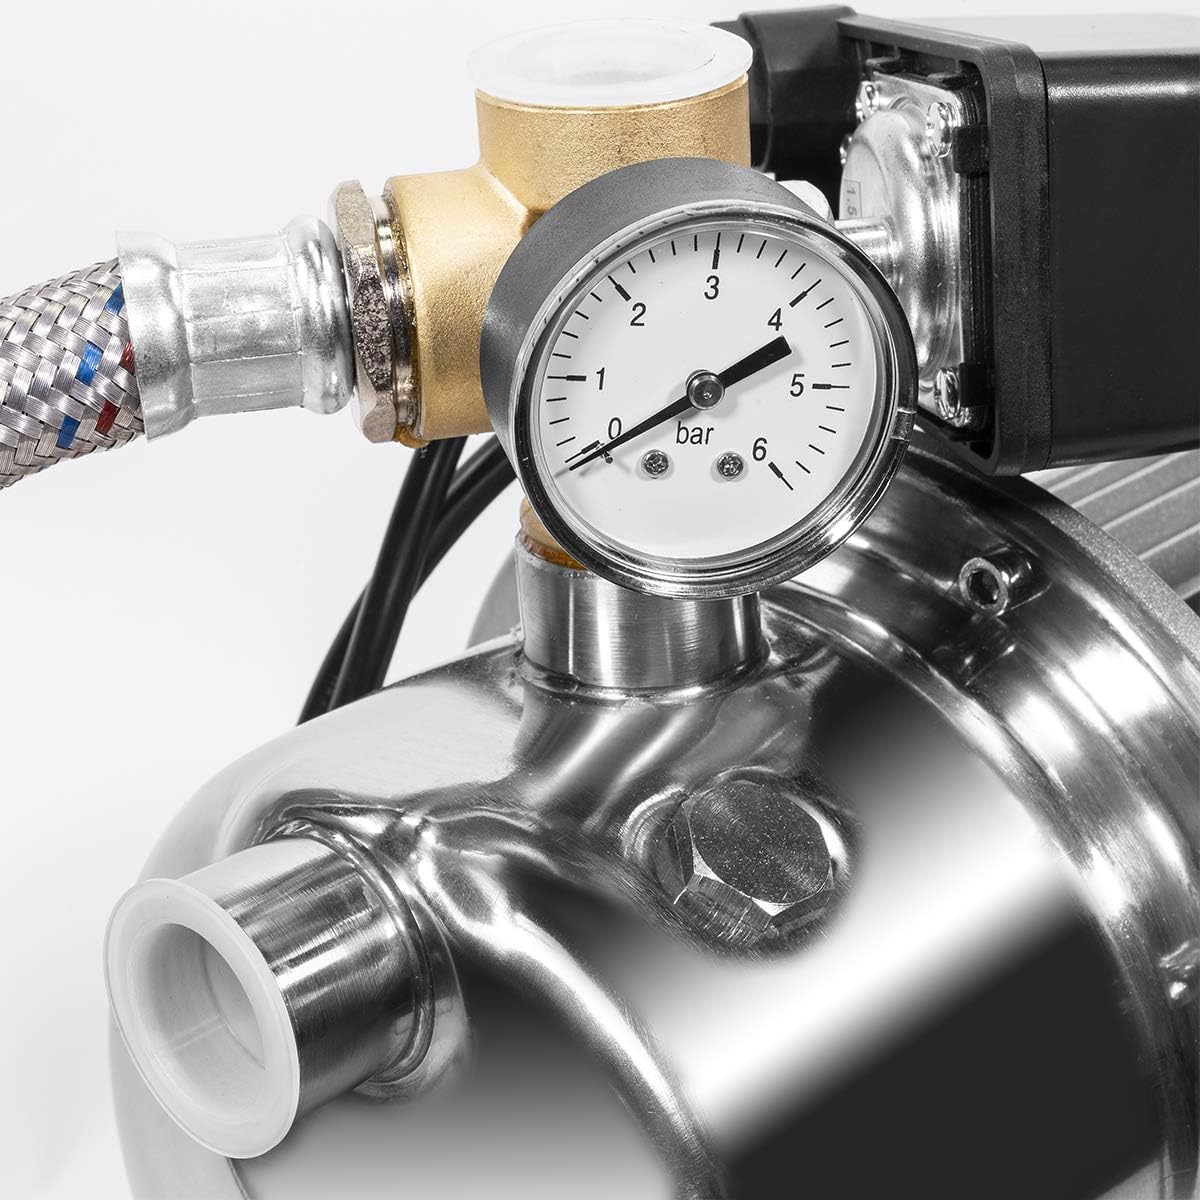
Figure 6.2: Detailed view of the pressure gauge.
6.3 Thermal Overload Protection
The pump features built-in thermal overload protection. If the motor overheats due to prolonged use, low voltage, or other issues, the pump will automatically shut off to prevent damage. Allow the pump to cool down before attempting to restart it. Identify and resolve the cause of overheating before resuming operation.
7. Maintenance
Regular maintenance ensures optimal performance and extends the life of your pump. Always disconnect power before performing any maintenance.
7.1 Routine Checks
- Inspect for Leaks: Periodically check all plumbing connections for leaks. Tighten as necessary.
- Check for Obstructions: Ensure the pump's intake is free from debris.
- Monitor Performance: Pay attention to unusual noises, vibrations, or changes in water pressure.
7.2 Winterization
If the pump is in an area subject to freezing temperatures, it must be properly winterized to prevent damage.
- Disconnect the pump from the power supply.
- Drain all water from the pump casing and plumbing lines. Remove the priming plug and drain plug (if present) to ensure complete drainage.
- Store the pump in a warm, dry location if possible. If not, ensure it is completely drained and protected from freezing.
8. Troubleshooting
Before contacting customer support, review the following common issues and solutions:
| Problem | Possible Cause | Solution |
|---|---|---|
| Pump does not start | No power, tripped breaker, motor overload, seized impeller | Check power supply, reset breaker, allow motor to cool, inspect impeller for obstructions. |
| Pump runs but no water flows | Loss of prime, air leak in suction line, clogged intake, low water source | Re-prime the pump, check suction line for leaks, clear intake, ensure adequate water in source. |
| Low water pressure | Partial loss of prime, clogged impeller, undersized piping, excessive demand | Check prime, clean impeller, verify pipe sizing, reduce simultaneous water usage. |
| Pump runs continuously | Leak in system, faulty pressure switch, pump unable to reach cut-off pressure | Check for leaks in plumbing, inspect/replace pressure switch, ensure pump is adequately sized for demand. |
9. Warranty and Support
For warranty information or technical support, please contact XtremepowerUS customer service. Keep your purchase receipt and model number (71041) handy when contacting support.
Manufacturer: XtremepowerUS
Place of Business: CHINO, CA, 91710 US

