Product Overview
The VIVOHOME 3.5 CFM Vacuum Pump and AC Manifold Gauge Set is an essential tool for diagnosing and recharging air conditioning systems. It efficiently removes moisture from AC systems before refilling with refrigerant, making it ideal for automotive air conditioning, HVAC work, and refrigeration applications.
Key features include:
- Die-cast aluminum housing for durability and lightweight design.
- Ergonomic grip handle for comfort and portability.
- Built-in high-volume cooling fan for extended use.
- Oil sight glass for easy monitoring of oil levels and quality.
- Color-coded hoses for clear differentiation of high-pressure (red), low-pressure (blue), and filling (yellow) sides.
- Compatibility with R134a, R12, R22, R502, and R410a systems.
- Includes R410a fitting adapters (1/4 in to 5/16 in).

Figure 1: Complete VIVOHOME Vacuum Pump and AC Manifold Gauge Set Kit.
What's in the Box
- 1 × 1/4 HP 3.5 CFM Vacuum Pump
- 1 x Bottle of Oil (0.35 qt./330 ml)
- 1 x Manifold Gauge
- 3 x Color-Coded Hoses
- 2 x R410A fitting adapters
- 2 × Quick Couplers
- 1 × Can Tap
- 1 × Thermometer
- 1 × Carry Bag
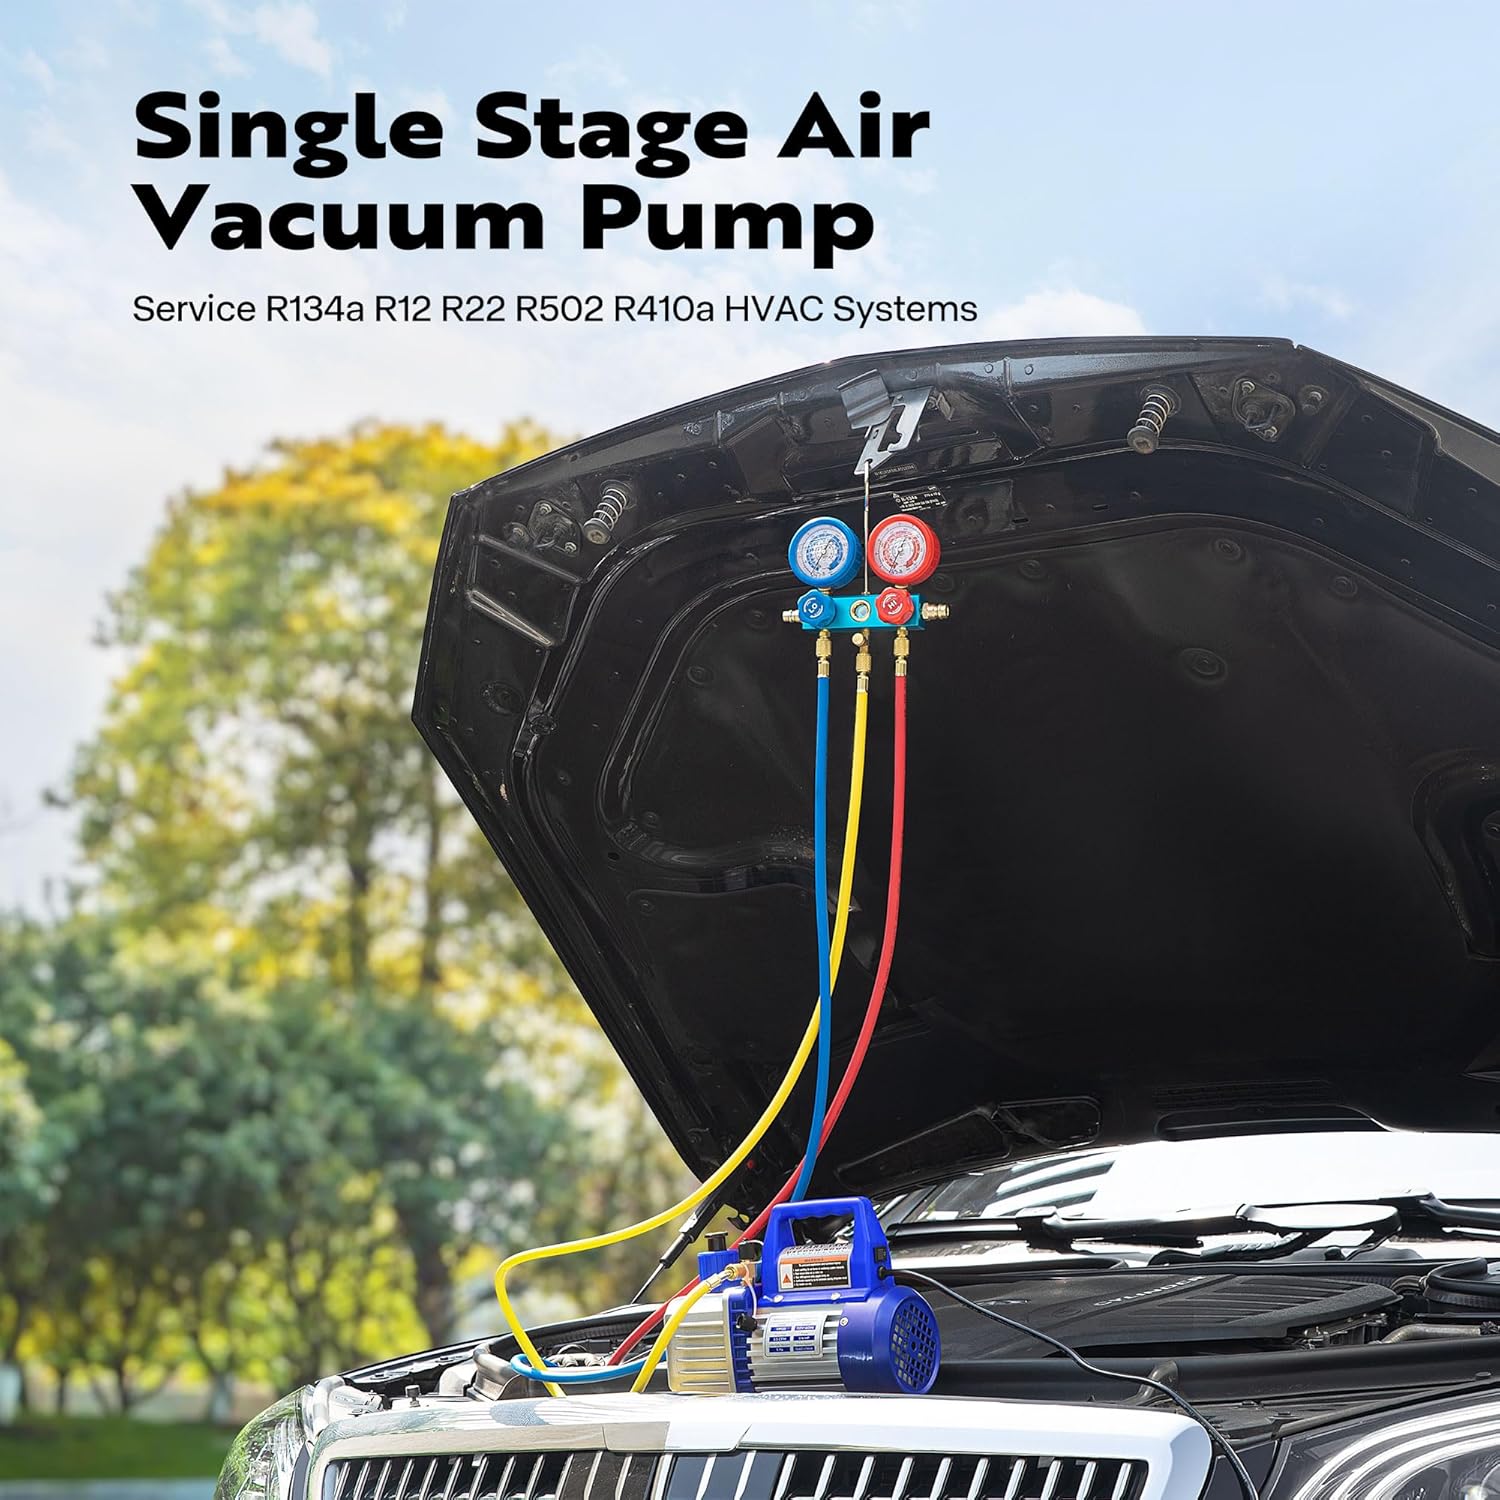
Figure 2: All accessories included in the VIVOHOME Vacuum Pump Kit.
Setup
1. Prepare the Vacuum Pump
Before first use, ensure the vacuum pump has sufficient oil. The oil sight glass allows you to monitor the oil level. Add vacuum pump oil until it reaches between the 'MIN' and 'MAX' marks for optimal performance.

Figure 3: Oil sight glass showing MIN and MAX levels for the vacuum pump.
2. Connect the Manifold Gauge Set
The manifold gauge set includes color-coded hoses: blue for low-pressure, red for high-pressure, and yellow for the filling/vacuum line. Connect these hoses to the corresponding ports on the manifold gauge.
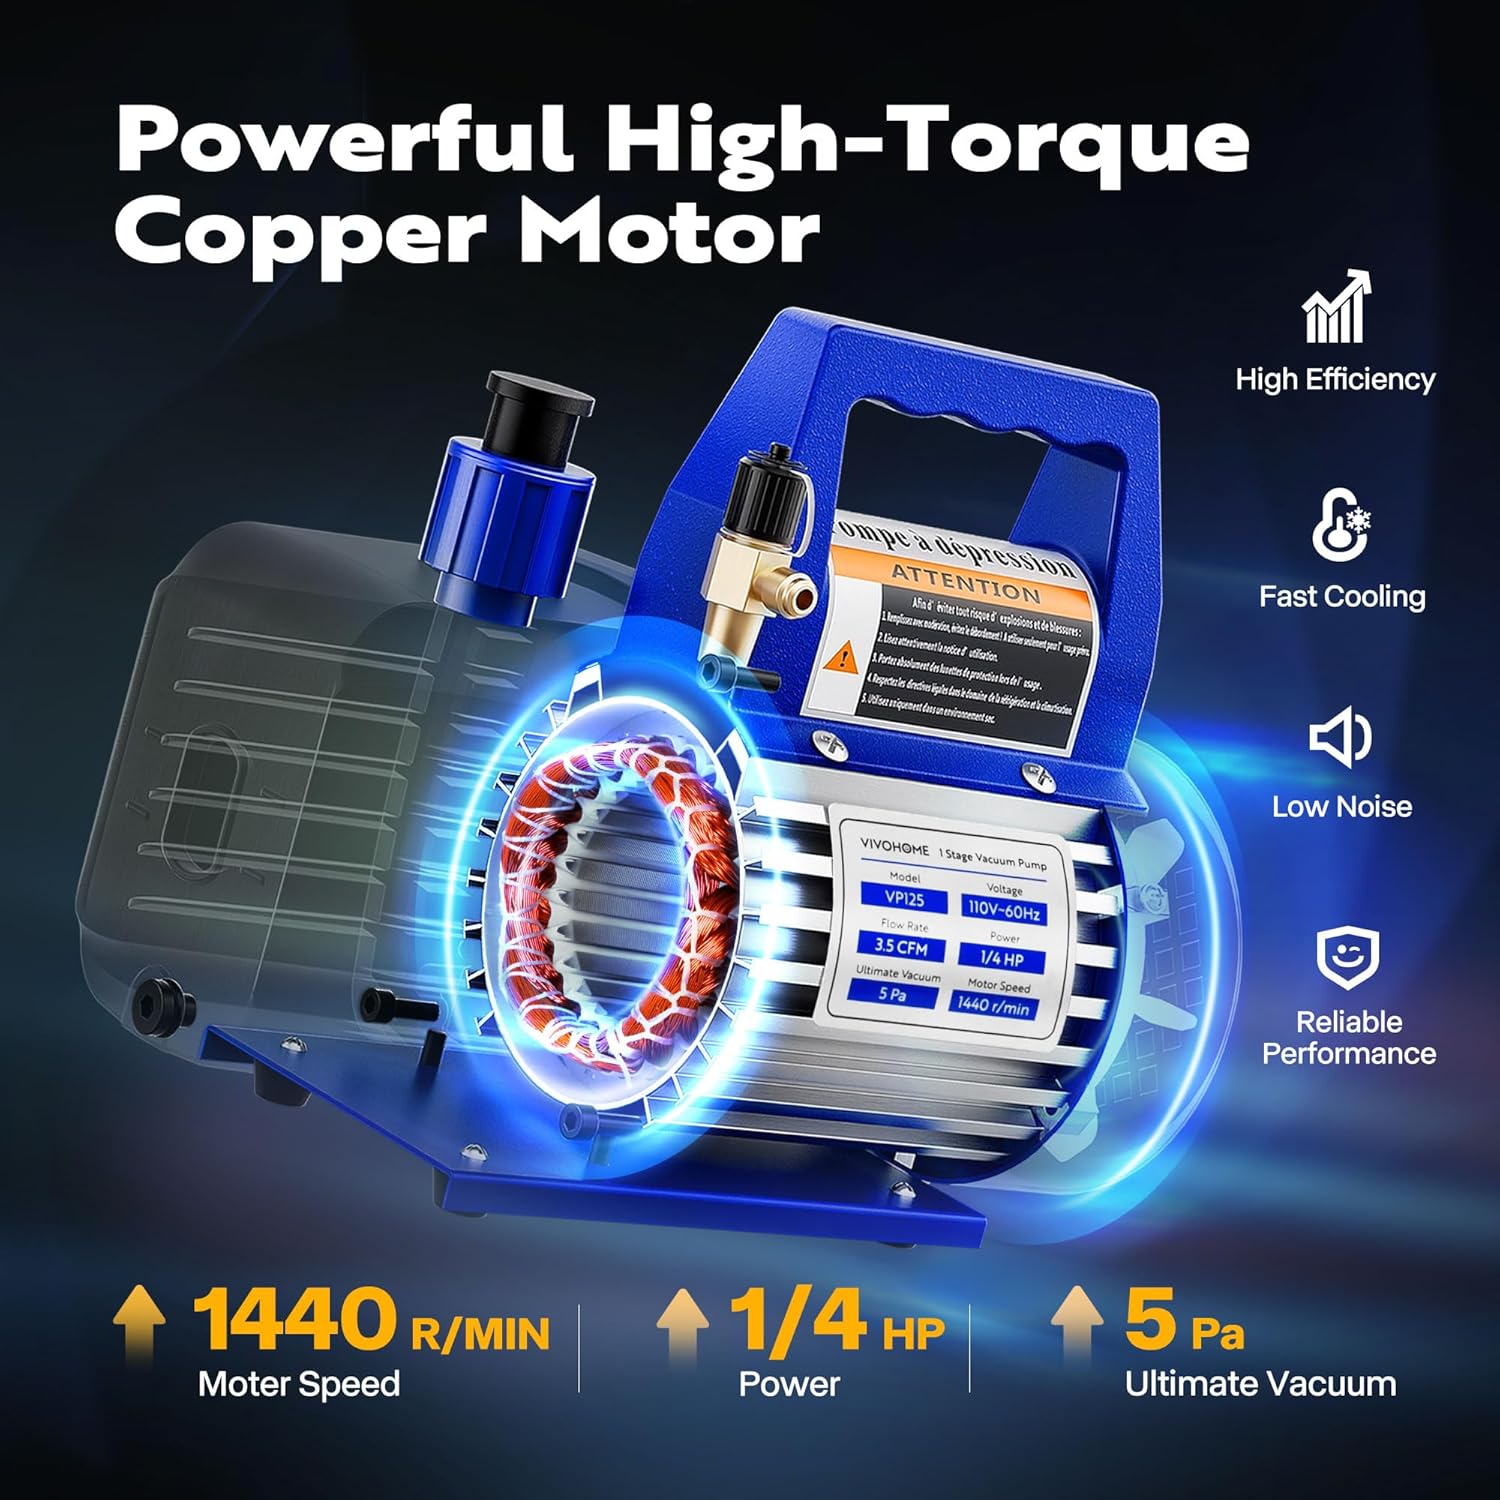
Figure 4: High-precision manifold gauge with blue (low), yellow (refrigeration), and red (high) hoses connected.
3. Attach Quick Couplers and Can Tap
Attach the blue and red quick couplers to the low-pressure and high-pressure ports of your automotive air conditioner, respectively. The can tap is used for connecting to refrigerant cans.

Figure 5: R134a Quick Couplers (blue for low, red for high) and Can Tap for refrigerant cans.
Operating Instructions
1. Vacuuming the AC System
- Connect the yellow hose from the manifold gauge to the air inlet port of the vacuum pump.
- Ensure all quick couplers are closed (rotate counter-clockwise).
- Open the red and blue knobs on the manifold gauge (rotate counter-clockwise).
- Switch on the vacuum pump. Continue vacuuming for 10-15 minutes until the low-pressure gauge reaches -1 (negative pressure).
- After vacuuming, close the red and blue knobs on the manifold gauge (rotate clockwise).
- Disconnect the yellow hose from the vacuum pump to prevent backflow.
- Switch off the vacuum pump.
- Maintain pressure for 5-10 minutes, observing the low-pressure gauge. If the needle does not rise, it confirms no leaks in the air conditioning system.
Video 1: VIVOHOME 3.5 CFM Vacuum Pump Set - Demonstrates the vacuuming process for an automotive AC system.
2. Recharging the AC System
- Connect the refrigerant can to the can tap valve port on the yellow hose.
- Rotate the can tap clockwise to pierce the refrigerant can.
- Turn on the vehicle's air conditioner and switch to cooling mode (full blast).
- Slowly open the blue knob on the manifold gauge (low-pressure side) to allow refrigerant to flow into the system.
- Monitor the pressure gauges and add refrigerant according to the amount specified on the air conditioner's nameplate.
- Once the desired pressure is reached, close the blue knob on the manifold gauge (rotate clockwise).
- Rotate the can tap counter-clockwise to close it and remove the refrigerant can.
- Rotate the blue and red quick couplers counter-clockwise to close them, then remove them from the vehicle's AC ports.
Video 2: VIVOHOME Vacuum Pump and Recovery Machine Set - Illustrates the process of refrigerant recovery and recharging.
Maintenance
- Oil Level Check: Regularly check the oil level in the vacuum pump using the sight glass. Ensure it stays between the MIN and MAX marks.
- Oil Replacement: Replace the vacuum pump oil periodically, especially if it appears cloudy or discolored, to maintain optimal performance. An oil drain valve is located at the bottom for easy emptying.
- Hose Inspection: Inspect the color-coded hoses for any signs of wear, cracks, or damage. Replace them if necessary to prevent leaks.
- Storage: Store the entire kit in the provided carry bag in a dry, cool place to protect it from dust and damage.
Troubleshooting
| Problem | Possible Cause | Solution |
|---|---|---|
| Vacuum pump not pulling full vacuum | Low oil level; Dirty oil; Leaks in hoses or connections | Check and add oil; Replace oil; Check all connections for tightness and leaks. |
| Refrigerant not flowing into system | Can tap not fully piercing can; Manifold gauge knobs closed; System already full | Ensure can is pierced; Open manifold gauge knobs; Check system pressure. |
| Gauges show fluctuating readings | Air in hoses; Loose connections | Re-vacuum the system; Tighten all connections. |
Specifications
| Feature | Detail |
|---|---|
| Brand | VIVOHOME |
| Model | VH453 |
| Voltage | 110 Volts |
| Item Weight | 18.7 pounds |
| Product Dimensions | 10.5 x 8.7 x 4.5 inches |
| Special Features | Manifold Gauge Set, Color-Coded Hoses |
| Date First Available | July 4, 2019 |
Warranty and Support
VIVOHOME offers a return policy of 30 days for refund/replacement. For additional support or to explore other VIVOHOME products, please visit the VIVOHOME Store.
Protection plans are also available for extended coverage. For more details, refer to the product listing or contact VIVOHOME customer service.


