
1. Introduction
This manual provides detailed instructions for the installation, operation, and maintenance of the Nilight 90013L Round Toggle LED Switches. These switches are designed for 12-volt electrical installations and are commonly used in various automotive and marine applications.
The Nilight 90013L switches feature a durable construction and an integrated LED indicator for clear status indication.
2. Product Features
- Perfect Design: Designed to connect and disconnect a DC12V 20A electrical circuit. Features SPST (Single Pole Single Throw) ON-OFF control with a 2-pole design. A third pole is included for connecting the LED to ground, ensuring the fluorescent lamp illuminates when the switch is turned on.
- Safety Protection: Equipped with copper-plated silver contacts for excellent electrical conductivity. Constructed with high-quality, flame-retardant casing materials to ensure high safety standards.
- Easy Installation: The round on-off switch is designed for direct setup, requiring no additional work. It includes a keyhole slot to prevent unwanted rotation after installation.
- Widely Used: Suitable for use in any vehicle or application with a 12 Volt DC power source, including cars, trucks, boats, racing vehicles, off-road vehicles, RVs, and ATVs.
3. Package Contents
The Nilight 90013L package includes the following items:
- 12 x Round Toggle LED Switches (3 x Red LED, 3 x Blue LED, 3 x Green LED, 3 x Yellow LED SPST Switches)
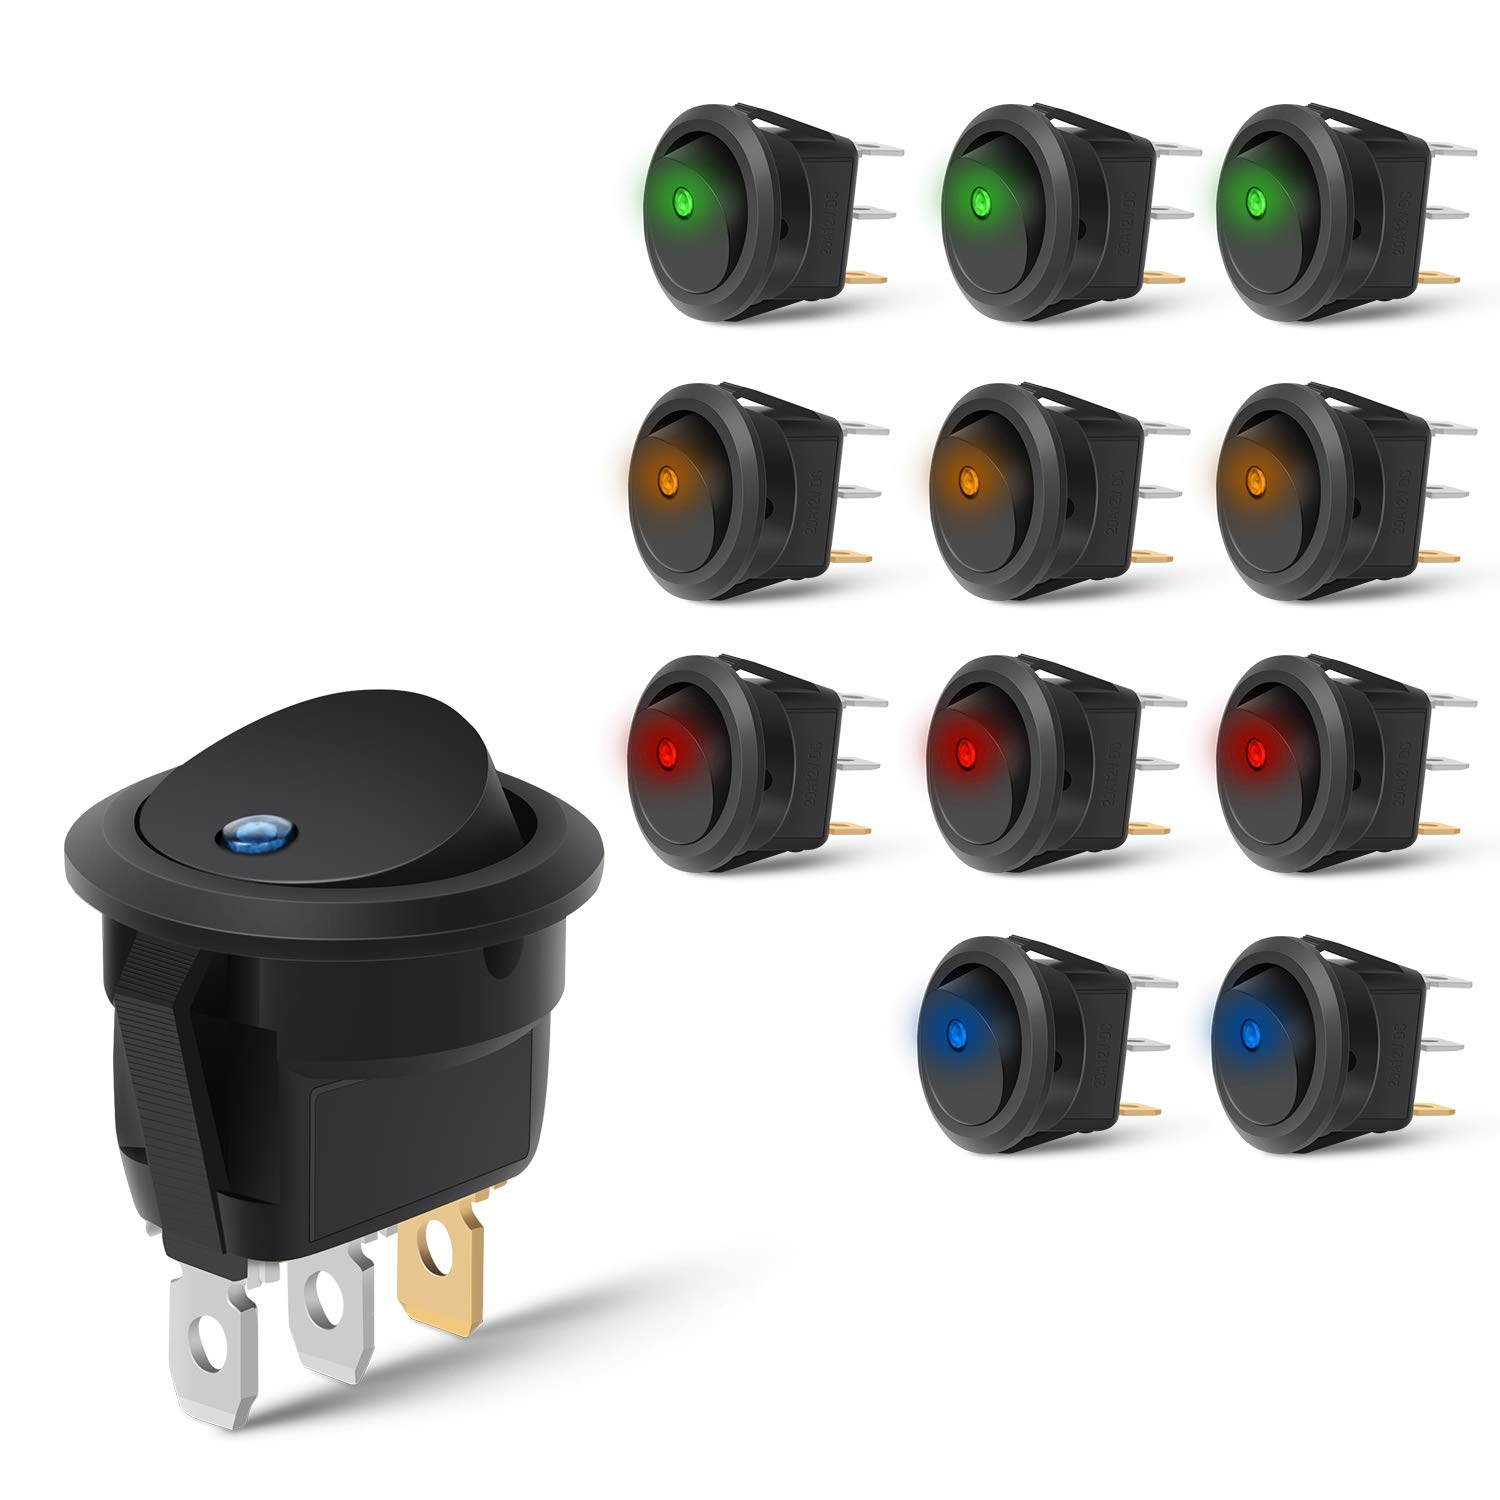
Image: Contents of the Nilight 90013L package, showing 12 round toggle LED switches in blue, green, red, and yellow.
4. Specifications
| Attribute | Value |
|---|---|
| Model Number | 90013L |
| Operation Mode | ON-OFF |
| Current Rating | 20 Amps |
| Operating Voltage | 12 Volts DC |
| Contact Type | Normally Open (SPST) |
| Connector Type | Crimp |
| Actuator Type | Toggle |
| Electrical Life | 10,000 (times) |
| Insulation Resistance | 100 MΩ |
| Product Dimensions (L x W x H) | 3 x 2 x 1 inches |
5. Safety Precautions
To ensure safe installation and operation of the Nilight 90013L switches, please observe the following precautions:
- Qualified Personnel: For any electrical maintenance or installation, it is crucial that operators possess the necessary electrical qualifications.
- Power Disconnection: Always ensure that the power supply is completely disconnected before beginning any installation, maintenance, or wiring work.
- Insulation Protection: Implement appropriate insulation protection measures to prevent electrical shock or short circuits.
- Voltage and Current Limits: Do not exceed the rated operating voltage of 12V DC or the current rating of 20 Amps. Overloading the switch can lead to damage or fire hazards.
- Environmental Conditions: These switches are not waterproof. Avoid installing them in locations where they may be exposed to water or excessive moisture.
6. Installation and Setup
The Nilight 90013L switches are designed for straightforward installation. Follow these steps for proper setup:
- Prepare Mounting Hole: Drill a circular mounting hole with a diameter of approximately 0.778 inches (19.76 mm). The switch features a keyhole slot to prevent rotation, ensuring a secure fit.
- Insert Switch: Gently push the switch into the prepared mounting hole until it clicks securely into place.
- Wiring Connections: The switch has three terminals. Refer to the wiring diagram below for correct connections:
- Load Terminal: Connect to the positive (+12V DC) side of the device you wish to power.
- Power Terminal: Connect to the positive (+12V DC) power supply.
- Ground Terminal (Gold-colored): Connect to the negative (ground) of the power supply. This connection is essential for the LED indicator to function.
- Secure Connections: Ensure all electrical connections are secure and properly insulated to prevent short circuits.
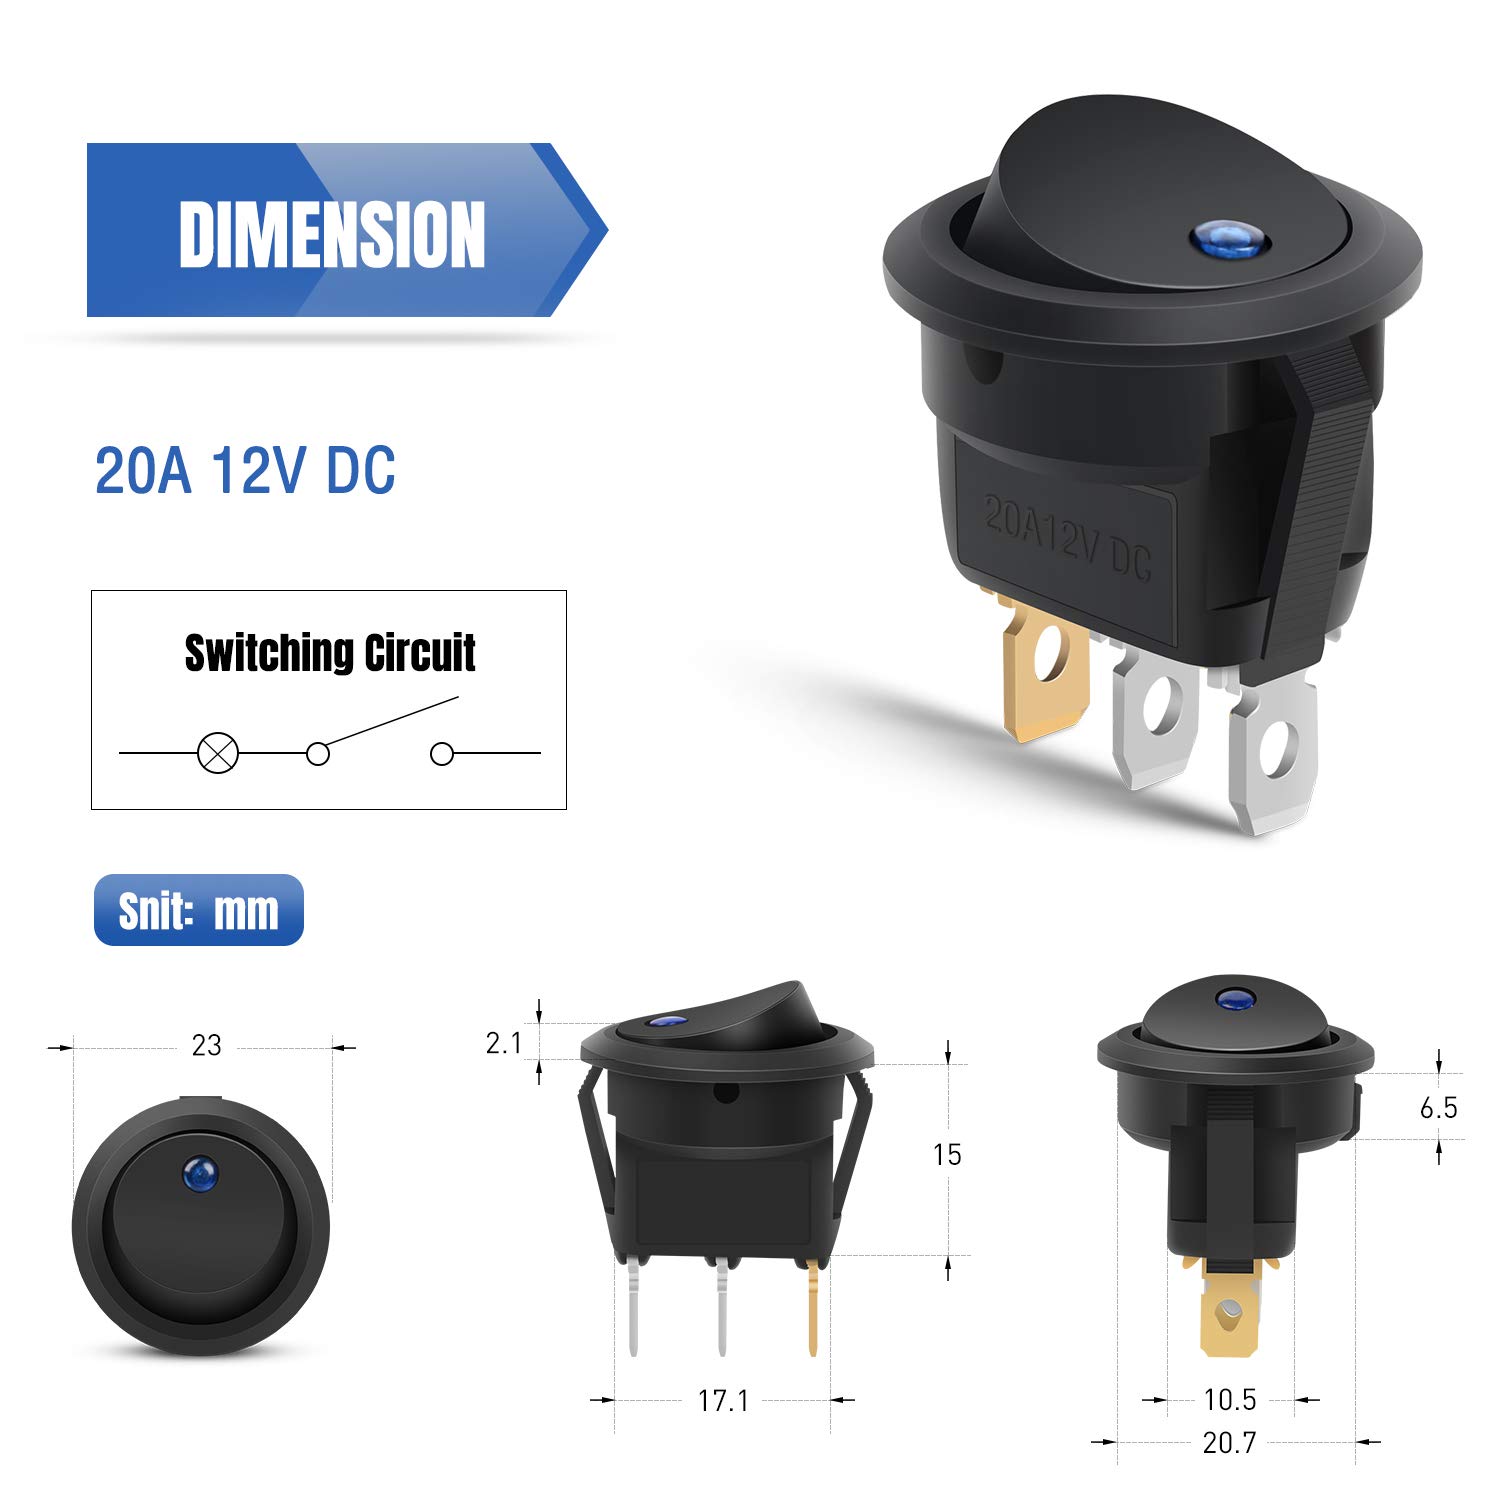
Image: Dimensional diagram of the Nilight 90013L switch, indicating key measurements for installation.

Image: Detailed 3-pin wiring diagram for the Nilight 90013L switch, illustrating connections to a 12V DC power source and a load device.
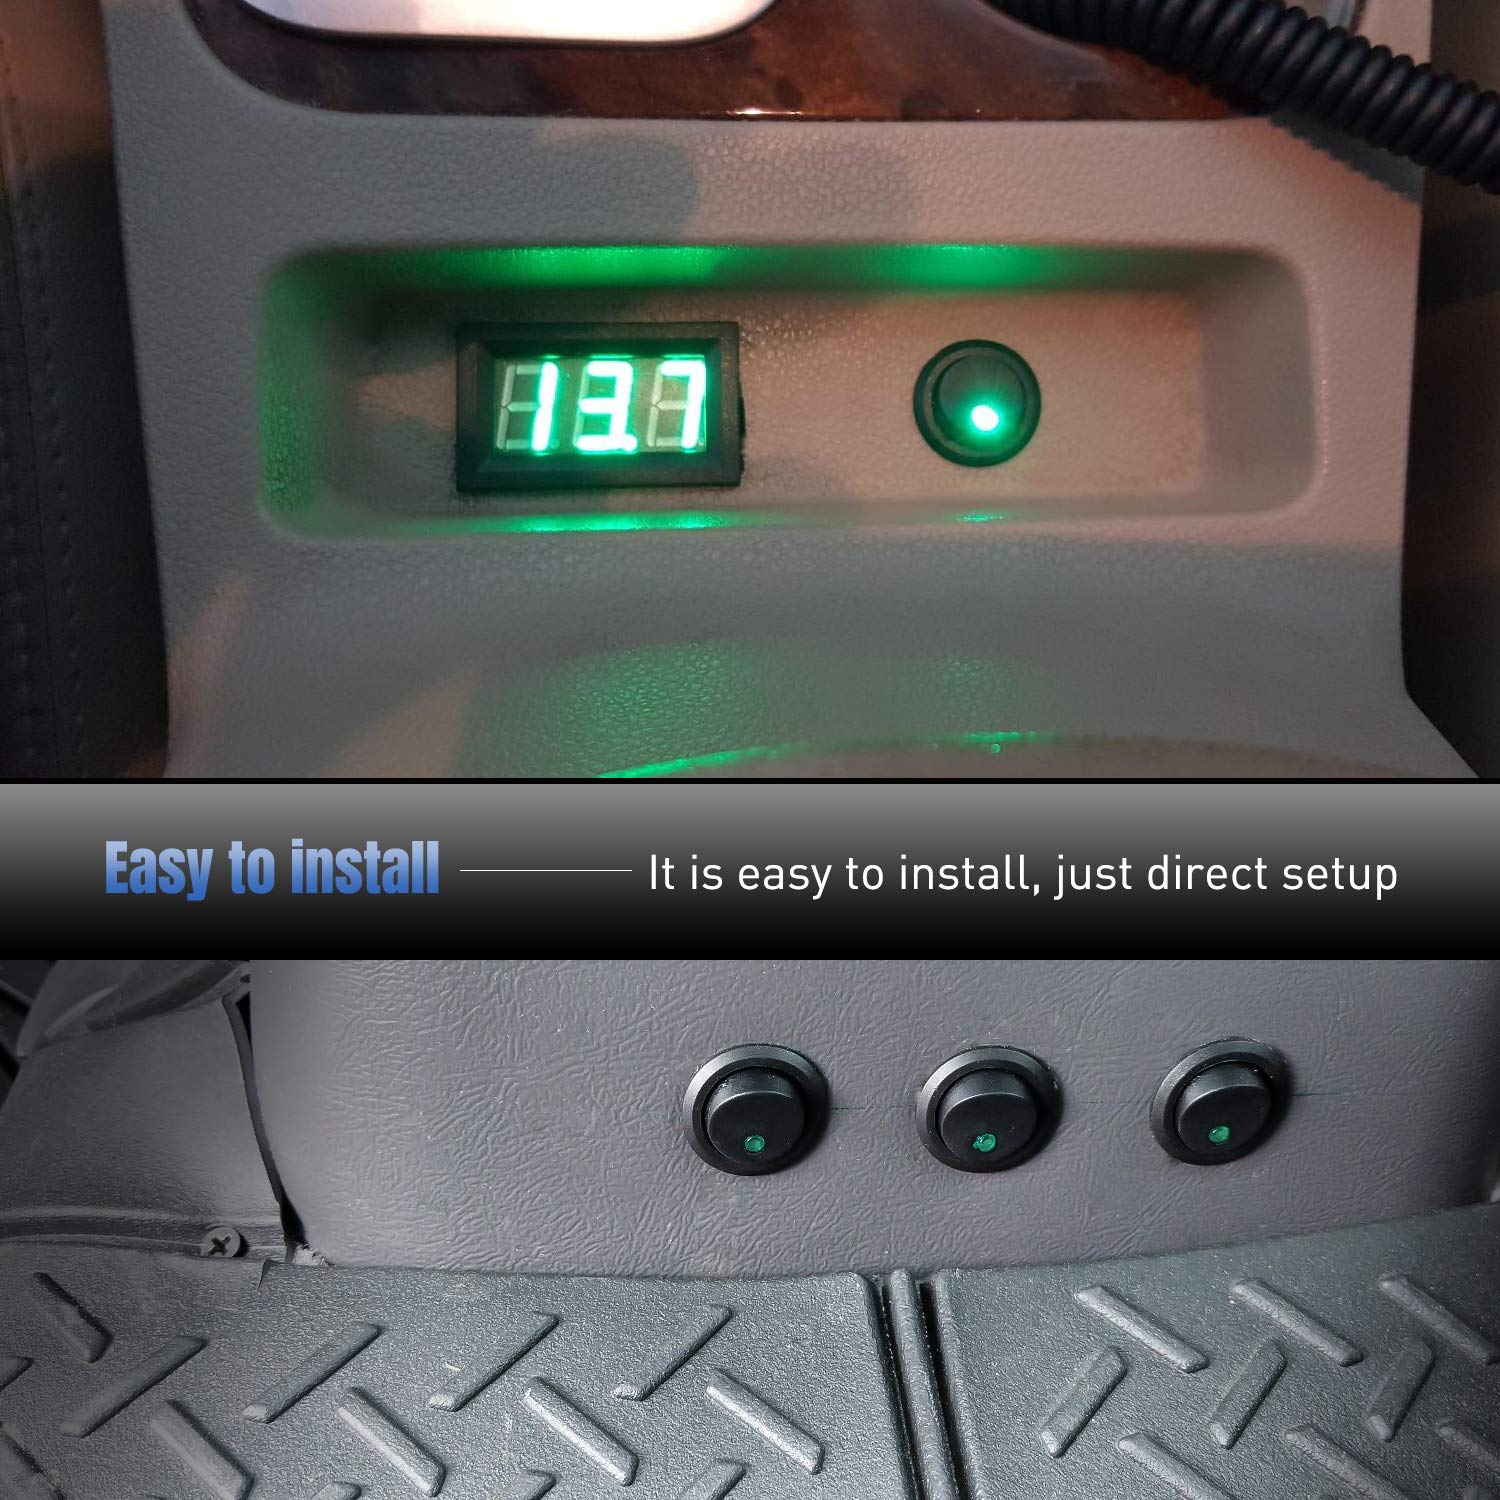
Image: Visual example of the switches installed in an automotive setting, demonstrating their integrated appearance and illuminated state.
7. Operation
Operating the Nilight 90013L switch is simple:
- To turn on the connected device, press the rocker switch to the "ON" position. The integrated LED will illuminate, indicating that the circuit is active.
- To turn off the connected device, press the rocker switch to the "OFF" position. The LED will extinguish, indicating that the circuit is open.

Image: Depiction of the switch in both ON (illuminated LED) and OFF (LED off) states.
8. Maintenance
The Nilight 90013L switches are designed for long-lasting durability and require minimal maintenance. To ensure optimal performance:
- Regular Inspection: Periodically inspect the switches and their wiring for any signs of wear, damage, or loose connections.
- Cleaning: If necessary, gently wipe the surface of the switches with a dry, soft cloth. Do not use abrasive cleaners or solvents.
- Environmental Protection: As these switches are not waterproof, ensure they remain protected from direct exposure to water or excessive humidity.
9. Troubleshooting
If you encounter issues with your Nilight 90013L switches, consider the following common troubleshooting steps:
- Switch Not Functioning:
- Verify that the power supply is active and providing 12V DC.
- Check all wiring connections for looseness or corrosion. Ensure the power, load, and ground terminals are correctly connected according to the wiring diagram.
- Confirm that the connected device is functioning correctly and not drawing excessive current that might trip a fuse or circuit breaker.
- LED Not Illuminating:
- Ensure the gold-colored ground terminal is properly connected to the negative (ground) of the power supply. The LED requires this connection to light up.
- Check if the switch is in the "ON" position. The LED only illuminates when the switch is active.
- Verify that the operating voltage is within the specified 12V DC range.
- Intermittent Operation:
- Inspect for any loose internal components or damaged wiring.
- Ensure the switch is not exposed to excessive vibration or physical stress.
10. Warranty and Support
Nilight products are designed for reliability and performance. Specific warranty details for the Nilight 90013L switches were not provided in the product data. For information regarding warranty coverage, returns, or technical support, please refer to the official Nilight website or contact their customer service directly.
You can visit the official Nilight store for more information: Nilight Store on Amazon.
11. Product Application Examples
The Nilight 90013L switches are versatile and can be used in a wide range of 12V DC applications. Below are some common examples:
- Automotive lighting control (e.g., fog lights, auxiliary lights)
- Marine applications (e.g., boat lights, bilge pumps)
- RV and off-road vehicle accessories
- DIY electrical projects requiring 12V switching
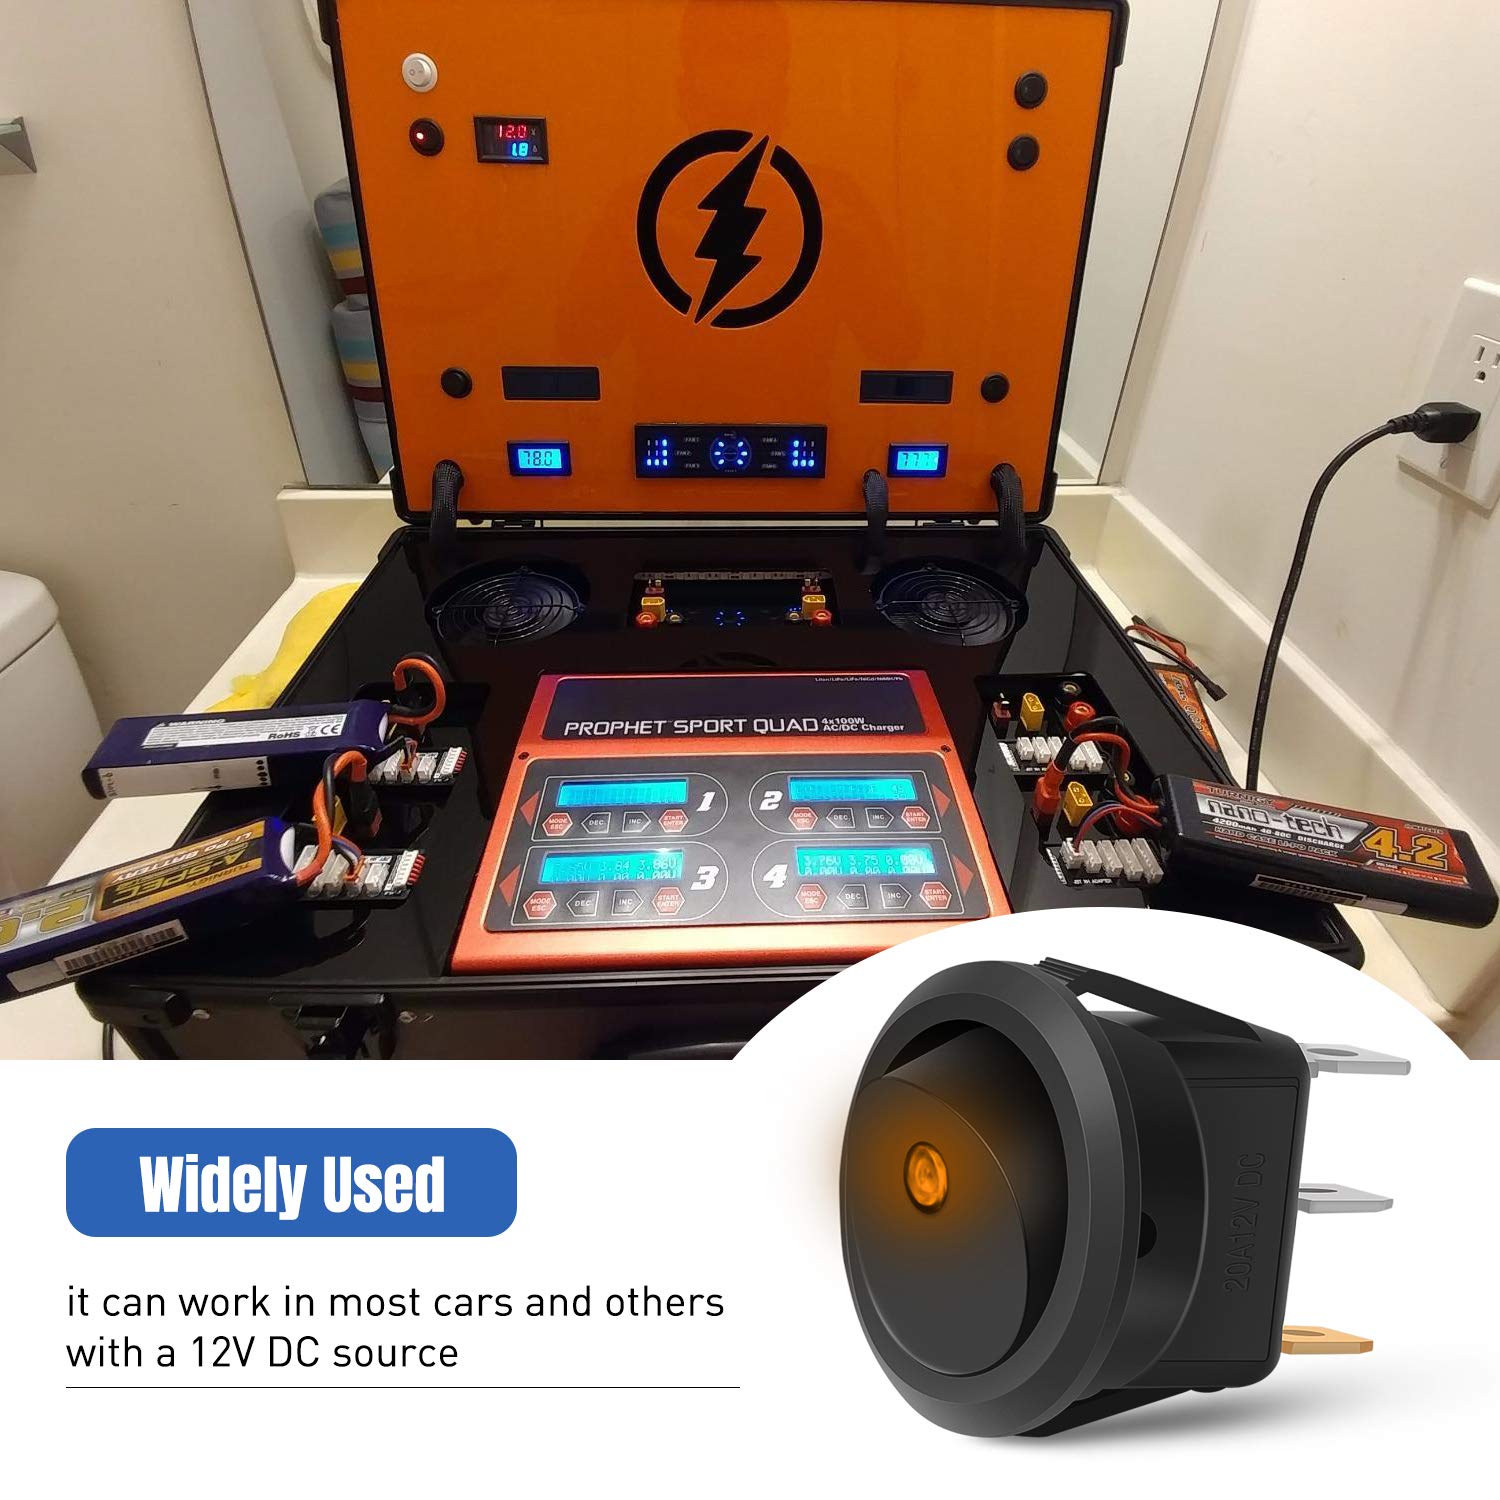
Image: Examples of the switch's wide applicability in different vehicles and devices.

Image: Additional visual examples showcasing the switch's use in diverse settings.
12. Official Product Videos
No official product videos from the seller were found in the provided data that are relevant for embedding in this instruction manual.