Introduction
This manual provides detailed instructions for assembling the Italeri 1/24 Iveco Highway 480 E5 Truck plastic model kit. Please read all instructions carefully before beginning assembly. Familiarize yourself with the parts and tools required to ensure a smooth and enjoyable building experience.
The Iveco Hi-Way is a heavy-duty truck produced by the Italian manufacturer Iveco. The 480 E5 model is known for its efficiency and performance in long-haul transport. This kit allows for the creation of a detailed replica of this iconic vehicle.
Safety Precautions
- Small Parts: This kit contains small parts that may pose a choking hazard. Keep out of reach of small children.
- Sharp Tools: Assembly requires the use of sharp tools such as hobby knives and tweezers. Exercise caution to prevent injury.
- Adhesives and Paints: Use plastic cement and paints in a well-ventilated area. Avoid inhaling fumes. Follow the manufacturer's safety guidelines for all chemical products.
- Eye Protection: Consider wearing eye protection when cutting or sanding plastic parts.
Kit Contents
Before starting, verify that all components listed below are present in your kit. If any parts are missing or damaged, please contact Italeri customer support.
- Plastic sprues (various colors)
- Clear plastic parts (windows, lights)
- Rubber tires
- Decal sheet
- Photo-etched parts (if included, check specific kit version)
- Mesh material

Figure 1: Example of the completed Italeri Iveco Highway 480 E5 Truck model.
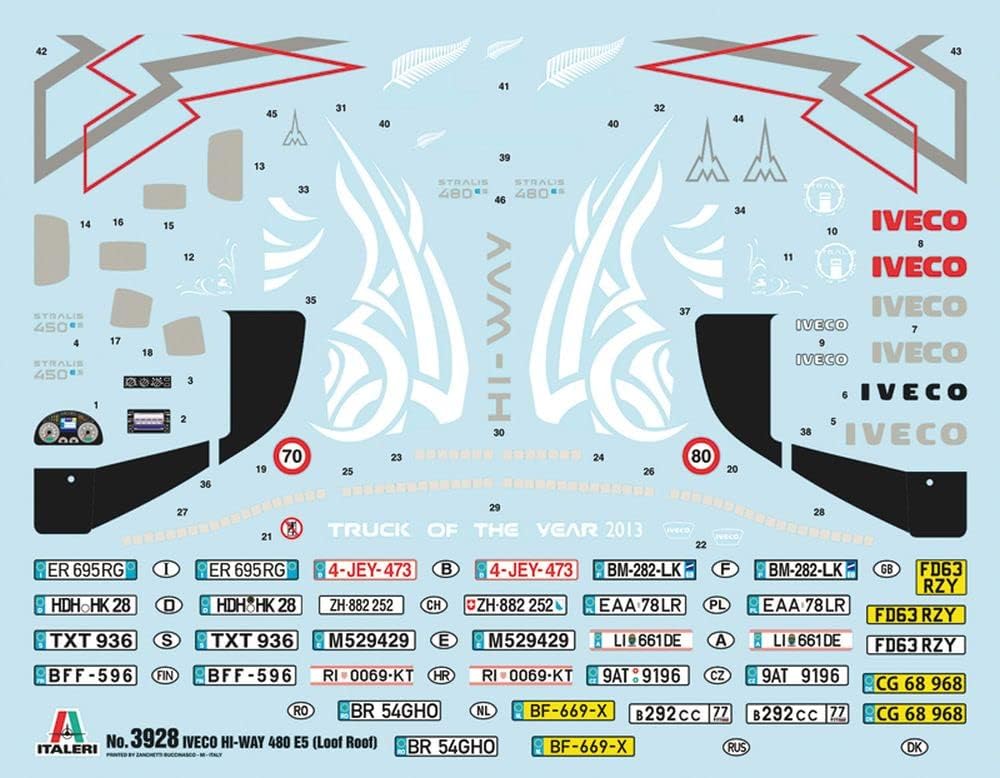
Figure 2: Decal sheet containing various markings, logos, and license plates for the model.

Figure 3: Clear plastic sprue containing parts for windows and other transparent components.

Figure 4: Orange plastic sprue containing major cabin components.
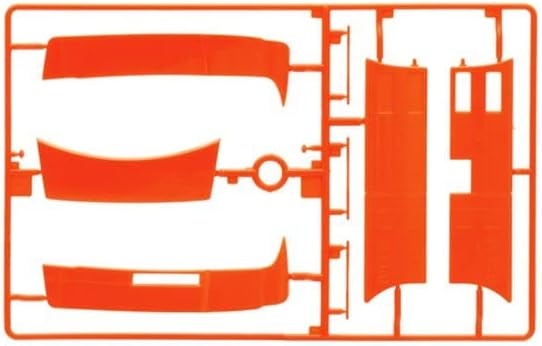
Figure 5: Orange plastic sprue containing fenders, spoilers, and other exterior cabin details.

Figure 6: Black plastic sprue containing engine components and various chassis details.
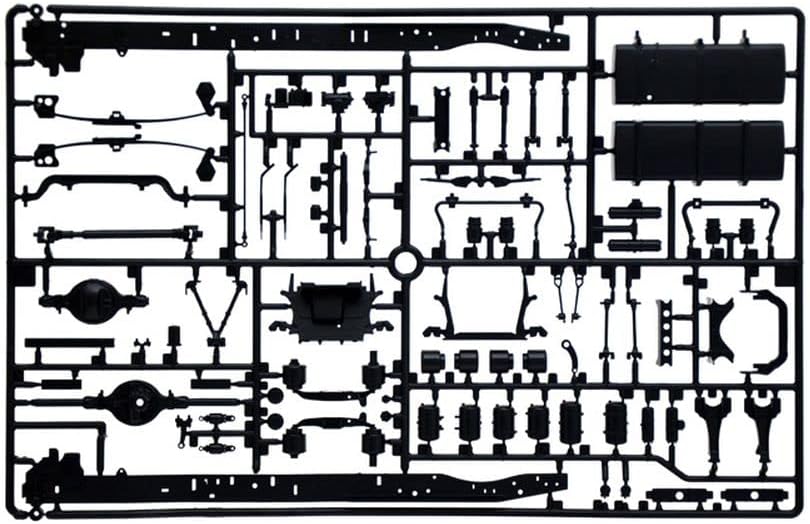
Figure 7: Black plastic sprue containing the main chassis frame and suspension components.

Figure 8: Black plastic sprue containing exhaust system parts and fuel tanks.

Figure 9: Black plastic sprue containing interior cabin parts and the cabin floor.

Figure 10: Clear plastic sprue containing wheel rims and other small clear details.

Figure 11: Clear plastic sprue containing various light lenses and other small transparent parts.

Figure 12: Mesh material, typically used for grilles or vents on the model.
Figure 13: A small rectangular sticker or decal, likely for a specific detail.

Figure 14: Rubber tires, typically used for the main wheels of the truck model.
Assembly Instructions
Tools Required
- Hobby knife or sprue cutters
- Plastic cement (liquid or tube)
- Fine-grit sandpaper or sanding sticks
- Tweezers
- Small files (optional)
- Paint brushes (various sizes)
- Model paints (acrylic or enamel, as per color guide)
- Decal setting solution (optional)
Preparation
- Review Instructions: Carefully study the entire instruction booklet and part diagrams before cutting any pieces.
- Part Identification: Identify all parts on the sprues according to the numbering in the diagrams.
- Part Removal: Use a hobby knife or sprue cutters to carefully remove parts from the sprues. Cut slightly away from the part to avoid damage.
- Clean-up: Trim any excess plastic (flash) from the parts using a hobby knife or sandpaper. Be careful not to remove molded details.
- Dry Fit: Before applying cement, dry fit parts together to ensure proper alignment and fit. Adjust as necessary.
Step-by-Step Assembly
Follow the numbered steps and diagrams provided in the kit's printed instructions. The general assembly sequence typically involves:
- Chassis Assembly: Begin with the main chassis frame, axles, and suspension components. Ensure all parts are aligned correctly for a straight build.
- Engine and Drivetrain: Assemble the engine block, transmission, and other drivetrain components. Paint these parts according to the color guide before final assembly if desired.
- Interior Cabin: Construct the cabin interior, including the dashboard, seats, steering wheel, and sleeping area. Paint interior details before joining cabin halves.
- Exterior Cabin: Assemble the main cabin structure, including side panels, roof, and front grille. Attach clear window parts using clear-part-safe adhesive.
- Wheels and Tires: Mount the rubber tires onto the plastic rims. Attach the completed wheel assemblies to the axles.
- Detail Parts: Add smaller exterior details such as mirrors, lights, exhaust pipes, and air tanks.
- Final Assembly: Join the completed cabin to the chassis. Attach any remaining large components.
Painting and Decal Application
Painting
- Preparation: Ensure all parts are clean and free of dust or grease before painting. A light primer coat can improve paint adhesion and reveal imperfections.
- Thin Coats: Apply paint in several thin coats rather than one thick coat to avoid obscuring details and to achieve a smoother finish. Allow each coat to dry thoroughly.
- Color Guide: Refer to the kit's color guide for recommended paint colors and placement.
Decals
- Surface Preparation: Apply decals to a glossy surface for best results. A clear gloss coat can be applied over matte paint before decaling.
- Cutting: Carefully cut out each decal as close to the image as possible.
- Soaking: Dip the decal in lukewarm water for 10-20 seconds until it slides freely on its backing paper.
- Placement: Gently slide the decal from the backing paper onto the model surface. Use tweezers or a wet brush to position it correctly.
- Removing Bubbles: Carefully blot away excess water with a soft cloth or cotton swab. Gently press out any air bubbles from under the decal.
- Setting Solution (Optional): For irregular surfaces, apply a decal setting solution to help the decal conform to the contours.
- Sealing: Once decals are dry, apply a clear coat (gloss or matte, depending on desired finish) to protect them.
Maintenance
To preserve the appearance of your completed model, follow these maintenance guidelines:
- Cleaning: Dust the model regularly with a soft, dry brush or a can of compressed air. Avoid using harsh chemicals or abrasive materials.
- Storage: Store the model in a cool, dry place away from direct sunlight, which can cause paint fading and plastic warping. A display case can protect it from dust and accidental damage.
- Handling: Handle the model by its sturdy parts, such as the chassis or main cabin, to avoid breaking delicate details.
Troubleshooting Common Issues
- Parts Not Fitting: Ensure all sprue gates and flash are completely removed. Dry fit parts before gluing. If necessary, gently sand or trim contact points.
- Gaps Between Parts: Use plastic filler putty to fill any noticeable gaps after assembly. Sand smooth once dry.
- Decal Silvering: This occurs when air is trapped under the decal. Ensure the surface is glossy and use a decal setting solution. Puncture small bubbles with a sharp needle and apply more setting solution.
- Paint Issues: If paint is too thick, thin it with the appropriate thinner. If paint is uneven, apply more thin coats. Ensure proper drying time between coats.
Specifications
| Brand | Italeri |
| Model Name | 1/24 Iveco Highway 480 E5 Truck |
| Model Number | 3928S |
| Scale | 1/24 |
| Material | Plastic |
| Dimensions (L x W x H) | 3.94 x 14.72 x 9.76 inches (Product Box) |
| Item Weight | 5.6 ounces |
| Age Range | Adult |
| Included Components | One kit (unassembled plastic model) |
Warranty and Support
Italeri products are manufactured to high standards. If you encounter any issues with missing or defective parts, please contact Italeri customer support directly. Keep your proof of purchase for any warranty claims. Specific warranty details may vary by region; refer to the official Italeri website or contact your local distributor for more information.
For additional modeling tips, techniques, or community support, consider visiting online modeling forums or resources dedicated to plastic model building.


