Introduction
This manual provides detailed instructions for the installation, operation, and maintenance of your Lutron Caseta Smart Switch (Model: PDW-5ANS-WH-A). This in-wall switch is designed for on/off control of LED lights and fans, offering convenience and smart home integration. A neutral wire is required for installation.
Package Contents
- 1 Caseta Smart Switch
- 1 Coordinating Wallplate

Image: The Lutron Caseta Smart Switch and its included wallplate, shown in retail packaging.
Safety Information
WARNING: Risk of Electric Shock. May result in serious injury or death. Turn off power at circuit breaker or fuse box before installing. Do not install if you are unfamiliar with electrical wiring. Consult a qualified electrician.
- For indoor use only.
- Operate between 32 °F (0 °C) and 104 °F (40 °C).
- A neutral wire is required for installation.
- Do not use with dimmable loads if the switch is not rated for dimming. This is an on/off switch.
- Ensure all wire connections are secure.
Setup and Installation
Before beginning, ensure power is turned off at the circuit breaker. This switch requires a neutral wire. If you are unsure, consult a qualified electrician.
- Turn Off Power: Locate your circuit breaker panel and turn off the power to the switch location. Verify power is off using a voltage tester.
- Remove Existing Switch: Carefully remove the wallplate and unscrew the existing switch from the electrical box. Disconnect the wires.
- Identify Wires: Identify the Line (hot), Load, Neutral, and Ground wires. The Caseta switch has pre-stripped wires for easy connection.
- Wire the Caseta Switch:
- Connect the green wire from the Caseta switch to the bare copper or green ground wire in the wall box.
- Connect the black wire from the Caseta switch to the Line (hot) wire from the wall box.
- Connect the blue wire from the Caseta switch to the Load wire (to the light or fan).
- Connect the white wire from the Caseta switch to the Neutral wire from the wall box.
Use the included wire nuts to secure all connections. Ensure no bare wire is exposed.
- Mount the Switch: Carefully fold the wires into the electrical box and secure the Caseta switch with the provided screws. Attach the coordinating wallplate.
- Restore Power: Turn the power back on at the circuit breaker.
- System Setup (Optional, for Smart Features): For smart control via the Lutron app, voice assistants, or Pico remotes, a Lutron Caseta Smart Hub (sold separately) is required. Follow the instructions provided with the Smart Hub to connect it to your home network and then use the Lutron app to add and configure your new Caseta Smart Switch.

Image: A detailed view of the Caseta Smart Switch, indicating the top button for 'on', the bottom button for 'off', and the status LED.

Image: This diagram illustrates various installation scenarios: single pole, wireless 3-way, adding a second switch anywhere, and wireless multi-location control.
Installation Types
Single Pole Installation
One switch controls the light(s). Replace your existing single-pole switch with the Caseta Smart Switch.

Image: A diagram showing a single Caseta switch wired to control a light fixture.
Wireless 3-Way Installation
Two switches control the light(s). Replace one existing 3-way switch with the Caseta Smart Switch. For the second location, remove the existing switch, cap the wires, and mount a Pico remote with a wallplate bracket (both sold separately) over the backbox.

Image: A diagram illustrating a wireless 3-way setup, where a Caseta switch and a Pico remote control a single light fixture.
Add a Second Switch Anywhere
For lights controlled by a single Caseta Smart Switch, you can add an additional point of control without new wiring. Mount a Pico remote with a wallplate bracket (both sold separately) to any surface.

Image: A diagram showing how to add a Pico remote as a second control point for a light controlled by a Caseta switch, without additional wiring.
Wireless Multi-Location Control
For three or more switches controlling the light(s). Replace one existing switch with the Caseta Smart Switch. For other locations, remove existing switches, cap wires, and mount Pico remotes with wallplate brackets (both sold separately) over the backboxes.

Image: A diagram illustrating a wireless multi-location setup, where a Caseta switch and multiple Pico remotes control a single light fixture.
Operating Instructions
Basic Operation
- Turn On: Press the top button on the switch to turn lights or fans on.
- Turn Off: Press the bottom button on the switch to turn lights or fans off.
- Status LED: A soft glow from the status LED indicates the switch is off, acting as a night light.

Image: A close-up view of the Lutron Caseta Smart Switch, highlighting its clean design and on/off buttons.
Smart Control Features (with Caseta Smart Hub)
To unlock advanced features, a Lutron Caseta Smart Hub (sold separately) is required.
- Lutron App Control: Use the free Lutron app on your smartphone or tablet to control lights and fans from anywhere.
- Voice Control: Integrate with popular voice assistants like Amazon Alexa, Apple HomeKit, and Google Assistant for hands-free control.
- Scheduling: Set schedules for lights and fans to turn on/off automatically at specific times or based on sunrise/sunset.
- Smart Away: Randomly turn lights on and off to simulate occupancy when you are away from home.
- Pico Remote Control: Use a Pico remote (sold separately) for wireless control from anywhere in the room or mounted to a wall.
- Fan Control: The Caseta switch can control ceiling or exhaust fans up to 3.0 Amps.

Image: This image illustrates the multiple control options for Caseta smart lighting, including the in-wall switch, Lutron app, voice assistant, and Pico remote.
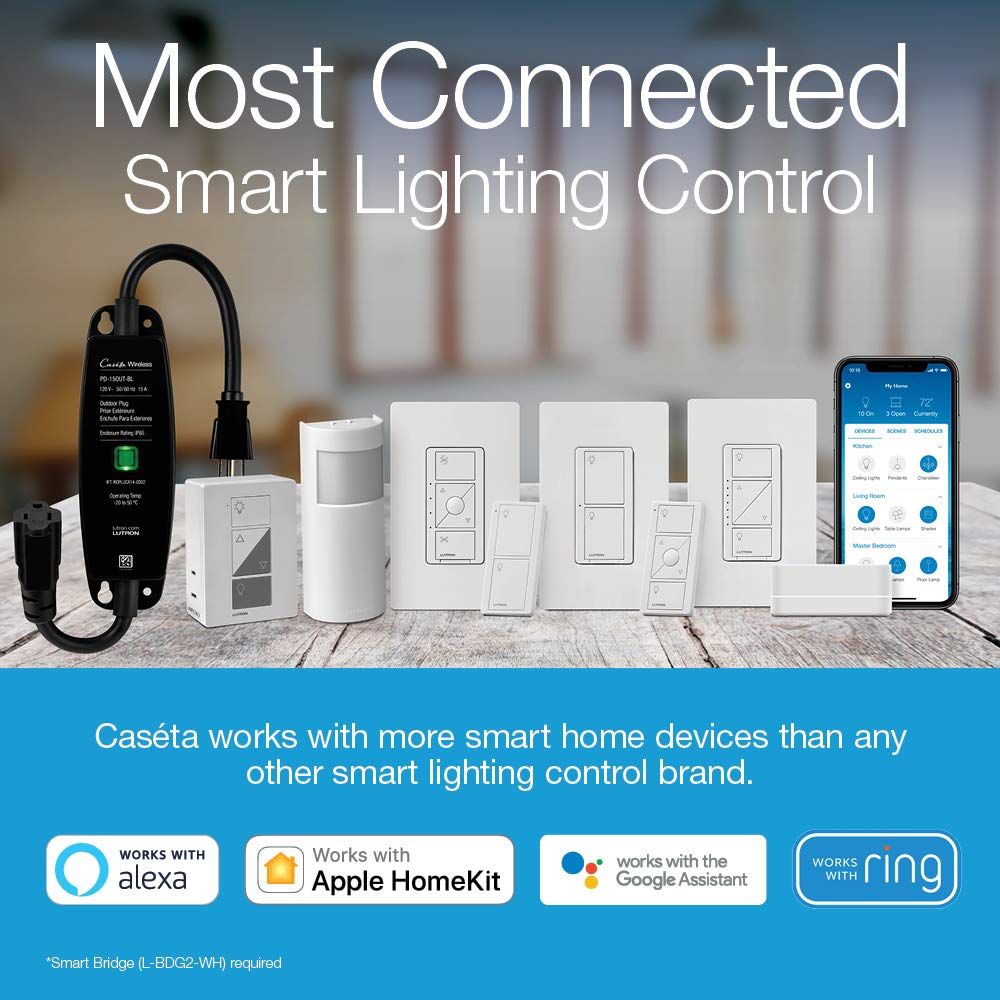
Image: A Lutron Caseta Smart Switch is shown in a living room setting, demonstrating its ability to control ceiling fans.
Maintenance
The Lutron Caseta Smart Switch is designed for maintenance-free operation. No user-serviceable parts are inside. To clean the switch and wallplate, wipe with a soft, damp cloth. Do not use chemical cleaners.
Troubleshooting
- Lights/Fan Not Responding:
- Check the circuit breaker to ensure power is on.
- Verify all wiring connections are secure.
- Ensure the neutral wire is correctly connected.
- Smart Features Not Working:
- Confirm your Lutron Caseta Smart Hub is powered on and connected to your home network.
- Check the Lutron app to ensure the switch is properly added and configured.
- Verify your Wi-Fi network is operational.
- Intermittent Operation:
- Ensure the switch is not overloaded (refer to specifications).
- Check for any loose wiring connections.
For further assistance, please contact Lutron customer support.
Specifications
| Model Number | PDW-5ANS-WH-A |
| Product Dimensions | 1.44 x 2.94 x 4.69 inches |
| Weight | 6.74 ounces |
| Current Rating | 5 Amps |
| Operating Voltage | 120 Volts |
| Circuit Type | 1-way (Single-Pole/3-Way compatible with Pico remote) |
| Load Compatibility | Up to 600W incandescent/halogen/ELV/MLV, 5A LED/CFL, 3.0A general purpose fans |
| Neutral Wire | Required |
| Operation Mode | ON-ON-ON |
| Contact Type | Normally Closed |
| Connector Type | Screw |
Warranty Information
Lutron products are backed by a manufacturer's warranty. For specific warranty terms and conditions, please refer to the documentation included with your product or visit the official Lutron website. Keep your proof of purchase for warranty claims.
Support
For technical support, product inquiries, or additional information, please visit the official Lutron website or contact Lutron customer service directly. Contact details can typically be found on the Lutron website or in the product packaging.


