1. Introduction
This manual provides detailed instructions for the setup, operation, and maintenance of your NEEWER 16MP 1080P HD Trail Game Camera, Model 10095110. Designed for wildlife monitoring, hunting, and security applications, this camera features high-resolution imaging, fast trigger speed, and robust weather resistance.
2. Product Components
The package includes the following items:
- NEEWER Trail Game Camera
- Mounting Strap
- USB Cable
- Mounting Bracket and Screws
- Instruction Manual
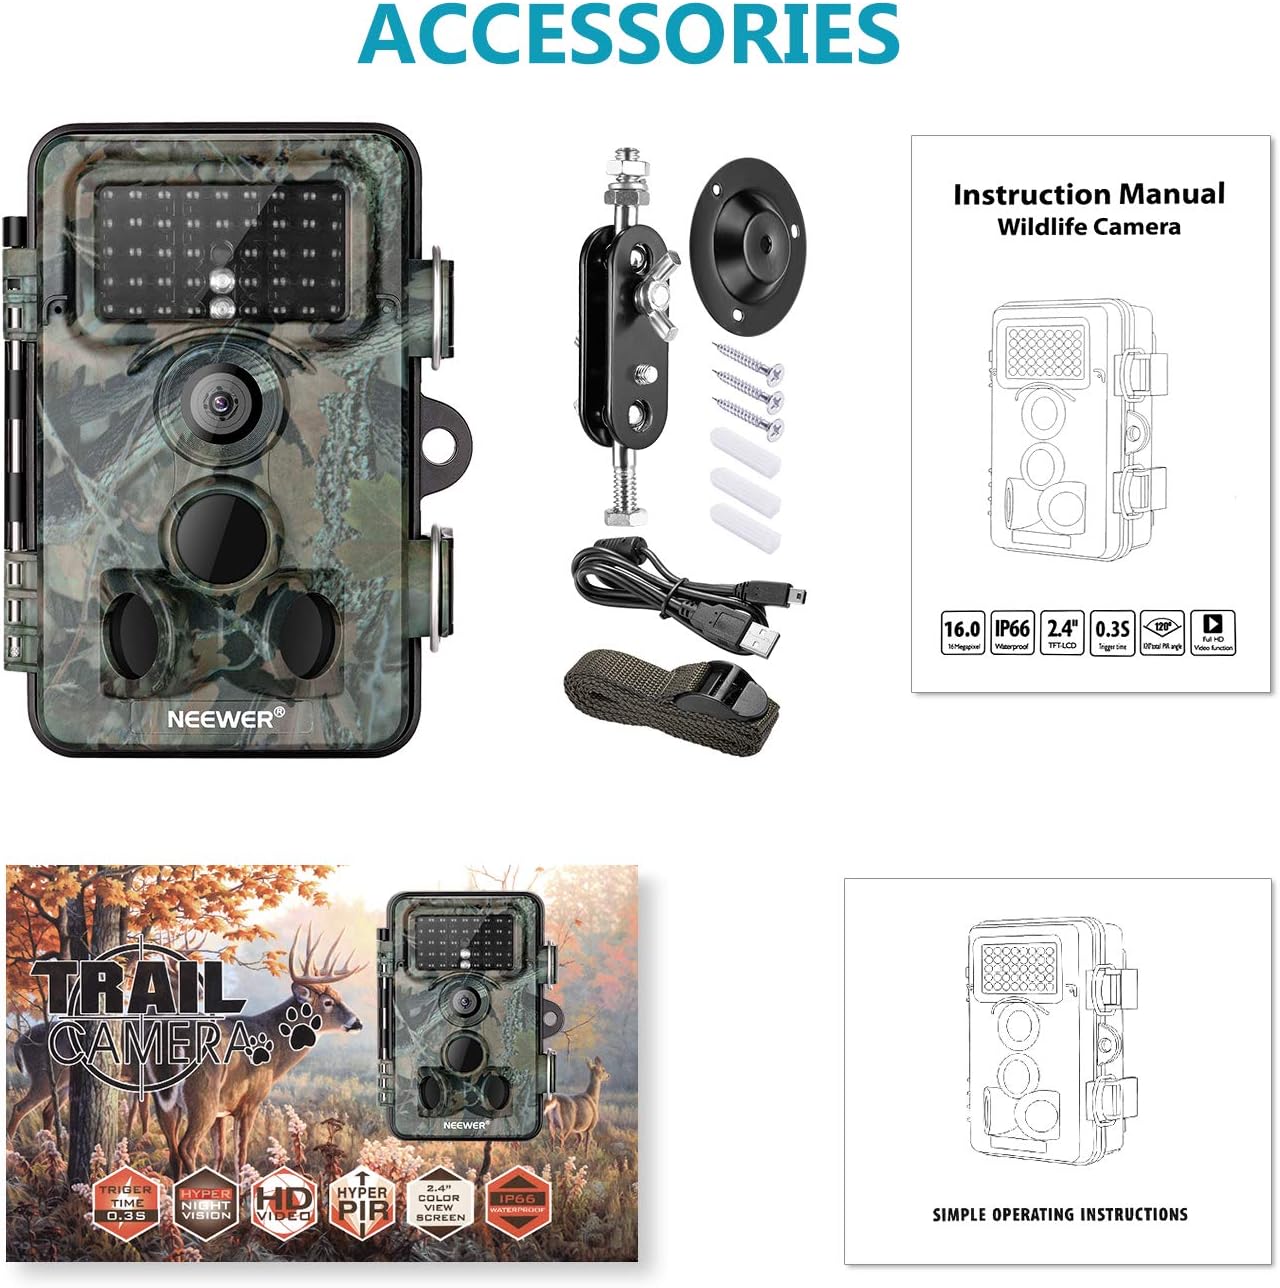
Figure 2.1: Included components of the NEEWER Trail Game Camera package.
3. Key Features
- 16 Megapixel Still Images: Capture high-resolution photos of wildlife.
- 1080P Full HD Video: Record clear video footage.
- 0.3s Trigger Speed: Rapidly capture motion-activated events.
- 120 Degree Wide Angle Lens: Provides a broad field of view for comprehensive coverage.
- Motion Activated Night Vision: Equipped with 42pcs infrared LEDs for clear night shots up to 20m (65ft).
- IP66 Waterproof and Dustproof Design: Ensures durability in various outdoor conditions.
- 2.4-inch TFT-LCD Screen: For easy menu navigation and playback.

Figure 3.1: High Trigger Speed
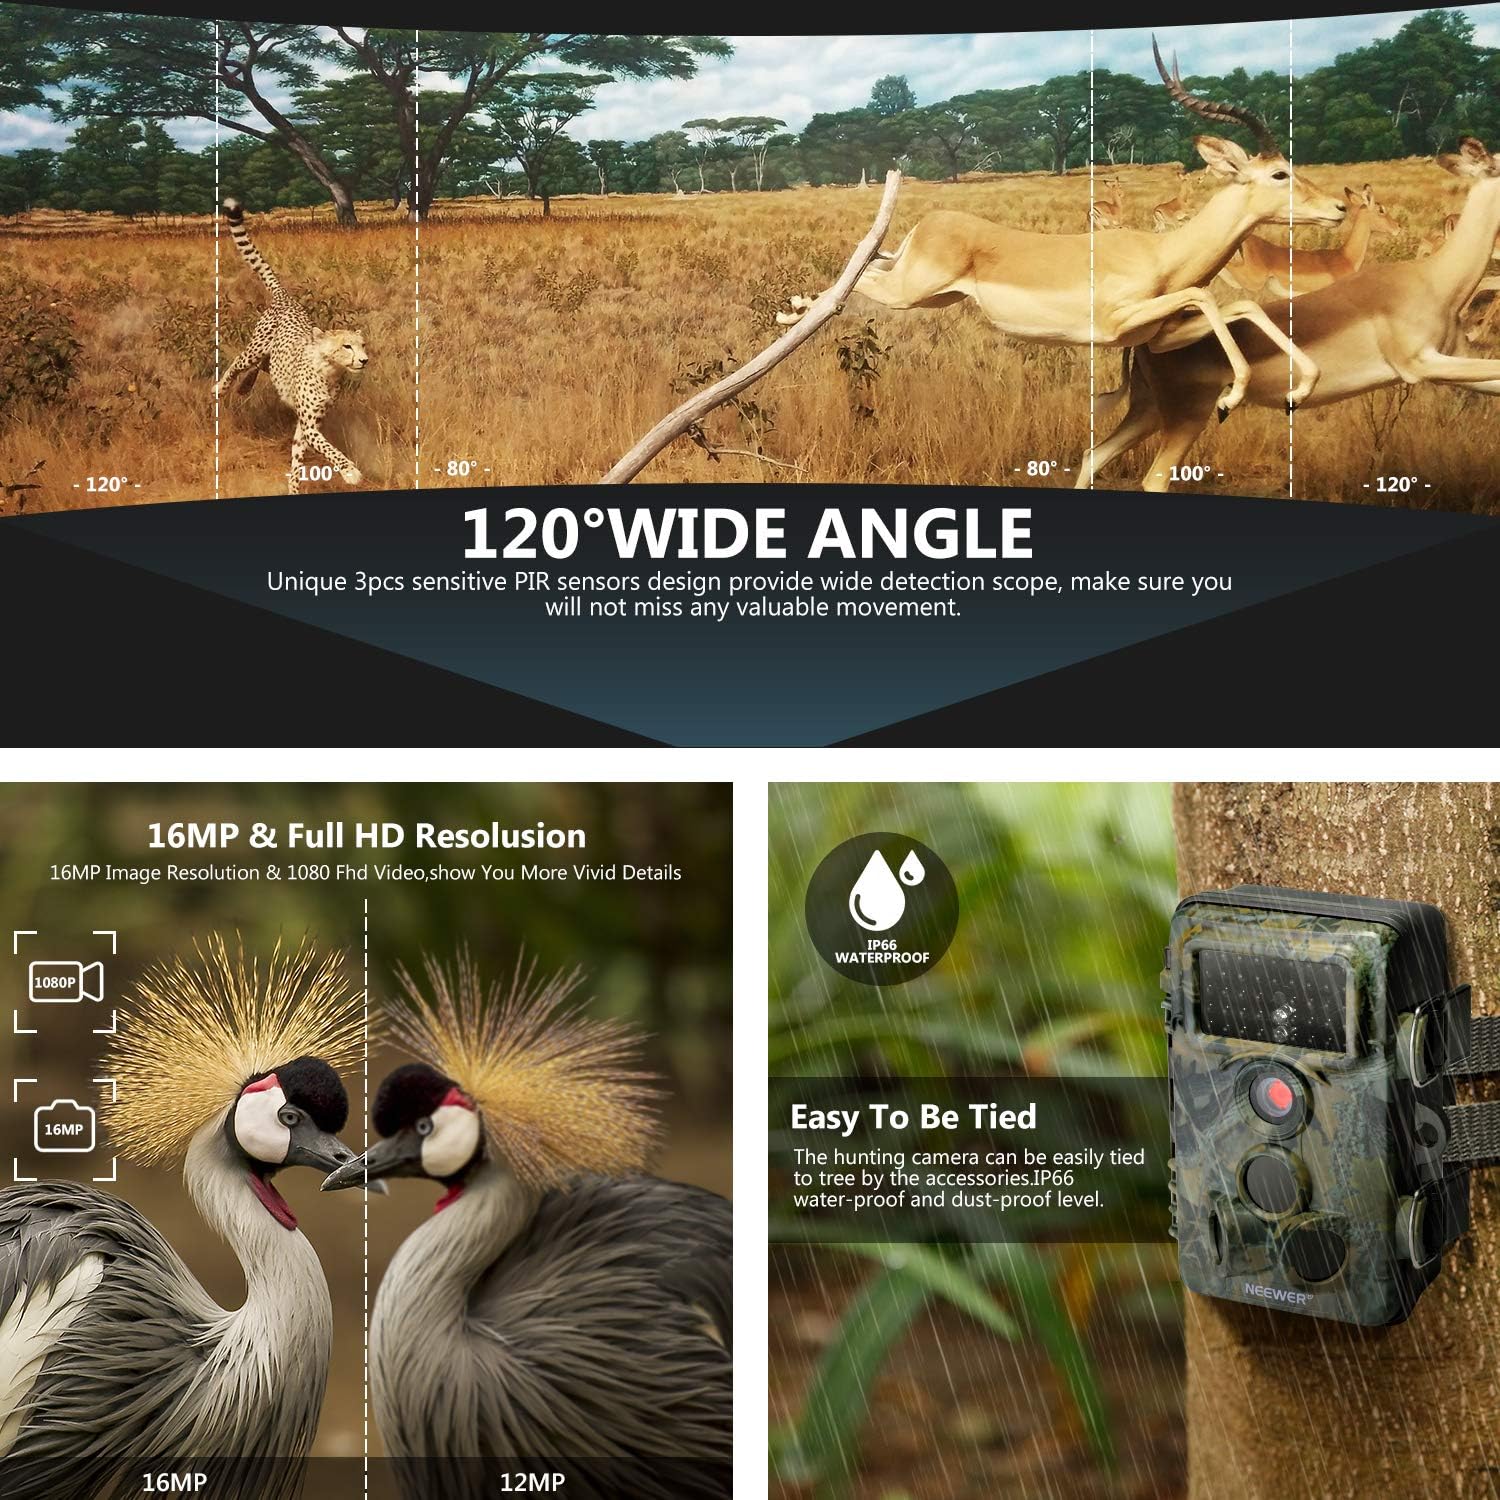
Figure 3.2: 120 Degree Wide Angle Lens

Figure 3.3: Super Night Vision
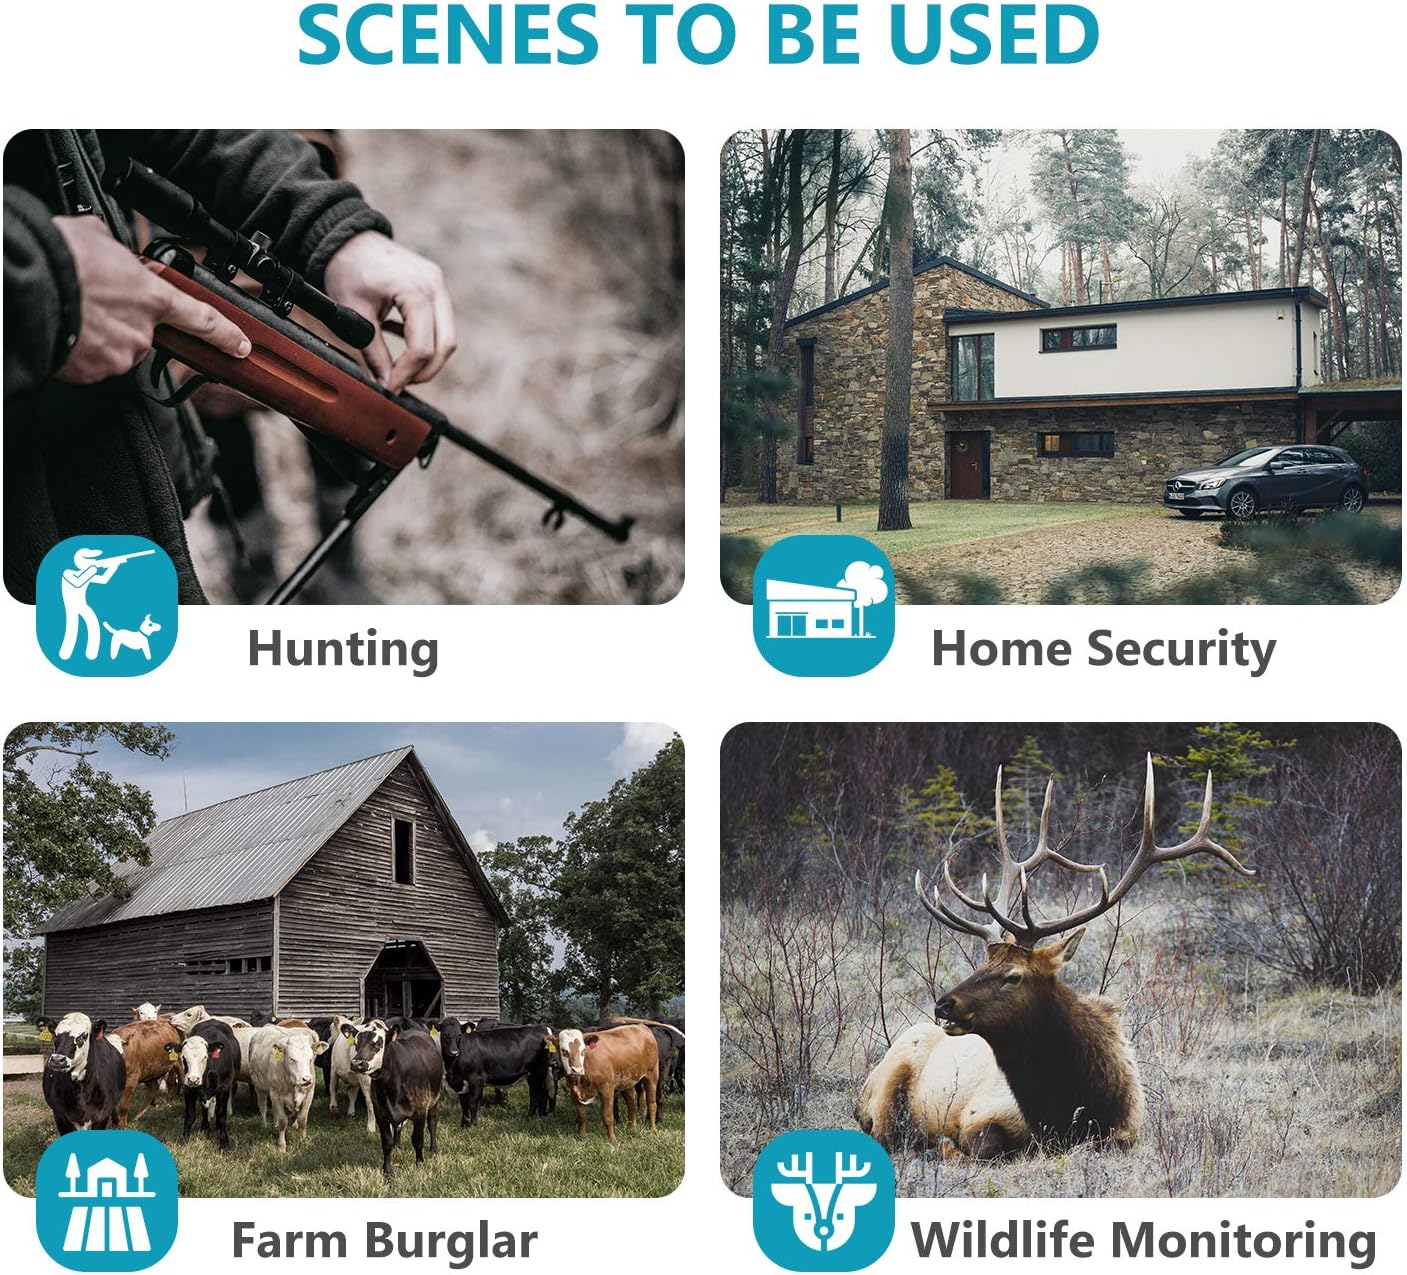
Figure 3.4: Diverse Application Scenarios
4. Setup
4.1 Battery and Power Installation
The camera operates on AA batteries (not included) and can be supplemented or powered by an external 6V/9V/12V DC power source, such as a compatible solar panel. Rechargeable batteries are recommended for sustained use.
- Open the camera's housing by unlatching the side clips.
- Locate the battery compartment. Insert 4 or 8 AA batteries, ensuring correct polarity.
- If using an external solar panel (e.g., TKKOK X58 model), connect its output cable to the DC IN port on the camera. The solar panel can also have its own internal battery system.

Figure 4.1: Internal layout and connections of the camera.
4.2 Memory Card Installation
The camera supports SD/SDHC memory cards up to 64GB. A memory card is required for storing photos and videos.
- With the camera housing open, locate the SD card slot.
- Insert the SD card with the metal contacts facing the back of the camera until it clicks into place.
- Before first use, it is recommended to format the SD card via the camera's menu to ensure compatibility and optimal performance.
4.3 Mounting the Camera
The camera can be mounted using the included strap or the mounting bracket.
- Strap Mounting: Thread the provided strap through the slots on the back of the camera and secure it around a tree or post.
- Bracket Mounting: Attach the mounting bracket to a surface using the screws. Then, attach the camera to the bracket using its 1/4-inch tripod thread.
- Position the camera to cover the desired area, ensuring the PIR sensors have an unobstructed view.
5. Operating Instructions
5.1 Power On/Off and Mode Switch
The camera has a 3-position mode switch: OFF, SETUP, and ON.
- OFF: Powers off the camera.
- SETUP: Allows access to the menu, settings, and image/video playback.
- ON: Activates the camera for motion-triggered recording. The screen will turn off after a few seconds to conserve power.
5.2 Menu Navigation
Use the control buttons (MENU, OK, Up/Down/Left/Right arrows, REPLAY) to navigate the camera's settings.
- Press the MENU button to enter the settings menu.
- Use the Up/Down arrows to scroll through options.
- Press OK to select an option or confirm a setting.
- Use the Left/Right arrows to change values or navigate sub-menus.
- Press REPLAY to view captured photos and videos.
5.3 Photo/Video Modes and Settings
In SETUP mode, you can configure various parameters:
- Mode: Select between Photo, Video, or Photo+Video.
- Photo Size: Set image resolution (e.g., 16MP, 12MP).
- Video Size: Set video resolution (e.g., 1080P, 720P).
- Video Length: Define the duration of video recordings.
- PIR Sensitivity: Adjust the sensitivity of the motion sensors.
- Time Lapse: Enable time-lapse photography.
- Date/Time: Set the current date and time.
5.4 Night Vision
The camera automatically switches to night vision mode in low-light conditions, utilizing its infrared LEDs to capture clear black and white images/videos without disturbing wildlife.
Video 5.1: Official product overview highlighting key features like trigger speed, wide angle, and night vision.
6. Maintenance
6.1 Weather Resistance
The camera features an IP66 waterproof and dustproof rating. Ensure the housing is securely latched and all port covers are tightly sealed to maintain its weather resistance.
6.2 Battery Care
Regularly check battery levels, especially if not using a solar panel. Replace or recharge batteries as needed. For optimal performance, use high-quality rechargeable AA batteries.
6.3 Memory Card Management
Periodically format the SD card to prevent data corruption and ensure sufficient storage space. Back up important footage to a computer before formatting.
6.4 Cleaning
Gently clean the camera lens and PIR sensors with a soft, dry cloth to ensure clear images and proper motion detection. Avoid using abrasive cleaners.
7. Troubleshooting
- Camera not powering on: Check battery installation and ensure batteries are charged. Verify external power source connection if used.
- Poor image/video quality: Ensure the lens is clean and free from obstructions. Check resolution settings in the menu.
- No recordings: Verify that the SD card is inserted correctly and has sufficient free space. Format the SD card if necessary. Check PIR sensitivity settings and ensure the camera is in 'ON' mode.
- Excessive battery drain: This can occur with frequent triggers or in very cold weather. Consider using a solar panel for continuous power or higher capacity rechargeable batteries.
- Water inside the camera: Ensure all latches are securely closed and rubber seals are properly seated. If water ingress occurs, dry the camera thoroughly and check for any damage to seals.
- Short video recordings: If videos are shorter than set, check battery levels. Low battery can sometimes cause truncated recordings. Reformat the SD card.
8. Specifications
| Effective Still Resolution | 16 MP |
| Video Capture Resolution | 1080p |
| Trigger Speed | 0.3s |
| Field Of View | 120 Degrees |
| Night Vision Range | Up to 20m (65ft) with 42pcs Infrared LEDs |
| International Protection Rating | IP66 (Waterproof & Dustproof) |
| Screen Size | 2.4 Inches TFT-LCD |
| Flash Memory Type | SD, SDHC (up to 64GB) |
| Power Source | AA Batteries (4 or 8), External DC 6V/9V/12V |
| Item Dimensions (L x W x H) | 7.76 x 4.84 x 3.35 inches |
| Item Weight | 295 Grams |
9. Warranty and Support
For warranty information and technical support, please refer to the NEEWER official website or contact their customer service directly. Keep your purchase receipt as proof of purchase.
Related Documents - 10095110
 |
NEEWER QZ Trigger: Comprehensive Guide to Wireless Flash Control A detailed guide to the NEEWER QZ Trigger, covering its features, operation, compatibility, and troubleshooting for photographers using NEEWER and compatible flash systems. |
 |
Neewer N-055 Q3 TTL Wireless Trigger User Manual Comprehensive user guide for the Neewer N-055 Q3 TTL Wireless Trigger, detailing its features, setup, operation, and specifications for professional photography. |
 |
NEEWER Q300 Outdoor Strobe Flash User Manual & Guide Download the official NEEWER Q300 Outdoor Strobe Flash user manual. Get detailed instructions on installation, operation, battery management, maintenance, and product specifications for your photography lighting equipment. |
 |
Neewer FC-16 3-in-1 Radio Trigger User Guide User guide for the Neewer FC-16 3-in-1 Radio Trigger, detailing its features, operation, technical specifications, and troubleshooting for wireless flash and shutter release. |
 |
Neewer QPro-C TTL Wireless Flash Trigger Instruction Manual Comprehensive instruction manual for the Neewer QPro-C TTL Wireless Flash Trigger, covering product overview, package contents, setup, operation, custom functions, troubleshooting, and specifications for Canon cameras. |
 |
Neewer CT-16 Camera Flash Trigger Instruction Manual This document provides instructions for the Neewer CT-16 Camera Flash Trigger, a wireless remote system for synchronously triggering camera flashes. It covers safety precautions, parts identification, accessories, channel settings, battery installation, operation, technical data, and maintenance. |