Introduction
This manual provides comprehensive instructions for the iTOMA CKS512 Alarm Clock Radio. It covers setup, operation, maintenance, and troubleshooting to ensure optimal performance and user experience. Please read this manual thoroughly before using the device.
Safety Information
- Do not expose the unit to dripping or splashing water.
- Do not place objects filled with liquids, such as vases, on the unit.
- Ensure proper ventilation; do not block ventilation openings.
- Keep the unit away from direct sunlight, heat sources, and open flames.
- Use only the power adapter provided with the unit.
- Do not attempt to disassemble or modify the unit. Refer all servicing to qualified personnel.
- Clean the unit with a soft, dry cloth. Do not use liquid cleaners or aerosols.
Package Contents
Verify that all items are present in the package:
- iTOMA CKS512 Alarm Clock Radio
- Power Adapter
- User Manual (this document)
Product Overview
Familiarize yourself with the main components and controls of your iTOMA CKS512.

Figure 1: Front view of the iTOMA CKS512 Alarm Clock Radio, highlighting key features such as volume, snooze, dual alarm, wireless charging, dimmer, and FM radio capabilities.
Top Panel Controls

Figure 2: Top panel of the alarm clock radio, displaying buttons for various functions including alarm settings, radio controls, and time adjustment.
- SNOOZE/DIMMER Button: Press to snooze an active alarm or adjust display brightness.
- AL1/AL2 Buttons: Activate/deactivate and set Alarm 1 and Alarm 2.
- TIME SET Button: Enter time setting mode.
- TUNER +/- Buttons: Adjust radio frequency or navigate menu options.
- VOL +/- Buttons: Adjust volume.
- FM/BT Button: Switch between FM radio and Bluetooth modes.
- ON/OFF Buttons: Power on/off the radio or Bluetooth.
- Wireless Charging Pad: Located on the top surface for compatible devices.
Rear Panel Ports

Figure 3: Rear panel of the alarm clock radio, showing the DC power input, USB charging port, and the FM antenna connection.
- DC IN Jack: Connect the power adapter here.
- USB Charging Port: For charging external devices.
- FM Antenna: Extend for better FM reception.
Setup
1. Power Connection
- Plug the provided power adapter into the DC IN jack on the rear of the unit.
- Plug the other end of the adapter into a standard wall outlet.
- The display will light up, indicating the unit is powered on.
2. Initial Time Setting
Upon initial power-up, the clock may automatically set the time. If not, or if adjustment is needed:
- Press and hold the TIME SET button until the hour digits flash.
- Use the TUNER +/- buttons to adjust the hour. Press TIME SET to confirm.
- The minute digits will flash. Use the TUNER +/- buttons to adjust the minutes. Press TIME SET to confirm.
- Continue this process to set the year, month, and day if applicable.
Operating Instructions
1. Setting Alarms (Dual Alarm)
The unit supports two independent alarms (AL1 and AL2).
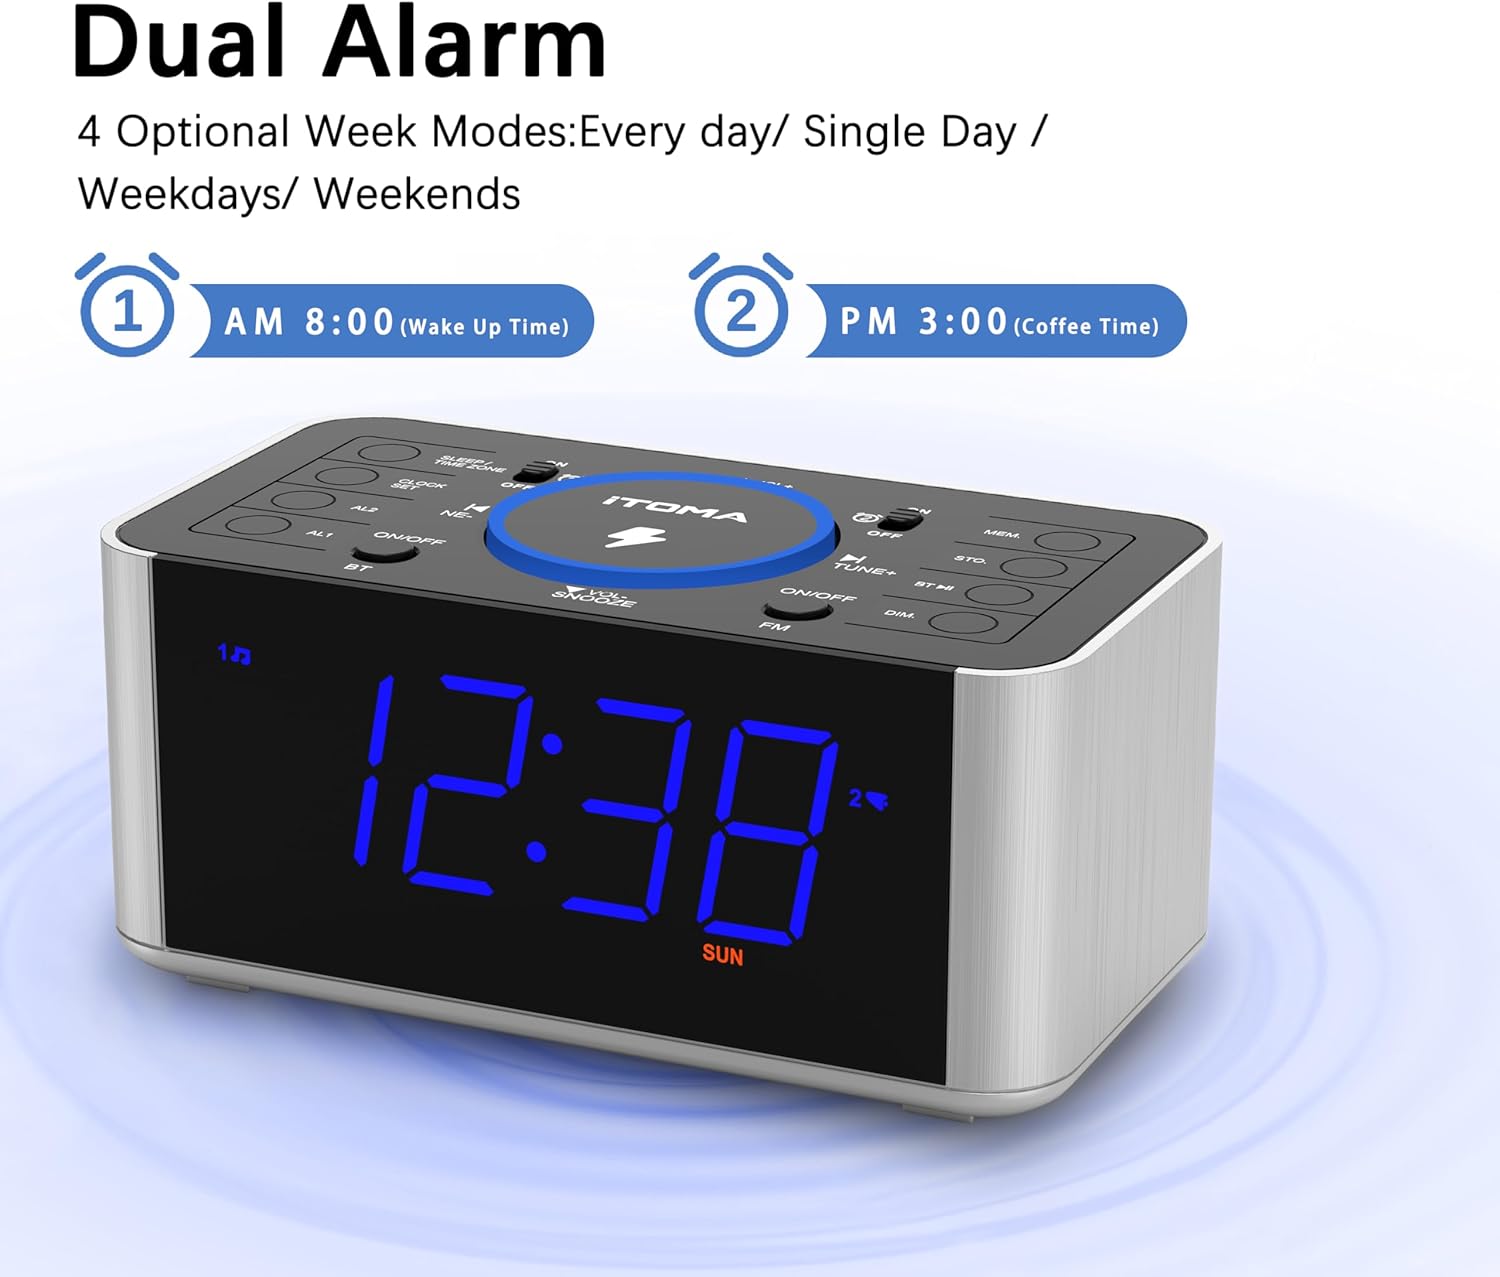
Figure 4: The alarm clock display showing options for setting two distinct alarms and selecting alarm modes (daily, single day, weekdays, weekends).
- Press and hold the AL1 or AL2 button until the alarm hour digits flash.
- Use the TUNER +/- buttons to adjust the hour. Press the respective AL button to confirm.
- Adjust the minutes using TUNER +/- and confirm with the AL button.
- Select the alarm source (FM Radio or Buzzer) using TUNER +/- and confirm.
- Select the alarm mode (Every day, Single Day, Weekdays, Weekends) using TUNER +/- and confirm.
- To activate/deactivate an alarm, short press the AL1 or AL2 button. An alarm icon will appear/disappear on the display.
Snooze Function
When an alarm sounds, press the SNOOZE/DIMMER button to temporarily silence it for approximately 9 minutes. The alarm will sound again after the snooze period.
Stopping an Alarm
To stop an alarm completely, press the corresponding AL1 or AL2 ON/OFF button on the top panel.
2. FM Radio Operation
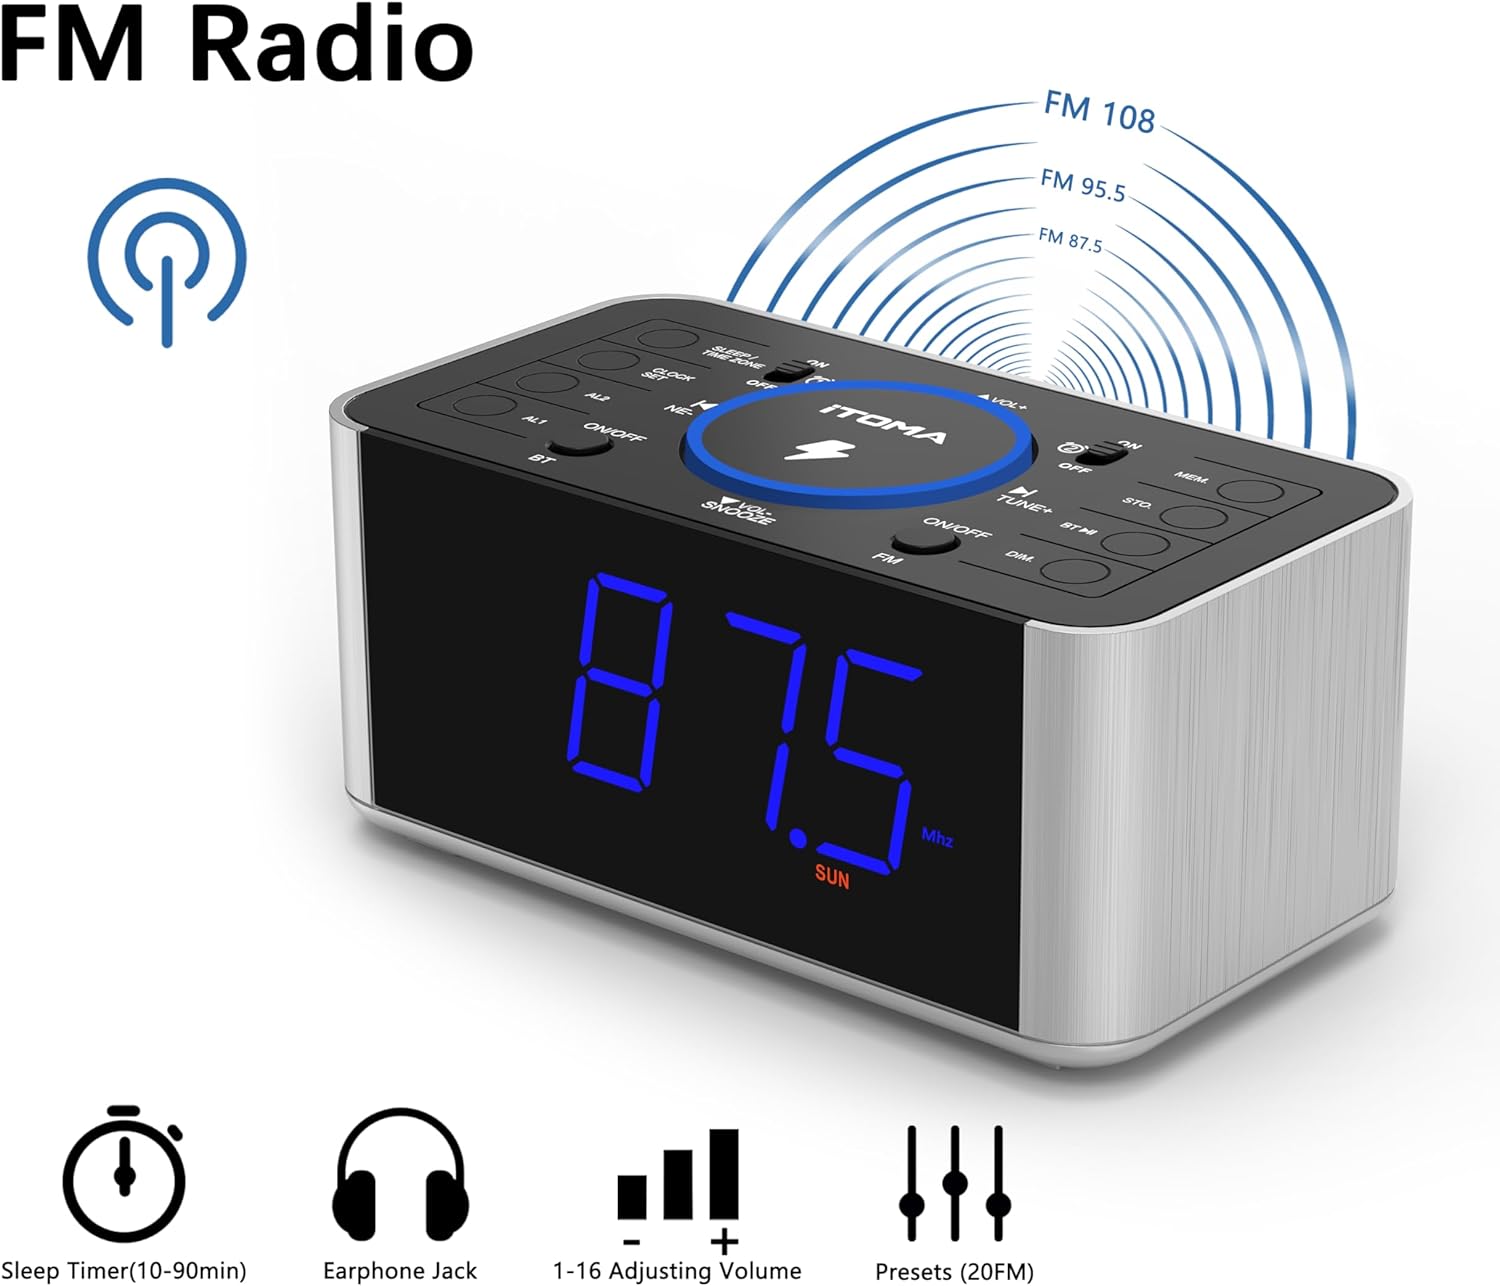
Figure 5: The alarm clock display showing FM radio mode, with indicators for sleep timer, earphone jack, volume control, and preset stations.
- Press the FM/BT button to switch to FM radio mode.
- Auto Scan: Press and hold the TUNER +/- button to automatically scan and save available FM stations. The unit can store up to 20 preset stations.
- Manual Tuning: Short press the TUNER +/- buttons to manually adjust the frequency step by step.
- Recall Presets: Press the MEM button to cycle through saved preset stations.
- Volume Adjustment: Use the VOL +/- buttons to adjust the radio volume (16 levels).
- FM Antenna: Extend the wire antenna on the rear panel for improved reception.
3. Bluetooth Pairing
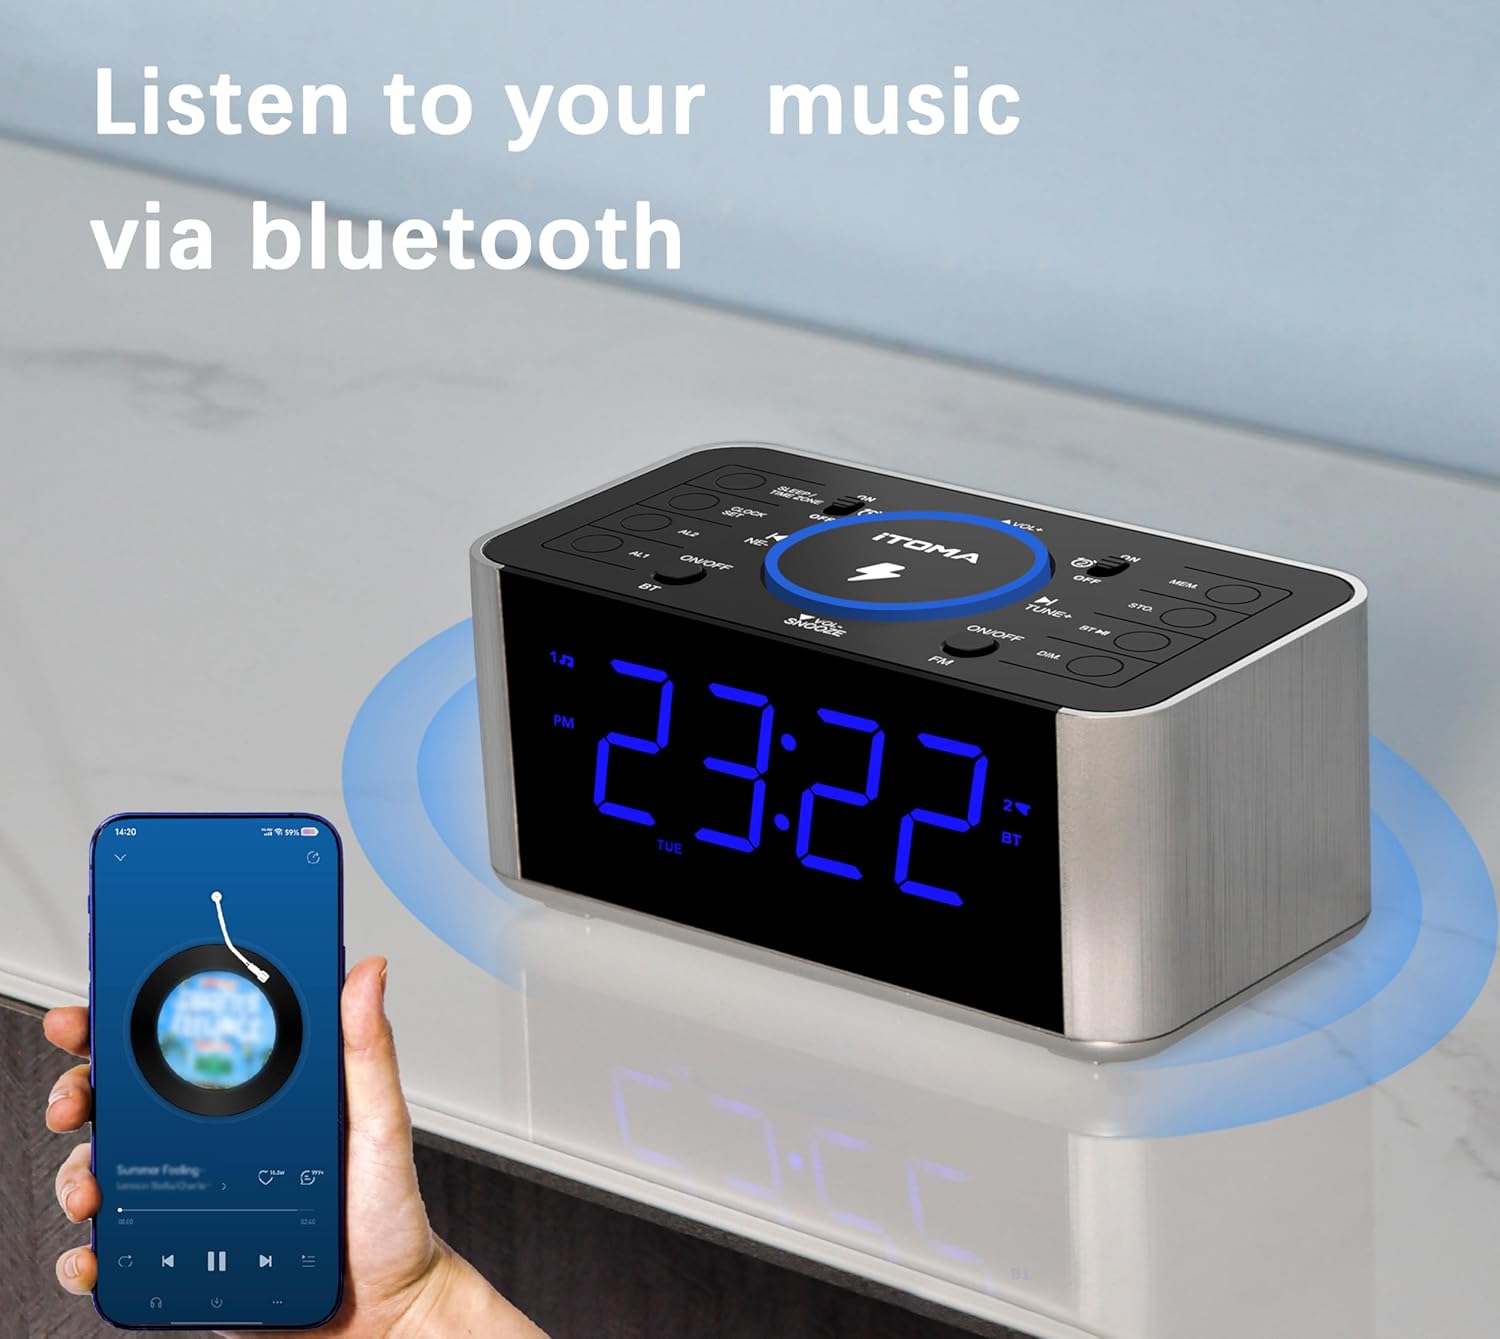
Figure 6: The alarm clock radio in Bluetooth mode, wirelessly streaming music from a connected smartphone.
- Press the FM/BT button to switch to Bluetooth mode. The display will show "BT" and flash, indicating it's ready for pairing.
- On your mobile device, enable Bluetooth and search for available devices.
- Select "iTOMA CKS512" from the list.
- Once paired, the "BT" indicator on the clock display will stop flashing. You can now play audio from your device through the clock radio.
- Use the VOL +/- buttons on the clock or your device to adjust the volume.
4. Wireless Charging

Figure 7: The alarm clock radio simultaneously charging a smartphone wirelessly on its top pad and a smartwatch via its rear USB port.
- Place your Qi-compatible smartphone directly on the wireless charging pad located on the top of the unit.
- Ensure the phone is centered on the charging pad for optimal contact.
- A charging indicator (e.g., an icon on the clock display or on your phone) will confirm that charging has begun.
- Remove any metal objects or thick cases from your phone that may interfere with wireless charging.
5. USB Charging
The unit features a 5V/1A USB charging port on the rear panel.
- Connect your device's USB charging cable to the USB port on the back of the alarm clock.
- Connect the other end of the cable to your device.
- Charging will begin automatically.
6. Display Dimmer

Figure 8: The alarm clock display illustrating the four adjustable brightness levels, from brightest (L-3) to completely off.
Press the SNOOZE/DIMMER button (when no alarm is active) to cycle through the 4 brightness levels (L3, L2, L1, OFF) for the LED display.
Maintenance
- Cleaning: Wipe the unit with a soft, dry, lint-free cloth. Do not use abrasive cleaners, waxes, or solvents.
- Storage: If storing the unit for an extended period, disconnect it from the power outlet and store it in a cool, dry place.
Troubleshooting
| Problem | Possible Cause / Solution |
|---|---|
| Unit does not power on. | Ensure the power adapter is securely connected to both the unit and a working wall outlet. |
| Alarm does not sound. | Verify that the alarm is activated (alarm icon visible). Check alarm volume. Ensure the alarm time is set correctly. |
| Poor FM radio reception. | Fully extend the FM wire antenna. Try repositioning the unit. Scan for stations again. |
| Bluetooth device cannot pair. | Ensure the clock is in Bluetooth pairing mode ("BT" flashing). Make sure your device's Bluetooth is enabled and within range. Forget previous pairings on your device and try again. |
| Wireless charging not working. | Ensure your device is Qi-compatible and centered on the charging pad. Remove any thick cases or metal objects from your phone. |
| USB charging not working. | Check the USB cable connection. Ensure the cable is not damaged. |
Specifications
- Brand: iTOMA
- Model: CKS512
- Color: Blue LED Display
- Product Dimensions: 16.51 x 8.89 x 7.62 cm (6.5 x 3.5 x 3 inches)
- Weight: 381 g (0.84 lbs)
- Material: Plastic
- Display Type: Digital LED (1.4 inches)
- Wireless Charging Output: 5W
- USB Charging Output: 5V/1A
- FM Frequency Range: 87.5 MHz - 108.0 MHz
- Power Source: Corded Electric
- Special Features: Wireless Charging, Snooze, Bluetooth, Dual Alarm, Dimmer, USB Charging Port
Warranty and Support
For warranty information or technical support, please refer to the contact details provided on the iTOMA official website or your purchase documentation. Keep your proof of purchase for warranty claims.


