1. Introduction
Thank you for choosing the SCS Sentinel DigiThermo Indoor/Outdoor Digital Thermometer. This device provides reliable and accurate temperature readings for both your indoor environment and an outdoor location via a wireless sensor. Please read this manual carefully before use to ensure proper operation and longevity of your product.

Figure 1: The SCS Sentinel DigiThermo main display unit and its accompanying wireless outdoor sensor.
2. Package Contents
Upon opening the package, please verify that all components are present and undamaged:
- 1 x DigiThermo Main Display Unit
- 1 x Wireless Outdoor Sensor
- User Manual (this document)
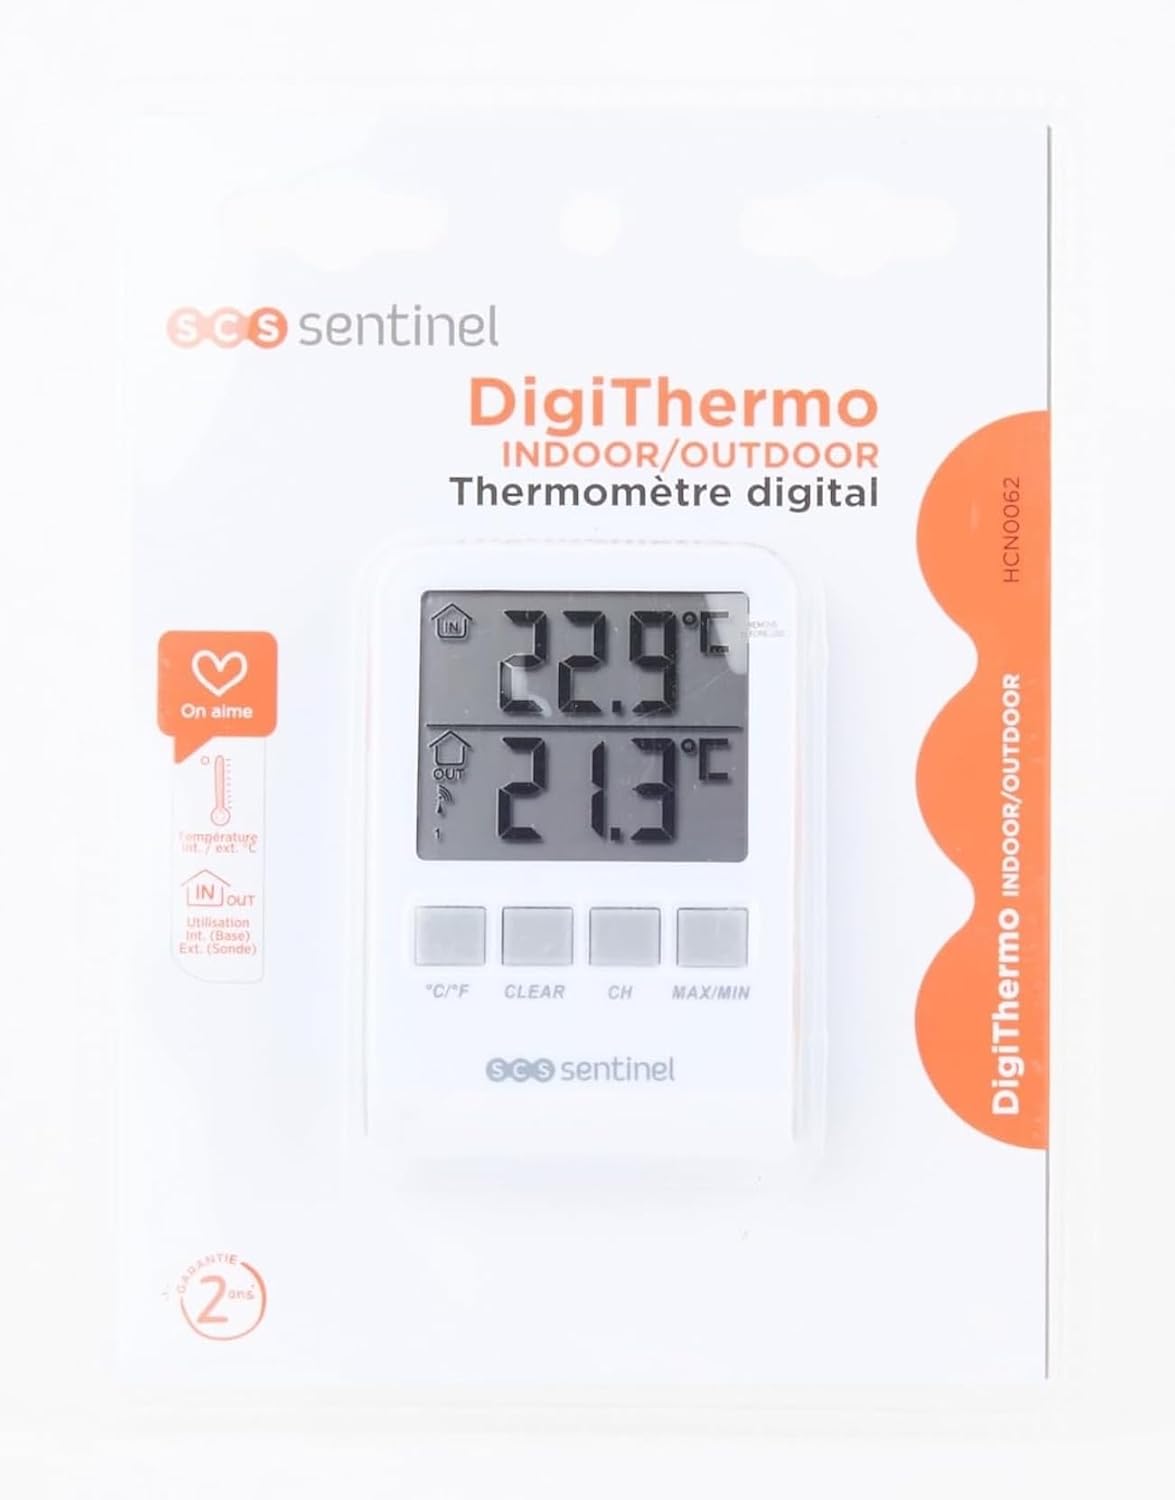
Figure 2: The DigiThermo thermometer and sensor as packaged for retail.
3. Product Overview
3.1 Main Display Unit
The main unit features a large digital display and control buttons for easy operation.

Figure 3: Front view of the main display unit, showing the dual temperature display and control buttons.
- IN Display: Shows indoor temperature.
- OUT Display: Shows outdoor temperature received from the wireless sensor.
- °C/°F Button: Toggles between Celsius and Fahrenheit.
- CLEAR Button: Clears recorded MIN/MAX temperatures.
- CH Button: Selects sensor channel (if multiple sensors are used, though this model typically uses one).
- MAX/MIN Button: Displays maximum and minimum recorded temperatures.
- Battery Compartment: Located on the back.
- Stand: Fold-out stand for desktop placement.
- Wall Mount Hole: For hanging the unit.
- Magnets: For attaching to metallic surfaces like a refrigerator.
3.2 Wireless Outdoor Sensor
The compact outdoor sensor transmits temperature data wirelessly to the main unit.

Figure 4: The wireless outdoor sensor, designed for discreet placement.
- Temperature Sensor: Measures ambient temperature.
- Transmission Indicator: LED light (if present) to show data transmission.
- Battery Compartment: Located on the back.
- Wall Mount Hole: For hanging the sensor.
4. Setup
4.1 Battery Installation
Both the main unit and the outdoor sensor require 2 x AAA batteries each (total 4 AAA batteries, not included).
- Open the battery compartment cover on the back of both the main unit and the outdoor sensor.
- Insert 2 x AAA batteries into each device, ensuring correct polarity (+ and -).
- Close the battery compartment covers securely.
4.2 Sensor Placement
For optimal performance, consider the following when placing the outdoor sensor:
- Place the sensor in a shaded area, away from direct sunlight, rain, and other heat sources (e.g., vents, windows).
- Ensure the sensor is within the wireless transmission range (typically up to 60 meters in open air) of the main unit. Walls and obstacles can reduce this range.
- Mount the sensor vertically using the integrated wall mount hole or place it on a stable surface.

Figure 5: Example placement of the main unit indoors and the wireless sensor mounted on an exterior wall, protected from direct elements.
4.3 Initial Synchronization
After installing batteries, the main unit will automatically detect and display the outdoor temperature. If not:
- Ensure both devices have fresh batteries.
- Place the outdoor sensor close to the main unit.
- Press the "CH" button on the main unit to initiate a search for the sensor.
- If synchronization fails, remove batteries from both units, wait a few minutes, then reinsert batteries into the outdoor sensor first, followed by the main unit.
5. Operating Instructions
5.1 Displaying Current Temperatures
Once synchronized, the main unit will continuously display the indoor temperature (IN) and the outdoor temperature (OUT) on its dual screen.

Figure 6: The main display unit positioned on a shelf, clearly showing indoor and outdoor temperature readings.
5.2 Switching Temperature Units (°C/°F)
Press the °C/°F button on the front of the main unit to toggle between Celsius and Fahrenheit temperature scales.
5.3 Viewing Maximum and Minimum Temperatures
The device records the highest (MAX) and lowest (MIN) temperatures since the last reset.
- Press the MAX/MIN button once to display the maximum recorded indoor and outdoor temperatures.
- Press the MAX/MIN button again to display the minimum recorded indoor and outdoor temperatures.
- Press the MAX/MIN button a third time to return to current temperature display.
5.4 Clearing MAX/MIN Records
While MAX or MIN temperatures are displayed, press the CLEAR button to reset the recorded maximum and minimum values. New recording will begin from the current temperature.
6. Maintenance
- Cleaning: Wipe the units with a soft, damp cloth. Do not use abrasive cleaners or solvents.
- Battery Replacement: Replace batteries in both units when the low battery indicator appears on the display. Always replace all batteries at the same time.
- Storage: If storing the device for an extended period, remove all batteries to prevent leakage.
- Environmental Protection: Ensure the outdoor sensor is protected from extreme weather conditions (heavy rain, snow, direct prolonged sunlight) to prolong its lifespan.
7. Troubleshooting
| Problem | Possible Cause | Solution |
|---|---|---|
| No display on main unit. | Dead or incorrectly inserted batteries. | Check battery polarity; replace with fresh AAA batteries. |
| Outdoor temperature not displayed or flashing. | Sensor out of range, dead batteries in sensor, or interference. |
|
| Inaccurate temperature readings. | Sensor exposed to direct sunlight, heat sources, or poor ventilation. | Relocate the sensor to a shaded, well-ventilated area away from direct heat or cold sources. |
8. Specifications
| Feature | Detail |
|---|---|
| Model Number | HCN0062 |
| Brand | SCS SENTINEL |
| Product Dimensions (Main Unit) | 2.2 x 7 x 9.7 cm |
| Weight | 105 g |
| Temperature Range | -30°C to 60°C |
| Power Source | 4 x AAA batteries (2 for main unit, 2 for sensor) |
| Connectivity Technology | Wireless |
| Special Features | Large display, High accuracy, MAX/MIN record, Wall mountable, Table stand, Magnetic attachment |
| Material | Plastic |
| Color | White |
| Country of Origin | China |

Figure 7: Packaging detail showing technical specifications and compliance information.
9. Warranty and Support
SCS Sentinel guarantees the reliability of its technical products. For installation assistance or technical support, please contact SCS Sentinel customer service. Your satisfaction is our priority.
- Warranty: Information regarding warranty duration and terms can typically be found on the product packaging or the official SCS Sentinel website.
- Technical Support: Refer to the contact information provided on the product packaging or the official SCS Sentinel website for technical assistance.


