
HP M751dn
HP Color LaserJet Enterprise M751dn Printer User Manual
Model: M751dn
1. Introduction
The HP Color LaserJet Enterprise M751dn is a high-performance duplex color laser printer designed for professional-quality document output in enterprise environments. This manual provides essential information for setting up, operating, maintaining, and troubleshooting your printer.

Front view of the HP Color LaserJet Enterprise M751dn Printer, showcasing its compact design and integrated control panel.
Key Features
- Professional Color Printing: Produces vivid images and graphics with HP JetIntelligence Toner.
- High Productivity: Fast first page out time and automatic 2-sided printing.
- Enhanced Security: Over 200 embedded security features to detect and stop threats.
- Enhanced Color Mode: Special print mode for a wider range of colors and increased vividness.
- Robust Design: Built for high-volume printing with durable components.

An overview of the HP Color LaserJet Enterprise M751dn's main and highlighted features, including print from USB, 2-sided printing, and security.
2. Setup Guide
2.1 Unpacking and Initial Inspection
Carefully remove the printer from its packaging. Ensure all components listed below are present and undamaged.

Image showing the HP Color LaserJet Enterprise M751dn printer, preinstalled toner cartridges, imaging drums, getting started guide, and power cord included in the box.
What's in the Box:
- HP Color LaserJet Enterprise M751dn printer
- Four preinstalled HP LaserJet toner cartridges (Black, Cyan, Magenta, Yellow)
- Four preinstalled HP Original LaserJet Imaging Drums (~65,000 pages each color)
- Getting Started Guide
- Power cord
Note: A USB cable is not included and must be purchased separately if needed for direct connection.
2.2 Physical Placement and Dimensions
Place the printer on a stable, level surface with adequate ventilation. Ensure sufficient space around the printer for operation and maintenance.

Diagram illustrating the dimensions of the HP Color LaserJet Enterprise M751dn Printer: 21.9" W x 23.2" D x 15.7" H.
2.3 Connecting the Printer
The M751dn printer supports Ethernet and USB connectivity.

Close-up view of the rear connectivity ports on the HP Color LaserJet Enterprise M751dn, including Ethernet and USB ports.
Ethernet Connection:
- Connect one end of an Ethernet cable to the printer's Ethernet port.
- Connect the other end of the Ethernet cable to an available port on your network router or switch.
- Power on the printer. The printer will automatically attempt to obtain an IP address from your network.
USB Connection:
- Connect one end of a USB cable (Type B) to the printer's USB port.
- Connect the other end of the USB cable (Type A) to an available USB port on your computer.
- Power on the printer. Install the necessary printer drivers on your computer (available from the HP support website).
2.4 Toner Cartridge Installation
The printer comes with preinstalled toner cartridges and imaging drums. If you need to replace them, follow these steps:

View of the HP Color LaserJet Enterprise M751dn with the front panel open, revealing the four color toner cartridges and imaging drums.
- Open the front access door of the printer.
- Grasp the handle of the toner cartridge you wish to replace and pull it straight out.
- Unpack the new toner cartridge and gently shake it to distribute the toner.
- Insert the new cartridge into the corresponding slot until it clicks into place.
- Close the front access door.
3. Operating Instructions
3.1 Control Panel Overview
The printer features a 2.7-inch color LCD with a numerical keypad for easy navigation and control.
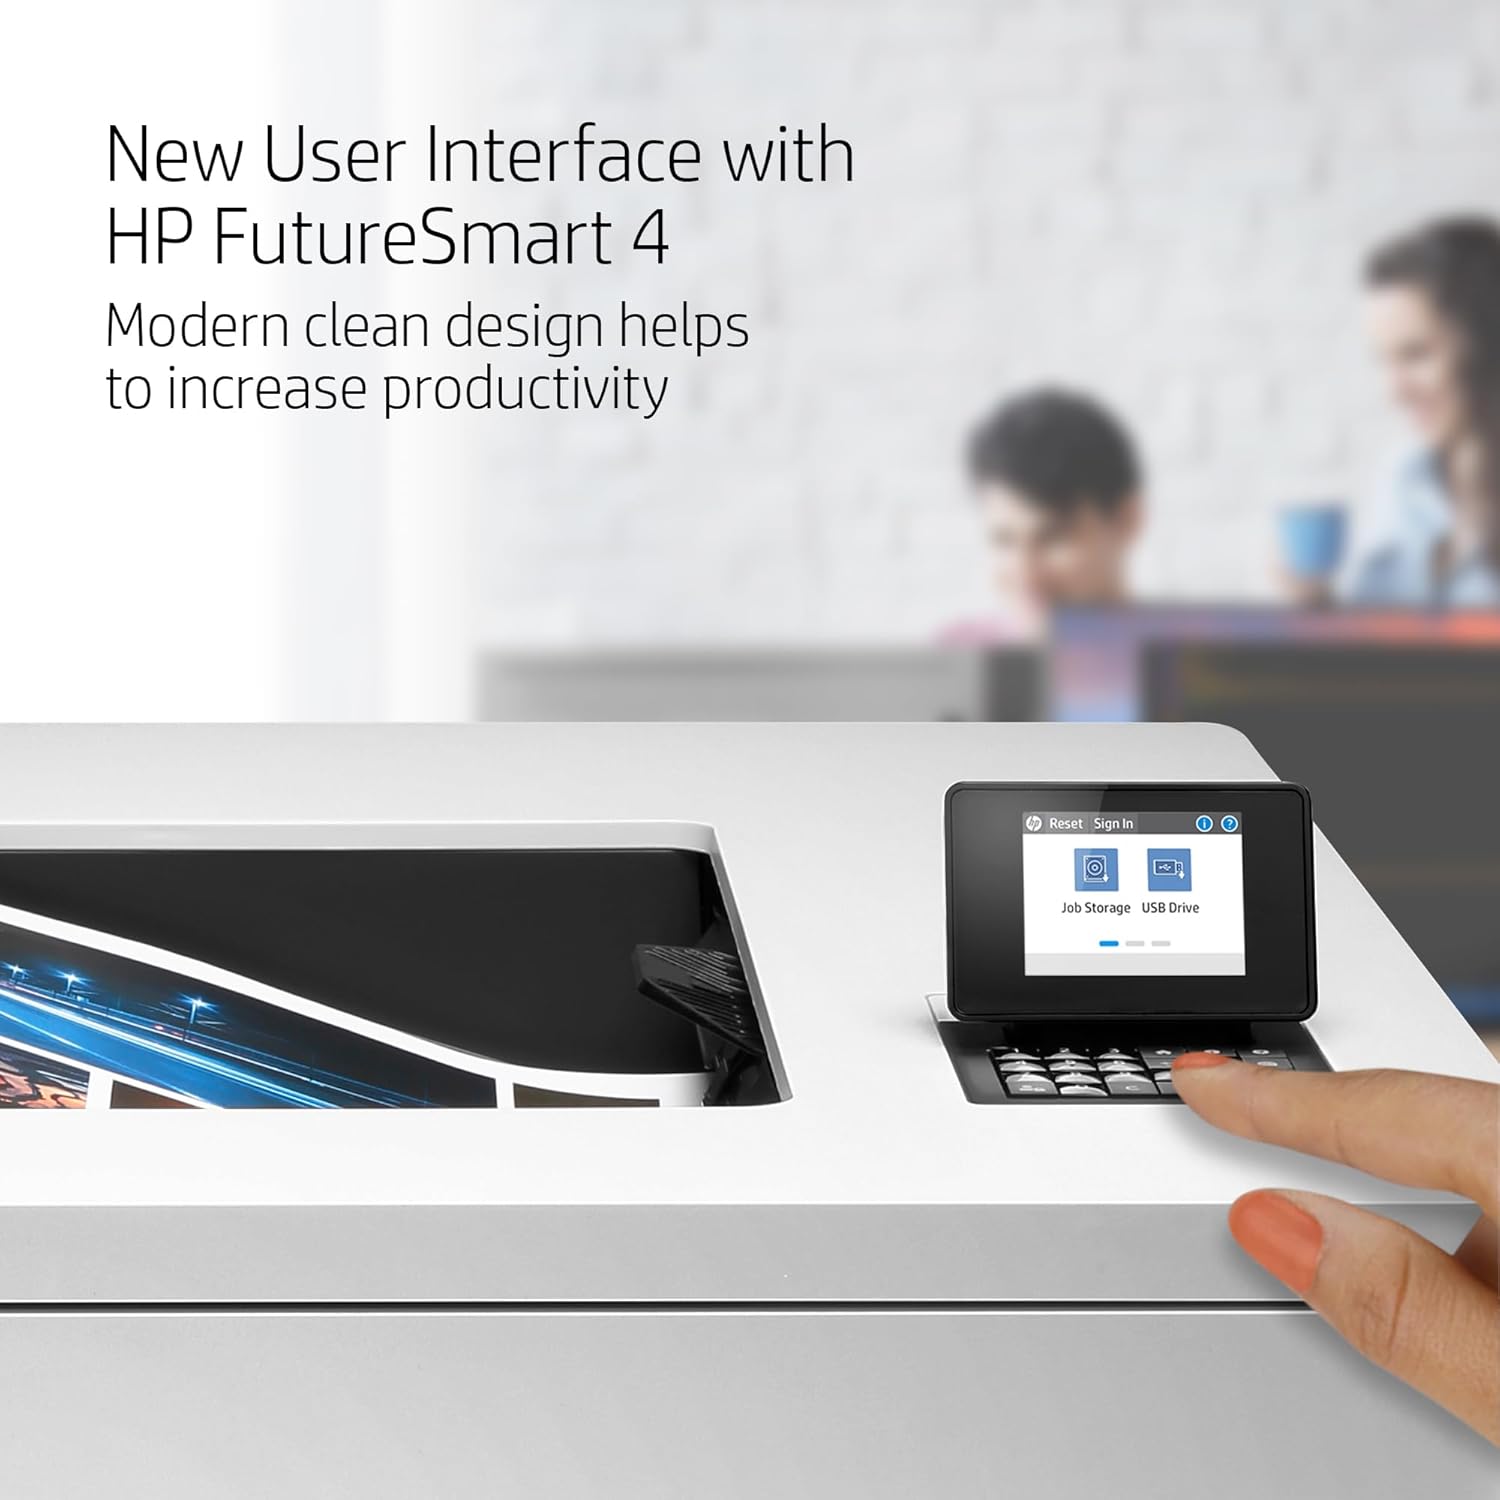
Close-up of the printer's control panel, featuring a touchscreen display and numerical keypad, with an accessible USB port for direct printing.
Key Functions:
- Job Storage: Access and manage print jobs.
- USB Drive: Print documents directly from a USB flash drive.
- Settings: Configure printer settings, network options, and maintenance tasks.
3.2 Loading Paper
The printer supports various paper sizes, including up to 12x18 inches. The maximum input sheet capacity is 250 sheets.
- Pull out the desired paper tray.
- Adjust the paper guides to the correct paper size.
- Load the paper stack into the tray, ensuring it is flat and within the guides.
- Gently push the tray back into the printer.
- Confirm the paper type and size on the control panel if prompted.
3.3 Printing Documents
To print from a computer, ensure the printer drivers are installed and the printer is connected to the network or directly via USB.

Two individuals reviewing vibrant, professional-quality documents, highlighting the printer's capability to produce vivid color graphics.
- Open the document you wish to print on your computer.
- Select Print from the application's menu (e.g., File > Print).
- Choose the HP Color LaserJet Enterprise M751dn from the list of available printers.
- Adjust print settings (e.g., number of copies, paper size, color/monochrome) as needed.
- Click Print.

A woman observing the HP Color LaserJet Enterprise M751dn printer in action, emphasizing its fast first page out speed of 5.7 seconds.
3.4 Duplex Printing (Automatic 2-sided)
The M751dn supports automatic two-sided printing to save paper and create professional-looking documents.
- When sending a print job from your computer, open the printer properties or preferences dialog.
- Look for an option related to Two-sided printing or Duplex printing.
- Select the desired duplex option (e.g., long-edge binding, short-edge binding).
- Click OK or Apply, then proceed with printing.
4. Maintenance
4.1 Replacing Toner Cartridges
Refer to section 2.4 for detailed instructions on replacing toner cartridges. The printer will notify you when a cartridge is low or empty.
4.2 Replacing Imaging Drums
The imaging drums have an estimated yield of 65,000 pages per color. The printer will indicate when a drum needs replacement. The replacement process is similar to toner cartridge replacement, as the drums are integrated with the toner units.
4.3 Cleaning the Printer
Regular cleaning helps maintain print quality and extends the life of your printer.
- Exterior: Wipe the exterior surfaces with a soft, lint-free cloth dampened with water. Do not use abrasive cleaners.
- Interior: Periodically open the front access door and gently remove any loose paper dust or toner residue with a dry, lint-free cloth. Avoid touching the imaging drum surfaces.
- Paper Path: If print quality issues persist, consult the printer's internal menu for options to clean the paper path or fuser.
5. Troubleshooting
5.1 Common Issues and Solutions
- Printer Not Responding:
- Check power connections.
- Verify network cable connection or USB cable connection.
- Restart the printer and the computer.
- Ensure printer drivers are correctly installed and updated.
- Poor Print Quality (Streaks, Fading, Incorrect Colors):
- Check toner cartridge levels and replace if low.
- Perform a calibration from the printer's control panel (Settings > Print Quality > Calibrate).
- Clean the printer's interior as described in section 4.3.
- Ensure you are using genuine HP toner cartridges.
- Paper Jams:
- Follow instructions on the control panel to locate and clear the jam.
- Ensure paper is loaded correctly and not overfilled.
- Use recommended paper types and weights.
- Connectivity Issues (e.g., AirPrint, Network):
- Verify network settings on the printer and your device.
- Restart your router/modem, printer, and device.
- Ensure firmware is up to date.
For more complex issues, refer to the HP support website or contact customer support.
6. Technical Specifications
| Feature | Specification |
|---|---|
| Model Name | LaserJet Enterprise M751dn |
| Product Dimensions (D x W x H) | 21.9" x 15.7" x 23.2" |
| Item Weight | 88 pounds |
| Printing Technology | Laser |
| Printer Output | Color |
| Maximum Print Speed (Color/Monochrome) | 40 ppm |
| Maximum Color Print Resolution | 1200 x 1200 dpi |
| Maximum Black and White Print Resolution | 1200 dpi |
| Duplex Printing | Automatic |
| Connectivity Technology | Ethernet, USB |
| Maximum Media Size | 12 x 18 inch |
| Max Input Sheet Capacity | 250 |
| Number of Trays | 3 |
| Memory Storage Capacity | 512 MB |
| Processor Count | 1 |
| Control Method | Remote, Touch |
| Printer Ink Type | Color Laser Toner |
7. Warranty Information
The HP Color LaserJet Enterprise M751dn Printer includes a One-Year, Next-Business Day, Onsite Warranty. This warranty covers defects in materials and workmanship under normal use during the warranty period.
For specific terms and conditions, please refer to the warranty documentation included with your product or visit the official HP support website.
8. Customer Support
For technical assistance, driver downloads, or additional product information, please visit the official HP support website or contact HP customer service.
HP Support Website: www.hp.com/support
You can also find more information and resources on the HP Store on Amazon.
Related documentsM751dn


Ask a question about this manual
Ask about setup, troubleshooting, compatibility, parts, safety, or missing instructions. Manuals+ will review the question and use this page’s manual context to help answer it.