1. Introduction
This manual provides detailed instructions for the KIWITATA Wireless Classic SNES USB Controller. This 2.4G rechargeable retro gamepad is designed to enhance your gaming experience on various platforms.
1.1 Compatibility
The controller is compatible with a wide range of operating systems and devices, including:
- Windows PC (Windows 98/2000/ME/XP/Vista/Win7/8/8.1/10/11 or later)
- MacOS (OS X 10.0 or later)
- Linux
- Raspberry Pi
It supports various game emulators such as OpenEmu (MAC), SNES, Snes9x, ZSNES, Higan, Handheld GBA emulator, RetroArch, and Sega Genesis emulator.

Figure 1.1: Device Compatibility Overview. This image illustrates the controller's wireless connectivity to desktop computers, laptops, and Raspberry Pi devices.
2. Product Overview
2.1 Package Contents
Upon opening the package, ensure all the following items are present:
- 1 x Wireless USB Controller
- 1 x 2.4Ghz USB Receiver
- 1 x Charging Cable
- 1 x User Manual (this document)

Figure 2.1: Package Contents. This image displays the complete set of items included in the product package: the controller, USB receiver, charging cable, and the user manual.
2.2 Controller Layout
Familiarize yourself with the buttons and ports on your KIWITATA Wireless Classic SNES USB Controller:

Figure 2.2: Controller Button Layout. This diagram labels the key components of the controller, including the D-Pad, A/B/X/Y buttons, Start/Select buttons, L/R shoulder buttons, LED indicator, and the charging port.
- D-Pad Direction Key: For directional input.
- Select Button: Typically used for in-game menu selection or secondary functions.
- Start Button: Used to power on the controller, initiate pairing, and for in-game pauses or starts.
- A, B, X, Y Buttons: Action buttons for various in-game commands.
- L Button: Left shoulder button.
- R Button: Right shoulder button.
- LED Light: Indicates power status and pairing mode.
- Micro USB Port: For charging the controller.
3. Setup
3.1 Initial Pairing Instructions (Windows PC / Raspberry Pi)
Follow these steps to connect your controller to a Windows PC or Raspberry Pi:
- Step 1: Plug the 2.4Ghz USB receiver into an available USB port on your device (PC or Raspberry Pi).
- Step 2: Press and hold the "START" button on the controller for 2 seconds. The LED indicator on the controller will blink red slowly.
- Step 3: Press the "START" button again. The LED indicator will flash rapidly, indicating the controller is ready to connect. Once successfully paired, the controller will automatically reconnect to your device when the USB receiver is plugged in.

Figure 3.1: Pairing Instruction Steps. This image visually guides the user through the three steps required to pair the wireless controller with a device using the USB receiver.

Figure 3.2: Controller and USB Receiver. This image shows the wireless controller alongside its dedicated USB receiver, which is essential for establishing a connection with your device.
3.2 Setup on Mac
To use the controller with a Mac, follow these specific instructions:
- Step 1: Download a compatible emulator for Mac, such as "OpenEmu".
- Step 2: Plug the USB receiver of the controller into your Mac. Then, press and hold the "START" button for 2 seconds, and press the "START" button again when the LED blinks red slowly. After successful pairing, your Mac should recognize the controller.
- Step 3: Open your chosen emulator (e.g., OpenEmu). Navigate to Emulator-Option-Controller-Controller Settings and select Default Setup base.
- Step 4: Redefine the USB controller's buttons (D-pad, SELECT, START, B, A, X, Y buttons). Confirm your settings. It is important to map the D-pad keys one by one.
- Step 5: Choose your Emulator Rom file (game), then select START to begin playing.
4. Operating Instructions
4.1 General Usage
Once paired, the controller functions as a standard gamepad. It is plug-and-play and does not require additional drivers or patches. However, you must manually set the buttons and directional axes within the emulator you are using, as the controller does not automatically assign these.
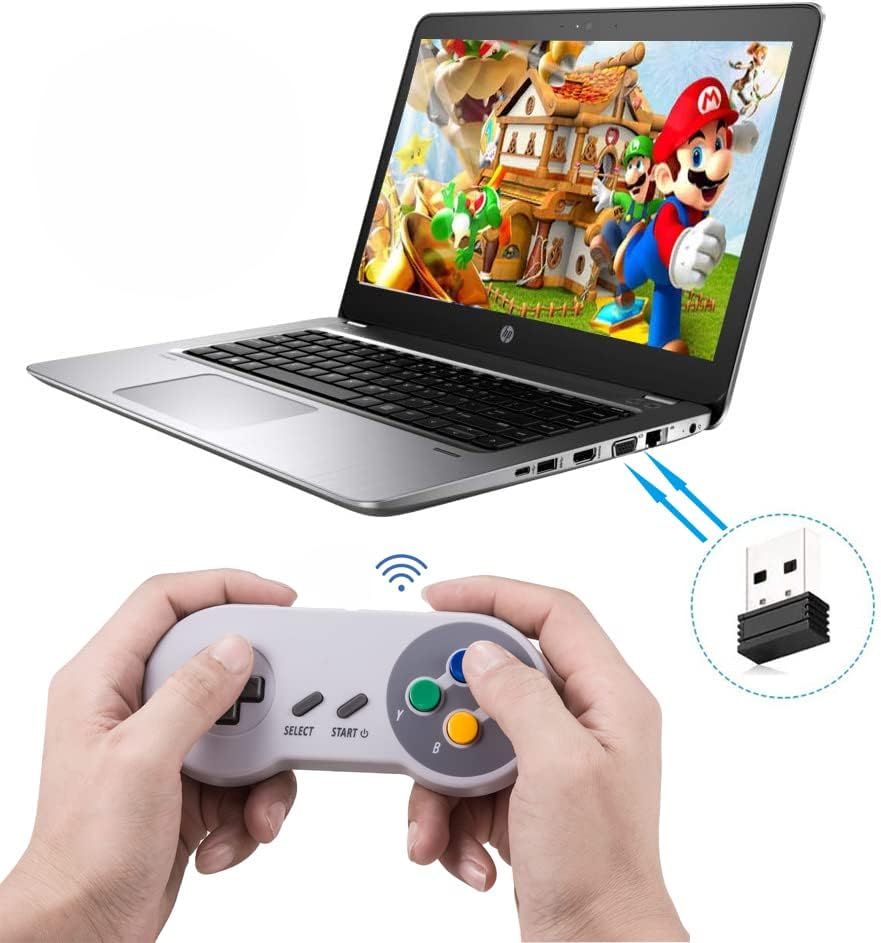
Figure 4.1: Controller in Use. This image demonstrates the controller being used to play a game on a laptop, highlighting its wireless functionality.
4.2 Battery and Charging
The controller features a built-in rechargeable 3.7V/500mA lithium-ion battery, providing extended playtime.
- Battery Capacity: 500mAh
- Charging Time: Approximately 2-3 hours
- Playing Time: Up to 8-10 hours on a full charge
Use the provided charging cable to recharge the controller via its Micro USB port. The LED indicator will show charging status.

Figure 4.2: Battery Life and Charging Information. This graphic provides key details about the controller's battery, including its capacity, estimated charging time, and expected playing duration.
5. Maintenance
5.1 Charging
To ensure optimal battery life, charge the controller fully before first use and whenever the battery is low. If the controller cannot be used, try charging it first.
5.2 Cleaning
Wipe the controller with a soft, dry cloth. Do not use abrasive cleaners or solvents, as these may damage the surface. Keep the controller away from liquids and excessive moisture.
5.3 Storage
Store the controller in a cool, dry place away from direct sunlight and extreme temperatures when not in use for extended periods.
8. Warranty & Support
8.1 Return Policy
This product is subject to a 30-day return policy for refund or replacement, as per standard retail terms.
8.2 Customer Support
For further assistance, technical support, or inquiries not covered in this manual, please contact KIWITATA customer service through the platform where the product was purchased. Please have your model number (Y-D002-152-K) and purchase details ready.
