
ORICO 6558US3-C
ORICO 5-Bay Hard Drive Docking Station User Manual
Model: 6558US3-C
1. Introduction
Welcome to the user manual for your ORICO 5-Bay Hard Drive Docking Station. This manual provides detailed instructions on how to set up, operate, and maintain your device, ensuring you get the most out of its features, including massive storage expansion and convenient offline cloning.
The ORICO 5-Bay Docking Station is designed for efficient data management, offering:
- 90TB Storage Expansion: Supports up to 18TB per drive for a total of 90TB, allowing for significant digital storage expansion.
- Offline Clone Function: Enables 1:4 offline cloning for robust data backups without requiring a computer.
- Ultra-Efficient Workflow: Achieves data transfer speeds of up to 230 MB/s via USB 3.0.
- Wide Compatibility: Compatible with Windows, Mac, and Linux operating systems, and connectable to PCs, game consoles, and smart TVs.
- Stable Performance: Features a 12V power adapter for stable power supply and an open design for effective cooling.
2. Product Overview
Familiarize yourself with the components of your ORICO 5-Bay Hard Drive Docking Station.
Package Contents:
- ORICO 5-Bay Hard Drive Docking Station
- 12V/6.5A Power Adapter
- USB 3.0 Data Cable
- User Manual
Device Layout:

Figure 2.1: ORICO 5-Bay Hard Drive Docking Station with drives.
The docking station features five bays for 3.5-inch SATA hard drives. The top panel includes LED indicators for each drive and cloning progress, while the rear panel houses the power input, USB 3.0 port, and PC/Clone mode switch.

Figure 2.2: Top view of the docking station with LED indicators.
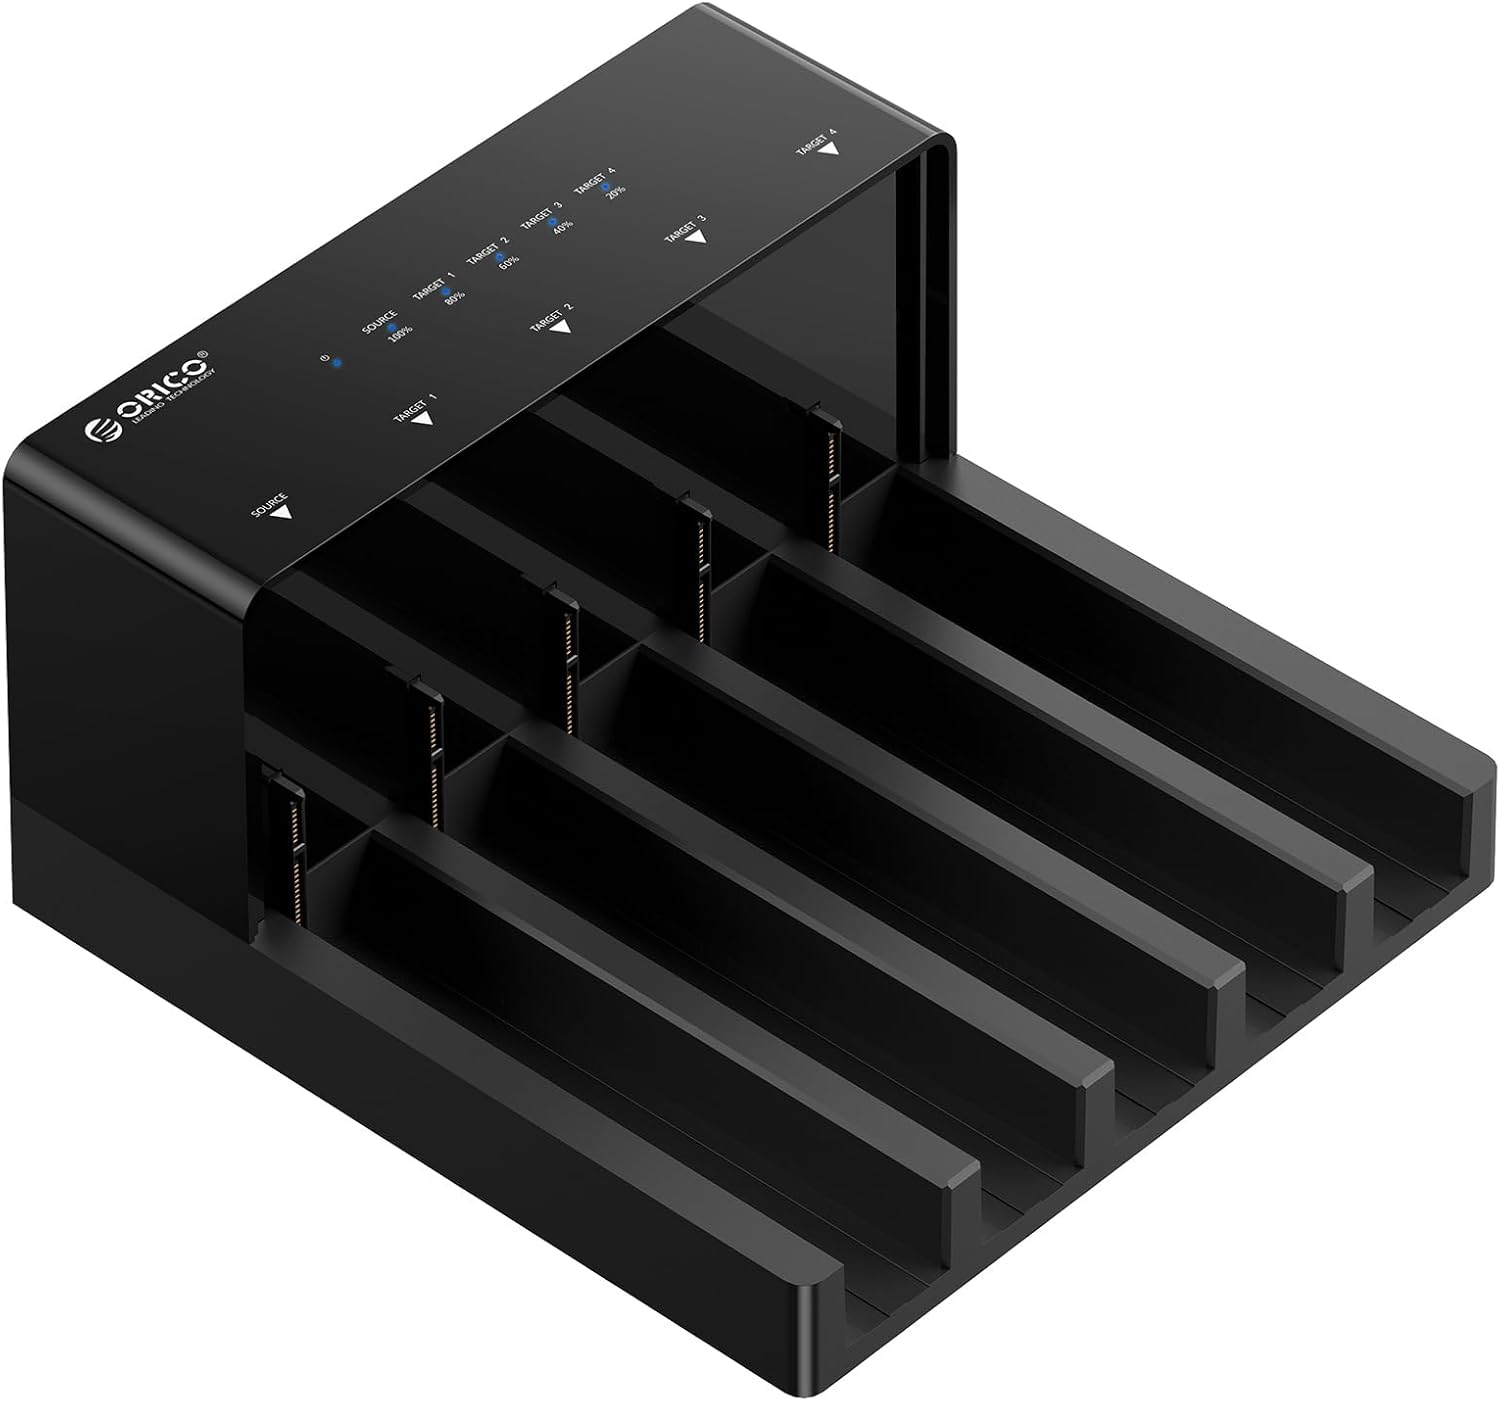
Figure 2.3: Rear view of the docking station with ports and buttons.
Product Video:
Video 2.1: An overview of the ORICO 6558 USB 3.0 Hard Drive Dock and its 1:4 HDD Duplicator function.
3. Setup
Follow these steps for the initial setup of your docking station:
- Connect Power: Connect the provided 12V/6.5A power adapter to the DC input port on the rear of the docking station and plug it into a power outlet.
- Insert Hard Drives: Gently slide your 3.5-inch SATA hard drives into the bays. Ensure they are fully seated in the SATA connectors. The docking station supports up to five drives.
- Connect to Computer (for PC Mode): If you intend to use the docking station with a computer, connect the USB 3.0 data cable from the docking station's USB 3.0 port to an available USB port on your computer.
- Power On: Flip the ON/OFF switch on the rear panel to the 'ON' position. The power indicator light should illuminate.

Figure 3.1: Connecting the docking station for stable performance.
4. Operating Instructions
PC Mode Operation:
- Ensure the docking station is connected to your computer via the USB 3.0 cable and powered on.
- Set the CLONE/PC Mode switch to 'PC' mode.
- Your operating system (Windows, Mac, Linux) should automatically detect the connected hard drives. New drives may need to be initialized and formatted before use.
- You can now access, transfer, and manage files on your hard drives as you would with any external storage device.
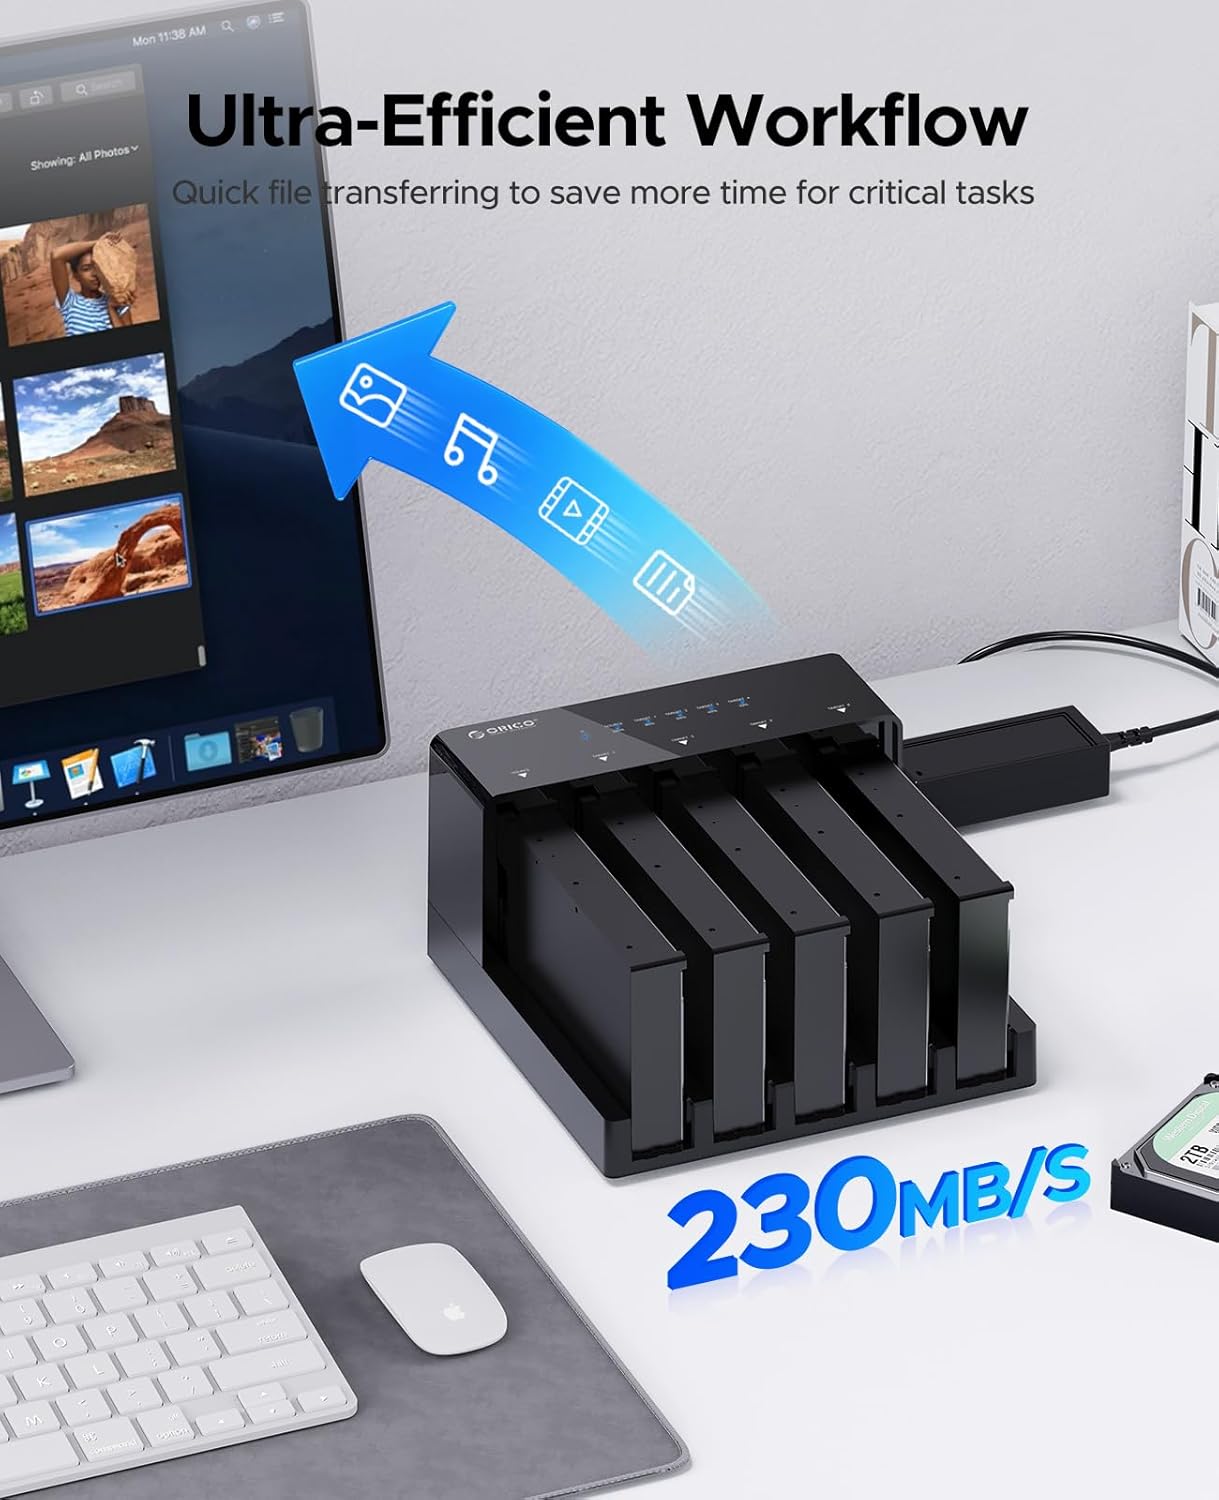
Figure 4.1: Illustrating ultra-efficient workflow with 230MB/s transfer speed.
Smart Auto Sleep Function:
The docking station features a smart auto-sleep function to extend the lifespan of your hard drives and conserve energy. If there is no data activity for a certain period (typically 30 minutes), the drives will enter a sleep state. They will automatically wake up when data access is requested.
5. Offline Clone Function
The offline clone function allows you to duplicate a source hard drive to up to four target hard drives without needing a computer connection.
Important Notes Before Cloning:
- Target Drive Capacity: The total capacity of the target drive(s) must be equal to or greater than the capacity of the source drive.
- Data Loss Warning: All data on the target drive(s) will be erased during the cloning process. Ensure you have backed up any important data from the target drives before proceeding.
- Drive Order: The source drive must be placed in the designated 'Source' bay. Target drives should be placed in 'Target 1' through 'Target 4' bays.
Cloning Steps:
- Disconnect from PC: Ensure the USB data cable is disconnected from the docking station. The device must be in standalone mode for offline cloning.
- Insert Drives: Insert the source hard drive into the 'Source' bay and the target hard drive(s) into the 'Target 1' to 'Target 4' bays.
- Set Mode: Ensure the CLONE/PC Mode switch on the rear panel is set to 'CLONE' mode.
- Start Cloning: Press and hold the 'CLONE START' button on the rear panel for approximately 3-5 seconds until the progress indicator lights begin to flash.
- Monitor Progress: The LED indicators (25%, 50%, 75%, 100%) on the top panel will illuminate sequentially to show the cloning progress.
- Completion: All indicator lights will remain solid when the cloning process is complete. You can then safely power off the device and remove the drives.

Figure 5.1: Precious data backup through 1:4 offline cloning.
6. Maintenance
Proper maintenance ensures the longevity and optimal performance of your ORICO docking station.
- Cleaning: Use a soft, dry cloth to wipe the exterior of the device. Avoid using liquid cleaners or abrasive materials. Ensure no dust accumulates in the drive bays.
- Ventilation: The open design of the docking station promotes effective cooling. Ensure the device is placed in a well-ventilated area and that the air circulation around it is not obstructed.
- Storage: When not in use for extended periods, store the docking station in a cool, dry place away from direct sunlight and extreme temperatures.
- Power Supply: Always use the original 12V/6.5A power adapter provided with the device to ensure stable and sufficient power.
7. Troubleshooting
If you encounter issues with your ORICO 5-Bay Hard Drive Docking Station, refer to the following common problems and solutions:
- Drives Not Recognized in PC Mode:
- Ensure the USB cable is securely connected to both the docking station and your computer.
- Verify the CLONE/PC Mode switch is set to 'PC' mode.
- Check if the hard drives are properly seated in their bays.
- For new drives, ensure they are initialized and formatted in your operating system's Disk Management (Windows) or Disk Utility (Mac).
- Try connecting the docking station to a different USB port on your computer or a different computer to rule out port or system issues.
- Offline Cloning Fails or Does Not Start:
- Ensure the USB data cable is disconnected from the docking station. Offline cloning requires standalone operation.
- Verify the CLONE/PC Mode switch is set to 'CLONE' mode.
- Confirm that the target drive(s) capacity is equal to or greater than the source drive capacity.
- Ensure the source drive is in the 'Source' bay and target drives are in 'Target' bays.
- Press and hold the 'CLONE START' button for the required 3-5 seconds until the progress lights activate.
- Slow Data Transfer Speeds:
- Ensure you are connected to a USB 3.0 port on your computer. USB 2.0 ports will result in significantly slower speeds.
- Check the condition of your USB 3.0 cable. A faulty cable can impact performance.
- The actual transfer speed can be affected by the performance of your hard drives and your computer's system resources.
- Power Indicator Not On:
- Ensure the power adapter is securely connected to both the docking station and the power outlet.
- Verify the ON/OFF switch is in the 'ON' position.
- Try a different power outlet.
8. Specifications
Detailed technical specifications for the ORICO 5-Bay Hard Drive Docking Station:
| Feature | Specification |
|---|---|
| Brand | ORICO |
| Model Number | 6558US3-C |
| Storage Capacity | Up to 90 TB (5 x 18 TB) |
| Compatible Devices | Laptop, Desktop, Game Console, Smartphone |
| Hard Drive Form Factor | 3.5 Inch |
| Data Transfer Rate | 230 Megabytes per Second |
| Operating System Compatibility | Linux, Windows, Mac |
| Hardware Interface | SATA 3.0 Gb/s, USB |
| Product Dimensions | 8.89 x 8.89 x 8.89 cm |
| Item Weight | 1.29 Kilograms |
| Color | Black |
| Material | Acrylonitrile Butadiene Styrene (ABS) |

Figure 8.1: Diverse compatibility with various operating systems and SATA HDDs.
9. Warranty and Support
ORICO products are designed for reliability and performance. This product comes with a standard manufacturer's warranty. Please refer to the warranty card included in your package for specific terms and conditions.
For technical support, troubleshooting assistance, or warranty claims, please contact ORICO customer service through the official ORICO website or the platform where you purchased the product. You can also visit the ORICO Store on Amazon for more information and support resources.
Related documents6558US3-C


Ask a question about this manual
Ask about setup, troubleshooting, compatibility, parts, safety, or missing instructions. Manuals+ will review the question and use this page’s manual context to help answer it.