
1. Introduction
This manual provides instructions for the safe and effective use of your Walfront Mini DIY Sander Belt Sanding Head Adapter. This versatile attachment converts your angle grinder or electric drill into a belt sander, suitable for various grinding and sanding tasks. Please read this manual thoroughly before assembly and operation.
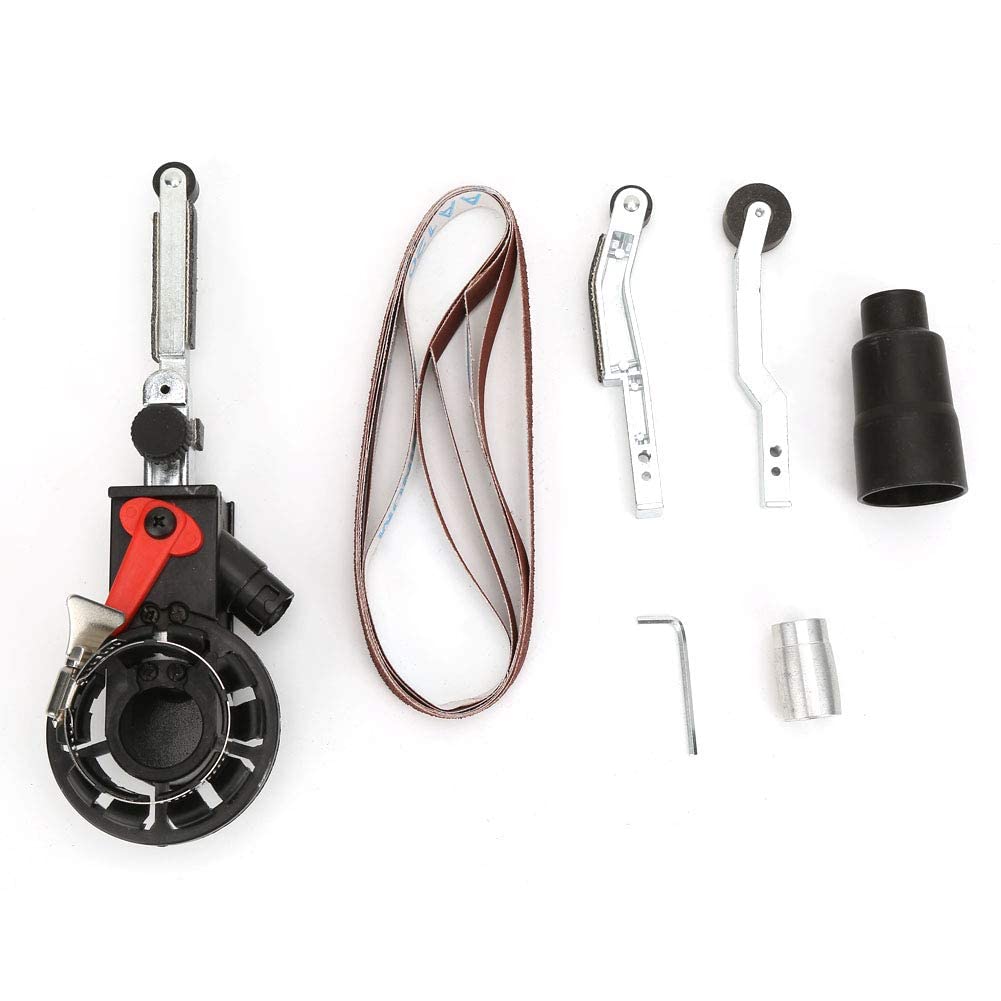
Figure 1: Walfront Mini DIY Sander Belt Sanding Head Adapter (M10 version shown).
2. Safety Information
Always observe basic safety precautions when using power tools and attachments to reduce the risk of injury. Failure to follow these instructions may result in electric shock, fire, and/or serious injury.
- Wear appropriate personal protective equipment (PPE): Always wear safety glasses, hearing protection, and a dust mask. Gloves are recommended.
- Ensure a stable work environment: Work in a well-lit, clean area free from clutter. Secure your workpiece.
- Disconnect power: Always disconnect the power tool from the power source before making any adjustments, changing accessories, or performing maintenance.
- Use the correct accessory: Ensure the sanding belt is correctly sized and installed.
- Maintain control: Always hold the power tool firmly with both hands during operation.
- Avoid loose clothing and jewelry: These can get caught in moving parts.
- Keep bystanders away: Ensure a safe distance for others from the work area.
- Inspect before use: Check the attachment and power tool for any damage or loose parts before each use.
3. Package Contents
Verify that all items listed below are present in your package:
- 1 x Sander Belt Sanding Head Adapter
- 1 x Package of Accessories (including sanding belts, mounting hardware)

Figure 2: Typical components included with the adapter.
4. Product Overview and Components
The Walfront Mini DIY Sander Belt Sanding Head Adapter is designed to convert your existing angle grinder or electric drill into a functional belt sander. It features an interchangeable head design, allowing it to function as both a sander and a grinder attachment. The ergonomic design ensures a comfortable grip and control during operation.

Figure 3: Labeled components of the sanding head adapter.
Key Components:
- Conversion Head: The main body that attaches to the power tool.
- Dust Tube: For connecting to a dust extraction system (recommended for cleaner operation).
- Front Bumper Fixing Knob: Secures the front part of the sanding arm.
- Sand Belt Lock Dial: Used to tension and release the sanding belt.
- Working Arm: The arm that holds the sanding belt.
- Working Arm Replacement Knob: Allows for adjustment or replacement of the working arm.
- Sand Belt: The abrasive belt used for sanding.
5. Setup and Assembly
This adapter is available in M10 and M14 thread sizes, designed to fit compatible angle grinders or electric drills. Ensure you have the correct model for your power tool.
- Prepare your power tool: Ensure your angle grinder or electric drill is unplugged and turned off. Remove any existing accessories (e.g., grinding disc, drill chuck).
- Attach the adapter: Screw the conversion head of the sanding adapter onto the spindle of your angle grinder or into the chuck of your electric drill. Ensure it is securely tightened.
- Install the sanding belt:
- Loosen the Sand Belt Lock Dial to release tension on the working arm.
- Slide the sanding belt onto the working arm, ensuring the abrasive side faces outwards and the belt is correctly aligned with the rollers.
- Tighten the Sand Belt Lock Dial to tension the belt. Check that the belt is taut and centered.
- Connect dust extraction (optional but recommended): Attach a dust extraction hose to the dust tube for cleaner operation and to prolong belt life.
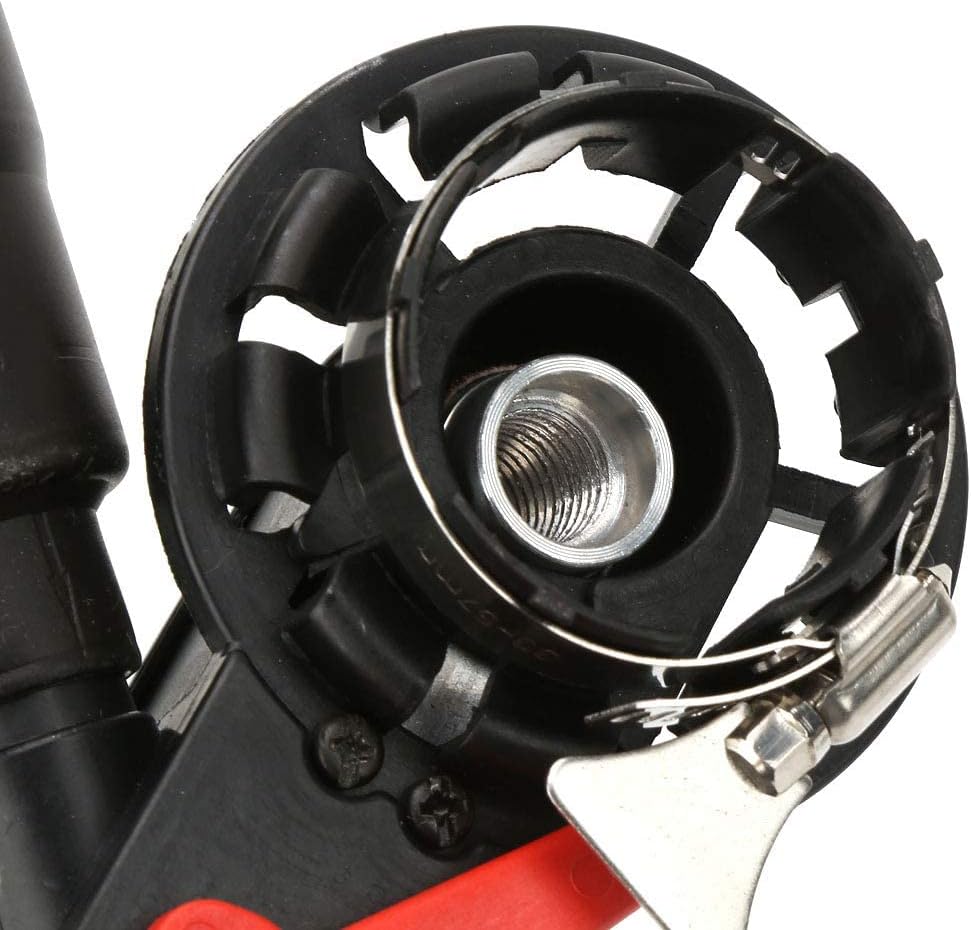
Figure 4: Detail of the threaded connection for attachment to a power tool.
6. Operating Instructions
Once assembled, the adapter is ready for use. Always ensure proper safety measures are in place before starting.
- Power on: Turn on your angle grinder or electric drill. The sanding belt will begin to move.
- Apply to workpiece: Gently bring the moving sanding belt into contact with the workpiece. Apply even, moderate pressure.
- Control movement: Move the sander smoothly across the surface to achieve an even finish. Avoid excessive pressure, which can damage the workpiece or the belt.
- Applications: This mini belt sander is suitable for various tasks, including:
- Blade grinding
- Grinding scissors
- Stainless steel handrail grinding
- Metal soldering preparation
- Power off: When finished, turn off your power tool and wait for the sanding belt to come to a complete stop before setting the tool down.

Figure 5: Example application of the sanding adapter on metal surfaces.

Figure 6: The adapter is suitable for grinding tasks such as on stainless steel handrails.
7. Maintenance
Regular maintenance ensures the longevity and optimal performance of your sanding adapter.
- Cleaning: After each use, disconnect the adapter from the power tool and clean off any dust or debris using a brush or compressed air. Ensure ventilation slots are clear.
- Sanding Belt Replacement:
- When the sanding belt becomes worn or ineffective, replace it.
- Loosen the Sand Belt Lock Dial to release tension.
- Remove the old belt and install a new one, following the steps in Section 5.
- Ensure the new belt is the correct size (15mm width, 452mm circumference).
- Storage: Store the adapter in a clean, dry place, away from direct sunlight and moisture.
8. Troubleshooting
If you encounter issues, refer to the following common problems and solutions:
- Adapter does not fit power tool:
- Verify that you have the correct M10 or M14 model adapter for your angle grinder or electric drill's spindle thread size. Thread sizes can vary by region and manufacturer.
- If the thread does not match, the adapter is incompatible with your specific power tool.
- Sanding belt slips or comes off:
- Ensure the Sand Belt Lock Dial is fully tightened to provide adequate tension.
- Check that the belt is correctly aligned on the rollers.
- The belt might be worn or stretched; replace it if necessary.
- Poor sanding performance:
- The sanding belt may be worn out; replace it.
- Ensure you are using the appropriate grit sanding belt for your material and desired finish.
- Clean any accumulated dust from the belt and rollers.
9. Specifications
| Feature | Detail |
|---|---|
| Brand | Walfront |
| Optional Style (Thread Size) | M10, M14 |
| Sand Belt Width | 15 mm |
| Sand Belt Circumference | 452 mm |
| Weight | Approx. 673 g / 23.7 oz |
| Product Dimensions | 26 x 8 x 10 cm |
| Manufacturer Part Number | Walfrontgf20vbsprm-01 |
10. Warranty and Support
Walfront is committed to providing quality products and customer satisfaction. If you experience any quality issues or problems with your product, please contact Walfront customer service for assistance. We are dedicated to resolving any concerns you may have.
