
Introduction
This manual provides instructions for the installation and function of the UpStart Components 279838 Dryer Heating Element and 3392519 Thermal Fuse replacement kit. This kit is compatible with various dryer models, including the Whirlpool LER5636EQ2. It is designed to restore heating functionality to your dryer.
Important Safety Information: Before beginning any repair work, always disconnect power to the appliance. Failure to do so can result in serious injury or death. If you are unsure about any step, consult a qualified technician.
Product Overview
The replacement kit includes a heating element and a thermal fuse. These components work together to provide and regulate heat within your dryer.
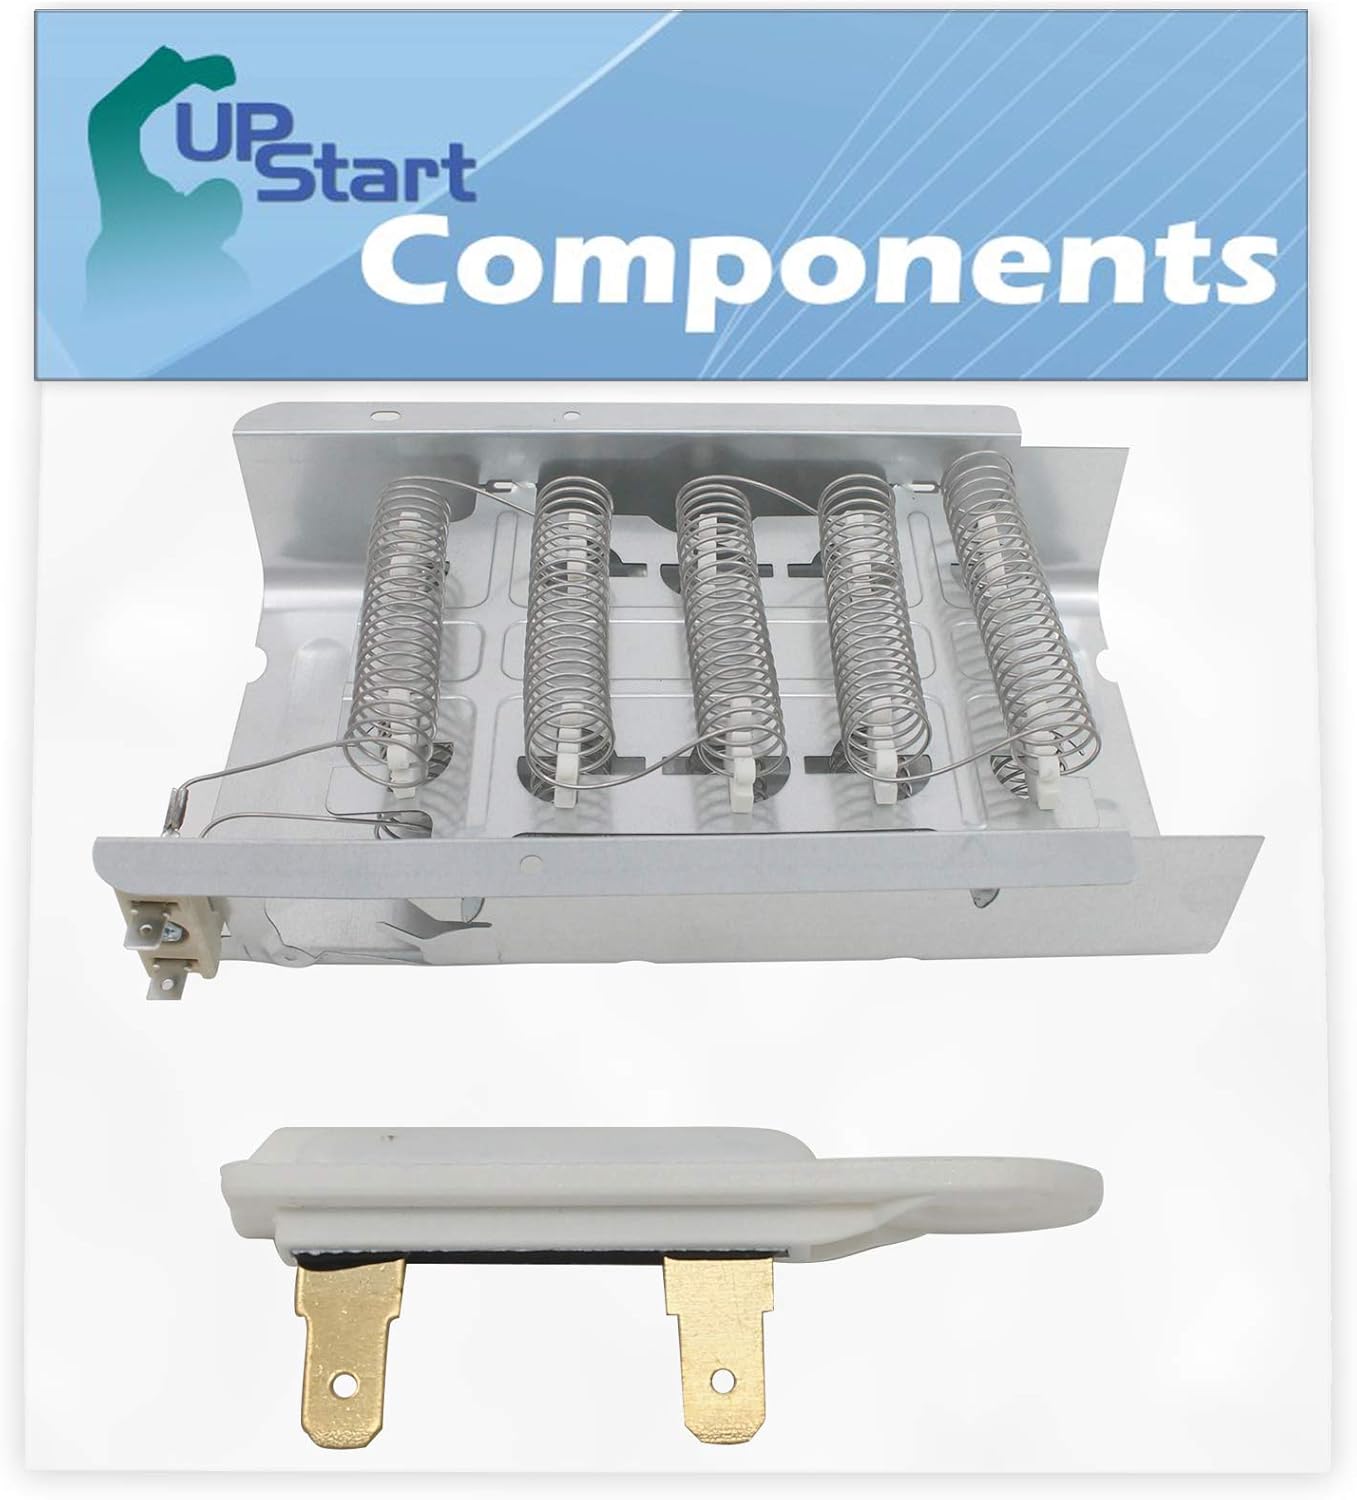
Image 1: The UpStart Components replacement kit, showing both the heating element and the thermal fuse.
This image displays the complete replacement kit. The larger component is the heating element, which generates heat. The smaller, white component with metal terminals is the thermal fuse, a safety device that prevents overheating.
Setup and Installation
This section outlines the general steps for replacing the heating element and thermal fuse. Specific dryer disassembly procedures may vary by model. Refer to your dryer's service manual for detailed disassembly instructions.
- Disconnect Power: Unplug the dryer from the electrical outlet or turn off the circuit breaker supplying power to the dryer.
- Access Components: Depending on your dryer model, you may need to remove the back panel, front panel, or top panel to access the heating element housing and thermal fuse.
- Locate and Remove Old Components:
- Identify the existing heating element and thermal fuse.
- Carefully disconnect all wires attached to both components. Note their positions for correct reinstallation.
- Unscrew or unclip the old heating element and thermal fuse from their mounts and remove them.
- Install New Heating Element:

Image 2: Top view of the replacement heating element.
This image shows the top view of the heating element, highlighting the coiled heating wires and ceramic insulators. Ensure these coils are not touching each other or the metal housing during installation.

Image 3: Angled view of the replacement heating element.
This angled view provides a different perspective of the heating element, showing the overall structure and mounting points. Verify that the element is securely fastened within its housing.
- Position the new heating element into its housing.
- Secure it with screws or clips, ensuring it is firmly seated.
- Reconnect the wires to the heating element terminals as noted during removal.
- Install New Thermal Fuse:

Image 4: The replacement thermal fuse.
This image displays the thermal fuse, a small, white component with two metal terminals. It is a one-time safety device that opens the circuit if the dryer overheats, preventing fire hazards.
- Mount the new thermal fuse in its designated location.
- Reconnect the wires to the thermal fuse terminals.
- Reassemble Dryer: Reattach any panels removed during the process. Ensure all screws are tightened and panels are securely in place.
- Restore Power: Plug the dryer back into the electrical outlet or turn on the circuit breaker.
- Test Functionality: Run a short cycle to confirm the dryer heats properly.
The components are made from ultra-durable, high-quality material designed to resist wear and tear over time, contributing to an extended lifespan for your machine.
Operating Principles
The heating element is responsible for generating the heat required to dry clothes. When electricity flows through its coiled wires, they heat up. The thermal fuse acts as a safety mechanism. If the dryer's temperature exceeds a safe limit, the thermal fuse will blow (open the circuit), cutting off power to the heating element and preventing potential fire hazards. A blown thermal fuse indicates an underlying issue, such as restricted airflow, that should be addressed.
Maintenance
Proper dryer maintenance can help prolong the life of your heating element and thermal fuse:
- Clean Lint Filter: Clean the lint filter before or after every load to ensure proper airflow.
- Inspect Venting: Regularly check and clean the dryer's exhaust vent and ductwork. Blockages can cause overheating, leading to thermal fuse failure.
- Avoid Overloading: Overloading the dryer can restrict airflow and strain components.
Troubleshooting
If your dryer is not heating or not drying clothes effectively after replacing these parts, consider the following:
- No Heat: If the dryer runs but produces no heat, the new heating element or thermal fuse might be faulty, or another component like the high-limit thermostat or cycling thermostat could be defective. Ensure all wire connections are secure.
- Dryer Not Starting: A blown thermal fuse can sometimes prevent the dryer from starting at all. If the dryer does not start, check the thermal fuse for continuity with a multimeter.
- Overheating: If the dryer overheats and then stops, the thermal fuse may have blown again. This indicates a persistent airflow restriction or a faulty cycling thermostat.
- Incorrect Wiring: Double-check all wire connections against your dryer's wiring diagram.
For complex issues, it is recommended to consult a professional appliance technician.
Specifications
| Attribute | Detail |
|---|---|
| Manufacturer | UpStart Components |
| Part Numbers | 279838 (Heating Element), 3392519 (Thermal Fuse) |
| Model Number | AP-279838-3392519-DL75 |
| Material | Plastic (for fuse housing), Metal (for heating element) |
| Compatibility | Whirlpool LER5636EQ2 Dryer and other compatible models (refer to part numbers) |
Warranty and Support
This product is an UpStart Components Brand replacement part. It is not an OEM (Original Equipment Manufacturer) product. All mentions of brand names or model descriptions are made strictly to illustrate compatibility. All brand names and logos are registered trademarks of their respective owners. This product is not affiliated with any brands and is not covered under any warranties offered by the original manufacturers.
Any warranties for this product are offered solely by UpStart Components. For warranty claims or support inquiries, please refer to the contact information provided with your purchase or visit the UpStart Components website.