
Introduction
This manual provides instructions for the installation and maintenance of the UpStart Components 3387747 Dryer Heating Element. This component is designed as a replacement part for specific Whirlpool dryer models, including the WED9050XW0. Please read all instructions carefully before proceeding with installation.
Safety Information
WARNING: Risk of Electric Shock and Injury.
- Always disconnect power to the dryer at the circuit breaker or by unplugging the appliance before attempting any repairs or maintenance.
- Wear appropriate personal protective equipment, such as gloves, to prevent injury from sharp edges or electrical components.
- If you are unsure about any step, consult a qualified appliance technician.
- Ensure all connections are secure and correctly reassembled before restoring power.
Compatibility
This heating element is compatible with the following part numbers and dryer models:
- Part Numbers: 3387747, WP3387747, AP6008281, 80003, PS11741416
- Compatible Dryer Models: Whirlpool WED9050XW0 and other models requiring part number 3387747.
It is recommended to verify the original part number of your dryer's heating element before purchasing and installing this replacement.
Package Contents
The package typically includes:
- 1 x UpStart Components 3387747 Dryer Heating Element
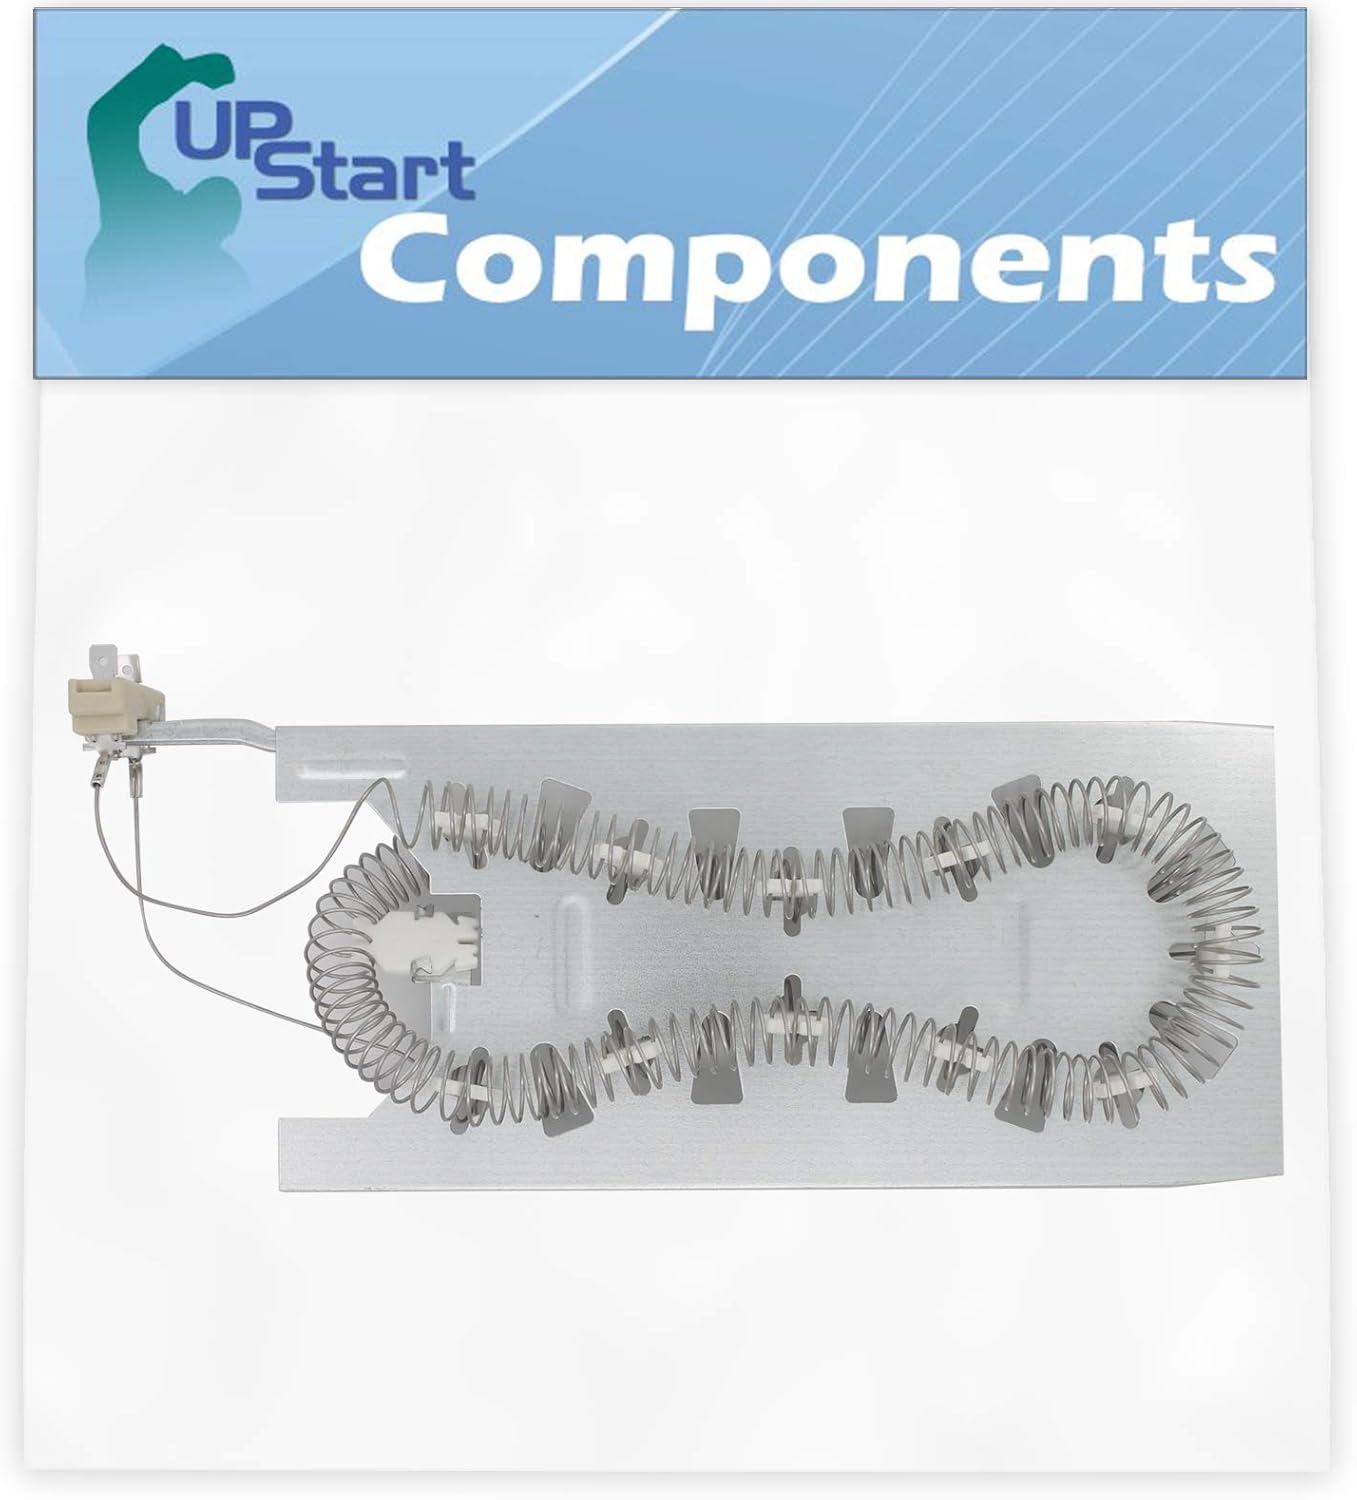
Figure 1: UpStart Components 3387747 Dryer Heating Element. This image shows the heating element as it appears in its packaging, featuring the brand logo.
Installation Instructions
The following steps outline a general procedure for replacing a dryer heating element. Specific dryer models may vary. Refer to your dryer's service manual for detailed disassembly instructions.
- Disconnect Power: Unplug the dryer from the electrical outlet or turn off the circuit breaker supplying power to the dryer.
- Access the Heating Element:
- Depending on your dryer model, you may need to remove the back panel, front panel, or top panel to access the heating element housing.
- Carefully remove any screws or clips securing the panels.
- Locate and Disconnect Old Element:
- Identify the heating element assembly. It is typically housed in a metal chamber.
- Disconnect the electrical wires connected to the heating element terminals. Note their positions for reassembly.
- Remove any mounting screws or clips holding the old heating element in place.

Figure 2: Detailed view of the heating element, showing the coiled wires and electrical terminals. This illustrates the components that need to be connected.
- Install New Heating Element:
- Carefully insert the new UpStart Components heating element into the housing, ensuring it seats correctly.
- Secure the new element with the mounting screws or clips previously removed.
- Reconnect the electrical wires to the appropriate terminals on the new heating element. Ensure connections are tight and secure.

Figure 3: Side profile of the heating element, highlighting the mounting bracket and the arrangement of the heating coils.
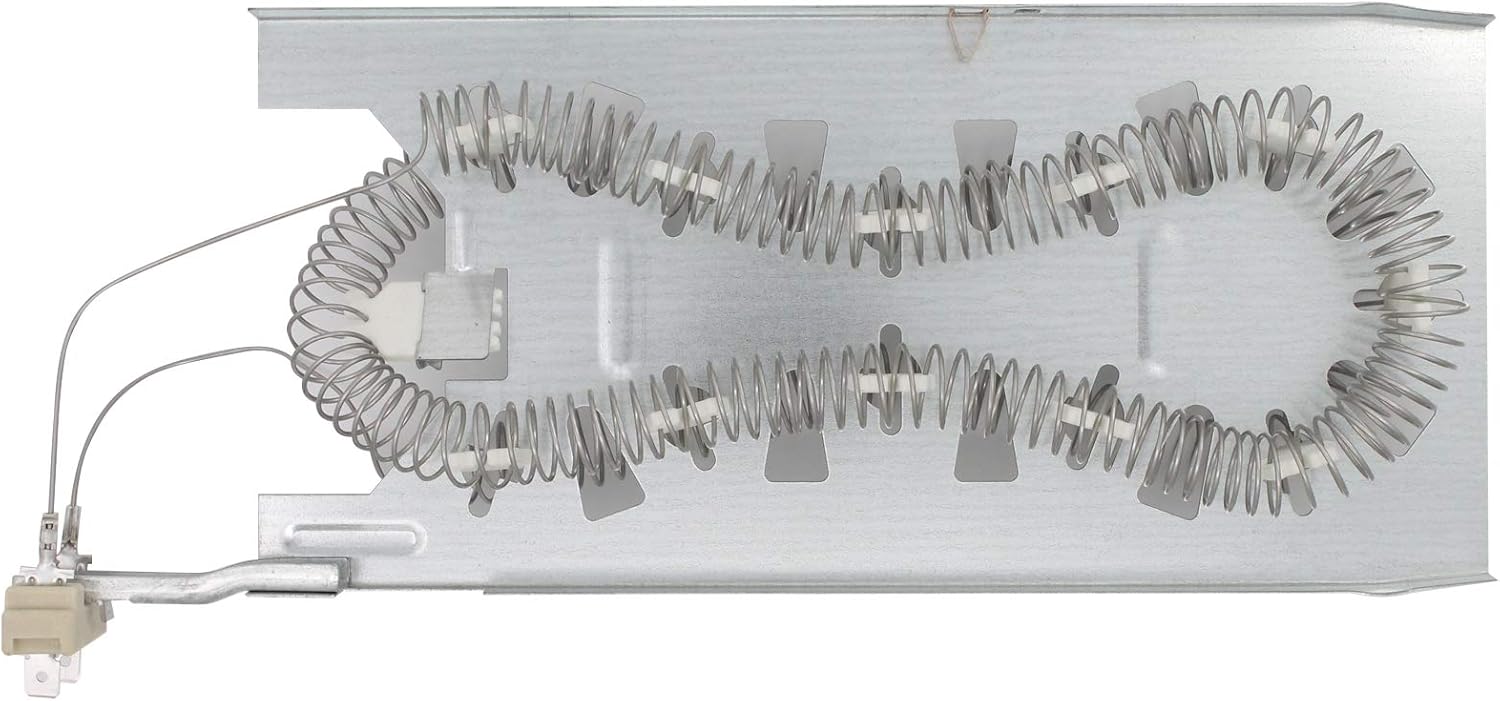
Figure 4: Overhead view of the heating element, displaying the complete configuration of the heating coils within the metal frame.
- Reassemble Dryer:
- Replace any panels or covers that were removed, ensuring all screws and clips are securely fastened.
- Test Operation:
- Restore power to the dryer.
- Run a short cycle with no load to confirm the heating element is functioning correctly and the dryer is heating.
- Check for any unusual noises or smells.
Operating (Post-Installation Check)
After installation, observe the dryer's performance during its first few cycles. The dryer should heat efficiently, and drying times should return to normal. If issues persist, refer to the Troubleshooting section.
Maintenance
The heating element itself requires no routine maintenance. However, to prolong the life of your dryer and its components:
- Regularly clean the lint filter before or after every load.
- Periodically inspect and clean the dryer vent system to ensure proper airflow and prevent lint buildup. Restricted airflow can cause the heating element to overheat and fail prematurely.
Troubleshooting
| Problem | Possible Cause | Solution |
|---|---|---|
| Dryer not heating | No power to heating element, faulty thermal fuse, faulty thermostat, or incorrect wiring. | Check power supply. Verify all electrical connections to the heating element are secure. Inspect thermal fuse and thermostats for continuity (requires a multimeter). |
| Dryer takes too long to dry | Restricted airflow (clogged vent), partial heating element failure, or faulty thermostat. | Clean lint filter and dryer vent system thoroughly. Ensure the heating element is fully functional. |
| Dryer overheats | Faulty operating thermostat or high-limit thermostat. | Inspect and test thermostats. Replace if faulty. Ensure proper airflow. |
If troubleshooting steps do not resolve the issue, it is recommended to contact a qualified appliance technician.
Specifications
- Part Number: 3387747 (also compatible with WP3387747, AP6008281, 80003, PS11741416)
- Manufacturer Part Number: AP-3387747-DL744
- Brand: UpStart Components
- Material: Metal (heating coils), Ceramic (insulators), Plastic (terminals)
- Compatibility: Designed for Whirlpool WED9050XW0 and other compatible models.
Warranty and Support
This product is offered by UpStart Components. Any warranties for this product are provided solely by UpStart Components. For warranty claims or technical support, please refer to the contact information provided by UpStart Components at the time of purchase or visit their official website.
For general inquiries or further assistance, please contact your retailer.