1. Introduction
Thank you for choosing the ORIA Indoor Outdoor Thermometer. This device provides accurate temperature and humidity readings for both indoor and up to three outdoor locations simultaneously, helping you monitor environmental conditions in your home, office, or other spaces. Its large LCD display with backlight ensures clear readability, day or night.
This manual provides detailed instructions on how to set up, operate, and maintain your thermometer to ensure optimal performance and longevity.

The ORIA thermometer is versatile for use in various indoor and outdoor environments.
2. Package Contents
Please check the package to ensure all components are present:
- 1 x Main Base Station
- 3 x Wireless Remote Sensors
- 1 x User Manual
3. Product Overview
The ORIA Indoor Outdoor Thermometer system consists of a main base station and three wireless remote sensors. The base station displays indoor temperature and humidity, along with the readings from the three remote sensors. It features a large LCD screen for easy viewing and a backlight for low-light conditions.
Main Base Station Features:
- Indoor Temperature and Humidity Display
- Outdoor Temperature and Humidity Display for 3 Channels
- MAX/MIN Record for Temperature and Humidity
- Temperature Trend Indicator
- Humidity Expression (WET, COM, DRY)
- Switchable Temperature Units (°C/°F)
- LCD Backlight
Wireless Remote Sensor Features:
- Measures Temperature and Humidity
- Wireless Transmission up to 100 meters (328 feet) in open air
- Channel Selector (1, 2, 3)

Detailed view of the main base station's LCD display and its various indicators.

The display indicates comfort levels based on humidity.
4. Setup
4.1 Battery Installation
Main Base Station:
- Open the battery compartment cover on the back of the main unit.
- Insert 3 AAA batteries (not included) according to the polarity markings (+/-).
- Close the battery compartment cover.
Wireless Remote Sensors:
- Open the battery compartment cover on the back of each sensor.
- Insert 2 AAA batteries (not included) into each sensor according to the polarity markings (+/-).
- Before closing the cover, select a channel (1, 2, or 3) for each sensor using the small switch inside the battery compartment. Ensure each sensor is set to a unique channel.
- Close the battery compartment cover.

The main unit and three wireless sensors require battery installation.
4.2 Sensor Pairing
Once batteries are installed in both the main unit and sensors, the main unit will automatically search for and connect to the sensors. Ensure the sensors are within range of the main unit during initial setup. The main unit will display the readings for each connected channel.
4.3 Placement Guidelines
Main Base Station:
- Place the main unit indoors, away from direct sunlight, heat sources, or drafts that could affect its readings.
- It can be placed on a tabletop using its integrated stand or mounted on a wall using the hang hole.
Wireless Remote Sensors:
- Place the outdoor sensors in desired locations within the 100-meter (328 feet) wireless range.
- Important Note: The remote sensors are not waterproof. To protect them from rain and direct sunlight, place them under an eave, in a sheltered area, or inside a weather-resistant enclosure. Do not expose them directly to rainwater.
- Avoid placing sensors near large metal objects, thick walls, or other electronic devices that could interfere with the wireless signal.

The main unit offers both tabletop and wall-mount options for flexible placement.

Strategically place the three sensors to monitor different outdoor areas.
5. Operation
5.1 Display Readings
The large LCD screen displays the following information:
- Indoor Temperature and Humidity: Shown at the top of the display.
- Outdoor Temperature and Humidity: Readings from the three wireless sensors are displayed in separate sections (Channel 1, Channel 2, Channel 3) below the indoor readings.
- Temperature/Humidity Trend Indicators: Arrows indicate whether the temperature or humidity is rising, falling, or remaining stable.
- Humidity Expression: Icons indicate the comfort level based on humidity: WET (humidity ≥ 65%), COM (45% ≤ humidity ≤ 65%), DRY (humidity ≤ 45%).

Simultaneous display of indoor and three outdoor measuring data.
5.2 Temperature Unit Selection (°C/°F)
To switch between Celsius (°C) and Fahrenheit (°F), press the °C/°F button located on the back of the main unit.
5.3 MAX/MIN Record
The thermometer records the maximum and minimum temperature and humidity values for both indoor and outdoor channels. To view these records:
- Press the MIN/MAX button once to display the maximum recorded values.
- Press the MIN/MAX button again to display the minimum recorded values.
- To clear the recorded MAX/MIN values, press and hold the MIN/MAX button for approximately 3 seconds. The values will reset to the current readings.
5.4 Backlight Function
The main unit features a backlight for improved visibility in low-light conditions:
- Press the LIGHT button on the top of the main unit to activate the backlight.
- The backlight will automatically turn off after 10 seconds if no further operation is performed.
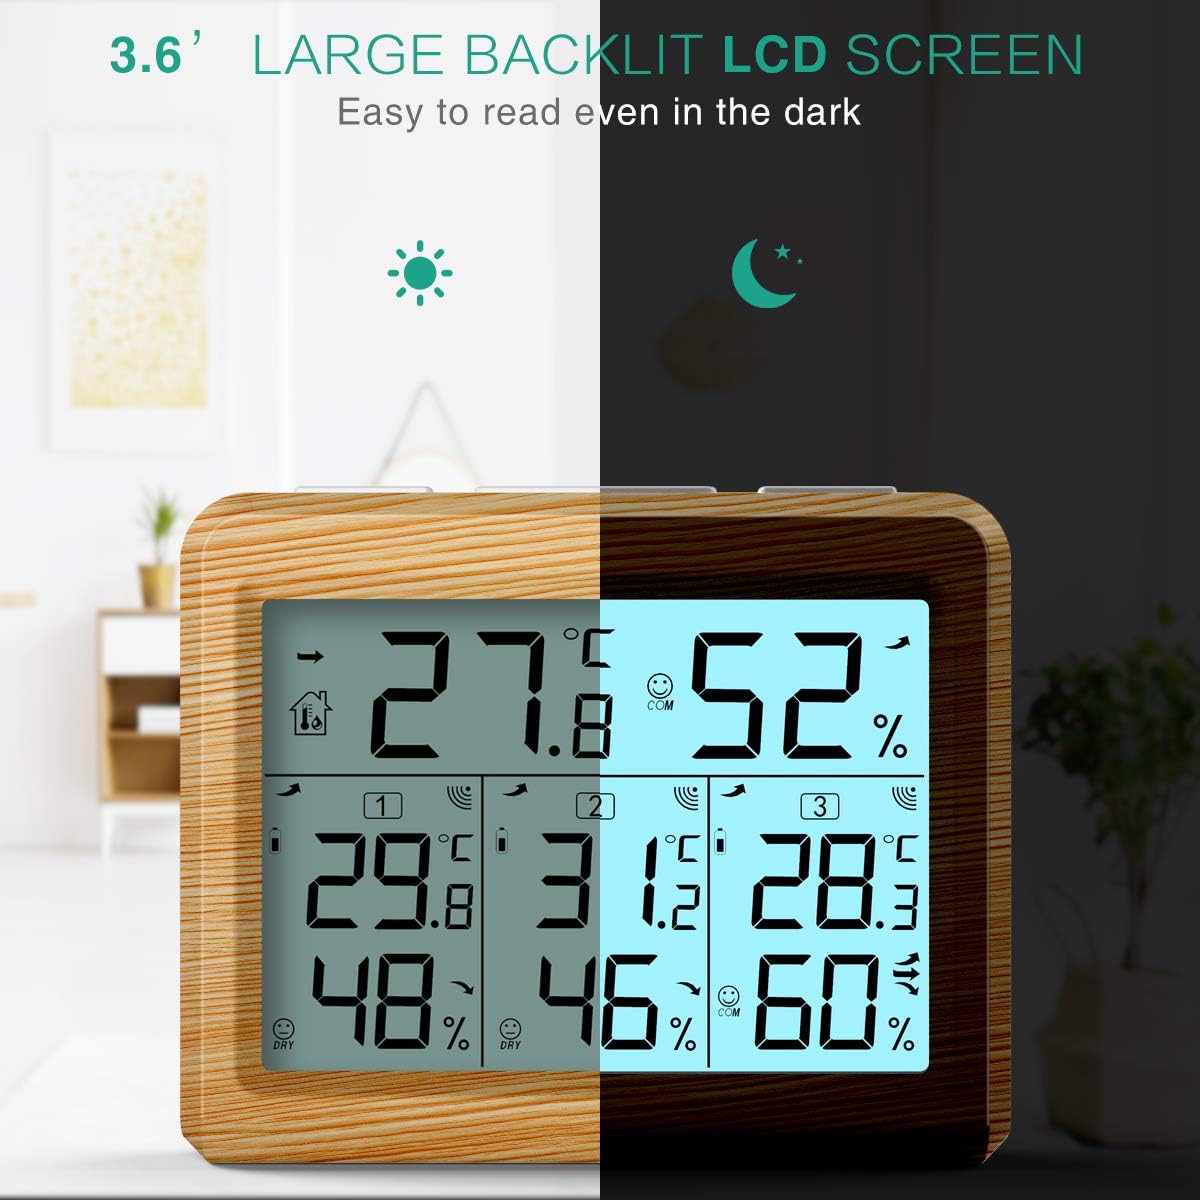
The large backlit LCD screen ensures easy readability even in the dark.

Press the 'LIGHT' button to illuminate the display.
6. Maintenance
6.1 Battery Replacement
When the low battery icon appears on the display for either the main unit or a specific sensor, it indicates that the batteries need to be replaced. Replace all batteries in the affected unit with new ones of the same type (AAA). Ensure correct polarity during installation.
6.2 Cleaning
Clean the main unit and sensors with a soft, damp cloth. Do not use abrasive cleaners or solvents, as they may damage the plastic components or the LCD screen.
6.3 Storage
If the device will not be used for an extended period, remove all batteries from both the main unit and the sensors to prevent leakage and corrosion. Store the device in a cool, dry place, away from direct sunlight and extreme temperatures.
7. Troubleshooting
If you encounter issues with your ORIA Indoor Outdoor Thermometer, please refer to the following table for common problems and solutions:
| Problem | Possible Cause | Solution |
|---|---|---|
| No display on main unit or sensor. | Batteries are dead or incorrectly installed. | Check battery polarity and replace with new batteries. |
| Outdoor sensor readings are not displayed or show "--". | Sensor is out of range, interference, or battery issue. | Move sensor closer to the main unit. Check for sources of interference. Replace sensor batteries. Ensure sensor channel is unique. |
| Inaccurate readings. | Device placed near heat/cold sources or in direct sunlight. | Relocate the main unit and sensors to a more appropriate environment, away from direct sunlight, heat, or drafts. |
| Backlight not working. | Low batteries or button malfunction. | Replace main unit batteries. If issue persists, contact support. |
| Wireless signal drops frequently. | Obstructions or distance. | Reduce distance between main unit and sensors. Minimize obstructions like thick walls or large metal objects. |
8. Specifications
Below are the technical specifications for the ORIA Indoor Outdoor Thermometer:
| Feature | Specification |
|---|---|
| Model Number | OUSF-WA54Y |
| Indoor Temperature Range | 0°C to 60°C (32°F to 140°F) |
| Outdoor Temperature Range | -40°C to 60°C (-40°F to 140°F) |
| Humidity Range | 10% to 99% RH |
| Temperature Accuracy | ±1°C (±1.8°F) |
| Humidity Accuracy | ±5% RH |
| Wireless Transmission Range | 100 meters (328 feet) in open air |
| Main Unit Power | 3 x AAA Batteries (not included) |
| Sensor Power | 2 x AAA Batteries per sensor (not included) |
| Display Type | LCD with Backlight |
| Mounting Type | Wall Mount or Tabletop Stand |
| Item Weight | 8.4 ounces |
| Package Dimensions | 5.71 x 3.5 x 3.03 inches |
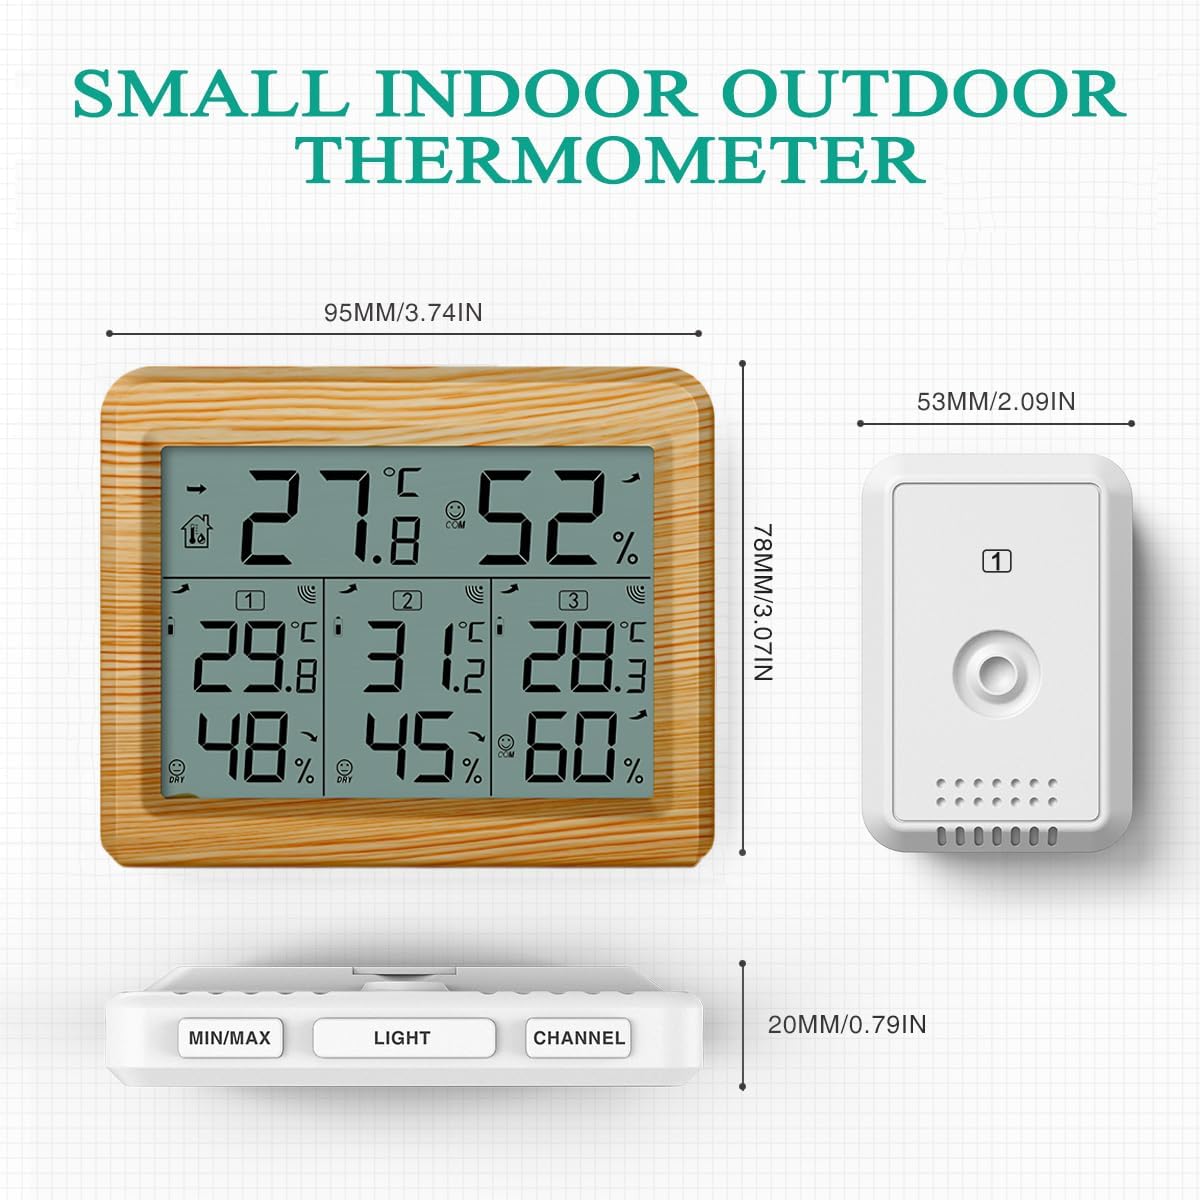
Dimensions of the main unit and wireless sensors.
9. Warranty and Support
ORIA products are designed for reliability and performance. For any questions, technical support, or warranty inquiries, please contact ORIA customer service through the retailer's platform or the official ORIA website. Please have your model number (OUSF-WA54Y) and purchase information ready when contacting support.
We are committed to providing high-quality products and excellent customer service.


