Introduction
This manual provides instructions for the proper installation and use of the Dorman 092-024 EZ Drain Oil Plug and Gasket. This product is designed to simplify the oil change process by offering a tool-free, clean, and efficient solution for draining engine oil. It replaces the original equipment oil drain plug, featuring a custom tapered O-ring for a leak-proof seal and electrophoresis and anodization for rust resistance.
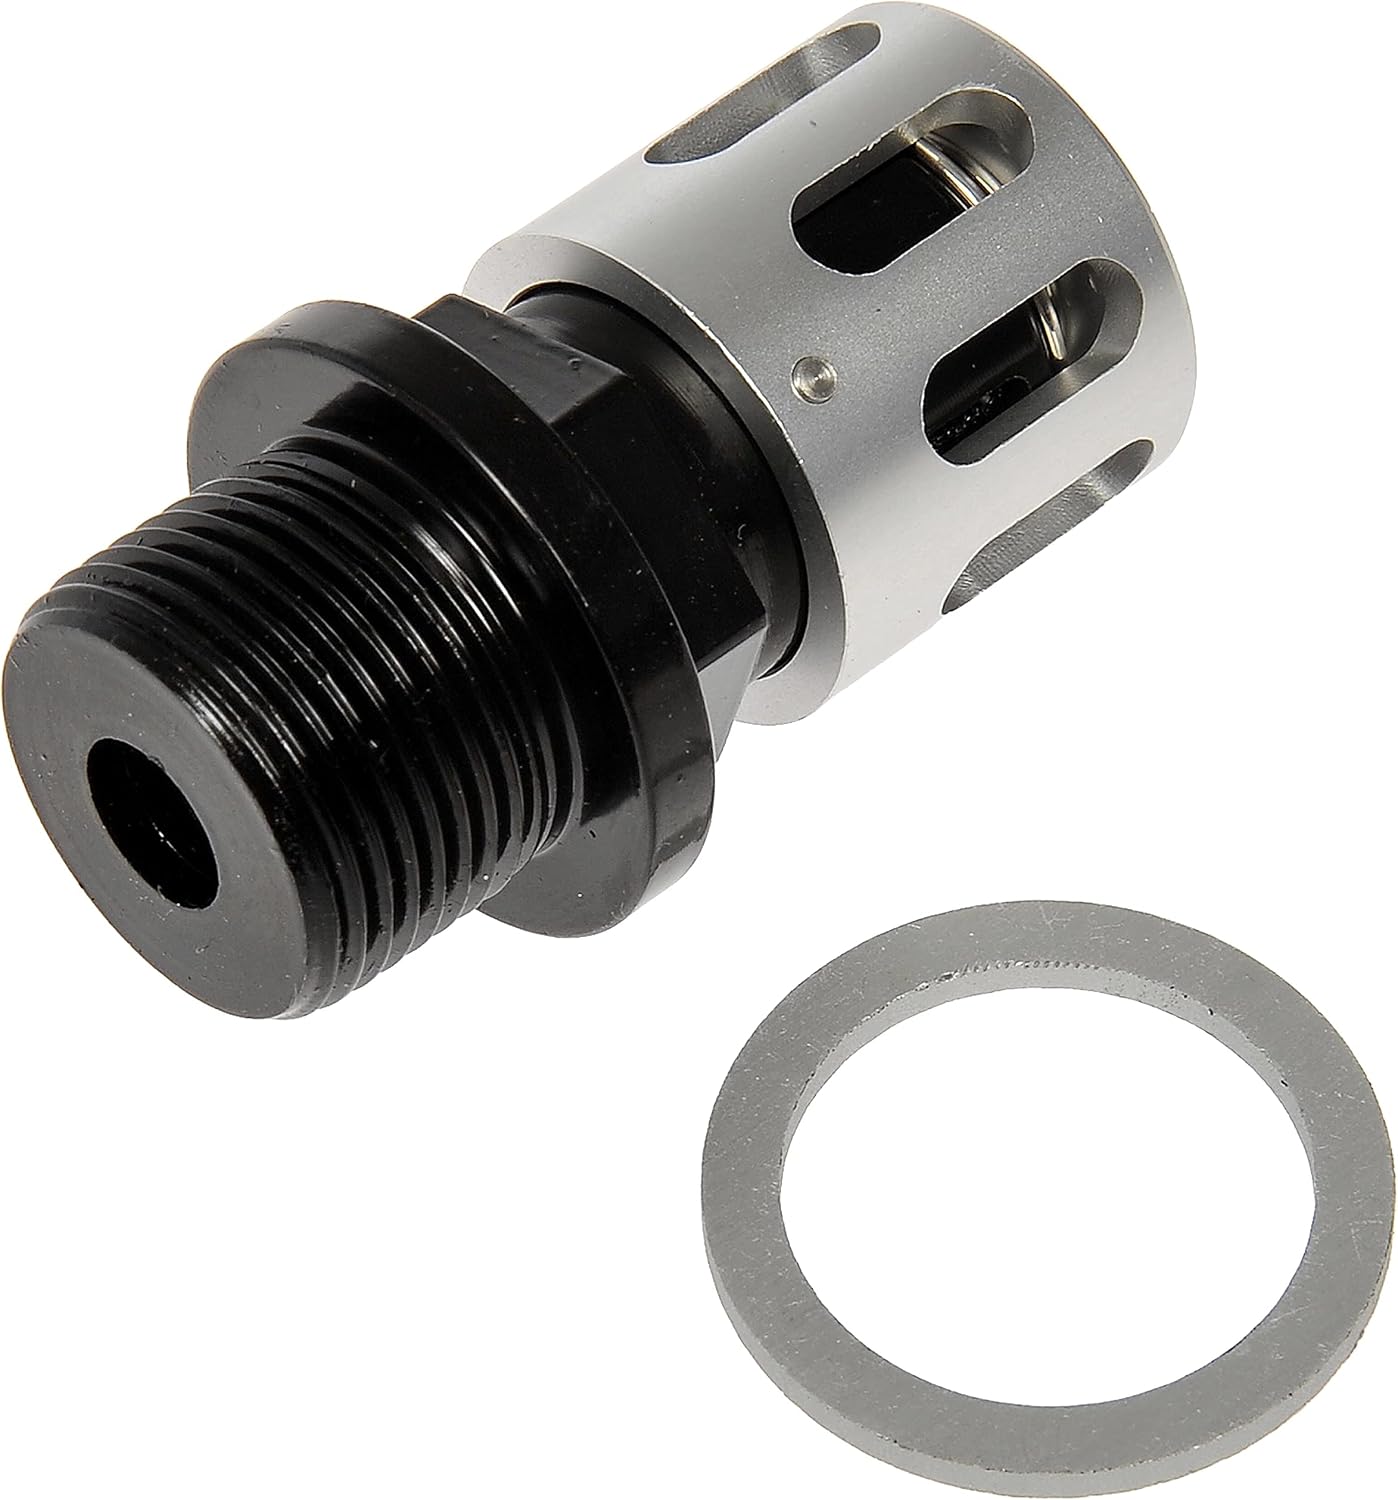
Image: The Dorman 092-024 EZ Drain Oil Plug and its accompanying gasket, shown together. The plug features a threaded black base and a silver, slotted twist-drain mechanism.
Safety Information
Always prioritize safety when performing automotive maintenance. Failure to follow safety precautions can result in injury or damage to the vehicle.
- Ensure the vehicle is on a level surface and properly supported with jack stands before working underneath. Never rely solely on a jack.
- Allow the engine to cool completely before draining oil to prevent severe burns from hot oil or engine components.
- Wear appropriate personal protective equipment, including safety glasses and chemical-resistant gloves.
- Dispose of used engine oil and oil filters responsibly according to local environmental regulations.
- Consult your vehicle's service manual for specific oil change procedures, oil capacity, and torque specifications relevant to your vehicle model.
Package Contents
Verify that all components are present and undamaged before beginning installation.
- 1 x Dorman EZ Drain Oil Plug (Model 092-024)
- 1 x Gasket
Setup and Installation
This section outlines the steps for replacing your vehicle's existing oil drain plug with the Dorman EZ Drain Oil Plug. Always follow safety guidelines.
- Prepare the Vehicle: Park the vehicle on a level surface. Engage the parking brake. If necessary, raise the vehicle using a jack and secure it with jack stands. Allow the engine to cool sufficiently to prevent burns.
- Locate the Oil Pan: Identify the engine oil pan and the existing drain plug. Position a suitable oil drain pan with adequate capacity directly beneath the drain plug.
- Remove Old Drain Plug: Using an appropriate wrench, carefully loosen and remove the existing oil drain plug. Be prepared for oil to drain immediately. Allow all old engine oil to drain completely.
- Clean the Drain Port: Thoroughly wipe the area around the oil pan drain port to ensure it is clean and free of any old gasket material or debris.
- Install New Gasket: Place the new gasket provided with the Dorman EZ Drain Oil Plug onto the threaded portion of the EZ Drain plug. Ensure it is seated flat and correctly.
- Install EZ Drain Plug: Hand-thread the Dorman EZ Drain Oil Plug into the oil pan drain port. Ensure it threads smoothly without cross-threading. Once hand-tight, use a 21MM wrench to tighten the plug. Refer to your vehicle's service manual for the correct torque specification. Do not overtighten, as this can damage the oil pan threads.
- Verify Seal: After installation, visually inspect the area around the new drain plug for any signs of oil leakage.

Image: A top-down view of the Dorman EZ Drain Oil Plug, showing the threaded base and the silver twist mechanism. The gasket is positioned below it, ready for installation.
Operating Instructions (Oil Change Procedure)
Once the Dorman EZ Drain Oil Plug is installed, follow these steps for subsequent oil changes:
- Prepare for Drain: Ensure the vehicle is safely supported and a suitable oil drain pan is positioned directly beneath the EZ Drain plug.
- Open Drain: Push the silver twist-drain mechanism inward towards the oil pan, then twist it approximately a quarter turn counter-clockwise. You will feel it lock into the open position. Oil will begin to drain.
- Drain Oil: Allow all engine oil to drain completely into the pan. This may take several minutes depending on oil temperature and viscosity.
- Close Drain: Once draining is complete, push the silver twist-drain mechanism inward again and twist it clockwise back to its original closed position. Ensure it is securely locked.
- Refill Oil: Replace the oil filter (if applicable) and refill the engine with the manufacturer-recommended type and quantity of new engine oil.
- Check for Leaks: Start the engine and allow it to run for a few minutes. Turn off the engine, wait a few minutes for oil to settle, and then check the oil level. Inspect the EZ Drain plug area for any leaks.

Image: A side view of the Dorman EZ Drain Oil Plug, highlighting the silver twist mechanism and the black threaded base. The gasket is shown next to it, illustrating the components.
Maintenance
Proper maintenance ensures the longevity and reliable performance of your Dorman EZ Drain Oil Plug.
- Gasket Replacement: The included gasket is crucial for a leak-proof seal. It is recommended to inspect the gasket for any signs of wear, cracking, or damage during each oil change. While the EZ Drain is designed for reusability, replacing the gasket periodically (e.g., every few oil changes or if any damage is observed) can help maintain a reliable seal.
- Plug Inspection: Periodically inspect the EZ Drain plug itself for any signs of physical damage, corrosion, or excessive wear. Ensure the twist mechanism operates smoothly and locks securely in both the open and closed positions.
- Cleaning: Wipe the exterior of the plug clean during oil changes to prevent dirt and grime buildup, which could potentially hinder operation.
Troubleshooting
Refer to this section for common issues and their potential solutions.
- Issue: Oil Leakage from Drain Plug Area
- Possible Causes:
- Gasket not properly seated or damaged.
- Drain plug not tightened to correct torque specification.
- Drain plug cross-threaded during initial installation.
- Twist mechanism not fully closed or locked after draining.
- Solutions:
- Ensure the gasket is correctly positioned and undamaged. Replace the gasket if any wear or damage is observed.
- Verify the drain plug is torqued to the vehicle manufacturer's specification using a torque wrench.
- If cross-threaded, remove the plug and carefully inspect the oil pan threads for damage. If threads are damaged, professional repair or replacement of the oil pan may be required.
- Confirm the twist mechanism is fully closed and securely locked after draining oil.
- Issue: Twist Mechanism is Stiff or Difficult to Operate
- Possible Causes:
- Dirt, grime, or debris buildup around the mechanism.
- Internal component wear or damage.
- Solutions:
- Clean the exterior of the plug thoroughly, especially around the twist mechanism.
- If stiffness persists after cleaning, the plug may have internal wear or damage and should be replaced.
Specifications
Technical specifications for the Dorman 092-024 EZ Drain Oil Plug and Gasket.
| Feature | Detail |
|---|---|
| Brand | Dorman |
| Model Number | 092-024 |
| Thread Size | M22 x 1.50 |
| Hex Head Size | 21MM |
| Material | Aluminum |
| Item Weight | 4.8 ounces |
| Product Dimensions | 1.49 x 4.01 x 5.08 inches |
| UPC | 885484816299 |
Support and Warranty
For technical assistance or warranty information regarding your Dorman 092-024 EZ Drain Oil Plug and Gasket, please contact Dorman Products directly.
Dorman provides an ASE Blue Seal Certified technical support team to assist with product-related inquiries and ensure customer satisfaction.
Visit the official Dorman website for contact details and further product information: www.dormanproducts.com