1. Introduction
The SanA Smart Light Switch is designed to provide wireless control of your home lighting using your existing Wi-Fi network. This device allows for remote control via a mobile application, voice commands through compatible smart assistants, and traditional manual operation. It integrates seamlessly into modern smart home ecosystems without requiring a separate hub.
Key functionalities include:
- Control lights from any location with internet access.
- Set schedules for lights to turn on or off automatically.
- Voice control compatibility with Amazon Alexa and Google Home.
- LED indicators for night navigation and status.
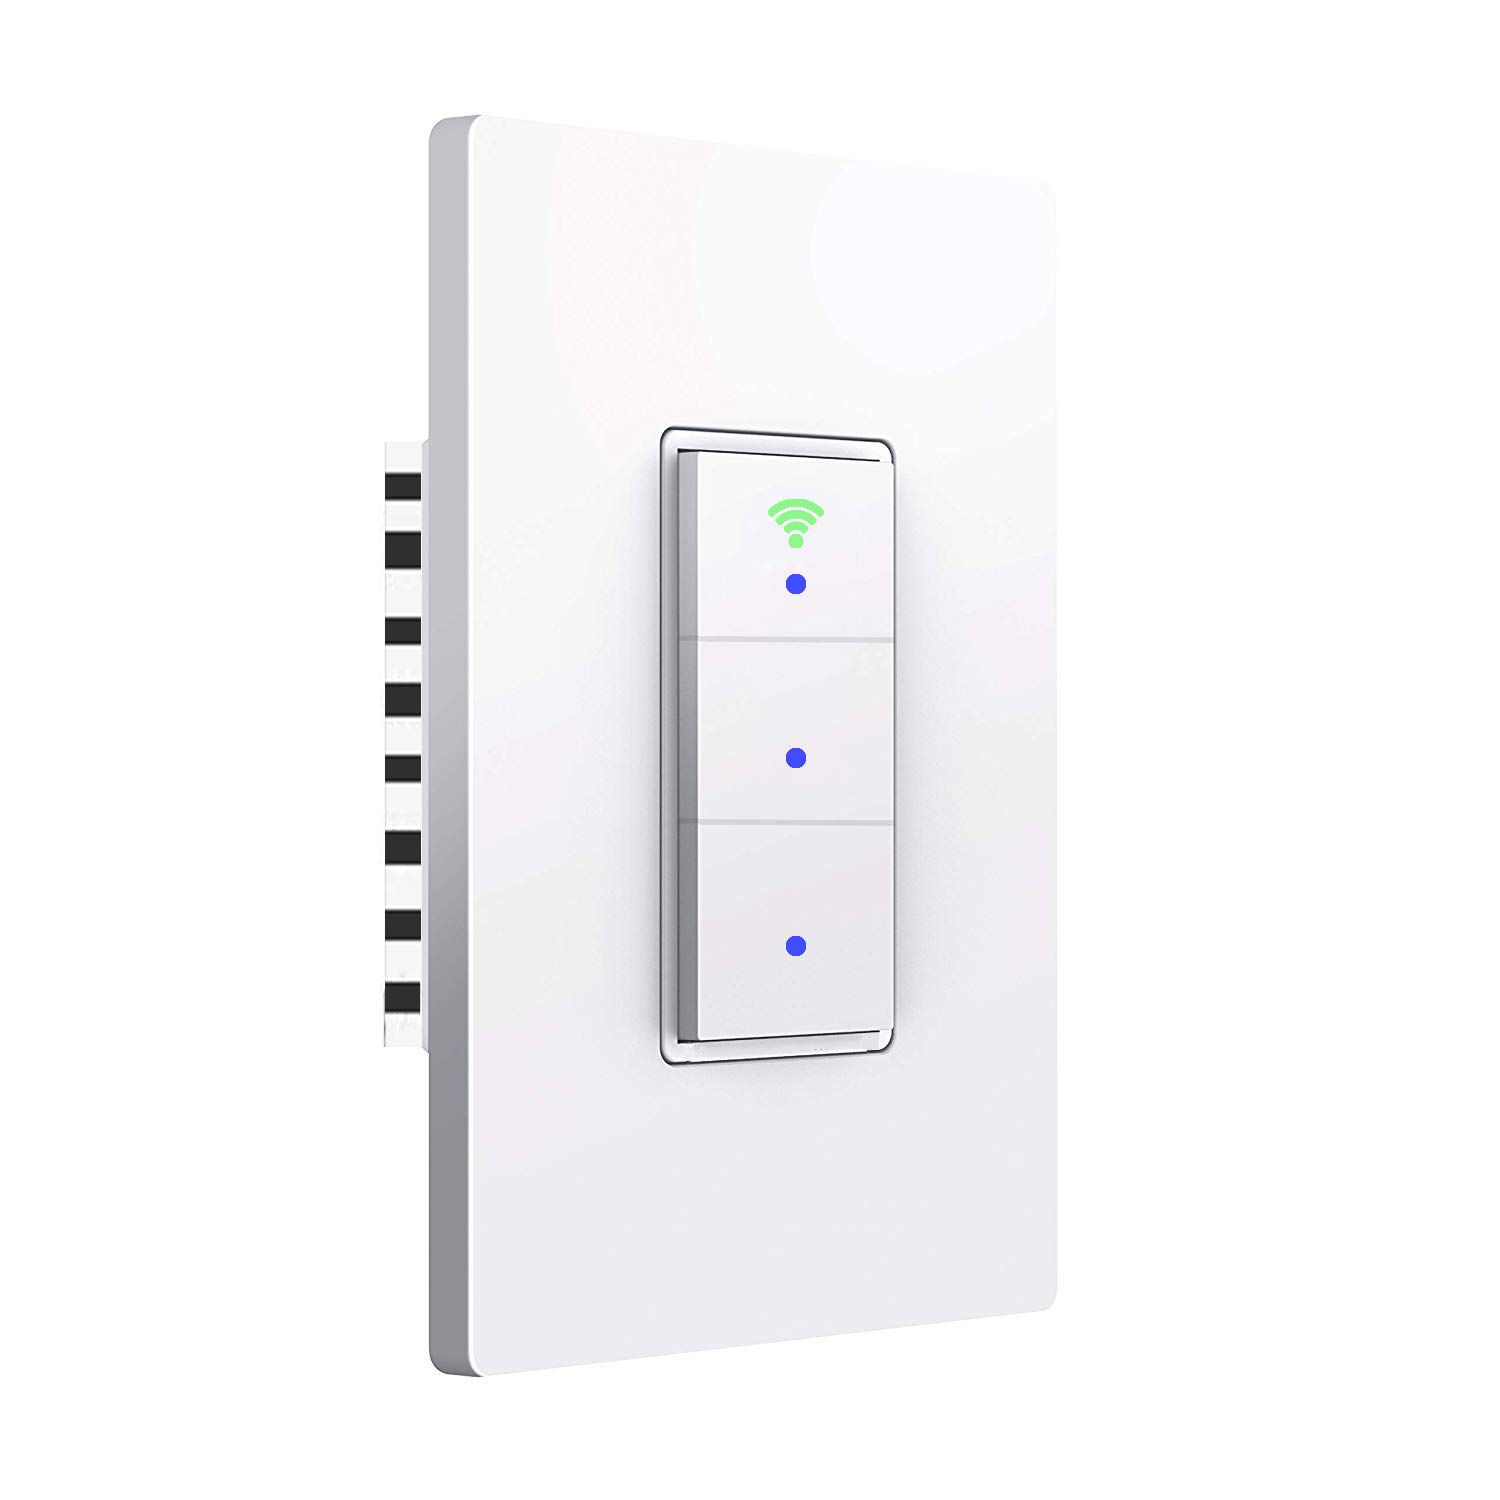
Image: Front view of the SanA Smart Light Switch, showing its three buttons and Wi-Fi indicator.
2. Important Safety Information
WARNING: RISK OF ELECTRIC SHOCK.
- Installation must be performed by a qualified electrician or a person with thorough knowledge of electrical wiring.
- Always turn off power at the circuit breaker before installing or servicing the switch.
- Ensure the switch is rated for the load it will control.
- This device requires a neutral wire for proper operation. If your existing wiring does not include a neutral wire, consult a professional electrician.
- Do not install with wet hands or when standing on wet or damp surfaces.
- Use only indoors.
3. Package Contents
Verify that all components are present in the package:
- 1x SanA Smart Wall Light Switch (3 Switches in 1 Gang)
- 1x User Manual (this document)
- 2x Screws for installation
4. Product Specifications
| Feature | Detail |
|---|---|
| Type | Smart Wall Light Switch |
| Material | PC flame retardant polymer, Copper, Brass |
| Operating Voltage | AC 100V-240V / 50Hz~60Hz |
| Max Power (Resistance Load) | 1100W/gang |
| Max Power (Capacitive Load) | 400W/gang |
| Working Current | Max 10A |
| Working Humidity | <80% |
| Radio Protocol | WiFi 2.4GHz (5GHz not supported) |
| Standby Power Consumption | <0.1mA |
| Operating Environment Temperature | -20~45°C (-4~113°F) |
| Life Long | >100,000 times |
| Switch Dimension | 5.04 x 3.31 x 0.91 inches (12.8 x 8.4 x 2.3 cm) |
| Circuit Type | 3-way (Note: This switch is not a 3-way switch replacement, it controls 3 separate loads from one location) |
| Connector Type | Wireless |
| Actuator Type | Push Button |

Image: Diagram showing the dimensions of the SanA Smart Light Switch: 5.04 inches height, 3.31 inches width, and 0.91 inches depth.
5. Installation Guide
5.1 Pre-installation Checklist
- Neutral Wire Required: This smart switch requires a neutral wire for operation. Confirm your electrical box has a neutral wire (usually white). If not, consult a qualified electrician.
- Power Off: Before starting, turn off the power to the switch location at the circuit breaker. Verify power is off using a voltage tester.
- 2.4GHz Wi-Fi Network: Ensure your home Wi-Fi network is 2.4GHz. This switch does not support 5GHz Wi-Fi.
5.2 Wiring Instructions
- Turn off power at the circuit breaker.
- Remove the existing wall plate and switch from the wall box.
- Identify the wires:
- Live Wire (L): Usually black, carries power from the breaker.
- Neutral Wire (N): Usually white, required for the smart switch.
- Load Wires (Load1, Load2, Load3): Wires going to the light fixtures.
- Ground Wire (Optional): Usually green or bare copper.
- Connect the wires from the wall box to the corresponding terminals on the SanA Smart Light Switch using wire nuts (not included, but recommended for secure connections):
- Connect the Live wire to the 'L' terminal.
- Connect the Neutral wire to the 'N' terminal.
- Connect Load1 to the 'Load1' terminal, Load2 to 'Load2', and Load3 to 'Load3'.
- Connect the Ground wire (if present) to the 'Ground' terminal.
- Carefully push the wired switch into the wall box.
- Secure the switch to the wall box with the provided screws.
- Attach the new wall plate.
- Turn on power at the circuit breaker.

Image: Detailed wiring diagram showing connections for Live, Neutral, Ground (optional), and three Load wires to the smart switch terminals.
5.3 App Download and Pairing
- Download the App: Search for "Smart Life" in the Apple App Store (for iOS) or Google Play Store (for Android) and download the application.
- Register/Login: Open the Smart Life app and register for a new account or log in if you already have one.
- Add Device:
- Tap the "+" icon in the top right corner of the app to add a device.
- Select "Electrical" then "Switch (Wi-Fi)" or "Wall Switch".
- Follow the on-screen instructions to put the switch into pairing mode. This usually involves pressing and holding one of the switch buttons until the Wi-Fi indicator light blinks rapidly.
- Enter your 2.4GHz Wi-Fi network name and password when prompted.
- The app will then search for and connect to the switch. Once connected, you can rename the switch and individual gangs within the app.

Image: Icons representing key features: Timing Function, Voice Control, Sharing, Remote Control, and 2.4GHz WiFi compatibility.
6. Operating Instructions
6.1 Manual Control
Each button on the switch functions as a traditional light switch. Press a button to toggle the connected light on or off.
The Wi-Fi indicator light on the switch will show its status:
- Blue Light: Indicates the switch is working and powered on.
- Green Light: Indicates the switch is successfully connected to your Wi-Fi network.

Image: Illustration showing the smart switch with blue dots indicating power on, and a green Wi-Fi icon indicating network connection.
6.2 App Control
Once paired, you can control your lights from the "Smart Life" app:
- Open the Smart Life app.
- Select your SanA Smart Light Switch from the device list.
- Tap on the individual switch icons within the app to turn lights on or off.
- You can also set up scenes, groups, and automations within the app for more advanced control.
6.3 Voice Control (Alexa & Google Home)
To enable voice control, link your Smart Life account to your Amazon Alexa or Google Home app:
- Open the Alexa or Google Home app.
- Navigate to the "Skills" (Alexa) or "Works with Google" (Google Home) section.
- Search for "Smart Life" and enable the skill/service.
- Log in with your Smart Life account credentials.
- Once linked, discover devices (Alexa) or sync devices (Google Home).
- You can now use voice commands like:
- "Alexa, turn on living room light."
- "Hey Google, turn off kitchen light."
- "Alexa, set bedroom light to 50%." (If dimmable bulbs are used and supported by the switch/app)
6.4 Timer and Schedule Settings
The Smart Life app allows you to set schedules and timers for your lights:
- Scheduling: Set specific times for lights to turn on or off daily or on selected days of the week.
- Countdown Timer: Set a countdown for a light to turn off after a certain duration.

Image: Screenshot of the Smart Life app interface showing the timer function, allowing users to set schedules for lights to work automatically.
6.5 Device Sharing
You can share control of your smart switch with family members or other users through the Smart Life app. This allows multiple users to control the lights from their own devices.
7. Maintenance
- Cleaning: To clean the switch, wipe it with a soft, dry cloth. Do not use abrasive cleaners or solvents. Ensure power is off before cleaning.
- Firmware Updates: Periodically check the Smart Life app for firmware updates for your switch. Updates can improve performance and add new features.
- Network Stability: Ensure your Wi-Fi network is stable and strong in the area where the switch is installed for optimal performance.
8. Troubleshooting
| Problem | Possible Cause / Solution |
|---|---|
| Switch not turning on/off manually. |
|
| Cannot connect to Wi-Fi / App control not working. |
|
| Voice control not responding. |
|
| Lights flicker or do not turn off completely. |
|
| Switch feels warm. |
|
9. Warranty and Support
For any questions regarding installation, operation, or troubleshooting, please contact SanA customer support. Refer to the contact information provided on the product packaging or the seller's information on the purchase platform.
This product comes with a standard manufacturer's warranty. Please retain your proof of purchase for warranty claims.
For further assistance, you may visit the SanA official website or contact their support team directly.


