
1. Introduction
This manual provides essential information for the safe and efficient installation, operation, and maintenance of your Aerocool LUX RGB 650M Power Supply Unit. Please read this manual thoroughly before installation and use to ensure optimal performance and safety.
The Aerocool LUX RGB 650M is a high-performance power supply designed to deliver stable and reliable power to your PC components. It features a stylish RGB LED design with 13 preset lighting effects, controllable via a dedicated button or compatible Addressable RGB motherboards.
2. Safety Information
WARNING: High voltage components are present inside the power supply unit. Do not open the casing under any circumstances. Refer all servicing to qualified personnel.
- Always disconnect the AC power cord from the wall outlet before installing, removing, or servicing the power supply unit or any other system components.
- Ensure the power supply is installed in a well-ventilated area, free from excessive heat, humidity, or dust.
- Do not block the ventilation openings of the power supply.
- Ensure proper grounding of your computer system.
- Use only the cables provided with the power supply unit.
- This product is designed for use in computer systems only. Do not use it for any other purpose.
3. Package Contents
Please verify that all items are present in your package:
- Aerocool LUX RGB 650M Power Supply Unit
- AC Power Cord
- Mounting Screws
- User Manual (this document)

Figure 3.1: Aerocool LUX RGB 650M Power Supply Unit. This image shows the main unit with its attached power cables and the RGB lighting panel on the side.
4. Setup and Installation
Follow these steps to install your power supply unit:
- Prepare Your System: Ensure your computer case is open and accessible. Disconnect all power from your system before beginning installation.
- Mount the PSU: Carefully slide the power supply into the designated PSU bay in your computer case. Align the screw holes on the PSU with those on the case. Secure the PSU using the provided mounting screws.
- Connect Motherboard Power: Connect the 24-pin ATX power cable from the PSU to the corresponding 24-pin connector on your motherboard. Ensure it clicks securely into place.
- Connect CPU Power: Connect the 4+4 pin EPS/CPU power cable from the PSU to the CPU power connector on your motherboard. This is typically located near the CPU socket.
- Connect Graphics Card Power (if applicable): If your graphics card requires additional power, connect the appropriate PCIe 6+2 pin power cables from the PSU to your graphics card.
- Connect Peripherals: Connect SATA power cables to your storage drives (HDDs, SSDs) and optical drives. Connect Molex power cables to any other peripherals that require them (e.g., case fans, older components).
- Connect RGB Sync Cable (Optional): If your motherboard supports Addressable RGB (ARGB) and you wish to synchronize the PSU's RGB lighting with your system, connect the PSU's ARGB cable to a compatible +5V ARGB header on your motherboard. Refer to your motherboard manual for header location. If not connecting to a motherboard, the RGB can be controlled via the button on the PSU.
- Cable Management: Route all cables neatly to improve airflow and aesthetics within your case.
- Connect AC Power: Once all internal connections are made, connect the supplied AC power cord to the power supply's AC inlet and then to a wall outlet.
- Power On: Ensure the power switch on the back of the PSU is in the 'ON' (I) position. You can now power on your computer system.

Figure 4.1: Rear view of the PSU showing the AC power inlet and the main power switch. Ensure the switch is in the 'I' (ON) position for operation.
5. Operating Instructions
The Aerocool LUX RGB 650M operates automatically once installed and powered on. The primary user interaction involves controlling the RGB lighting.
RGB Lighting Control:
The LUX RGB 650M offers two methods for controlling its lighting effects:
- Via LED Control Button: The power supply features a dedicated LED control button, typically located on the unit itself or accessible via a small button on the rear. Press this button to cycle through 13 preset lighting effects, including various static colors, breathing effects, and dynamic RGB modes.
- Via Addressable RGB Motherboard: If you have connected the PSU's ARGB cable to a compatible +5V ARGB header on your motherboard, you can control the lighting effects using your motherboard's RGB software (e.g., ASUS Aura Sync, MSI Mystic Light Sync, Gigabyte RGB Fusion, ASRock Polychrome Sync). This allows for synchronized lighting across your entire system.
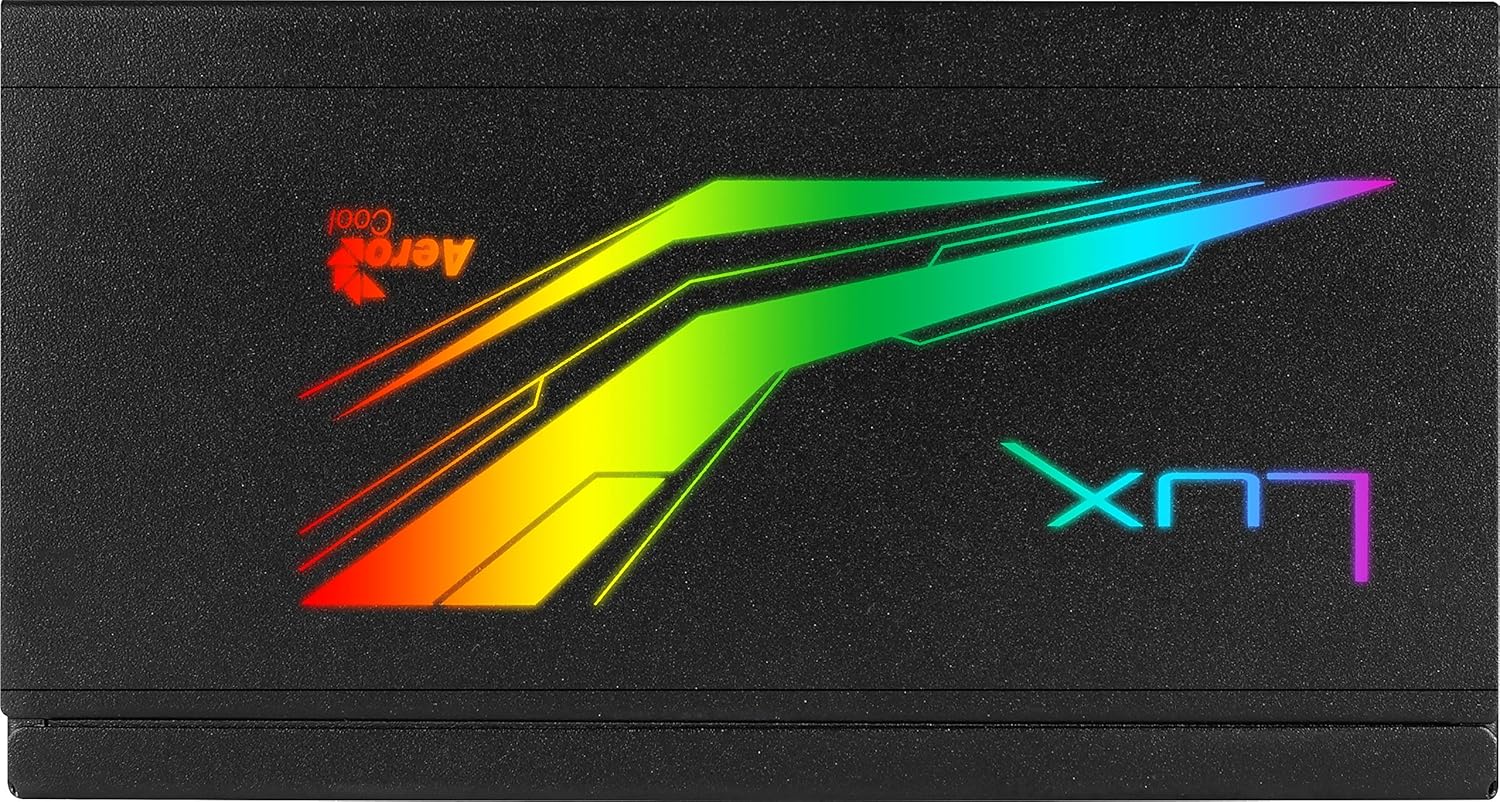
Figure 5.1: Close-up of the Aerocool LUX RGB lighting panel, showcasing its vibrant illumination.
6. Maintenance
Proper maintenance ensures the longevity and stable operation of your power supply unit:
- Dust Removal: Periodically clean the exterior of the power supply and its fan grill to prevent dust buildup. Use compressed air to gently blow dust out of the vents. Ensure the system is powered off and unplugged before cleaning.
- Ventilation: Ensure that the power supply's intake and exhaust vents are not obstructed by cables or other components. Good airflow is crucial for efficient cooling.
- Environmental Conditions: Operate the PSU within recommended temperature and humidity ranges. Avoid extreme conditions.
7. Troubleshooting
If you encounter issues with your Aerocool LUX RGB 650M, refer to the following common troubleshooting steps:
- No Power to System:
- Ensure the AC power cord is securely connected to both the PSU and the wall outlet.
- Verify that the power switch on the back of the PSU is in the 'ON' (I) position.
- Check all internal power connections (24-pin ATX, CPU, PCIe, SATA) to ensure they are firmly seated.
- Test the wall outlet with another device to confirm it has power.
- System Powers On but No Display:
- Ensure your graphics card is properly seated in its PCIe slot and all necessary PCIe power cables are connected.
- Check RAM modules are correctly installed.
- RGB Lighting Not Working:
- If using the LED control button, ensure you are pressing it correctly to cycle through effects.
- If using motherboard sync, verify the ARGB cable is correctly connected to a +5V ARGB header (not 12V RGB).
- Ensure your motherboard's RGB software is up-to-date and configured correctly.
- Unusual Noises or Smells:
Immediately power off your system and disconnect the AC power cord. Do not attempt to operate the PSU. Contact Aerocool support or your retailer for assistance.
If the issue persists after following these steps, please contact Aerocool customer support or your retailer for further assistance. Do not attempt to repair the unit yourself.
8. Specifications
Below are the technical specifications for the Aerocool LUX RGB 650M Power Supply Unit:
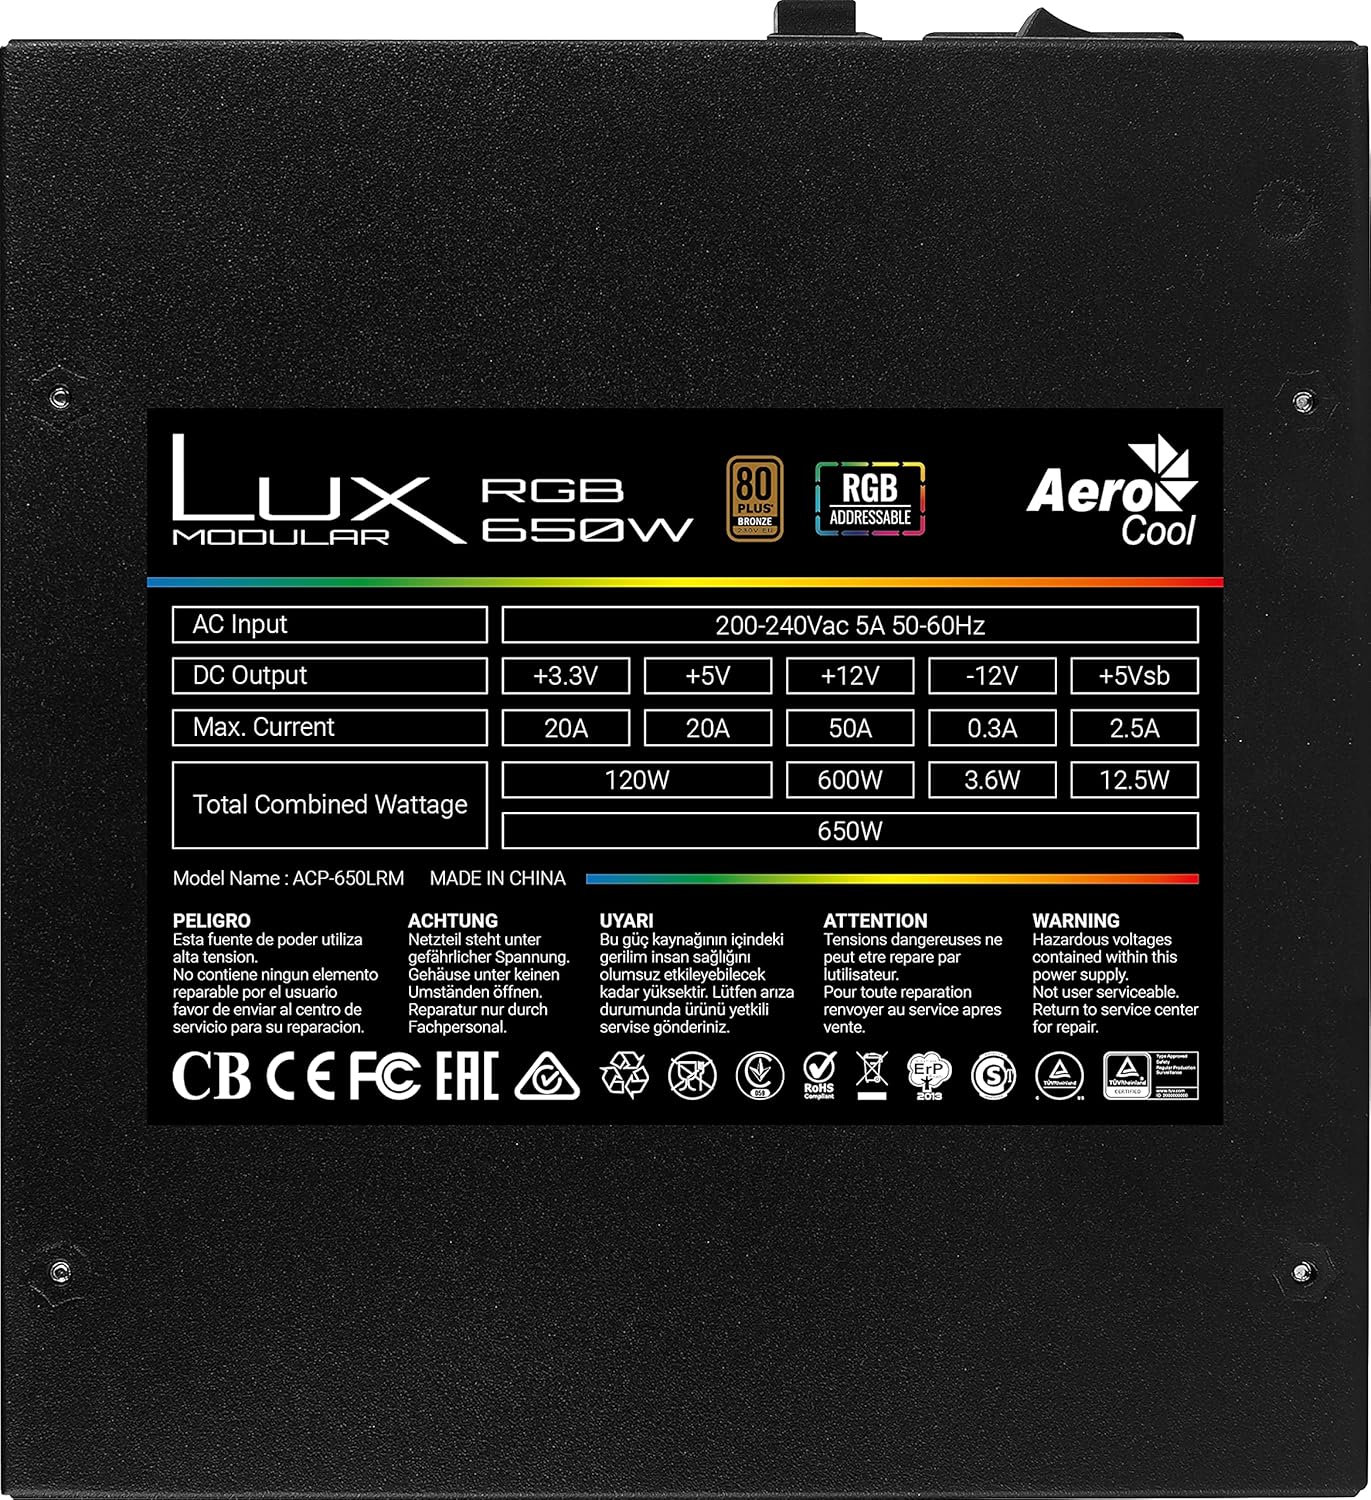
Figure 8.1: Product label showing detailed electrical specifications and certifications.
| Feature | Detail |
|---|---|
| Model Name | AEROPGSLUXRGB-650 (Internal: ACP-650LRM) |
| Wattage | 650W Total Combined |
| Efficiency Rating | 80 PLUS Bronze |
| AC Input | 200-240Vac, 5A, 50-60Hz |
| DC Output (+3.3V) | 20A (120W Combined) |
| DC Output (+5V) | 20A (120W Combined) |
| DC Output (+12V) | 50A (600W) |
| DC Output (-12V) | 0.3A (3.6W) |
| DC Output (+5Vsb) | 2.5A (12.5W) |
| RGB Features | 13 Preset Lighting Effects, Addressable RGB Compatible (+5V) |
| Certifications | CB, CE, FC, EAC, RoHS, ErP, TUV, cTUVus (as per label) |
9. Warranty and Support
Specific warranty terms and conditions for the Aerocool LUX RGB 650M Power Supply Unit may vary by region and retailer. Please refer to the warranty card included with your product or visit the official Aerocool website for detailed warranty information.
For technical support, troubleshooting assistance beyond this manual, or warranty claims, please contact Aerocool customer support or the retailer from whom you purchased the product. Have your product model number (AEROPGSLUXRGB-650) and serial number ready when contacting support.
Aerocool Official Website: www.aerocool.io