
TWENTY5 SEVEN TLUK-TIMER-19CM
TWENTY5 SEVEN 19cm Visual Mechanical Timer User Manual
Model: TLUK-TIMER-19CM
Brand: TWENTY5 SEVEN
1. Introduction
The TWENTY5 SEVEN 19cm Visual Mechanical Timer is a versatile tool designed to enhance productivity and focus by providing a clear visual representation of time. This 60-minute timer is ideal for various activities including exams, homework, playtime, cooking, office tasks, and meetings. Its mechanical design eliminates the need for batteries, offering reliable, hassle-free operation.
2. Safety Information
Important Note: This timer is not suitable for users sensitive to ticking sounds.
3. Product Overview
The TWENTY5 SEVEN Visual Mechanical Timer features a large, easy-to-read display with a red disk that visually diminishes as time elapses, making it simple to track remaining time from a distance. Its robust mechanical design ensures long-term use without the need for batteries.
Key Features:
- Visual Red Disk: The red disk disappears as time counts down, providing an intuitive visual cue for time remaining.
- Mechanical Operation: No batteries required, ensuring continuous functionality.
- Loud Audio Alert: A clear alarm sounds when the set time has expired.
- Ideal Educational Tool: Helps children and adults understand and manage time effectively.
- Versatile Placement: Can stand alone, hang on a wall, or attach to magnetic surfaces.

Image 1: The TWENTY5 SEVEN 19cm Visual Mechanical Timer, showcasing its large display and red visual disk.
4. Package Contents
The package typically includes the TWENTY5 SEVEN 19cm Visual Mechanical Timer. No other specific contents are detailed in the product information.
5. Setup and Operation
Operating your TWENTY5 SEVEN Visual Mechanical Timer is straightforward. Follow these steps to set your desired countdown time:
Step 1: Wind the Timer
To activate the alarm mechanism, turn the control knob clockwise until the red disk pointer reaches the 55-minute mark. This fully winds the timer and prepares it for setting.

Image 2: Turn the knob clockwise to the 55-minute mark to wind the timer.
Step 2: Set the Countdown Time
After winding, turn the control knob counter-clockwise from the 55-minute mark to your desired countdown time. The red disk will indicate the set duration. For example, to set 15 minutes, turn the knob to the 15-minute mark.

Image 3: Rotate the knob counter-clockwise to set your desired countdown time.
Visual Demonstration of Operation:
Video 1: This video demonstrates the winding and setting process of a similar square mechanical timer with two color zones, showing how to activate the timer and set a specific duration.
Video 2: A demonstration of a red 60-minute mechanical timer, illustrating how to set the time and its visual countdown feature.
Video 3: This video shows the operation of a 7.5-inch visual timer, including the winding and setting of the countdown, and the visual red disk in action.
6. Placement Options
The TWENTY5 SEVEN timer offers flexible placement options to suit your needs:
- Desktop: The timer is designed to stand alone on any flat surface.
- Wall-Mountable: It can be hung on a wall using the integrated hanging hole.
- Magnetic Attachment: Strong magnets on the back allow it to adhere securely to magnetic surfaces like whiteboards or refrigerators.

Image 4: The back of the timer showing the magnetic strips and foldable feet for versatile placement.
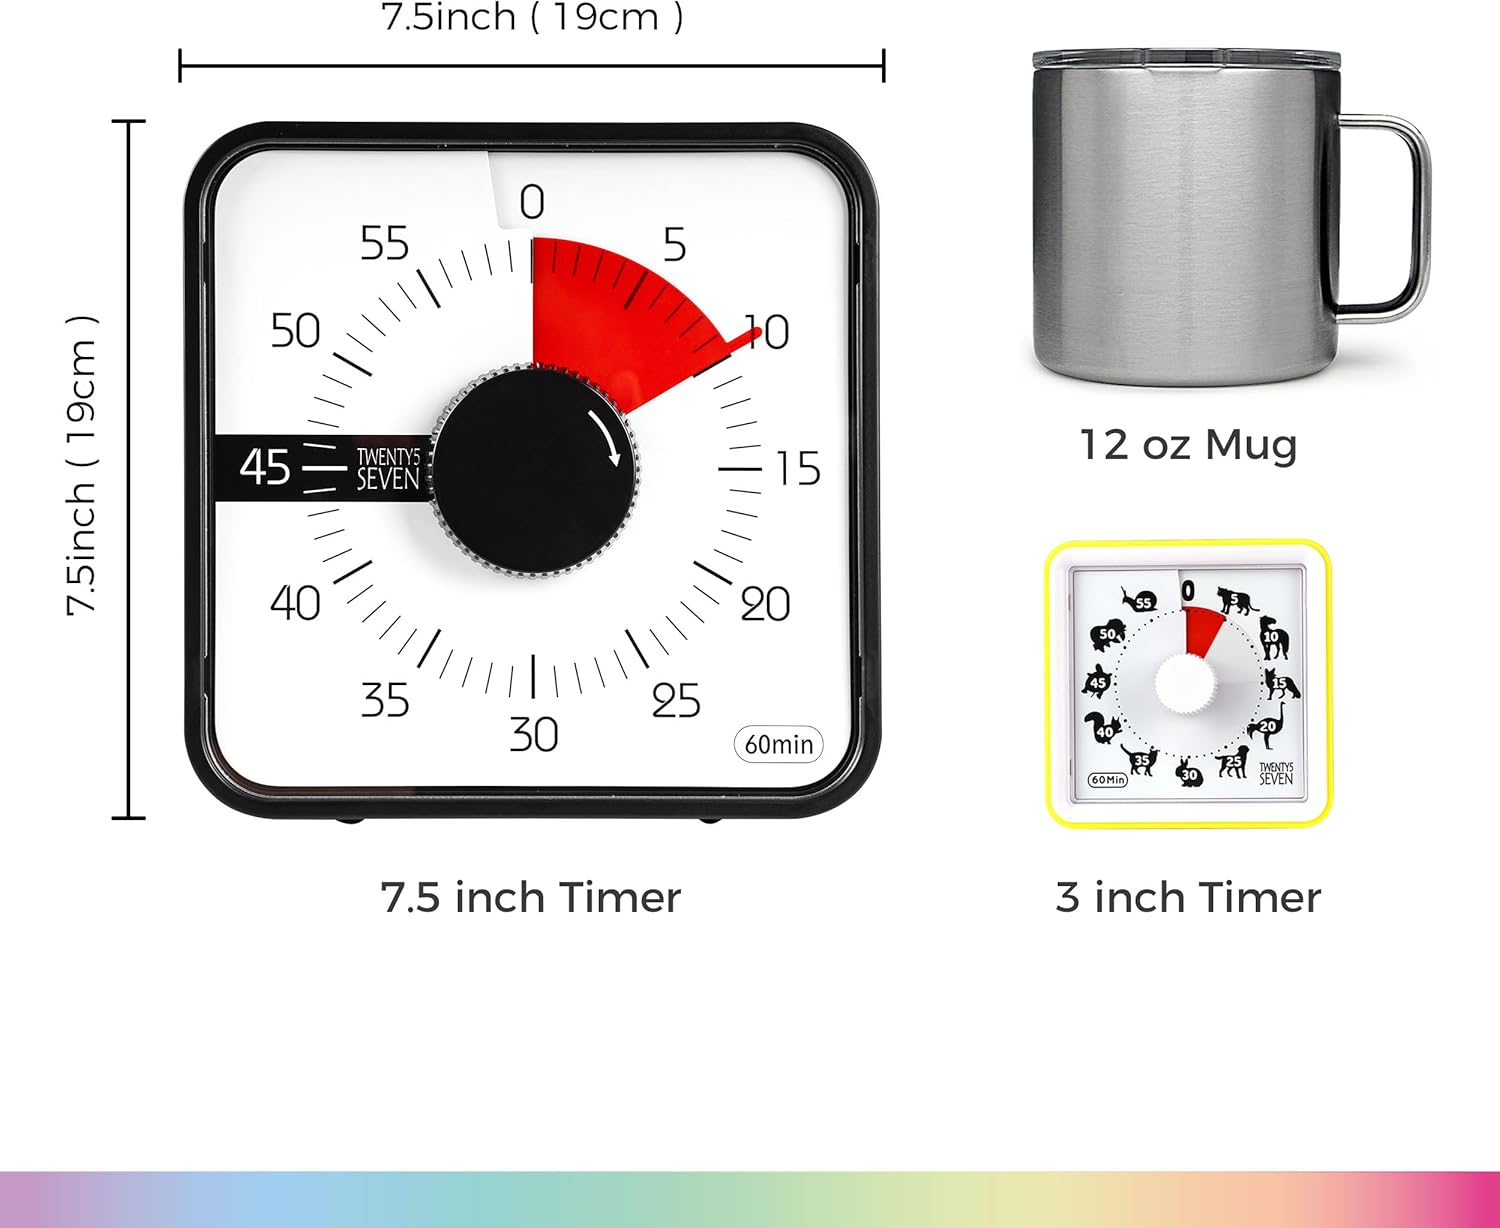
Image 5: Illustration of the timer being used on a desktop, wall-mounted, and magnetically attached.
7. Recommended Applications
This visual timer is an excellent tool for various time management needs:
- Educational Settings: Ideal for classrooms, helping students understand time limits for tasks, tests, or group activities.
- Home Use: Perfect for managing homework, screen time, chores, or cooking times.
- Professional Environments: Useful for meetings, presentations, or focused work sessions to keep track of time.
- Personal Productivity: Assists individuals in maintaining focus and managing time for personal projects or exercise.

Image 6: The timer being used in different environments, including a classroom, kitchen, and office setting.
8. Maintenance
To ensure the longevity and optimal performance of your TWENTY5 SEVEN Visual Mechanical Timer, follow these simple maintenance guidelines:
- Cleaning: Wipe the timer with a soft, dry cloth. Avoid using abrasive cleaners or solvents that could damage the surface.
- Storage: Store the timer in a dry place away from extreme temperatures and direct sunlight.
- Handling: Handle the timer with care to prevent drops or impacts, which could affect its mechanical components.
9. Troubleshooting
If you encounter any issues with your timer, consider the following:
- Timer Not Ticking/Moving: Ensure the timer has been fully wound by turning the knob clockwise to the 55-minute mark before setting the desired time.
- Alarm Not Sounding: Verify that the timer has completed its full countdown. The alarm is mechanical and will sound only at the end of the set period.
- Loud Ticking Sound: As a mechanical timer, a ticking sound is inherent to its operation. If this is disruptive, the product description notes it may not be suitable for users sensitive to such sounds.
- Physical Damage: If the timer has been dropped or subjected to impact, internal mechanisms may be damaged. Mechanical timers can be delicate.
10. Specifications
| Attribute | Value |
|---|---|
| Brand | TWENTY5 SEVEN |
| Model Number | TLUK-TIMER-19CM-BLK |
| Color | Black |
| Product Dimensions (L x W x H) | 19 x 3 x 19 cm |
| Material | Plastic |
| Item Weight | 500 g |
| UPC | 735551534031 |
| Display Size | 19 Centimeters |
| Power Source | Mechanical (No batteries required) |
11. Warranty and Support
Specific warranty and support information is not provided in the product details. Please refer to the retailer or manufacturer's website for details regarding warranty coverage and customer support options.
Ask a question about this manual
Ask about setup, troubleshooting, compatibility, parts, safety, or missing instructions. Manuals+ will review the question and use this page’s manual context to help answer it.