
1. Introduction
The Bell+Howell Bionic Trimmer is a cordless, rechargeable gardening tool designed for efficient grass and weed cutting. It offers a lightweight and portable solution for maintaining your lawn and garden without the hassle of gas or tangled cords. This manual provides essential information for the safe and effective operation, maintenance, and troubleshooting of your Bionic Trimmer.

Image 1.1: The Bionic Trimmer, showcasing its main unit, adjustable pole, charger, and zip ties.
2. Product Components
Your Bionic Trimmer package includes the following components:
- Motor Head: The main power unit with the trimming mechanism.
- Adjustable Pole: Extends and retracts for comfortable use.
- Shield Guard: Provides protection during operation.
- Charger: For recharging the internal lithium-ion battery.
- Zip Ties: Used as the cutting medium instead of traditional line.

Image 2.1: All components of the Bionic Trimmer laid out, including the shield guard, motor head, adjustable pole, charger, and a pack of zip ties.
3. Setup and Assembly
- Attach the Motor Head: Securely connect the motor head to the adjustable pole. Ensure it clicks into place.
- Install the Shield Guard: Slide the shield guard onto the motor head assembly until it is firmly seated.
- Insert Zip Ties: The Bionic Trimmer uses standard zip ties for cutting. Insert a zip tie into the designated slot on the motor head. Ensure it is properly secured before operation.
- Adjust Pole Length: Extend or retract the adjustable pole to a comfortable length for your height and the task at hand.

Image 3.1: A detailed view of the trimmer head showing how a zip tie is inserted for cutting.
4. Charging Instructions
The Bionic Trimmer is powered by a rechargeable lithium-ion battery. Before first use, fully charge the device.
- Connect the charger to the charging port on the trimmer.
- Plug the charger into a standard electrical outlet.
- The indicator light will show charging status (refer to product specific light indicators if available, otherwise assume standard).
- Once fully charged, disconnect the charger.
Note: The trimmer does not require separate batteries as it has an internal rechargeable unit.
5. Operating Instructions
5.1 General Trimming
To operate the Bionic Trimmer, ensure it is fully charged and a zip tie is correctly installed. Press and hold the power button to start the motor. The trimmer operates at 10,000 RPMs for effective cutting of grass and weeds. Move the trimmer steadily across the area you wish to trim.
5.2 Detailed Trimming and Edging
For more detailed tasks, such as trimming around flowerbeds or edging along pathways, the motor head can be detached from the adjustable pole. This allows for precise, handheld operation.

Image 5.1: The detachable head of the Bionic Trimmer being used for precise trimming around garden plants.
The integrated metal bar acts as a protective shield, preventing the zip ties from damaging solid objects like walls or paving stones during edging.
Image 5.2: The trimmer being used to create a clean edge along a paved walkway.
5.3 Operational Benefits
- Cordless Freedom: No more tangled extension cords or limited reach.
- No Gas or Oil: Eliminates the need for fuel, reducing fumes and maintenance.
- Lightweight and Ergonomic: Designed for comfortable handling, reducing strain during use.
- Efficient Cutting: The 10,000 RPM motor provides powerful trimming for grass and light weeds.
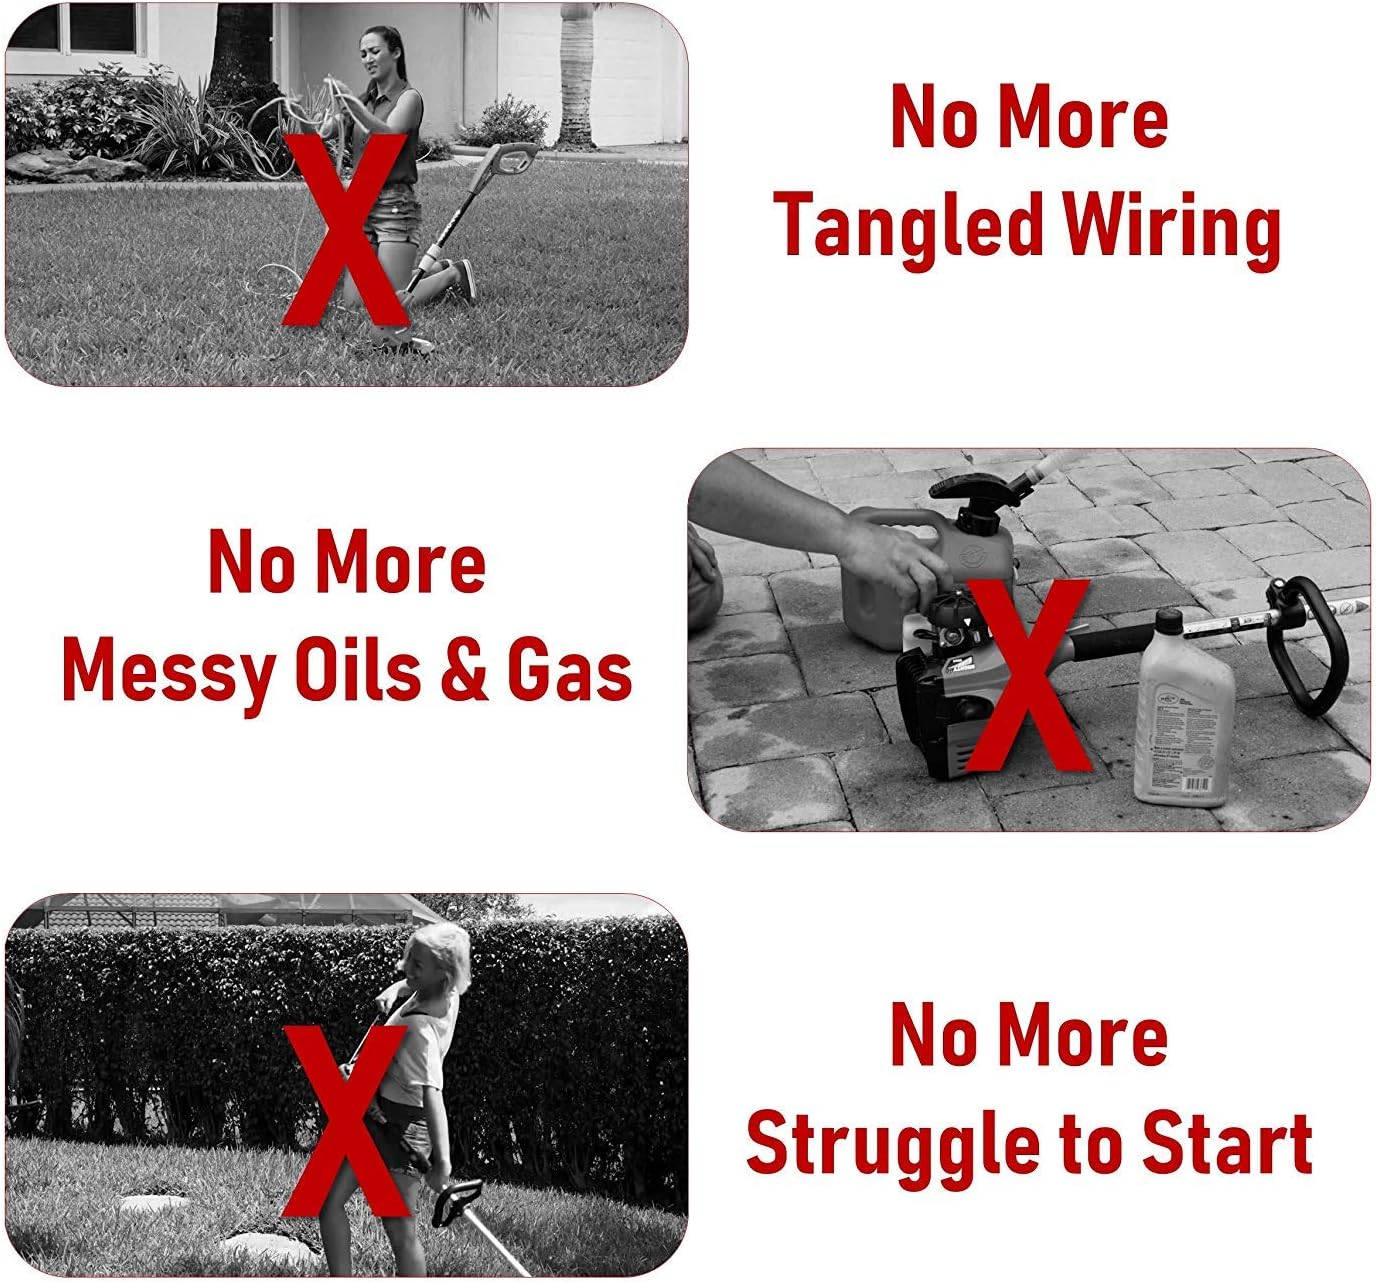
Image 5.3: Visual representation of common issues avoided by the Bionic Trimmer: no tangled wiring, no messy oils & gas, and no struggle to start.
5.4 Product Demonstration Video
Watch the official product video for a visual guide on the Bionic Trimmer's features and operation.
Video 5.4: Official demonstration of the Bell+Howell Bionic Trimmer, highlighting its cordless operation, zip tie cutting mechanism, and ease of use.
6. Safety Information
WARNING: Always prioritize safety when operating power tools.
- Keep hands away from zip ties during operation to avoid injury.
- Wear appropriate personal protective equipment (PPE), including safety glasses and sturdy footwear.
- Ensure the work area is clear of debris and other people or pets before starting.
- Do not attempt to cut thick twigs or wood with this product. It is designed for grass and light weeds only.
- Store the trimmer in a dry, secure location, out of reach of children.
7. Maintenance
- Cleaning: After each use, wipe down the trimmer with a damp cloth. Ensure no grass or debris is lodged in the motor head.
- Zip Tie Replacement: Replace worn or broken zip ties as needed. Always use standard zip ties as recommended by the manufacturer.
- Storage: Store the trimmer in a cool, dry place. If storing for an extended period, ensure the battery is partially charged (around 50%) to prolong battery life.
8. Troubleshooting
| Problem | Possible Cause | Solution |
|---|---|---|
| Trimmer does not start. | Battery is not charged. | Charge the trimmer fully. |
| Trimmer not cutting effectively. | Worn or incorrect zip ties. | Replace zip ties with new, standard ones. |
| Motor sounds strained. | Attempting to cut material too thick. | Only use for grass and light weeds. Do not force the trimmer. |
9. Specifications
| Feature | Detail |
|---|---|
| Brand | Bell+Howell |
| Power Source | Rechargeable Lithium-Ion Battery |
| Color | Black, Silver |
| Speed | 10,000 RPM |
| Item Weight | 1.76 ounces (approx. 0.05 kg) |
| Assembly Required | Yes |
| Recommended Uses | Grass and weed trimming |
| UPC | 080313025211 |
10. Warranty and Support
For warranty information, technical support, or to purchase replacement parts (such as zip ties or chargers), please contact Bell+Howell customer service. Refer to the product packaging or the official Bell+Howell website for contact details.
Website: www.bellhowell.com (Example link, actual link may vary)