
RAGGIE RG-P320W
RAGGIE Solar Panel 320 Watts poly Crystalline User Manual
Model: RG-P320W
1. Product Overview
This manual provides essential information for the safe and efficient operation of your RAGGIE 320 Watts Polycrystalline Solar Panel. This solar panel is designed to convert sunlight into electrical energy, suitable for various solar power applications.
Key features include:
- Model Number: RG-P320W
- Type: Solar Panels
- Power Source: Solar
- Brand: RAGGIE
- Material: Polycrystalline Silicon
- Maximum Power: 320 Watts
- Efficiency: High Efficiency
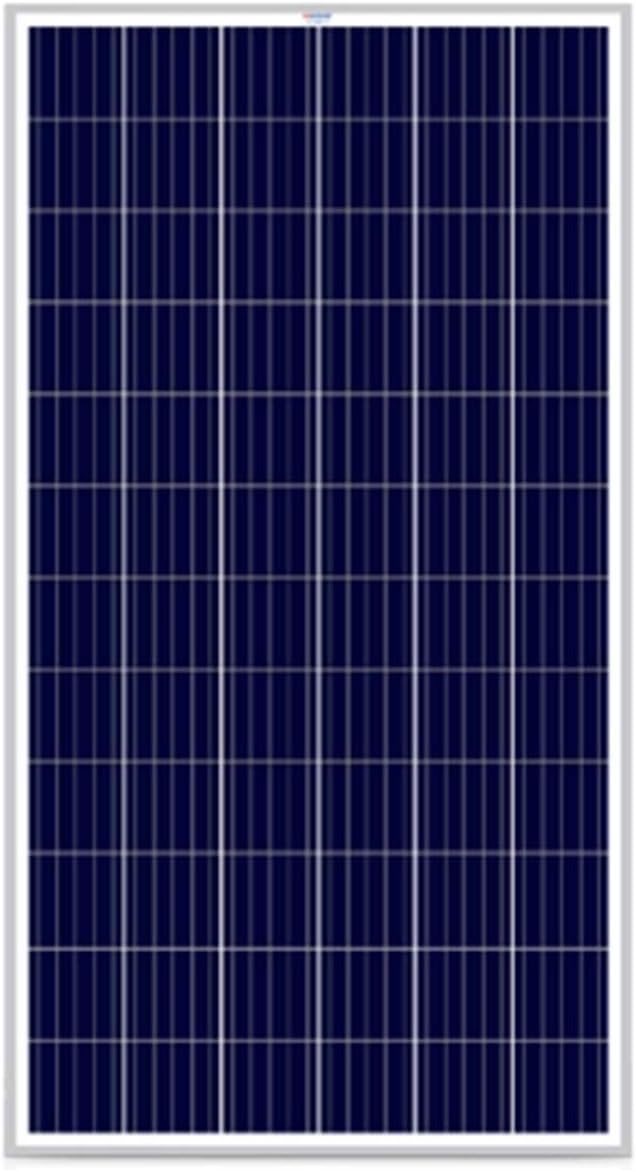
Figure 1: Front view of the RAGGIE 320W Polycrystalline Solar Panel, showing the blue-tinted photovoltaic cells arranged in a grid pattern within a silver frame.
2. Safety Information
Please read all safety instructions carefully before installation and operation. Failure to follow these instructions may result in electric shock, fire, or serious injury.
- Do not attempt to disassemble, repair, or modify the solar panel.
- Ensure all electrical connections are secure and properly insulated to prevent short circuits.
- Wear appropriate personal protective equipment (PPE), including insulated gloves and eye protection, during installation.
- Avoid touching the panel's surface when it is wet or during lightning storms.
- Keep children and unauthorized personnel away from the installation area.
- Install the solar panel in a well-ventilated area, away from flammable materials.
- Consult with a qualified electrician for complex installations or if you have any doubts.
3. Setup and Installation
Proper installation is crucial for optimal performance and safety. It is recommended that installation be performed by a qualified professional.
3.1 Site Selection
Choose a location that receives maximum direct sunlight throughout the day, free from shading by trees, buildings, or other obstructions. Consider the panel's orientation (azimuth) and tilt angle for your specific geographical location to maximize energy harvest.
3.2 Mounting
The solar panel must be securely mounted using appropriate racking systems designed for solar installations. Ensure the mounting structure can withstand local wind and snow loads. The panel frame has pre-drilled holes for mounting.
3.3 Electrical Connections
Connect the positive (+) and negative (-) terminals of the solar panel to your charge controller or inverter system. Ensure correct polarity. Use appropriate gauge wiring and connectors (e.g., MC4 connectors) that are rated for outdoor use and the expected current and voltage.

Figure 2: Rear view of the RAGGIE 320W Polycrystalline Solar Panel, highlighting the junction box with output cables for electrical connections.
Always disconnect power from the system before making or breaking any electrical connections.
4. Operating Principles
The RAGGIE 320W Polycrystalline Solar Panel converts sunlight directly into direct current (DC) electricity. This DC power can then be used to charge batteries via a charge controller, or converted to alternating current (AC) by an inverter for household or grid-tied applications.
The panel's output varies with sunlight intensity, temperature, and shading. For optimal performance, ensure the panel is clean and free from obstructions.
5. Maintenance
Regular maintenance ensures the longevity and efficiency of your solar panel.
- Cleaning: Periodically clean the surface of the solar panel with a soft cloth and water to remove dust, dirt, bird droppings, or other debris that may reduce efficiency. Do not use abrasive materials or harsh chemicals. Clean during cooler parts of the day to avoid thermal shock.
- Inspection: Annually inspect the panel for any physical damage, such as cracks in the glass, delamination, or corrosion on the frame. Check all electrical connections for tightness and signs of wear or corrosion.
- Shading: Regularly check for new sources of shading (e.g., growing trees, new constructions) and address them if possible.
6. Troubleshooting
If your solar panel system is not performing as expected, consider the following common issues:
| Problem | Possible Cause | Solution |
|---|---|---|
| Low Power Output | Panel surface is dirty or shaded. Incorrect panel angle/orientation. Faulty wiring or connections. | Clean the panel surface. Adjust panel angle/orientation. Check and secure all electrical connections. |
| No Power Output | Disconnected wiring. Faulty charge controller or inverter. No sunlight. | Verify all connections. Test charge controller/inverter. Ensure panel is exposed to direct sunlight. |
| Physical Damage | Impact from debris, severe weather. | Inspect the panel. If damaged, contact a qualified technician for assessment and potential replacement. Do not attempt to repair damaged panels yourself. |
For issues not listed here or if troubleshooting steps do not resolve the problem, please contact a qualified solar technician or the product support.
7. Specifications
Detailed technical specifications for the RAGGIE RG-P320W Solar Panel:
| Attribute | Value |
|---|---|
| Model Number | RG-P320W |
| Type | Solar Panel |
| Brand | RAGGIE |
| Material | Polycrystalline Silicon |
| Maximum Power | 320 Watts |
| Efficiency | High Efficiency |
| Power Source Type | Solar |
| Style | Modern |
| Manufacturer | RAGGIE |
| ASIN | B07PQH4NNC |
| Date First Available | 13 March 2019 |
8. Warranty Information
This product is manufactured by RAGGIE. For specific warranty terms and conditions, please refer to the warranty card included with your purchase or contact the seller directly. Extended warranty options may be available from third-party providers, as indicated during purchase.
9. Customer Support
For technical assistance, installation queries, or any other support needs, please contact your authorized RAGGIE dealer or the point of purchase. Ensure you have your product model number (RG-P320W) and purchase details ready when contacting support.
Ask a question about this manual
Ask about setup, troubleshooting, compatibility, parts, safety, or missing instructions. Manuals+ will review the question and use this page’s manual context to help answer it.