1. Introduction
Thank you for purchasing the Sami Sami-RS12301NA Wireless Multimedia Clock Radio. This device combines a digital clock, FM radio, Bluetooth speaker, and MP3 player into one compact unit. Please read this manual carefully before using the product to ensure proper operation and to maximize its lifespan. Keep this manual for future reference.
2. Safety Information
- Do not expose the device to water, moisture, or extreme temperatures.
- Avoid dropping or subjecting the device to strong impacts.
- Do not disassemble, repair, or modify the device yourself. Refer all servicing to qualified personnel.
- Use only the specified charging cable and power source.
- Keep the device away from heat sources such as radiators, stoves, or other heat-producing appliances.
- Clean the device only with a dry, soft cloth. Do not use liquid cleaners or aerosol sprays.
3. Package Contents
Please check the package contents upon opening:
- Sami Sami-RS12301NA Wireless Multimedia Clock Radio
- USB Charging Cable
- AUX Audio Cable
- User Manual
If any items are missing or damaged, please contact your retailer.
4. Product Overview
Familiarize yourself with the main components of your Sami-RS12301NA device:
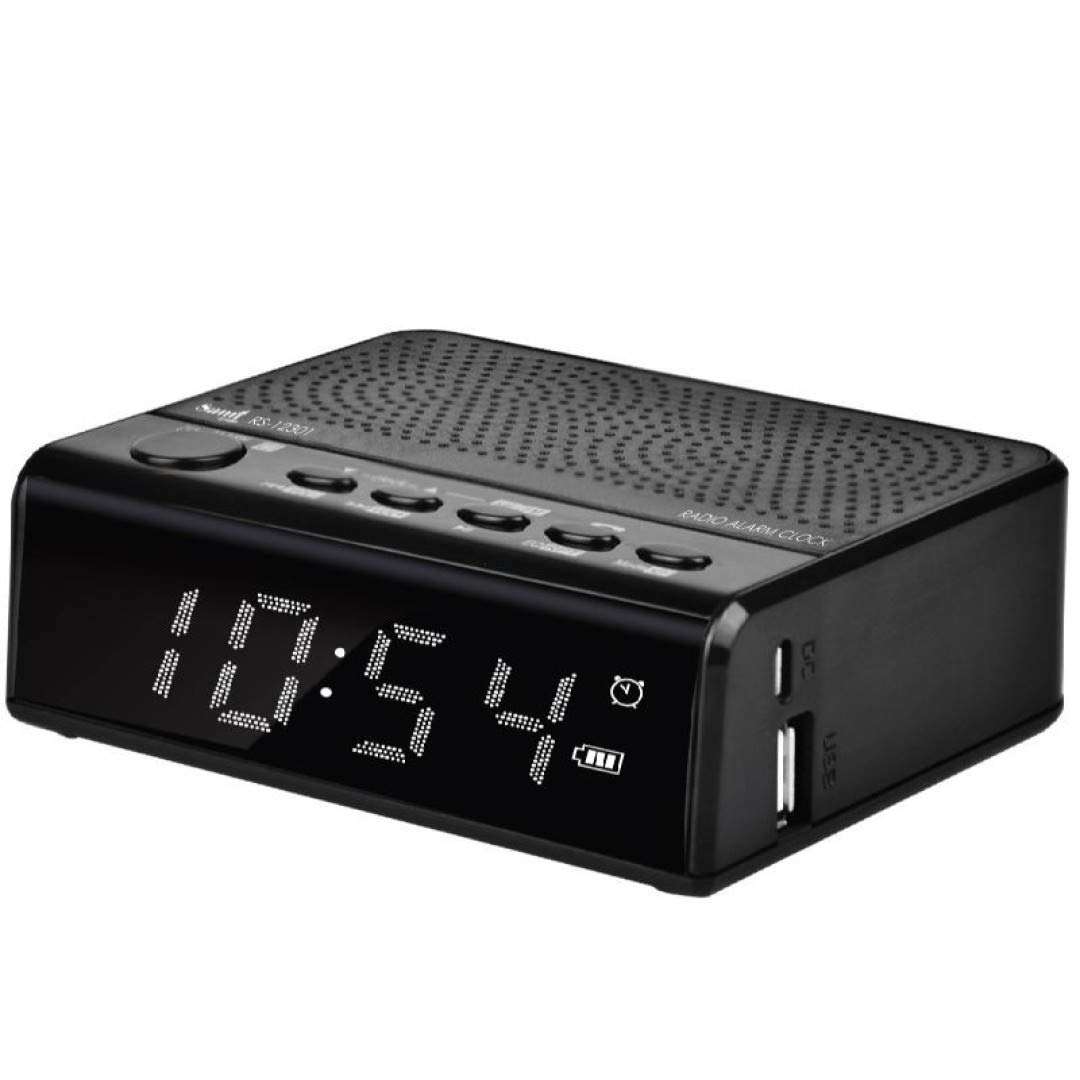
Figure 4.1: Front View. This image shows the front of the Sami-RS12301NA clock radio, featuring a large, clear digital LED display that shows the time (e.g., 10:54) and various status icons like alarm, battery level, and mode indicators. The top surface has control buttons and a speaker grille, while the right side has USB ports.

Figure 4.2: Feature Overview. This image provides a detailed view of the Sami-RS12301NA, highlighting its key features and connectivity options. It shows the main unit with its digital display and top controls, along with smaller inset images of the device from different angles. Text overlays indicate features such as MP3 player, FM radio, AUX input, Bluetooth function, hands-free calling, alarm, and the inclusion of a rechargeable battery, Micro USB, and Micro SD card support.
5. Setup
5.1 Powering On and Initial Charge
- Connect the supplied USB charging cable to the Micro USB port on the back or side of the device.
- Connect the other end of the USB cable to a USB power adapter (not included) or a powered USB port (e.g., computer).
- The device will automatically power on or can be powered on by pressing the Power button.
- For optimal battery life, fully charge the device before first use. The battery indicator on the display will show charging status.
5.2 Setting the Time
- In clock mode, press and hold the 'Time Set' button (usually marked with a clock icon or 'SET').
- The hour digits will start flashing. Use the 'Previous' and 'Next' buttons (often marked with arrows or '<<' / '>>') to adjust the hour.
- Press the 'Time Set' button again to confirm the hour and move to the minute setting.
- Use the 'Previous' and 'Next' buttons to adjust the minutes.
- Press the 'Time Set' button one more time to save the time settings.
6. Operating Instructions
6.1 Basic Functions
- Power On/Off: Press and hold the 'Power' button.
- Volume Control: Use the '+' and '-' buttons to adjust the volume.
- Mode Selection: Press the 'M' (Mode) button to cycle through available modes: FM Radio, Bluetooth, MP3 (USB/Micro SD), AUX.
6.2 FM Radio Mode
- Switch to FM Radio mode using the 'M' button.
- Press and hold the 'Play/Pause' button (often marked with a play icon) to initiate an automatic station scan. The radio will scan and save available stations.
- Use the 'Previous' and 'Next' buttons to navigate between saved stations.
6.3 Bluetooth (BT) Mode
- Switch to Bluetooth mode using the 'M' button. The display will show 'BT' and an icon, indicating it's ready for pairing.
- On your mobile device, enable Bluetooth and search for new devices.
- Select 'Sami-RS12301NA' from the list of available devices.
- Once paired, the device will confirm the connection, and you can now play audio from your mobile device through the clock radio.
6.4 MP3 Player (USB/Micro SD)
- Insert a USB flash drive or a Micro SD card (with MP3 files) into the corresponding port.
- The device should automatically switch to MP3 mode. If not, select it using the 'M' button.
- Use the 'Play/Pause' button to play or pause music.
- Use the 'Previous' and 'Next' buttons to skip tracks.
6.5 AUX Input
- Connect one end of the supplied AUX audio cable to the 'AUX IN' port on the clock radio.
- Connect the other end to the headphone jack or audio output of your external audio device (e.g., smartphone, MP3 player).
- Switch to AUX mode using the 'M' button. Audio from your external device will now play through the clock radio.
6.6 Alarm Function
- Press the 'Alarm Set' button (often marked with an alarm icon). The alarm hour digits will flash.
- Use the 'Previous' and 'Next' buttons to set the desired alarm hour.
- Press 'Alarm Set' again to confirm the hour and set the minutes.
- Use the 'Previous' and 'Next' buttons to set the desired alarm minutes.
- Press 'Alarm Set' one more time to save the alarm time.
- To activate/deactivate the alarm, short press the 'Alarm Set' button. An alarm icon will appear/disappear on the display.
- When the alarm sounds, press any button (except Power) to snooze, or press the 'Power' button to turn off the alarm for the day.
6.7 Hands-Free Function (via Bluetooth)
- When a call comes in while in Bluetooth mode, the music will pause.
- Press the 'Play/Pause' button to answer the call.
- Speak into the built-in microphone.
- Press the 'Play/Pause' button again to end the call.
7. Maintenance
- Cleaning: Use a soft, dry, lint-free cloth to clean the surface of the device. Do not use abrasive cleaners, waxes, or solvents.
- Storage: If the device will not be used for an extended period, store it in a cool, dry place away from direct sunlight and extreme temperatures. Ensure it is fully charged before storing and recharge periodically if stored for very long periods to maintain battery health.
8. Troubleshooting
| Problem | Possible Cause | Solution |
|---|---|---|
| Device does not power on. | Low battery or no power connection. | Connect the USB charging cable and ensure it's connected to a working power source. Allow it to charge for a few minutes before attempting to power on. |
| No sound. | Volume is too low; incorrect mode selected; device not properly connected (AUX/BT). | Increase the volume. Ensure the correct mode (FM, BT, MP3, AUX) is selected. For AUX, check cable connection. For Bluetooth, ensure it's paired and connected. |
| Bluetooth not connecting. | Device is not in pairing mode; mobile device's Bluetooth is off; too far from the device. | Ensure the clock radio is in Bluetooth mode and discoverable. Turn Bluetooth off and on again on your mobile device. Move closer to the clock radio. |
| FM radio reception is poor. | Weak signal; interference. | Try repositioning the device to improve reception. Avoid placing near other electronic devices that may cause interference. |
| Alarm does not sound. | Alarm is not activated; volume is too low. | Ensure the alarm icon is visible on the display, indicating it's active. Increase the volume. |
9. Specifications
| Feature | Specification |
|---|---|
| Brand | Sami |
| Model Number | RS12301NA |
| Color | Black |
| Display Type | Digital |
| Power Source | Internal Rechargeable Battery (charged via Micro USB) |
| Connectivity | Bluetooth, FM Radio, Micro USB, AUX Input, Micro SD Card Slot |
| Alarm Clock | Yes |
| Hands-Free Function | Yes |
| MP3 Playback | Supports MP3 files from USB drive/Micro SD card |
10. Warranty and Support
This product is covered by a standard manufacturer's warranty. For specific warranty terms and conditions, please refer to the warranty card included with your purchase or contact your retailer. If you encounter any issues or require technical assistance, please contact the customer support of your place of purchase or the manufacturer directly. Please have your model number (RS12301NA) and proof of purchase ready when contacting support.


